Tangent (Straight) track Building.
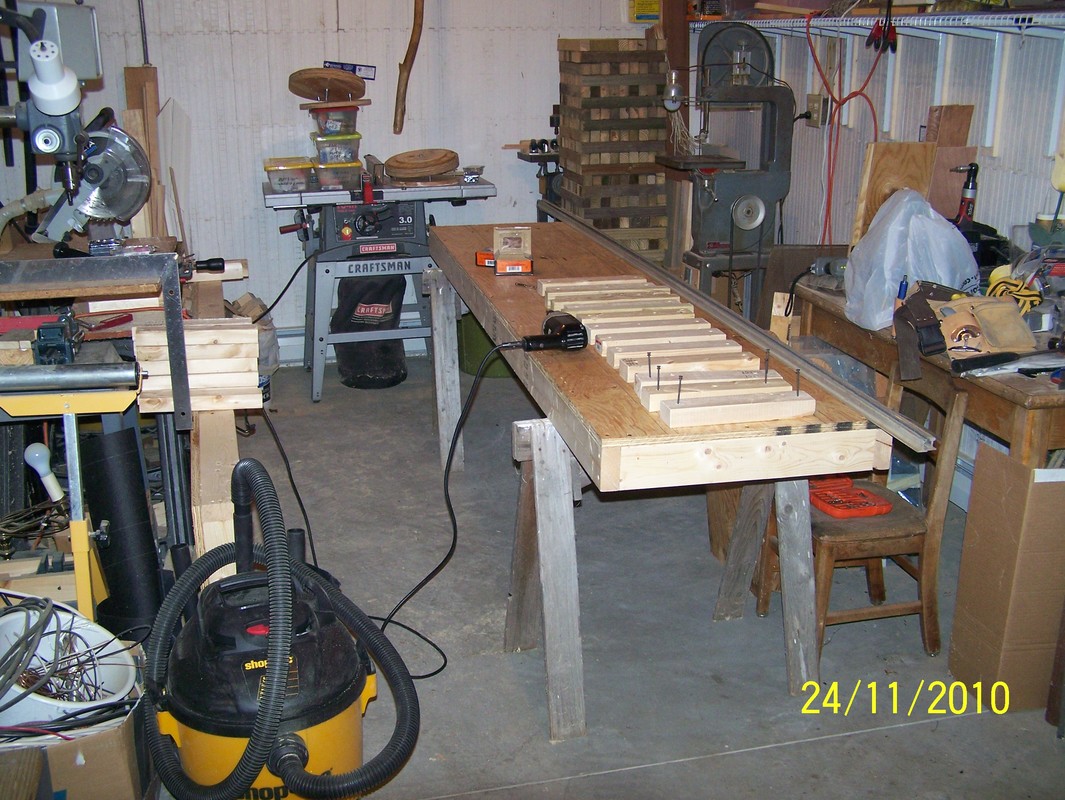
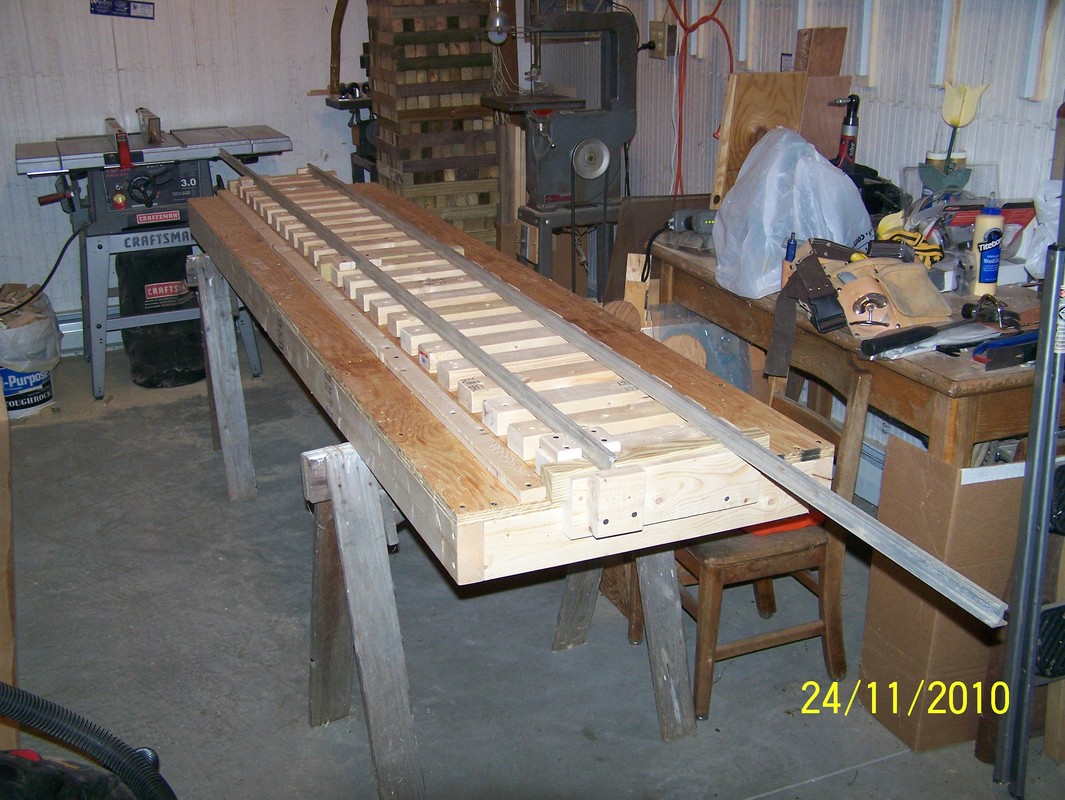
Nov, 2010. Building the tangent (straight) track jig. I used a 2'x8' piece of 3/4" plywood for the top and 2x4's on the edge for rigidity. Spacer are pieces of 2x3. That gives a spacing of about three finger (pointer to ring finger) knuckles or about 2 1/2".
I put a piece of 3/4"x1"x8' along the edge of the spacer blocks, just out far enough to center the ties on the rail.
I also installed small pieces of 3/4"x2" on the top of the ends and middle spacer blocks to hold the one rail about in place while screwing down the rail.
I built a rail end stop 2" off the jig, at opposite ends and opposite rail, so I would get a 20" offset between the track panel rails. If you are looking straight down the track panel, like from the engineers position or sitting on a car, the left rail sticks off the end of the panel 20" longer than the right.
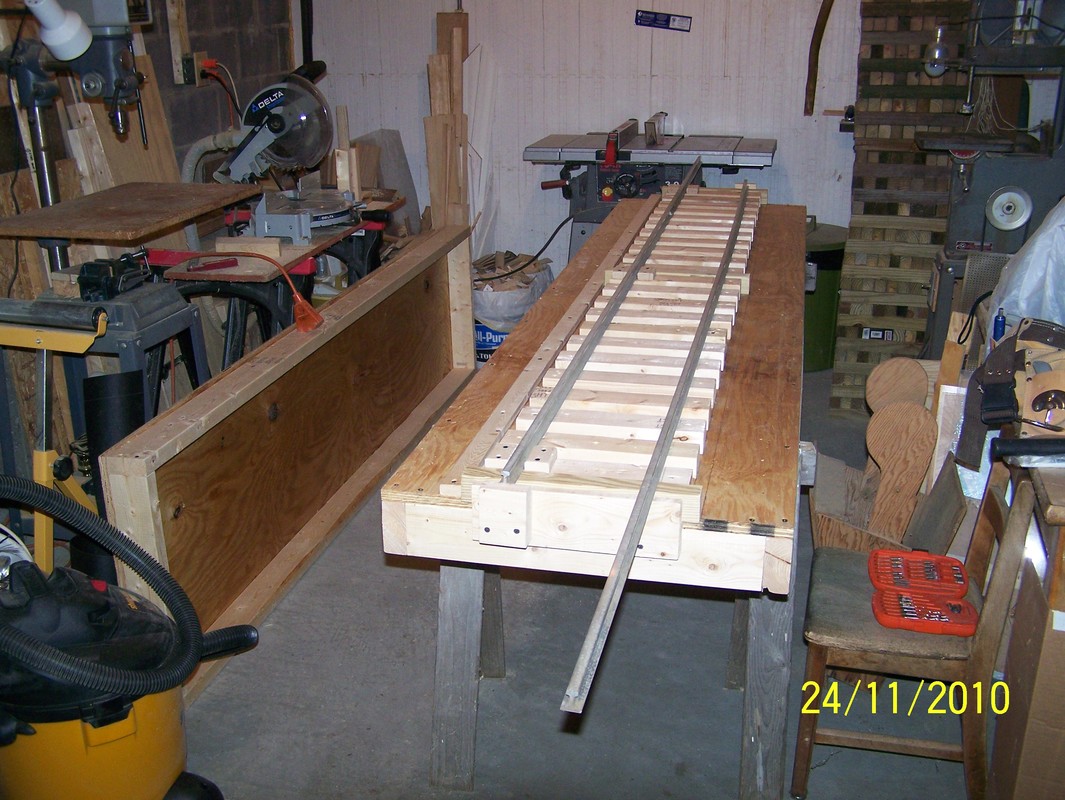

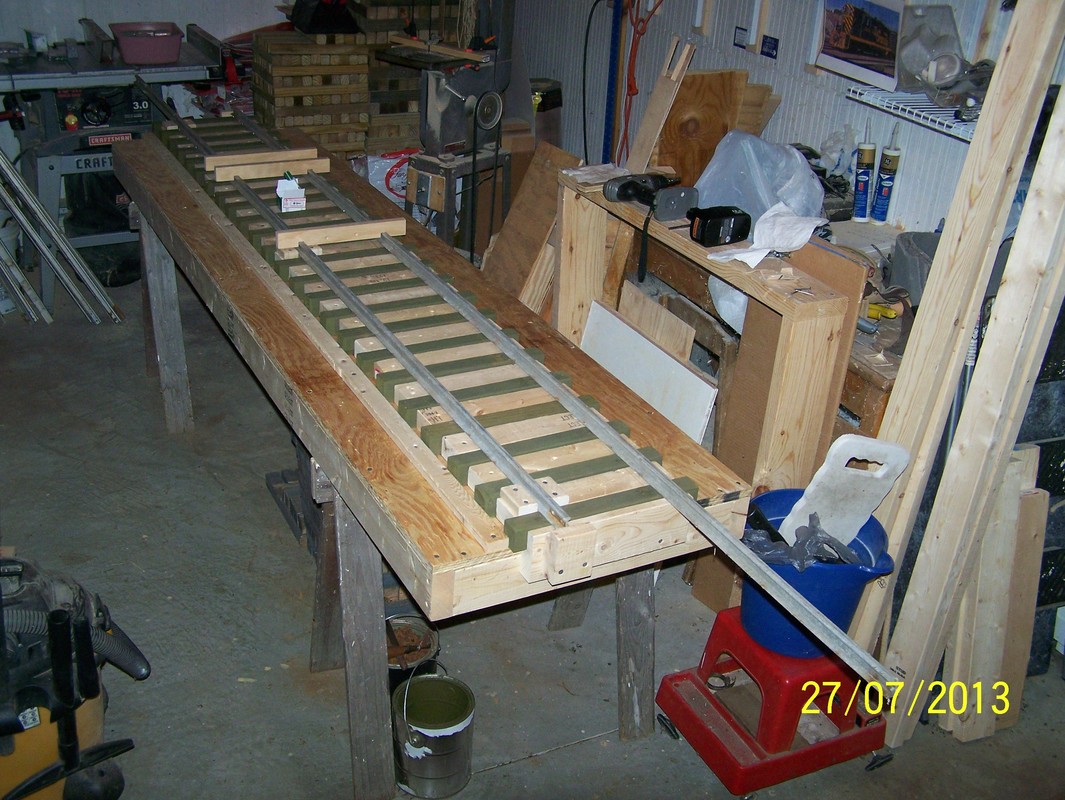
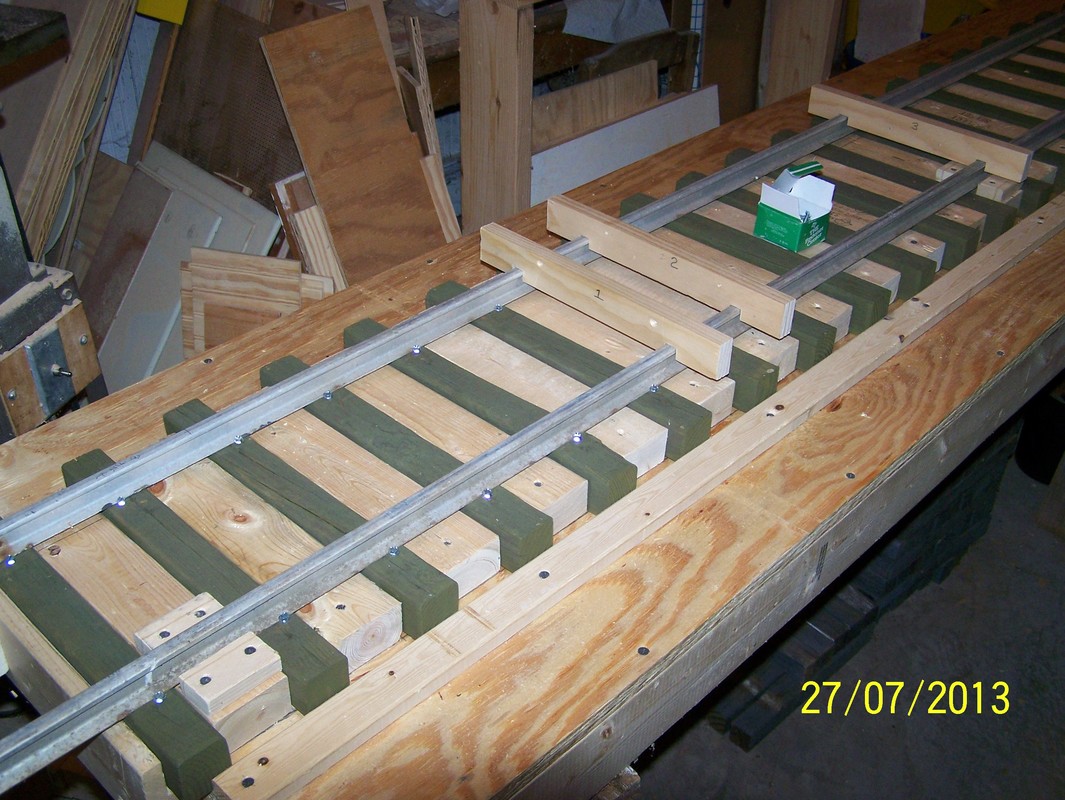
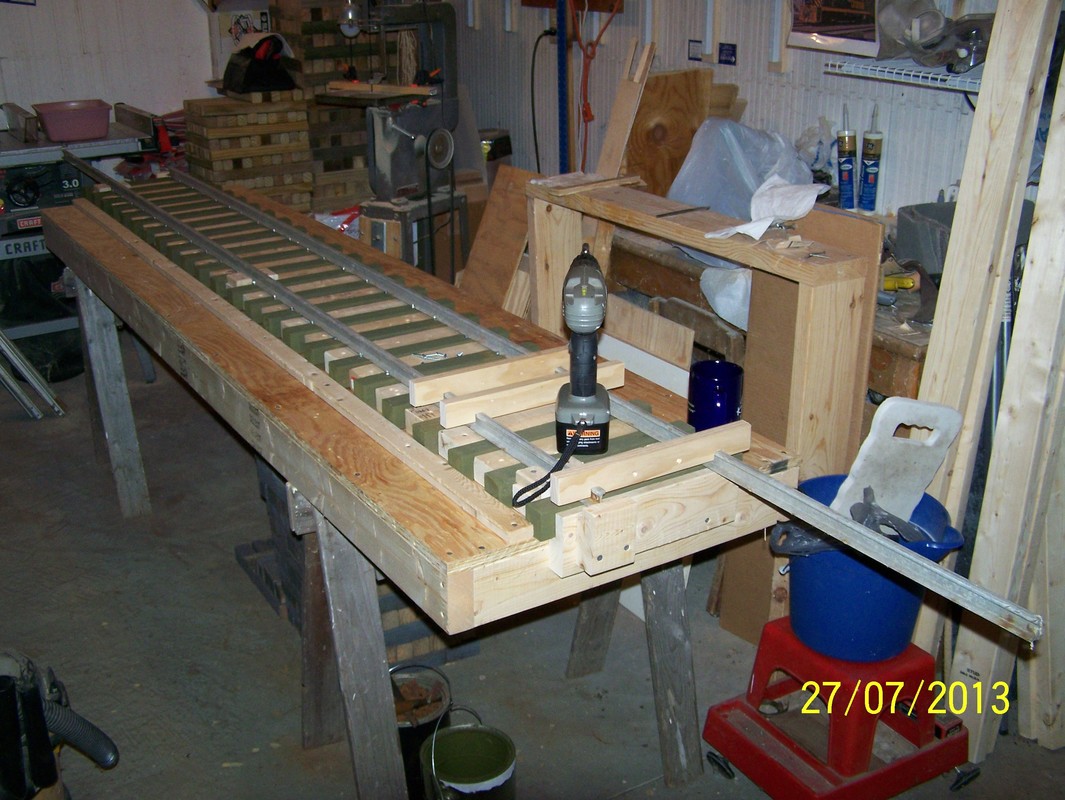
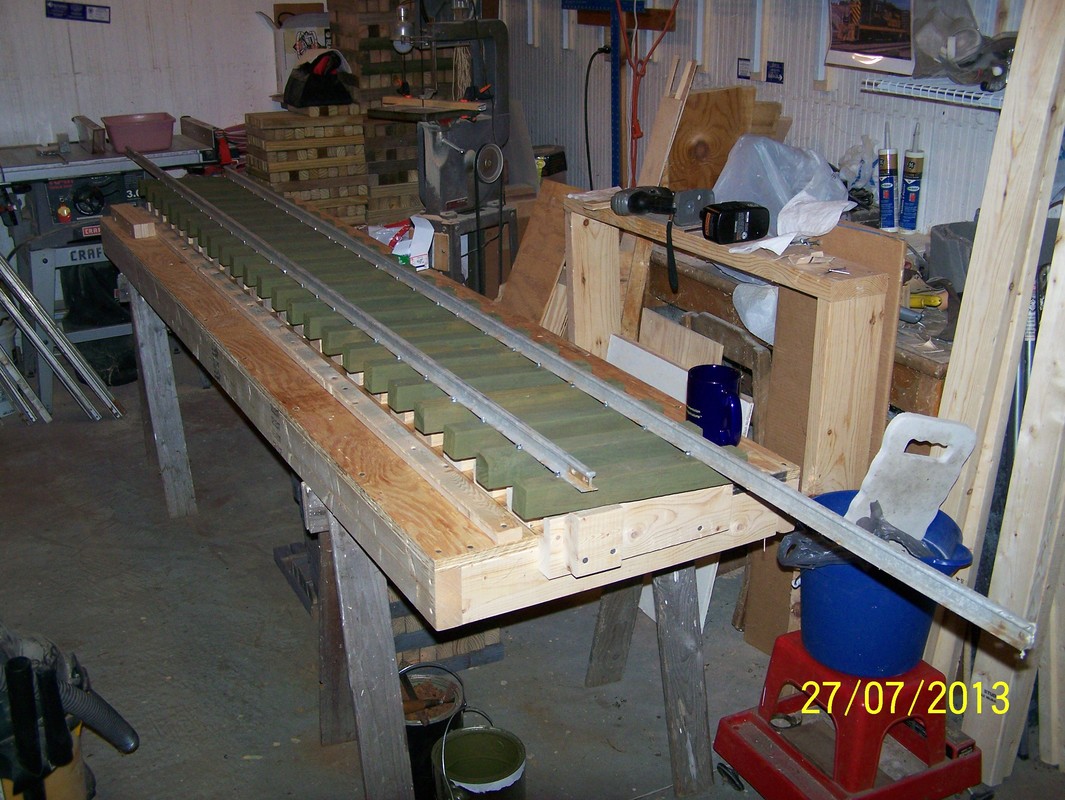
July, 2013. I have made up track gauges out of 1x2 clear pine. I space the tangent track at a 7 9/16", as per the IBLS standards. I made up three of them to be able to work along and hold the gauge.
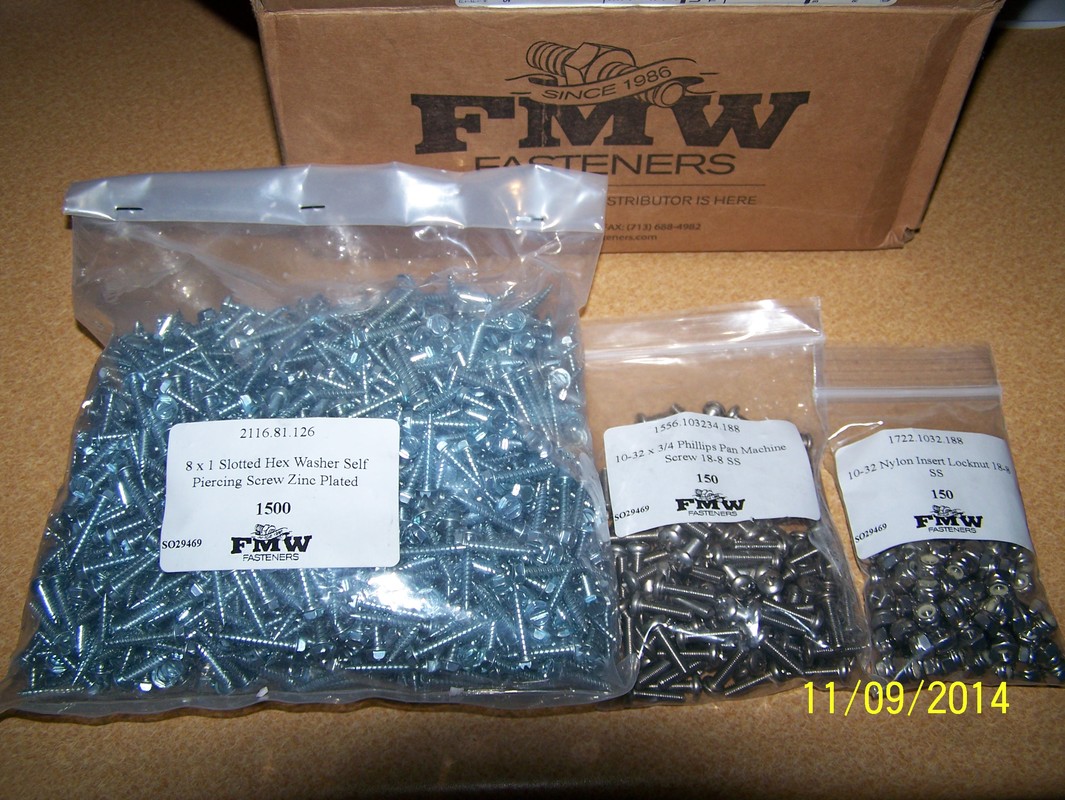
I screw down the rail with #8x1" zinc plated slotted hex head washer piercing screws from FMW.
https://www.fmwfasteners.com/collections/slotted-hex-washer-self-piercing-screws-zinc-plated/products/8-x-1-slotted-hex-washer-self-piercing-screw-zinc-plated
I use 2 screw per ties per rail or 4 screws per tie for both rails. I use a staggered pattern. On the first tie the screw on the left goes outside the rail and the screw on the right goes on the inside for the rail. The next tie the I do the opposite and put the screw on the left on the inside and then the screw on the right on the outside and then repeating the process.
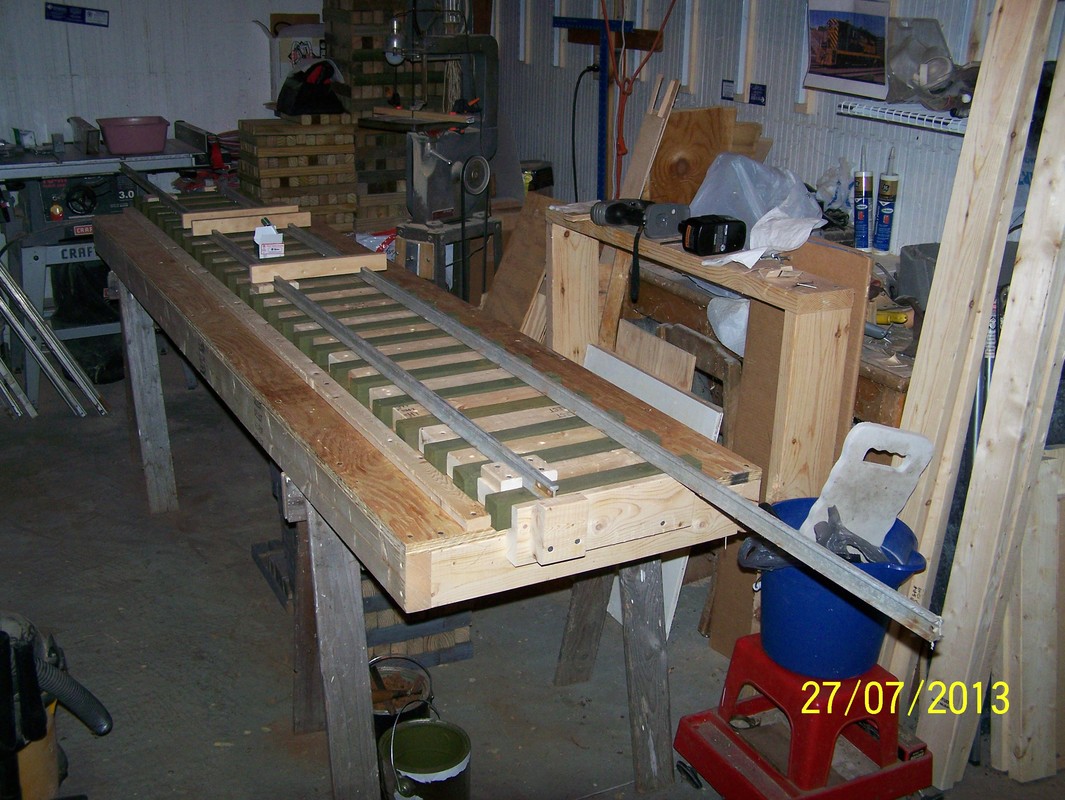


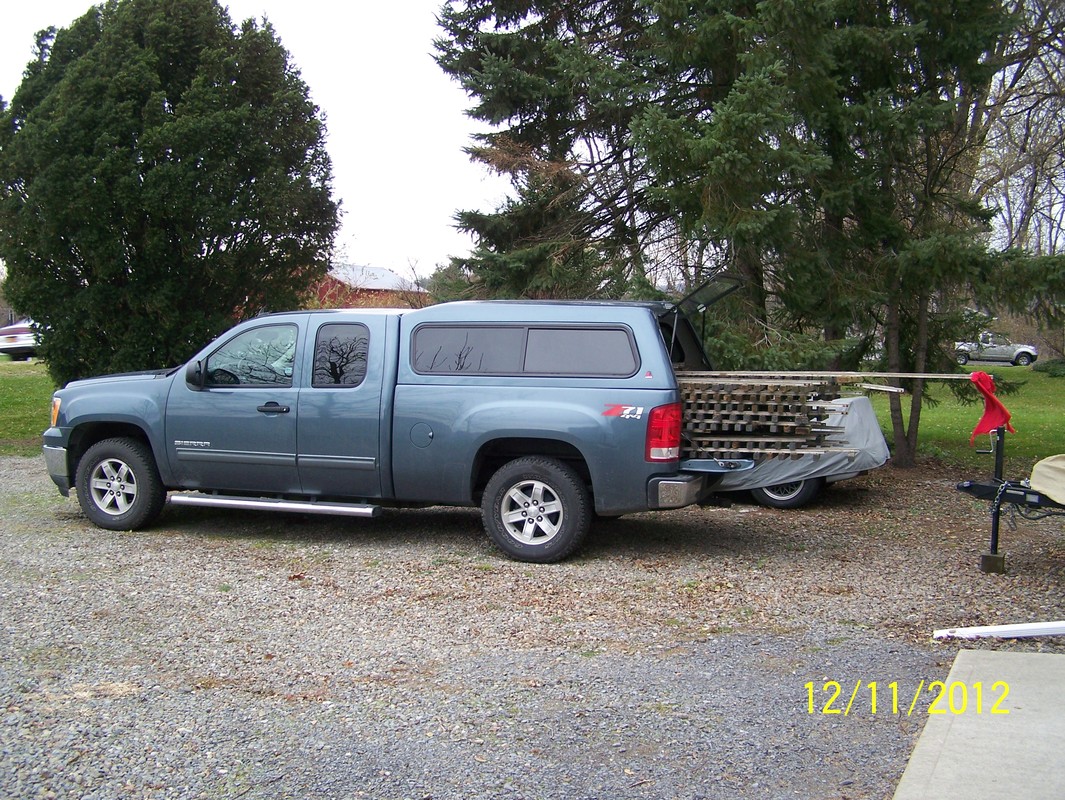
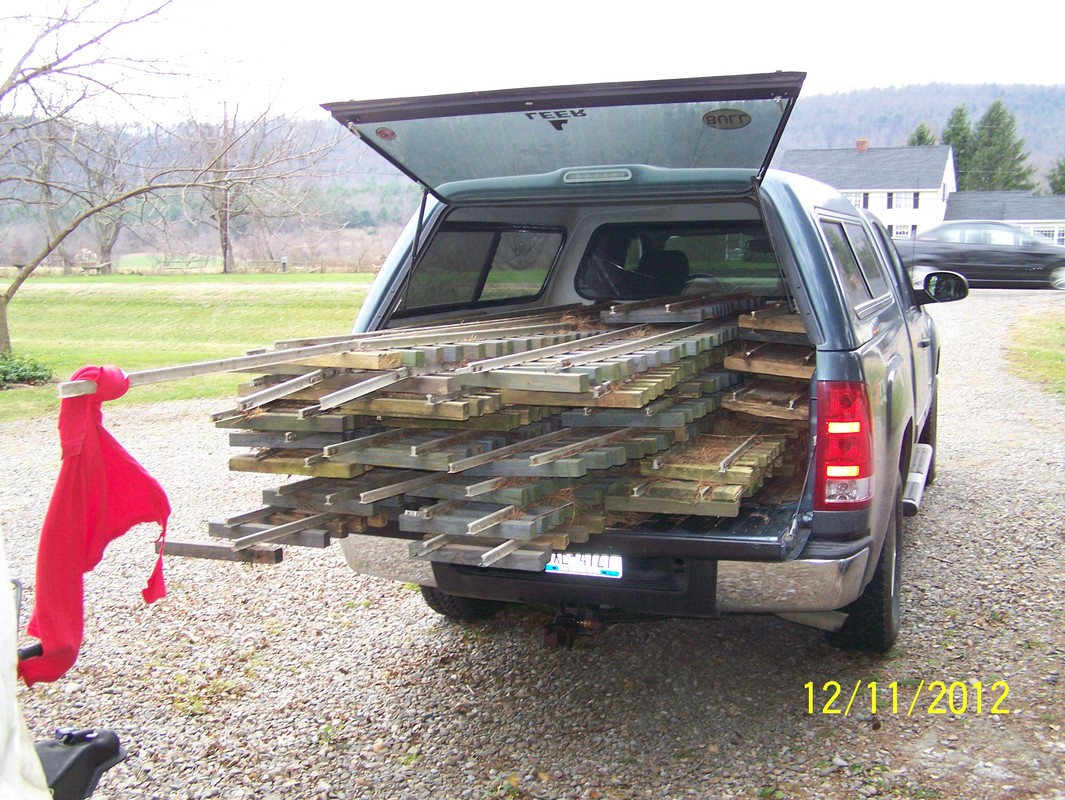
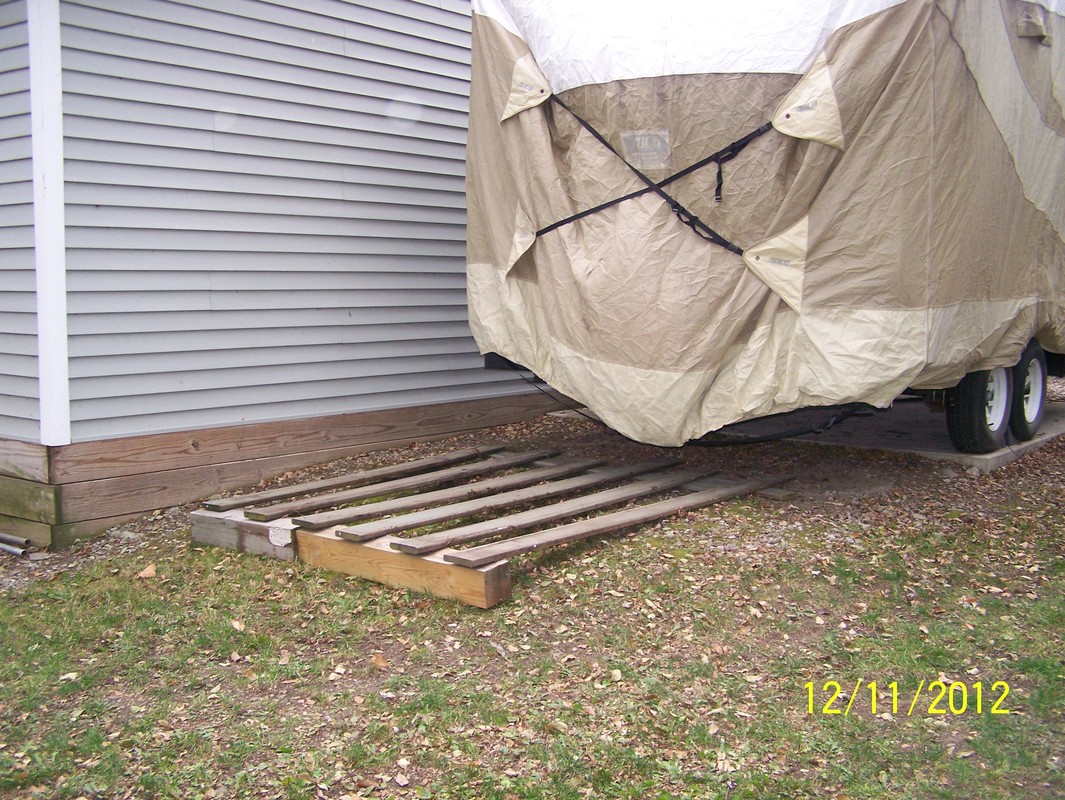
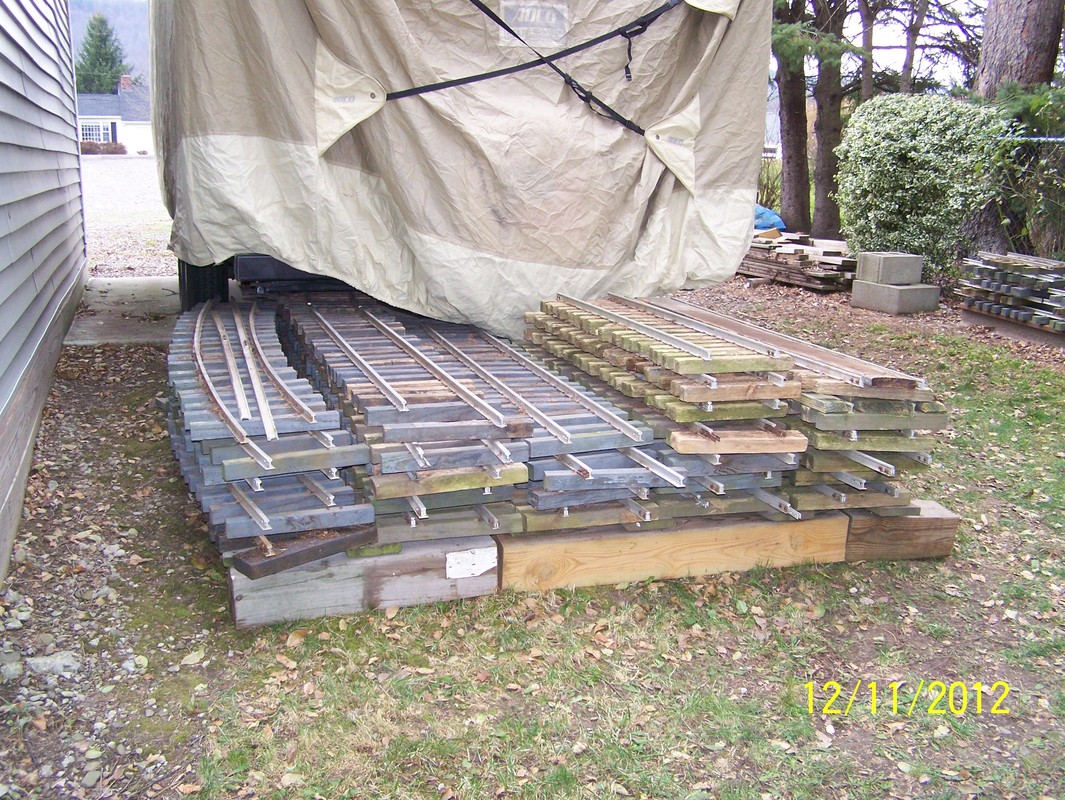
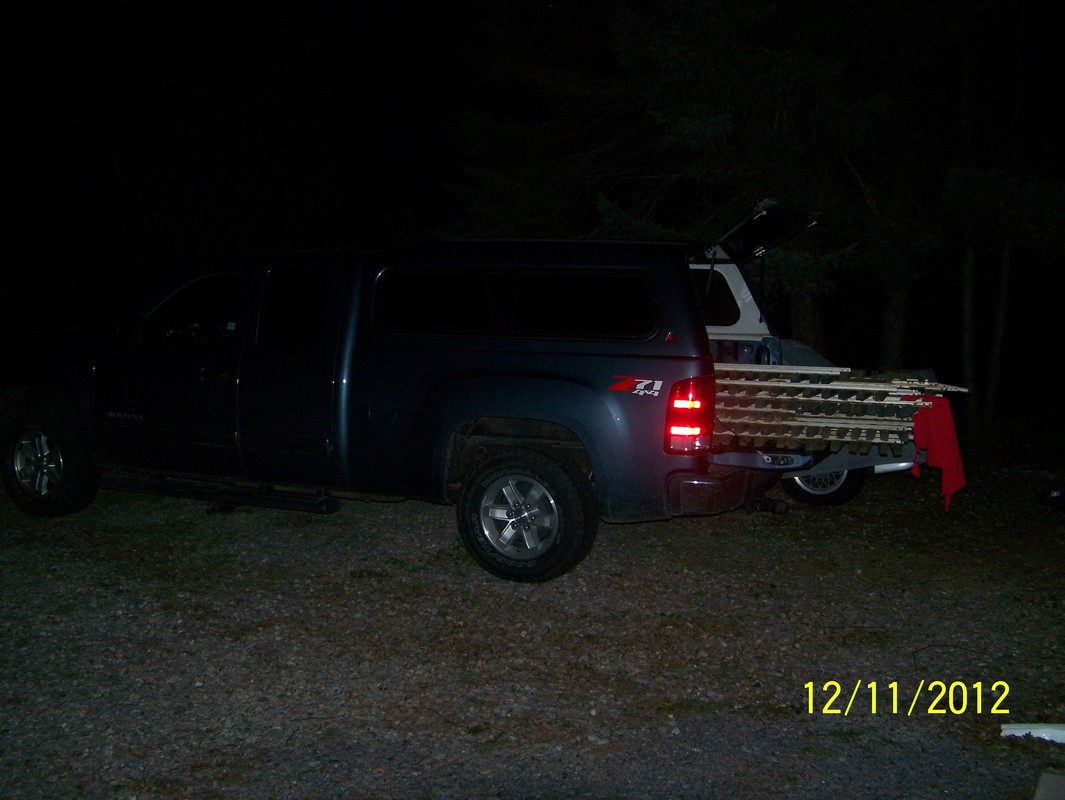
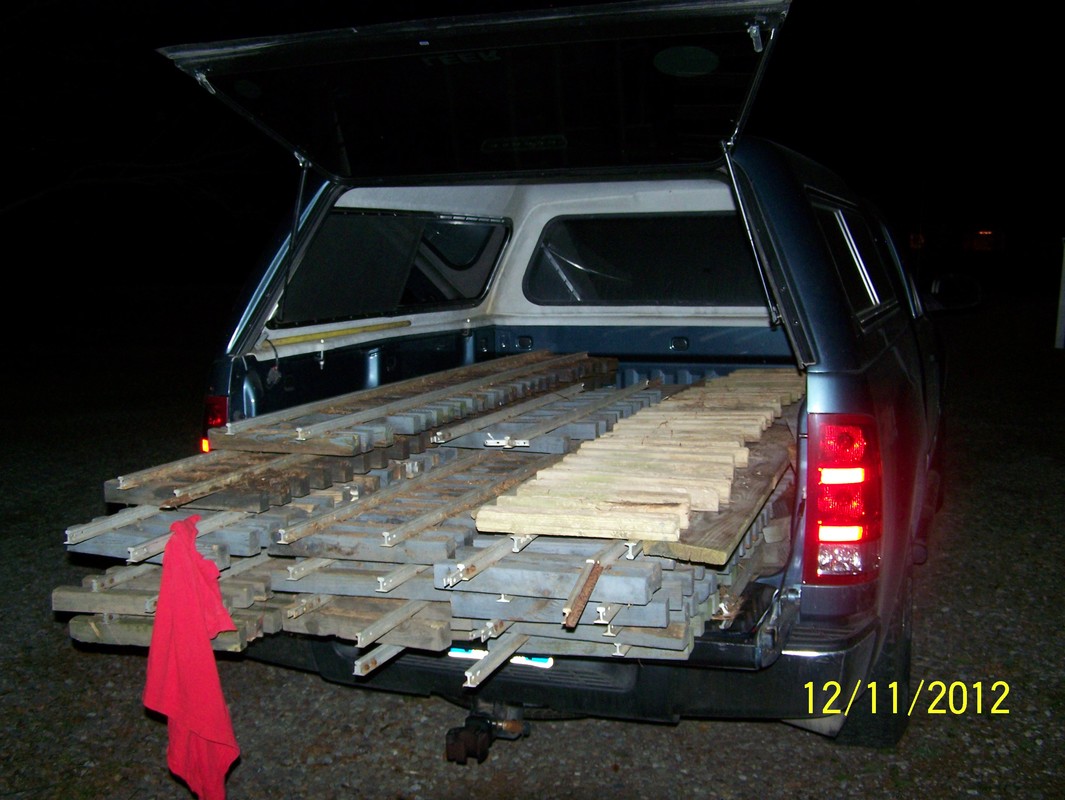
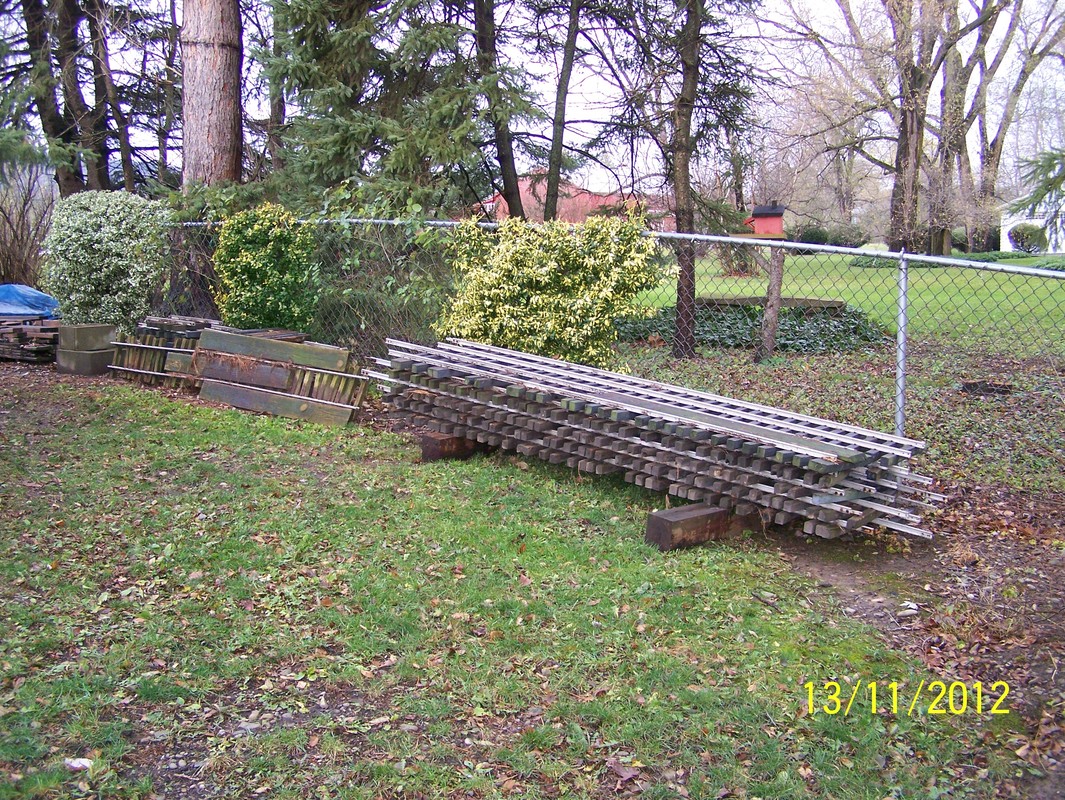
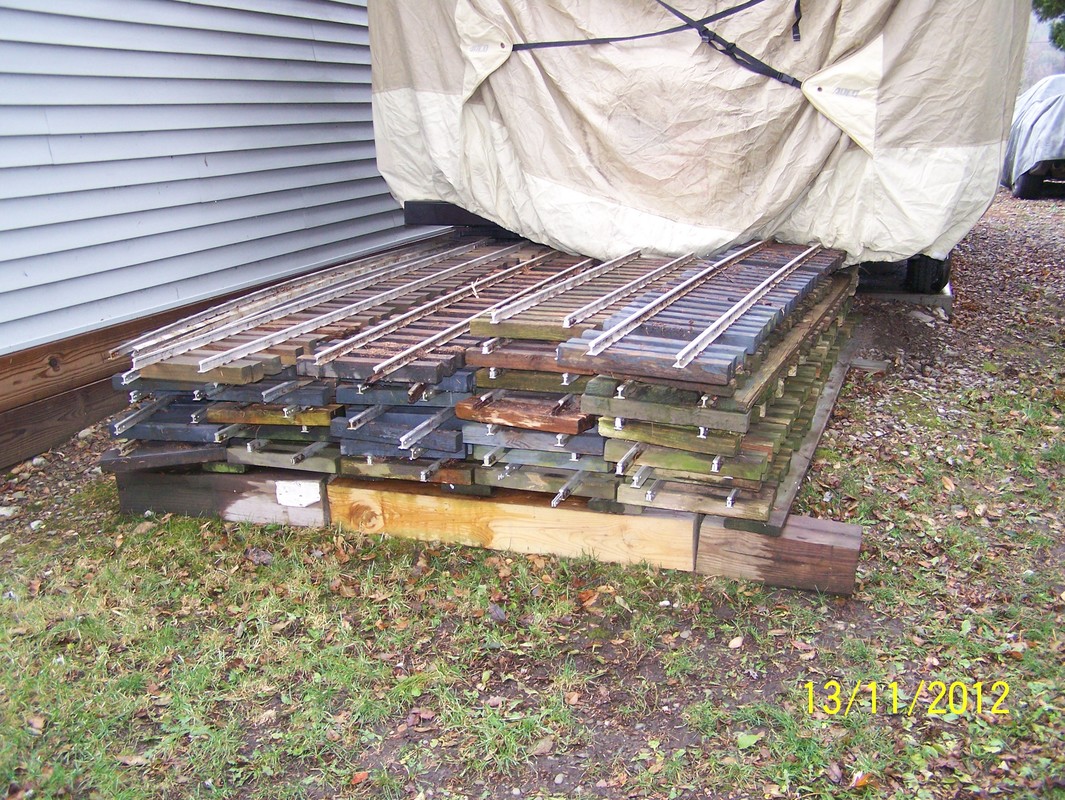
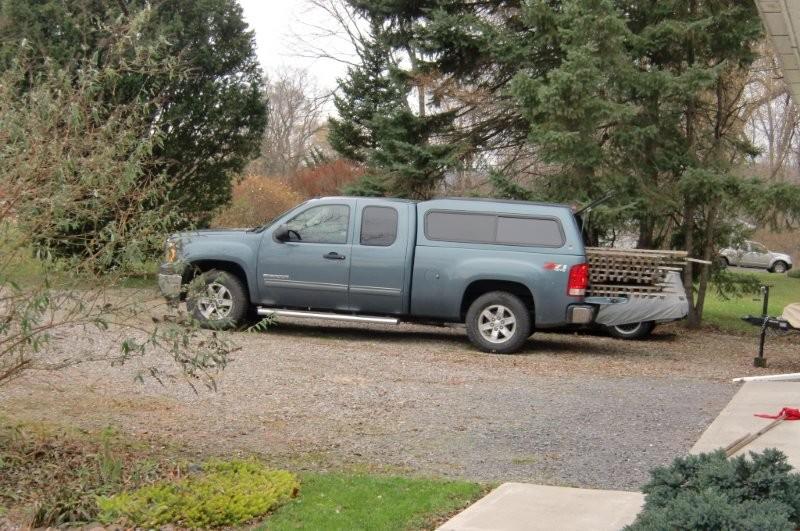
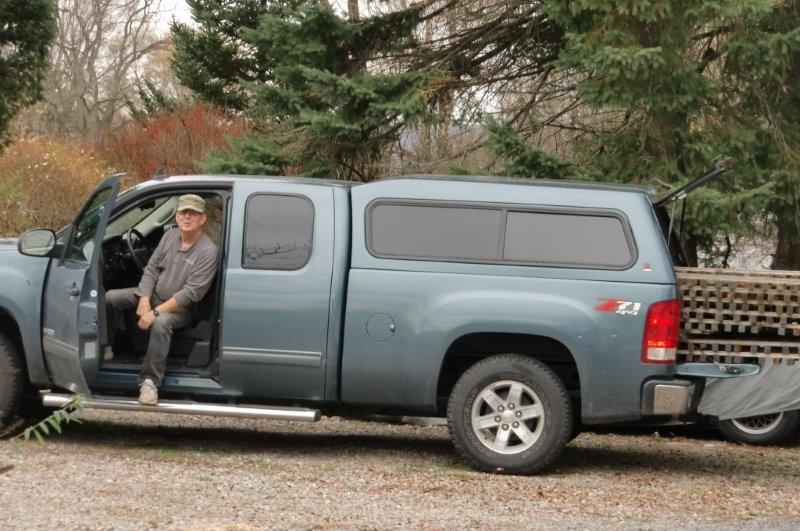
Nov, 2012. I purchased, at good price, from my friend, Marty McCarthy, some of his spare track panels. He lives about two miles from me and had some track he had taken up because he could not maintain it all anymore. He still has about a half mile of track down on his property. Brought it home and stored. Started to take some apart and threw out the bad ties and the good ones, I cut to length and painted with the oil base stain. Cleaned up the rail and started to build new track panels out of the used parts.
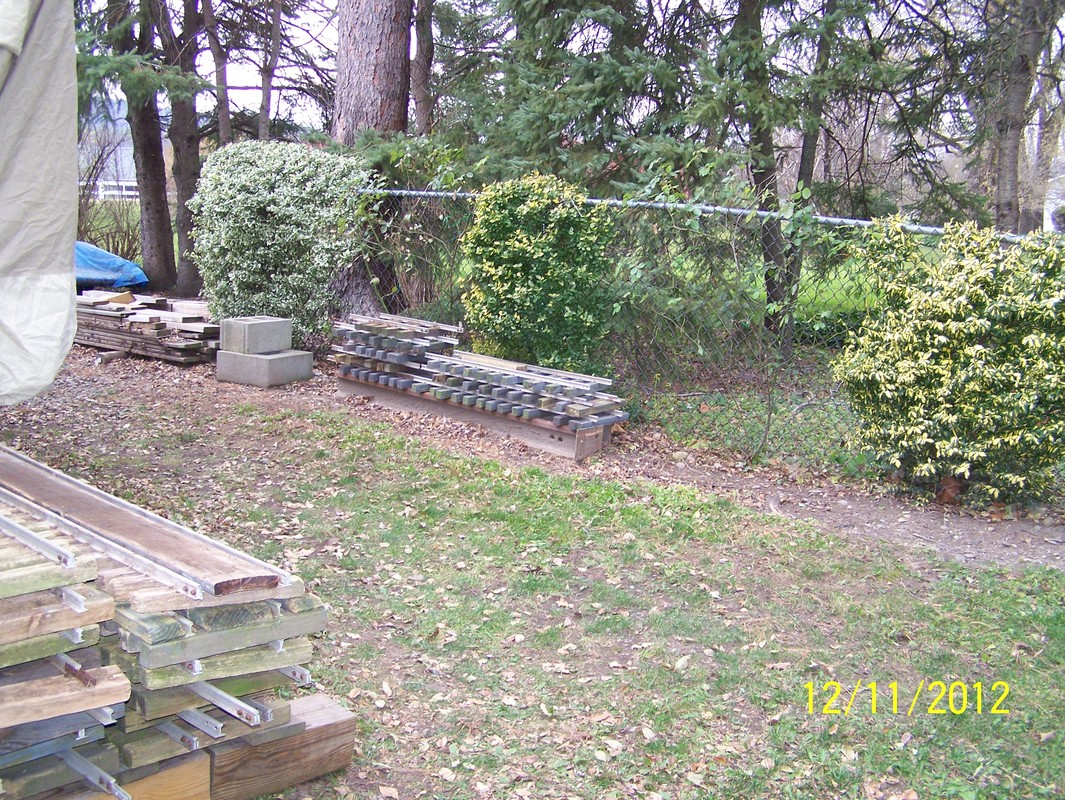

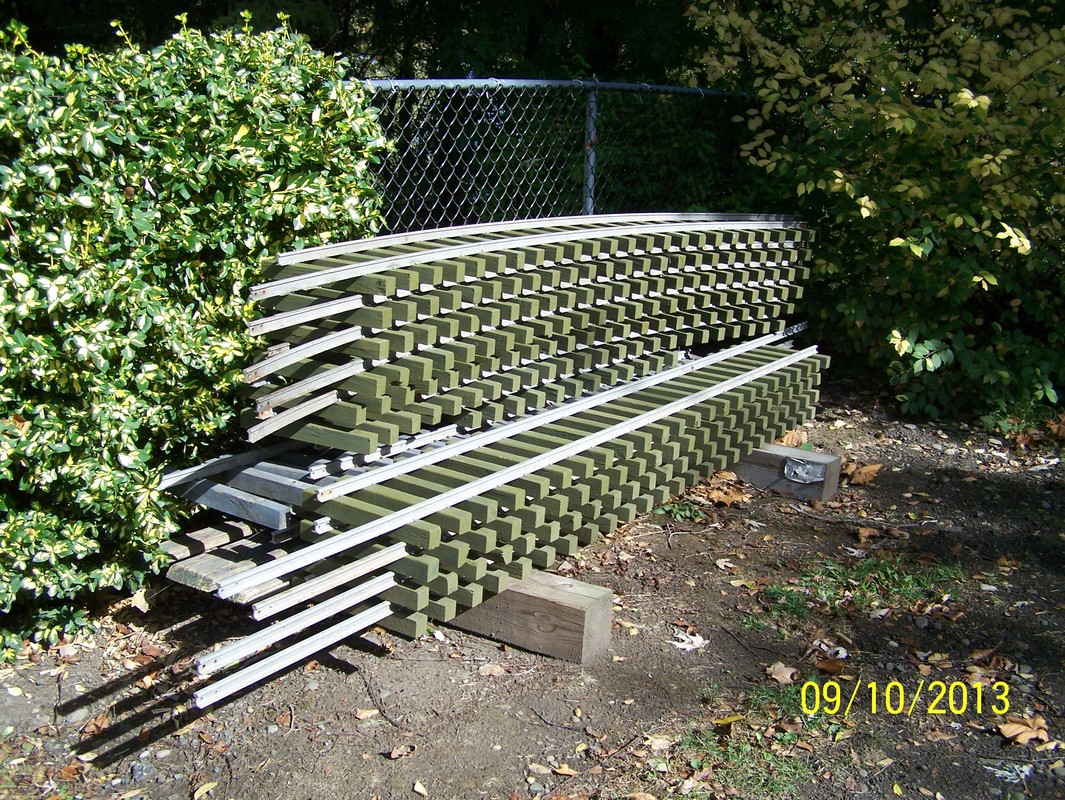
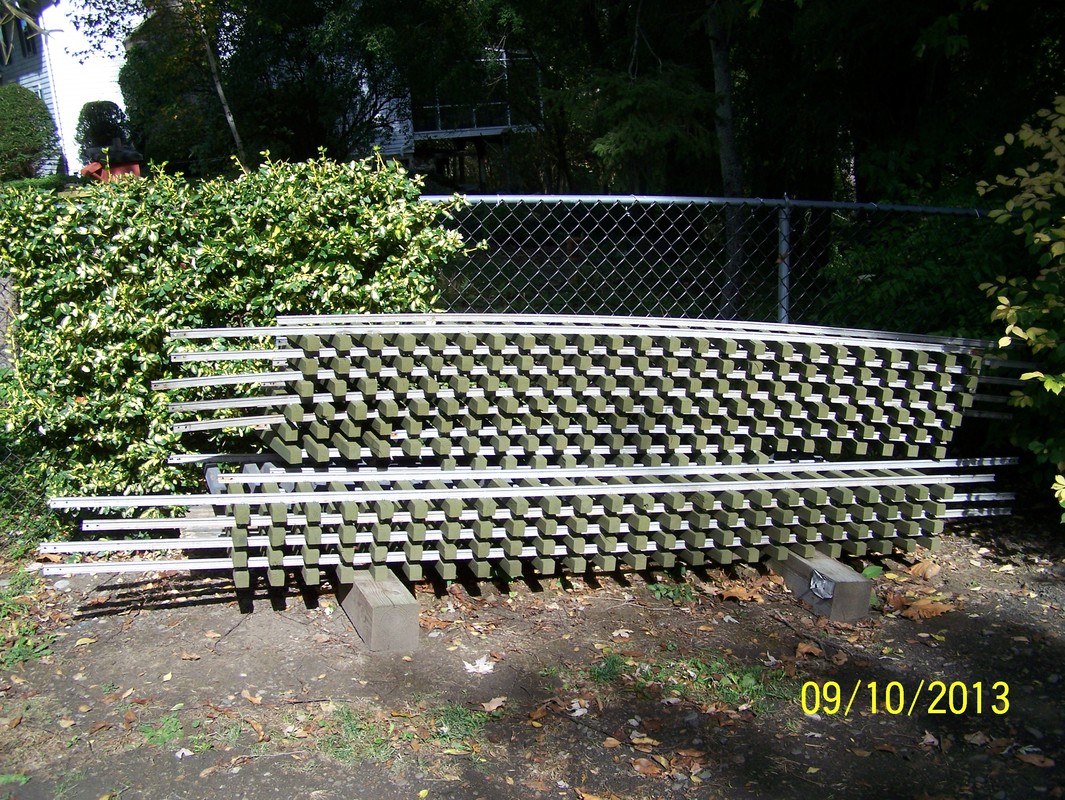
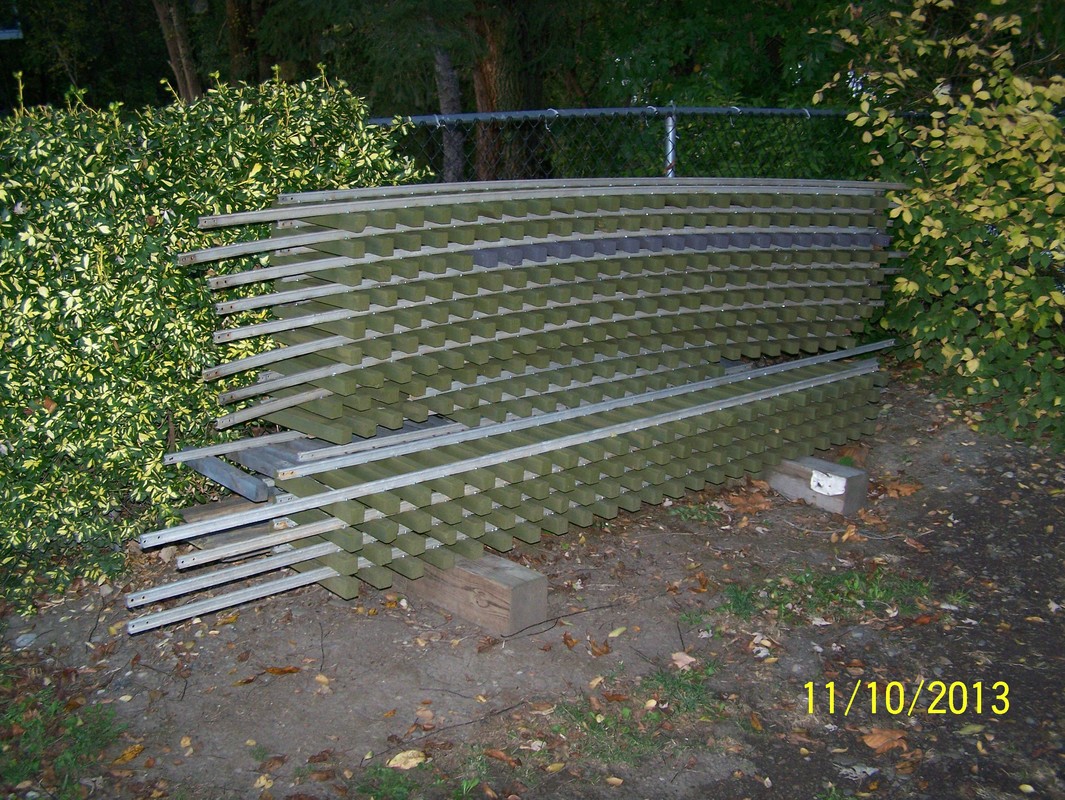
Oct, 2013. Some of the Tangent (Straight) and Curved track panels that I've made up for the layout.