Switch Stand Building.
Ideas, from Rich Eaton From Yahoo Group, Live Diesel.

| switchstand2.pdf |
| switchstand4.pdf |
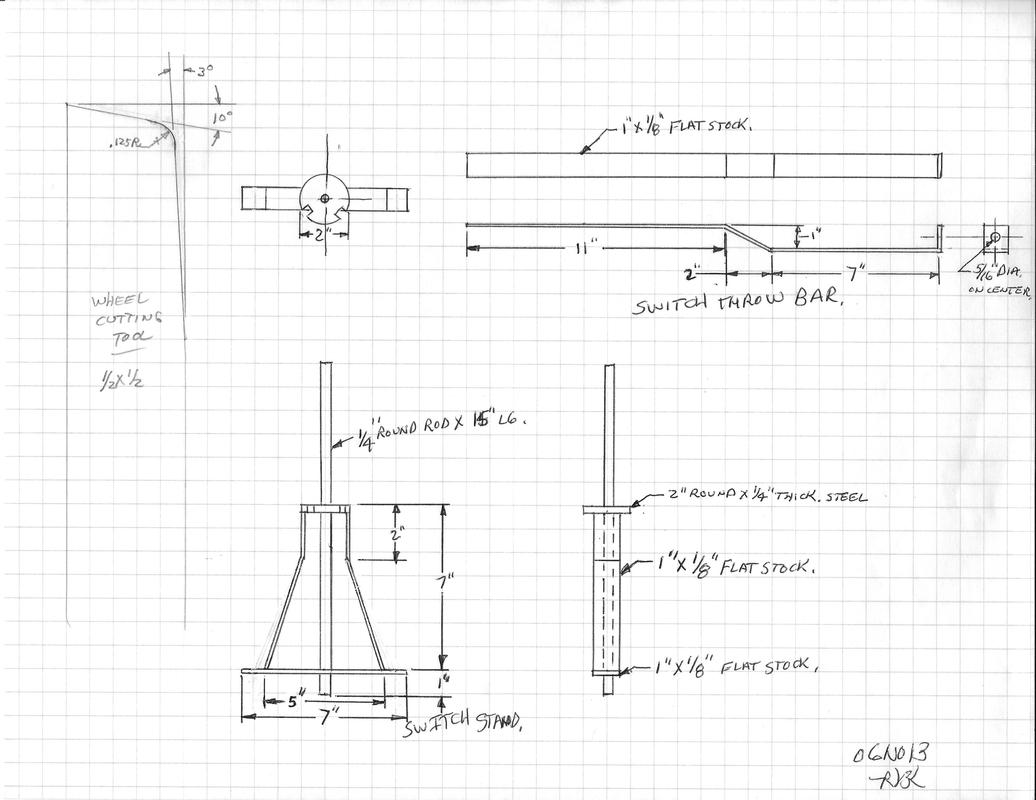
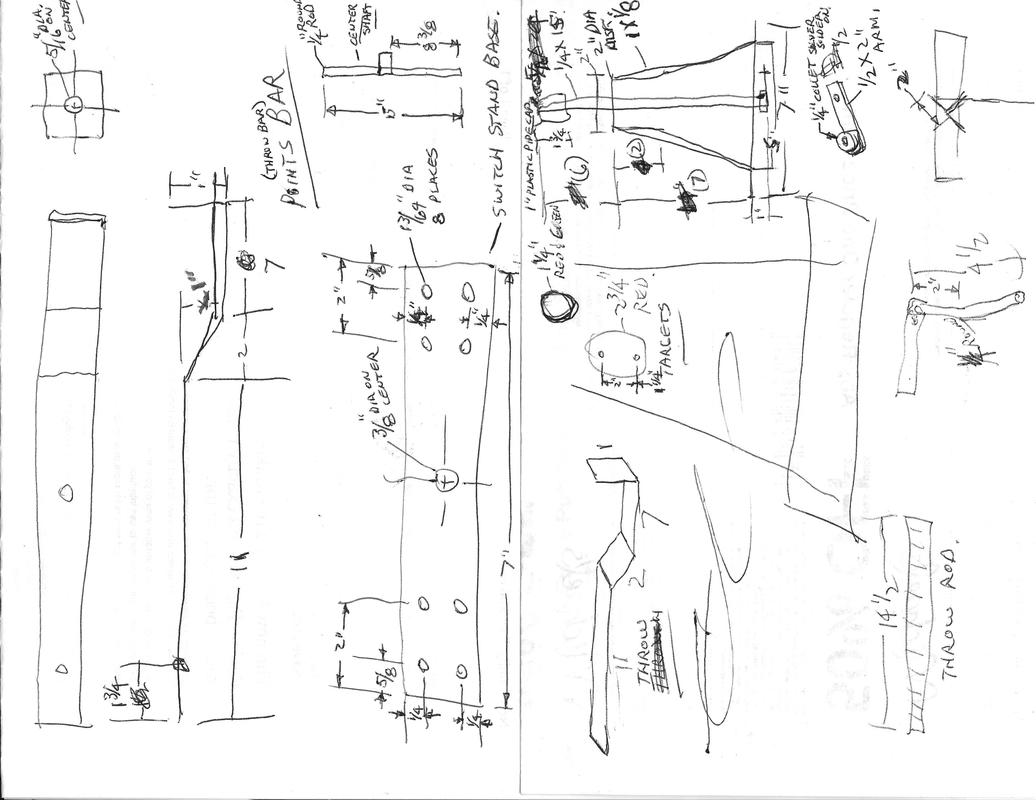
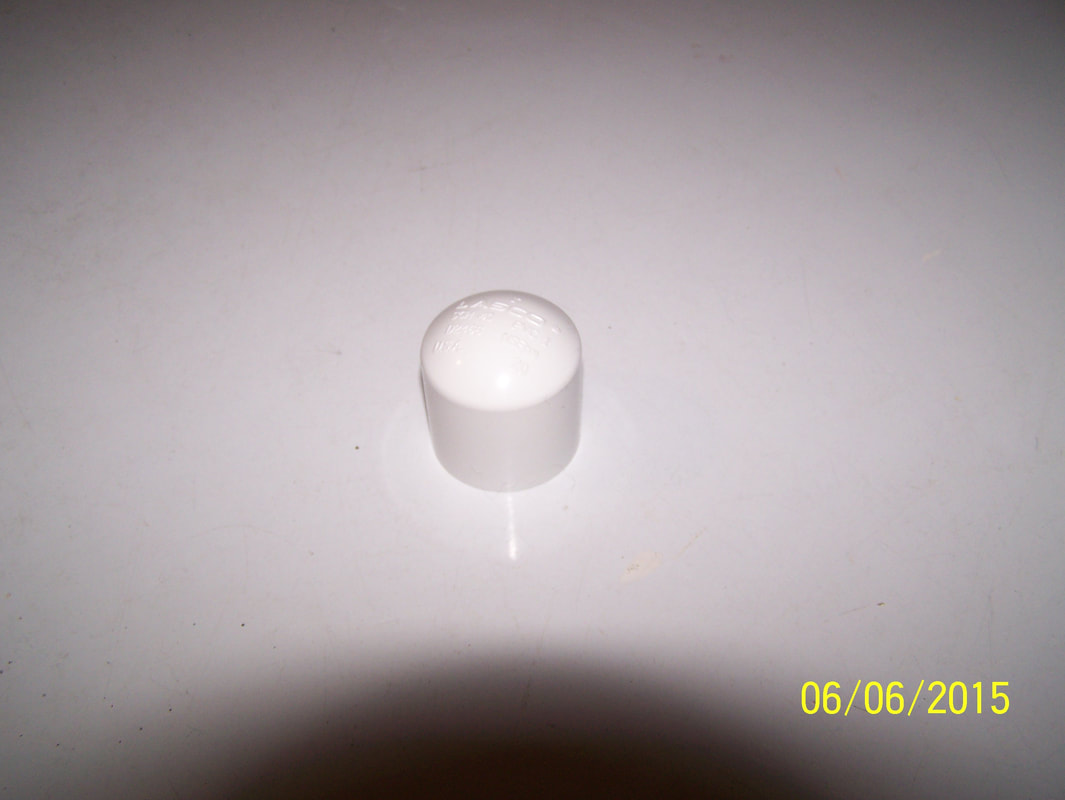
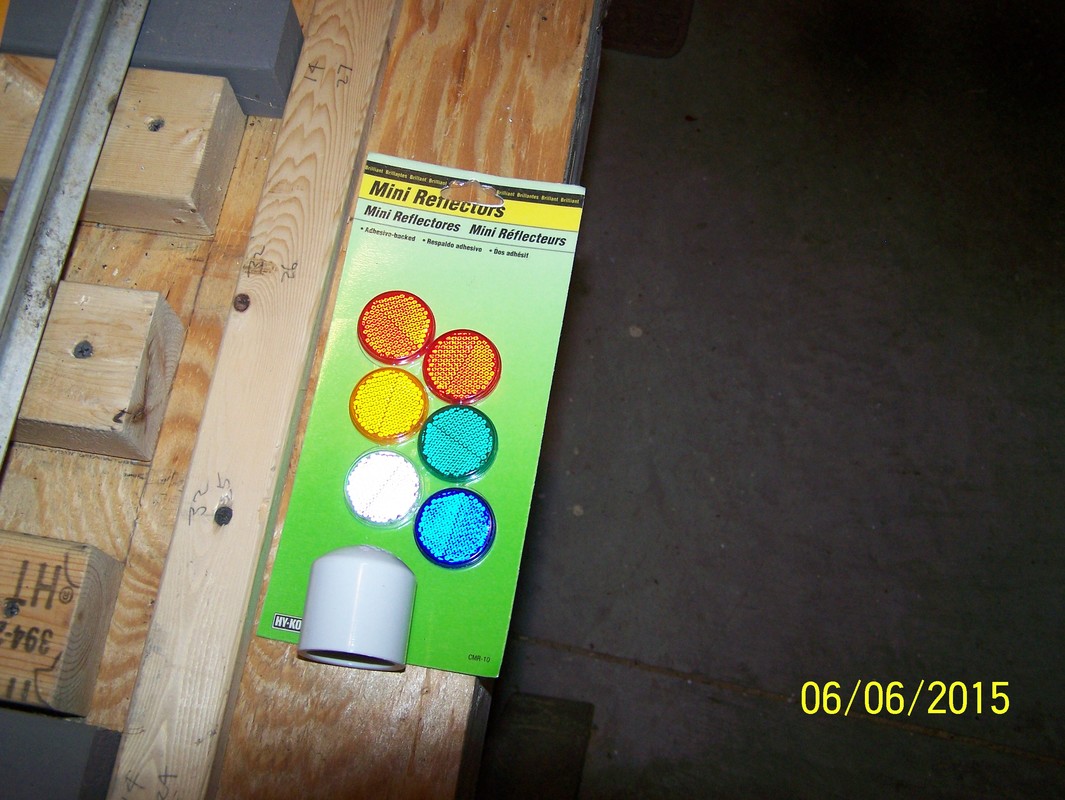
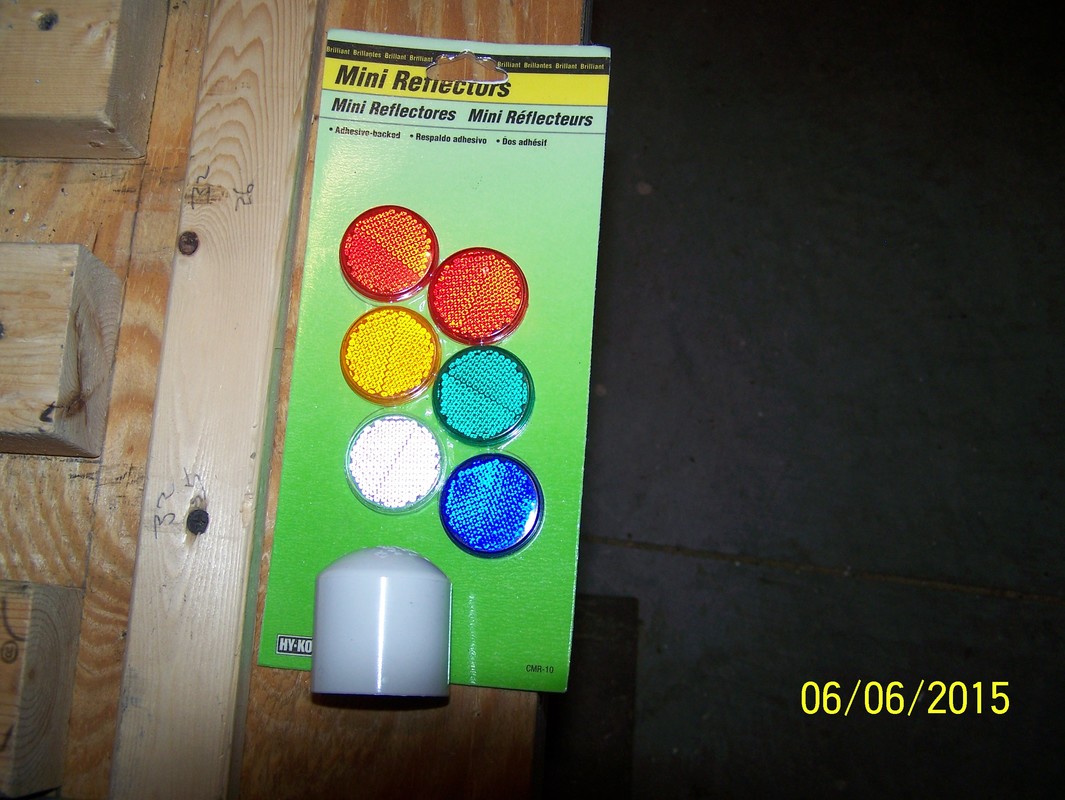
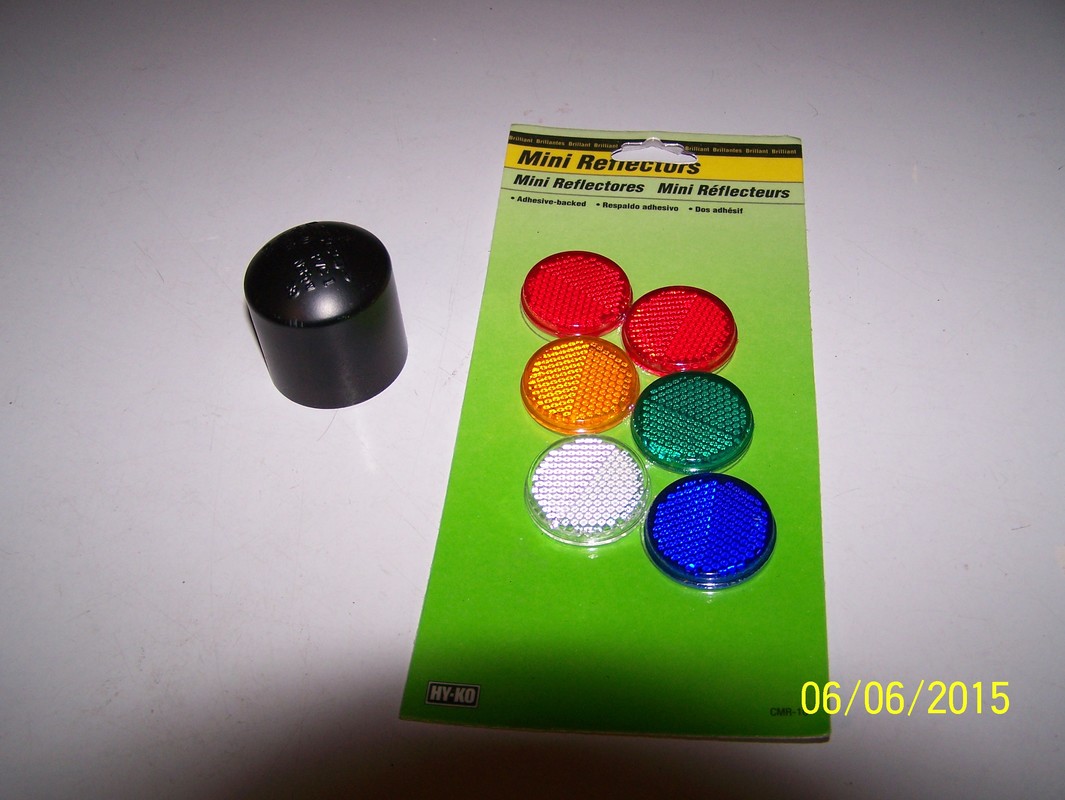
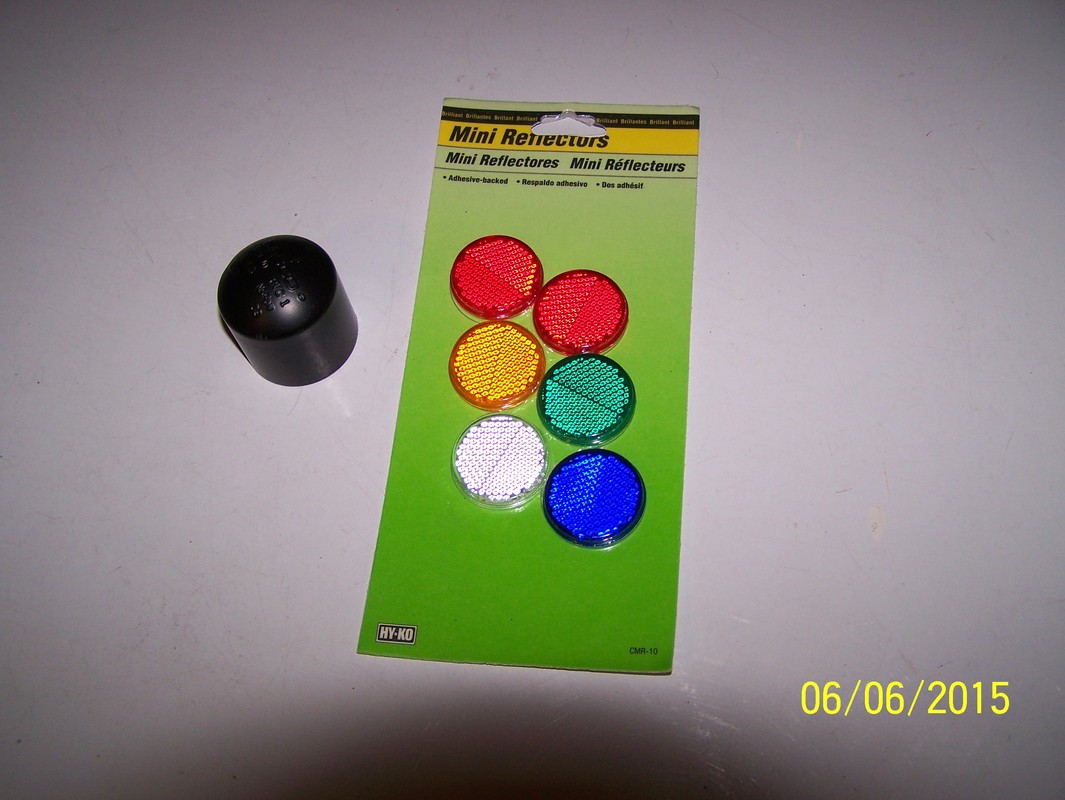
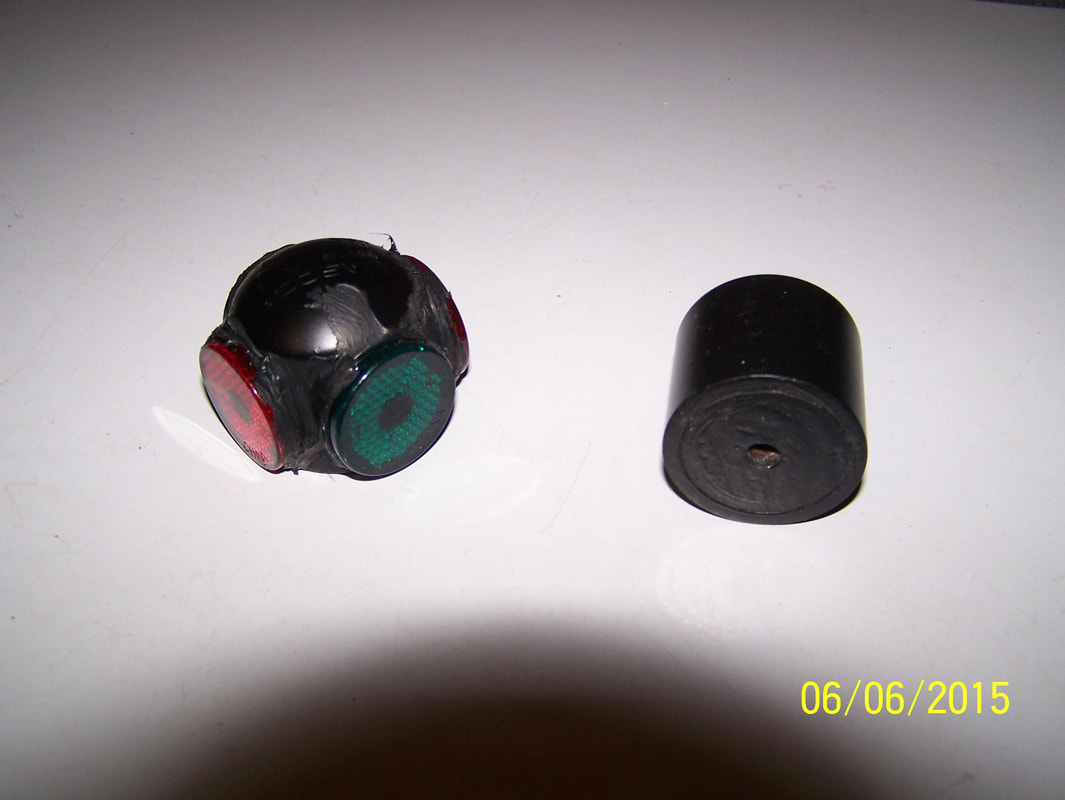
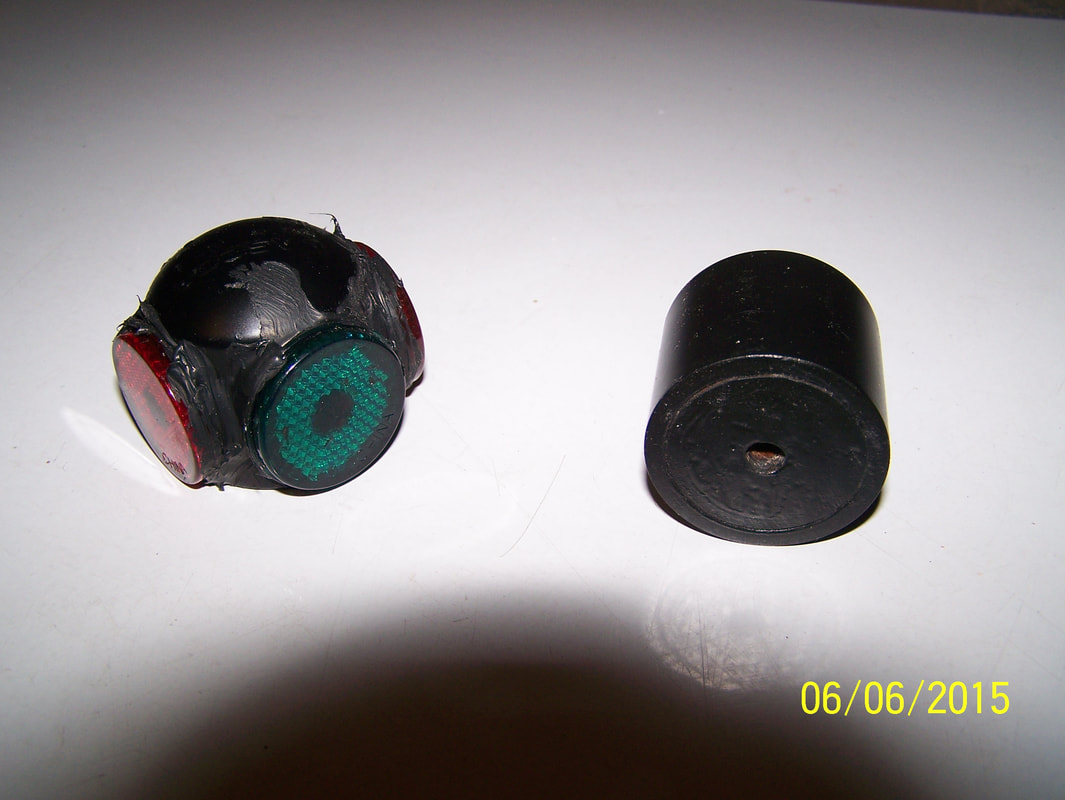
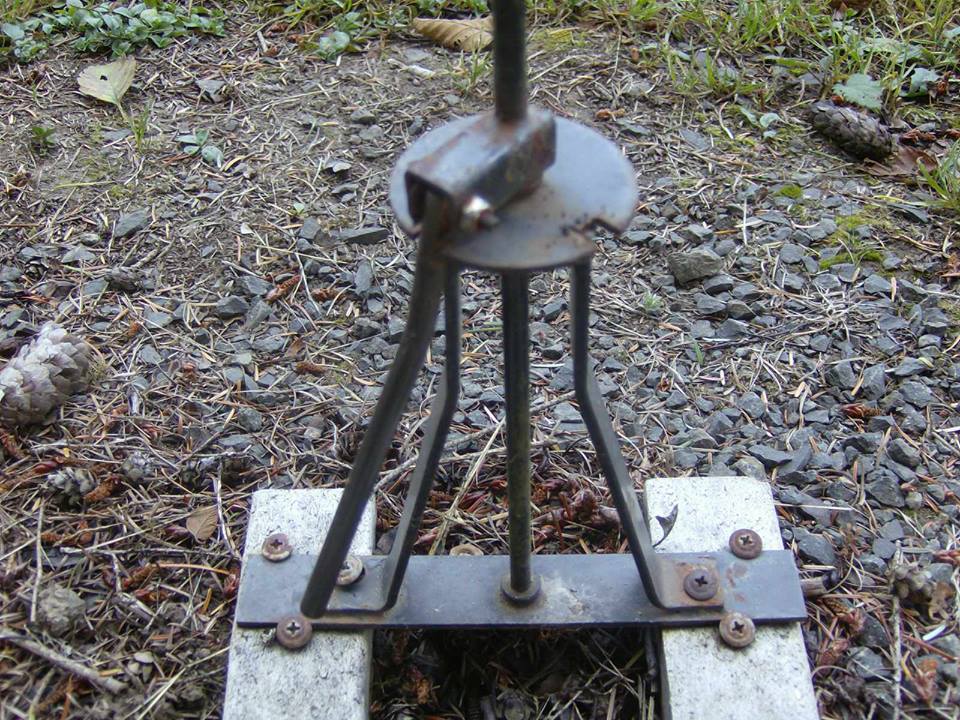
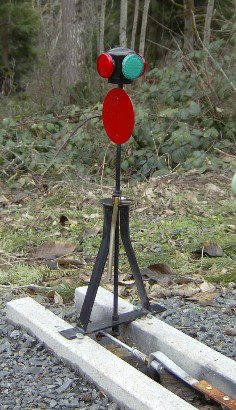
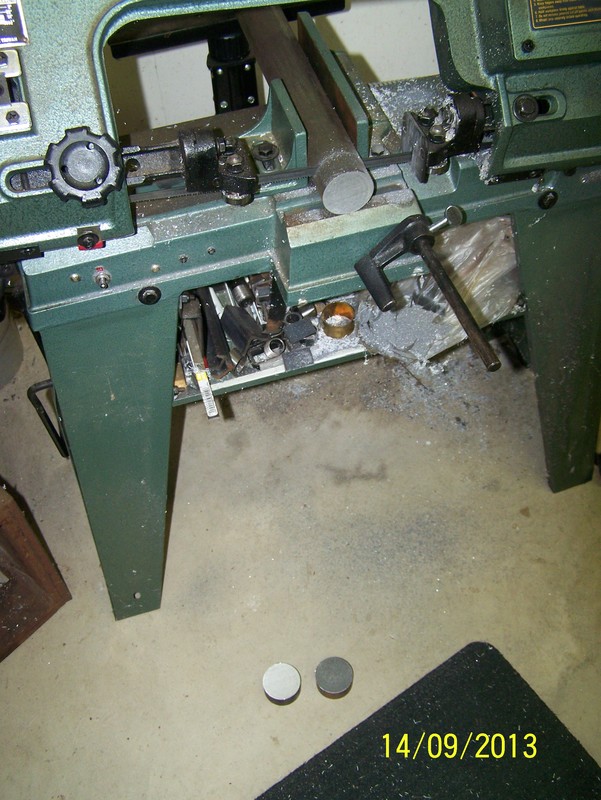
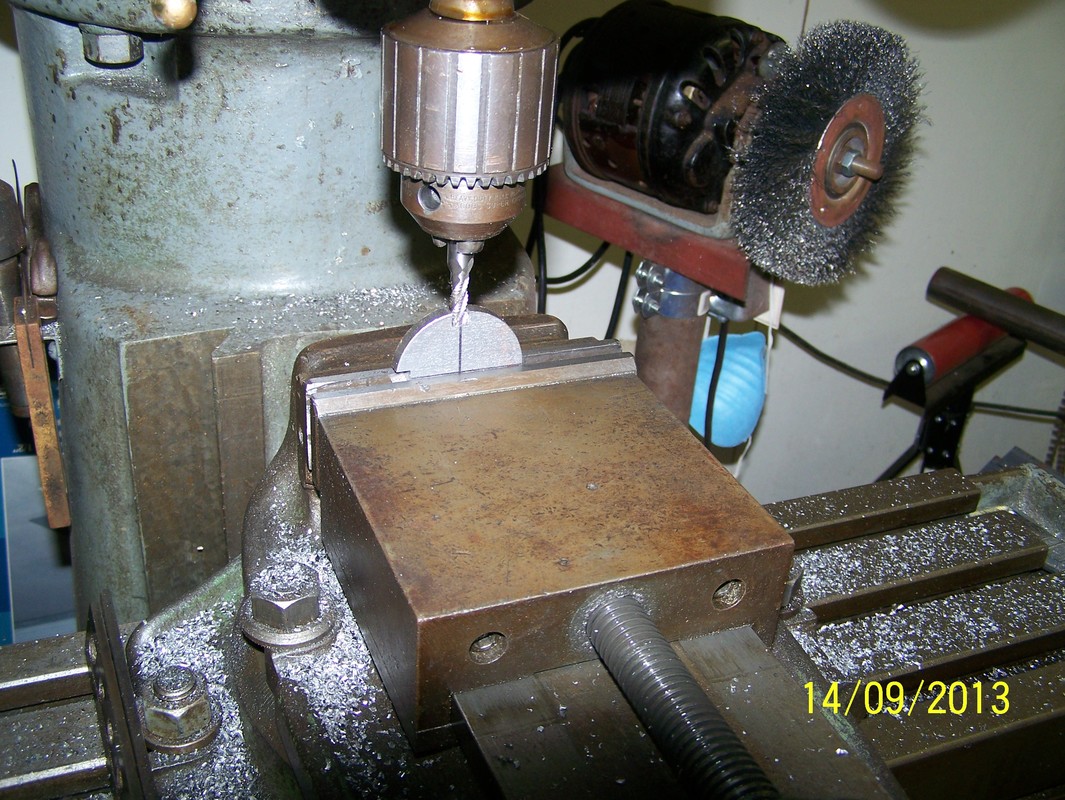
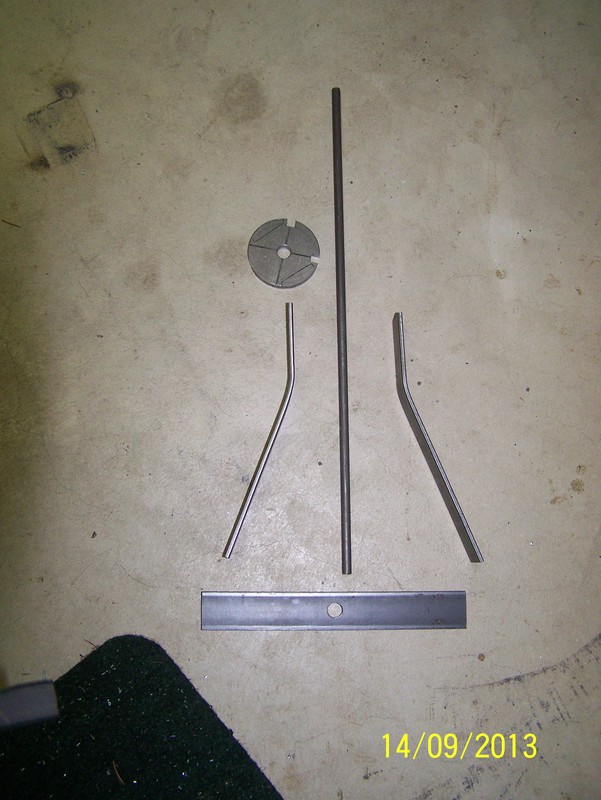
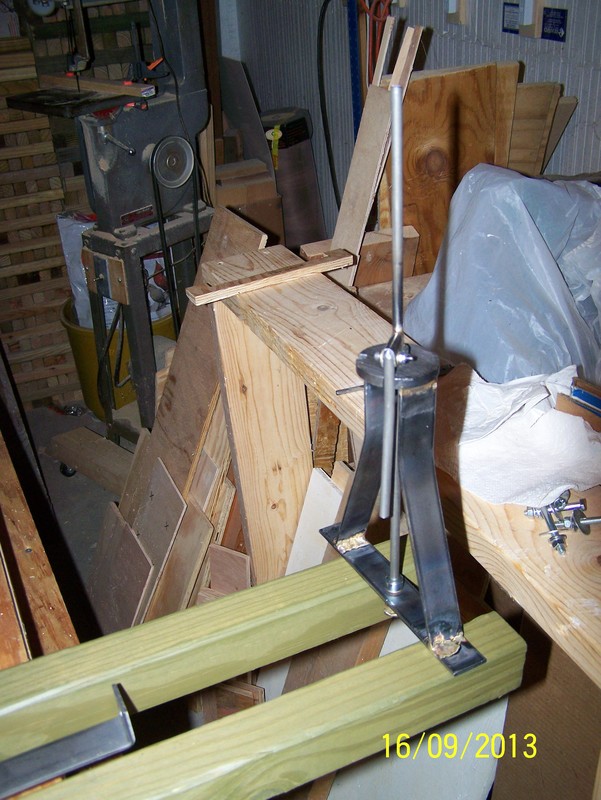
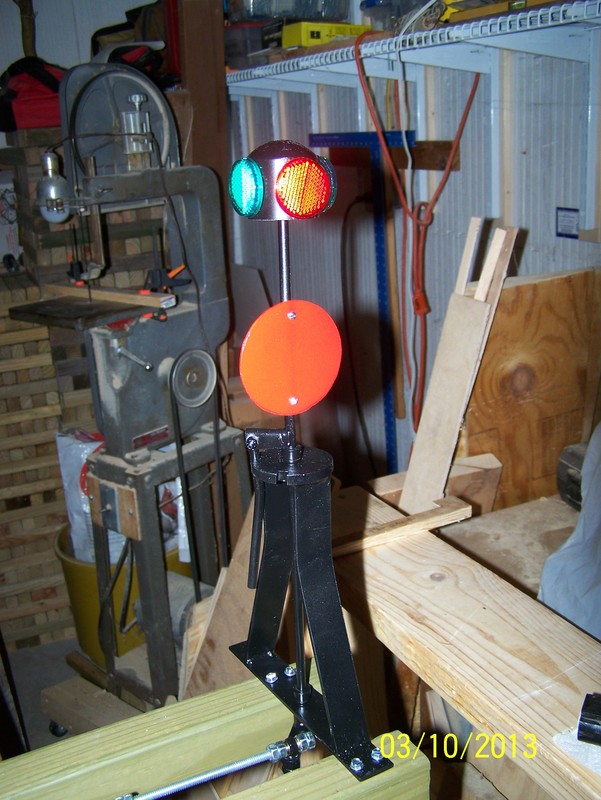
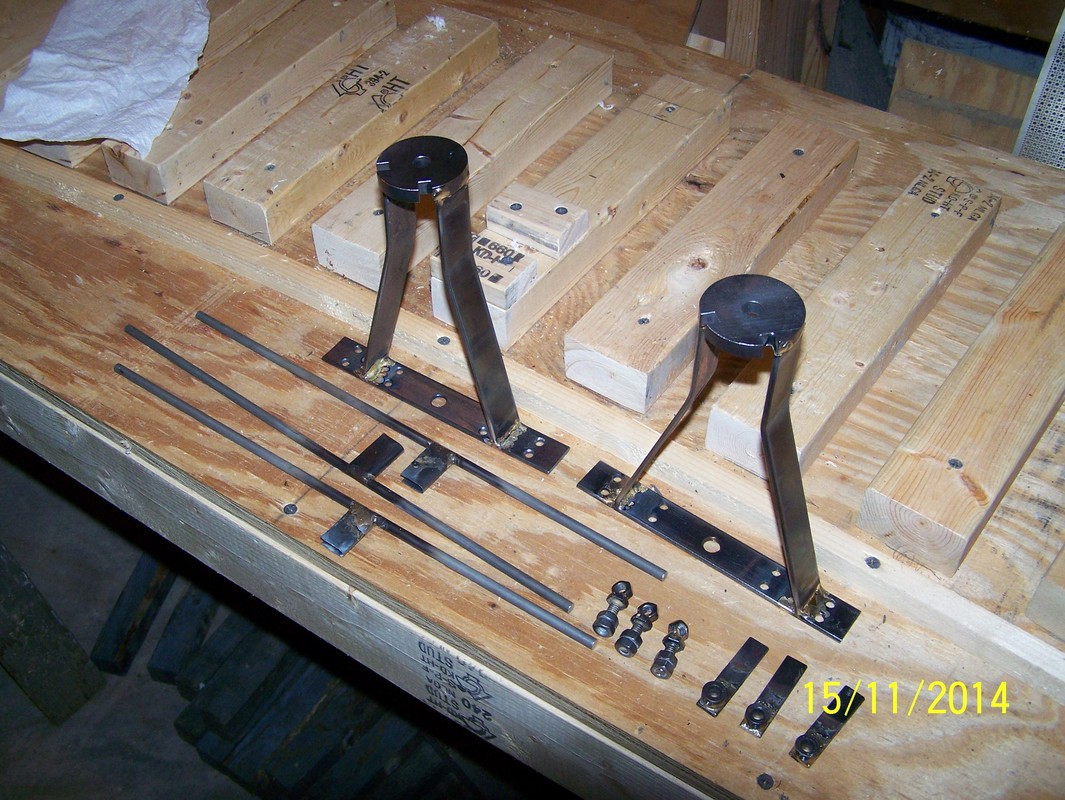
Sept, 2013. I make my switch stands like the one by Rich Eaton. I use a 2" round piece of steel, a 1/4" thick, for the top. The base and the side supports are 1/8"x1" steel bar stock. The top piece is about 7" above the base. I braze the side supports to the top and the base. The top piece is notch with 1/4" notches 90 deg. apart. The center rod and the locking handle is made out of 1/4" round steel rod. The locking handle is attached to the shaft by a "U" shape piece of 20 GA. sheet steel that is brazed to the shaft and a pivot screw is installed on the end so the handle can move up and down.I drill holes in the top plate and the base large enough for a 1/4" ID bronze shoulder bearing. I lock the center shaft in place with 1/4" collets. The bottom swing arm is a 1/8"x1/2" steel bar stock with a collet silver soldered to it. On the other end I drill a 1/4" hole and put a 1/4-20 hex bolt up through it with a 1/4-20 nut silver soldered to the head. The warning sign is a 3" round piece of plastic that is painted red and screw on the shaft in the curve position. The top light is a 1" plastic pipe cap. I drill a piece of 2x4 with a whole saw to make a round piece to go into the cap. This is epoxied in and then painted black. The reflectors are about 1 1/4" and from a hardware or big box store. These are glued on with black RTV.
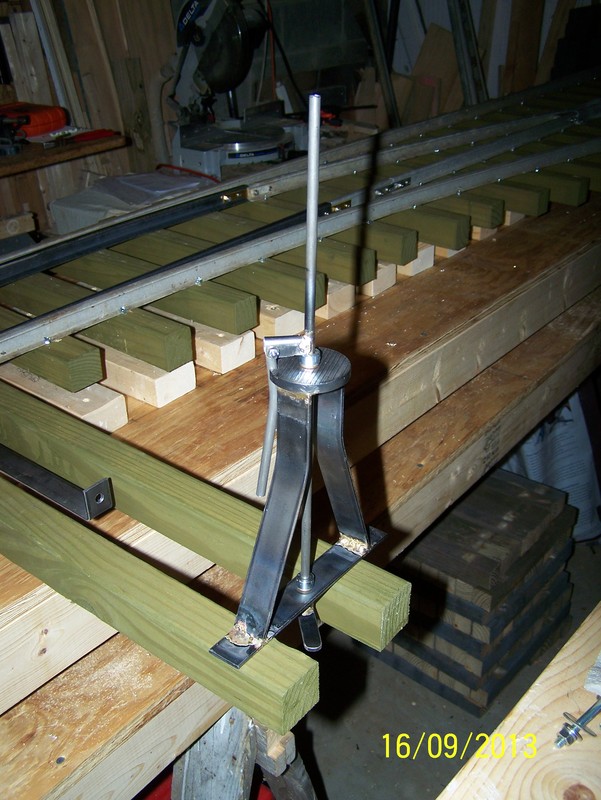
Oct, 2013. This is my first one made and installed.

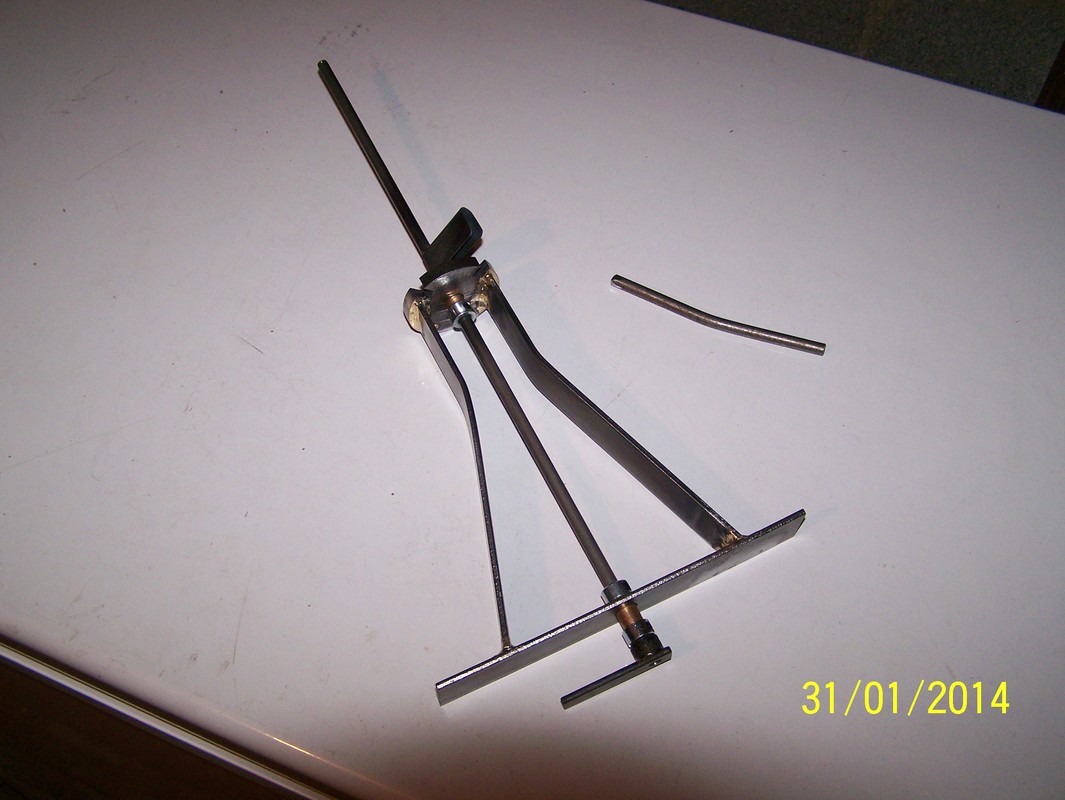
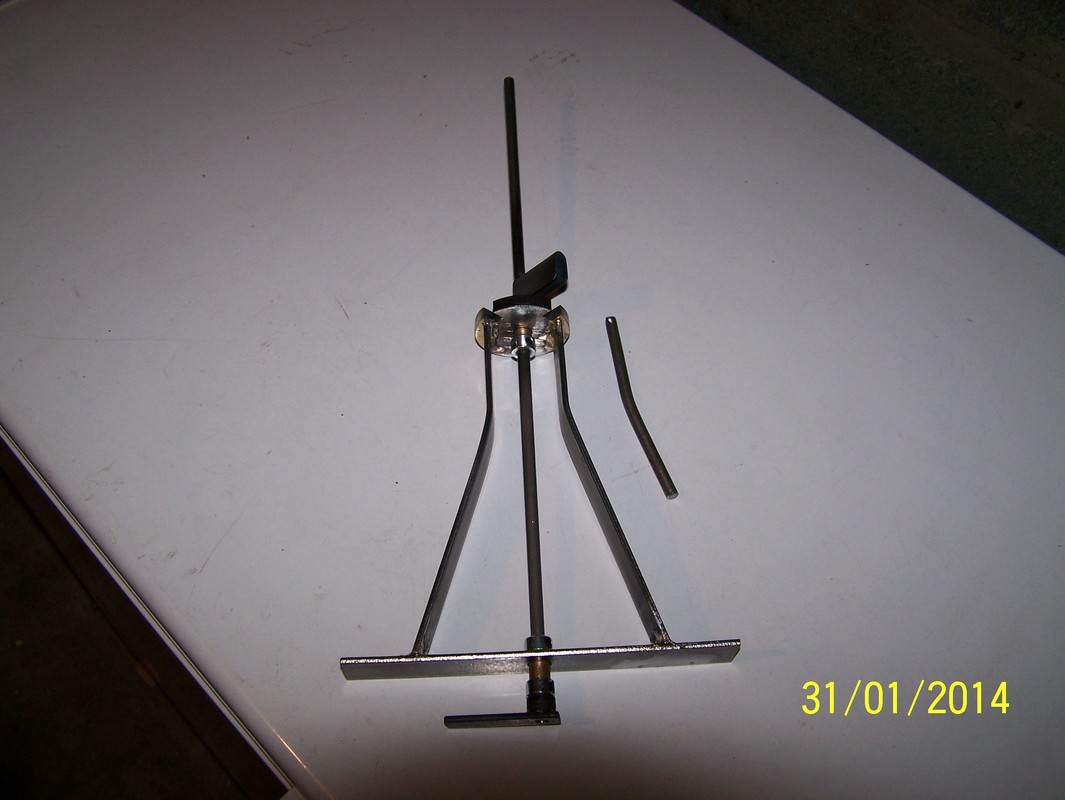
Jan, 2014. This is the next ones being made and you can see how the handle is made better, plus the lower swing arm.
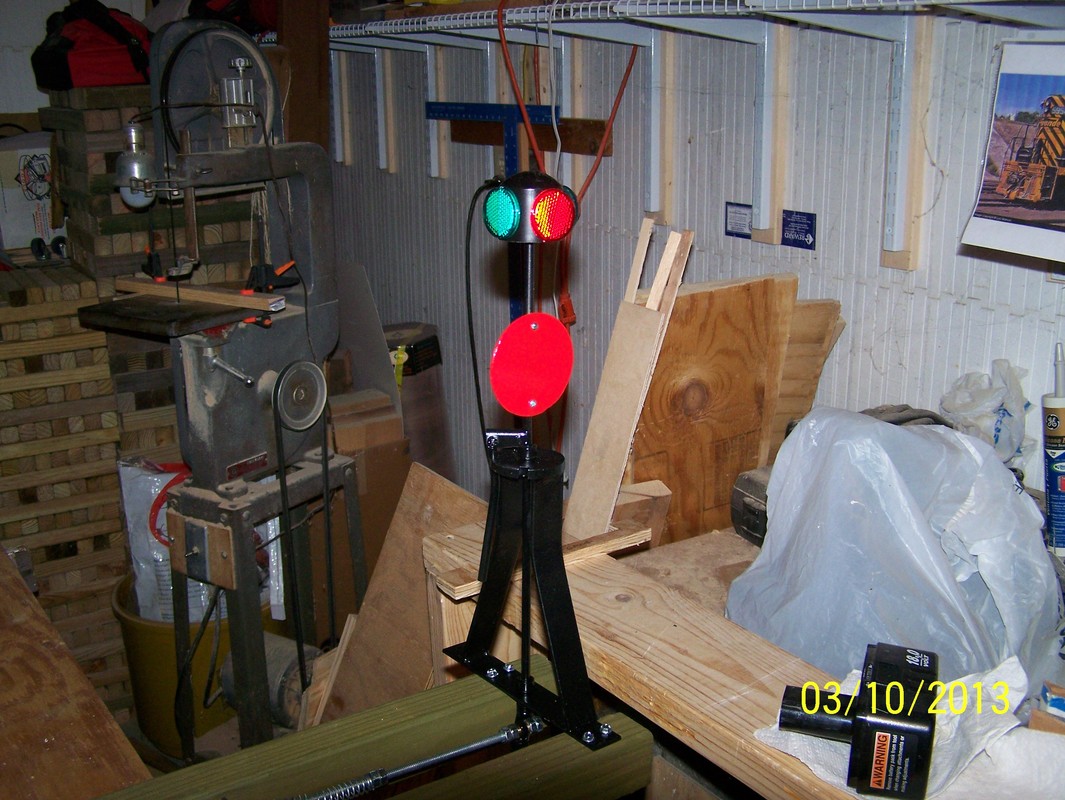
Mar, 2014. Here it is all painted up.
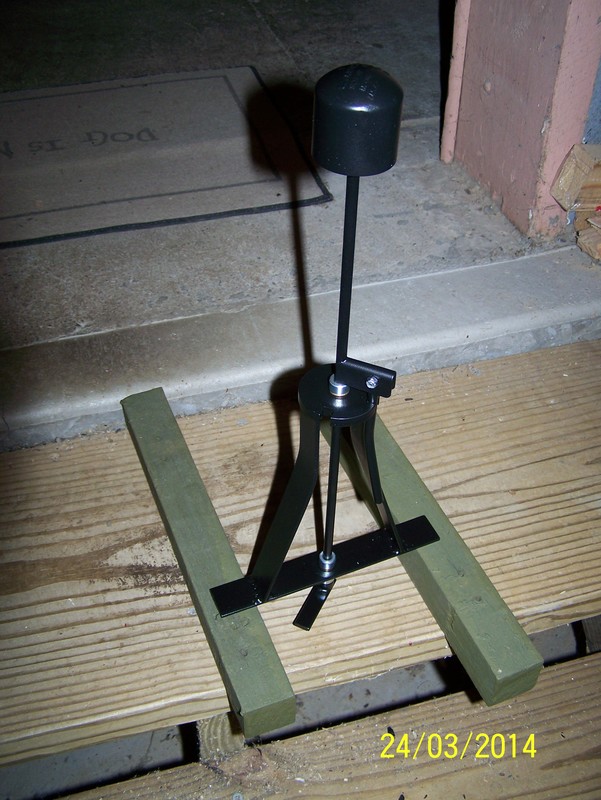
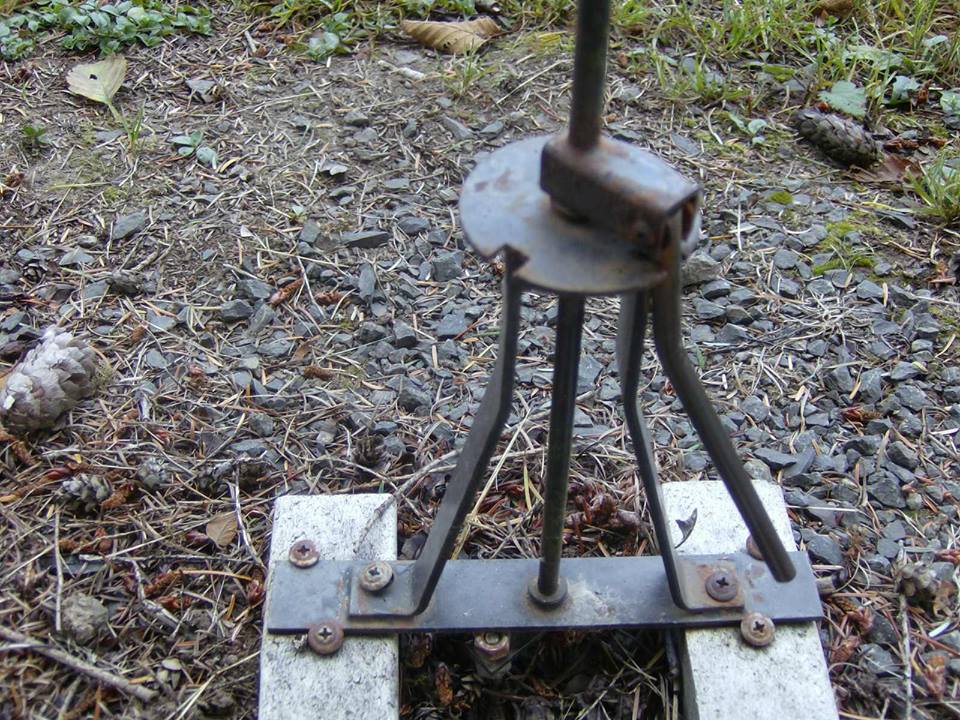
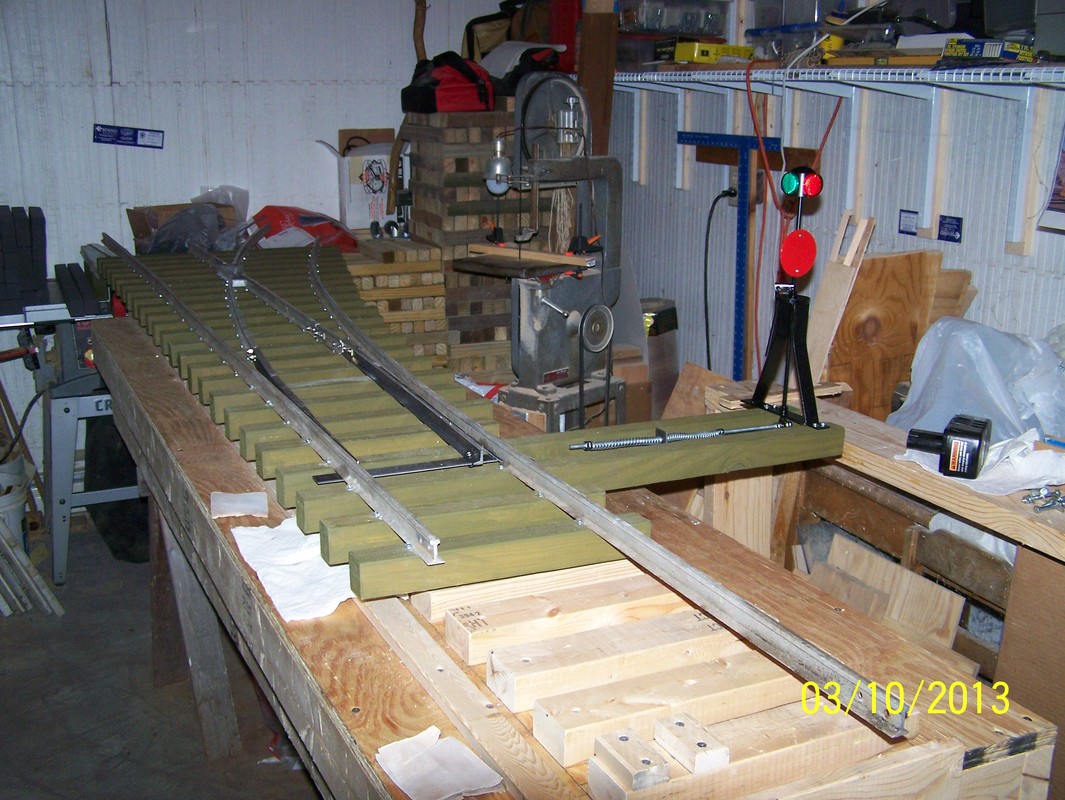
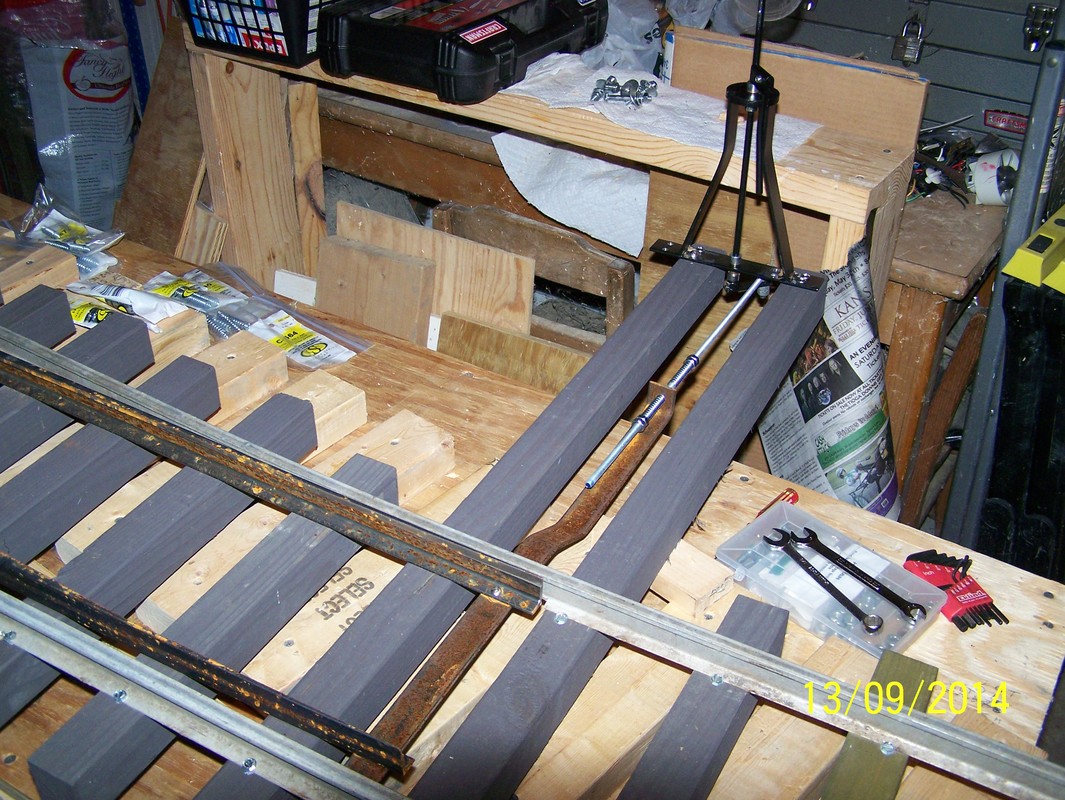
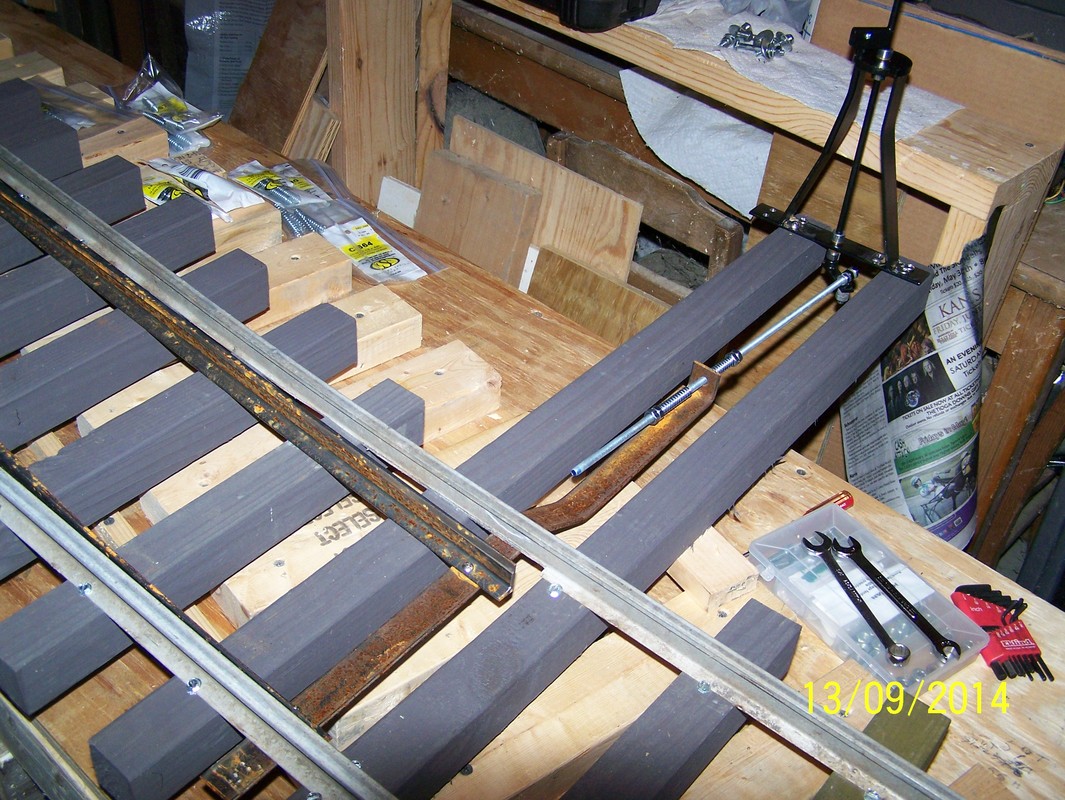
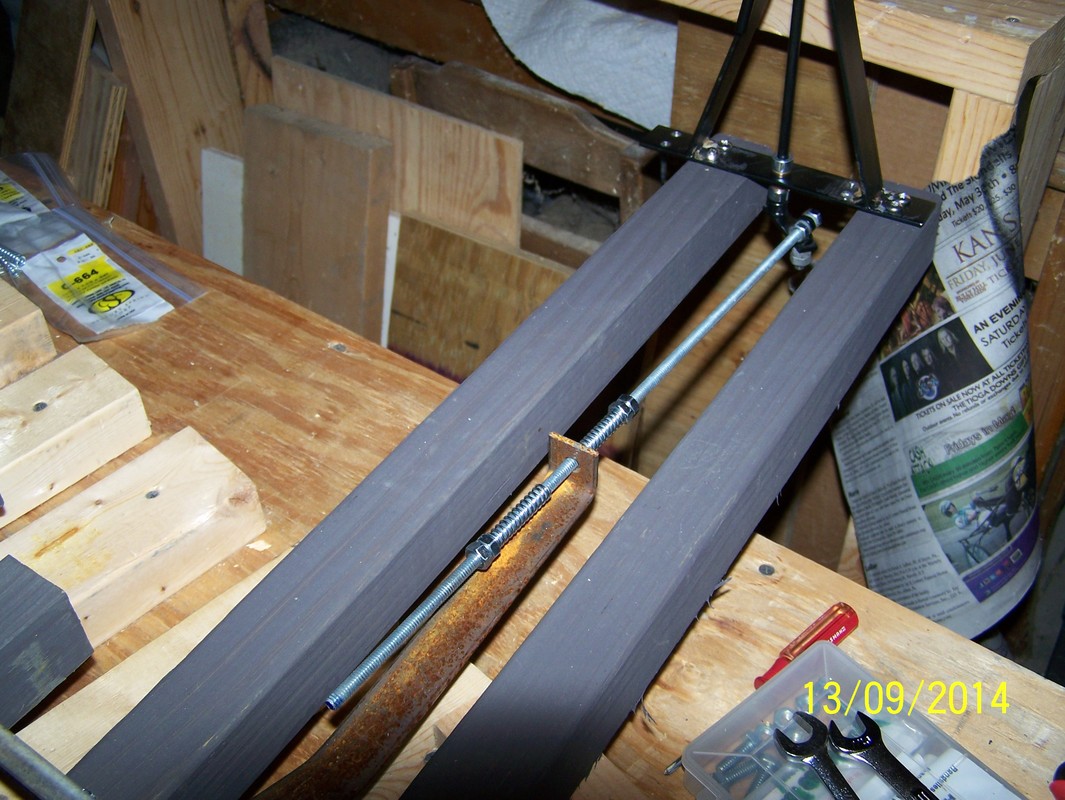
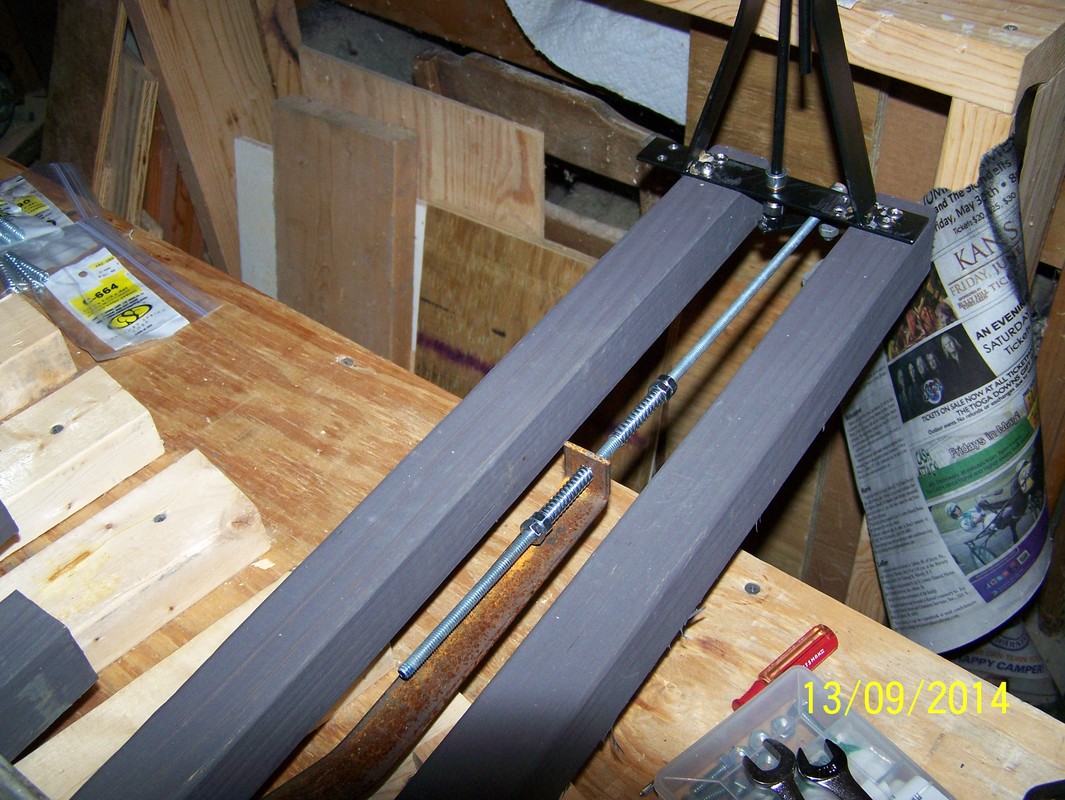
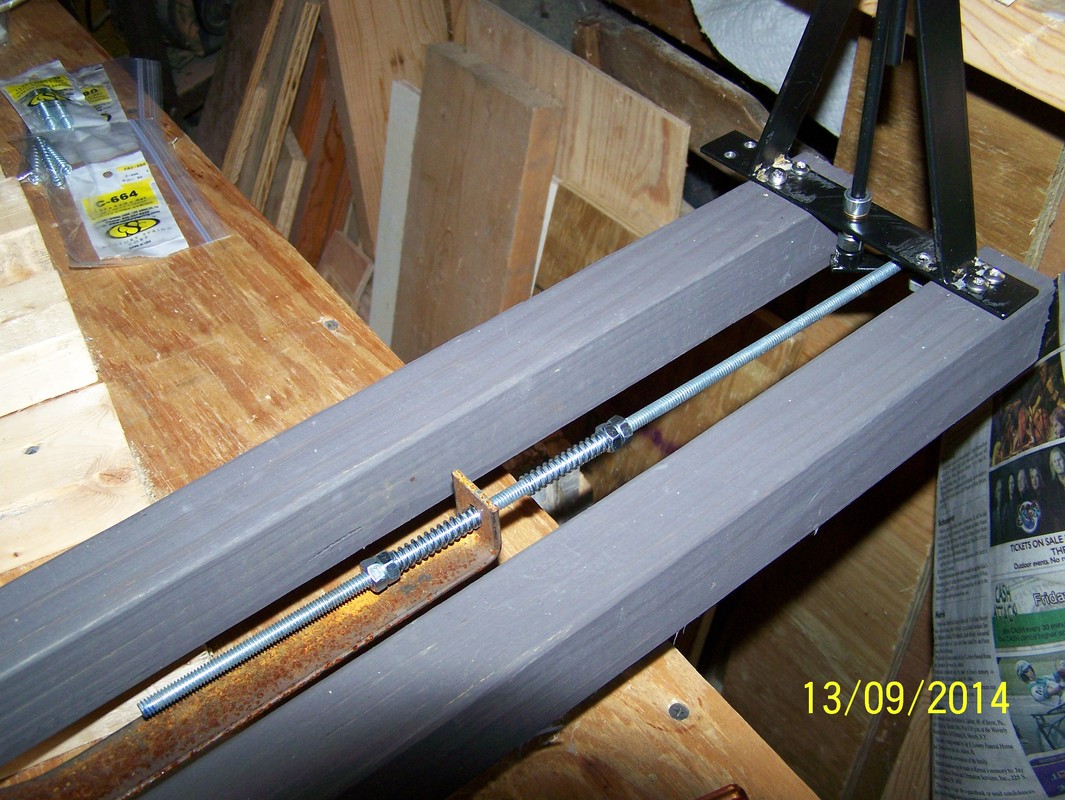
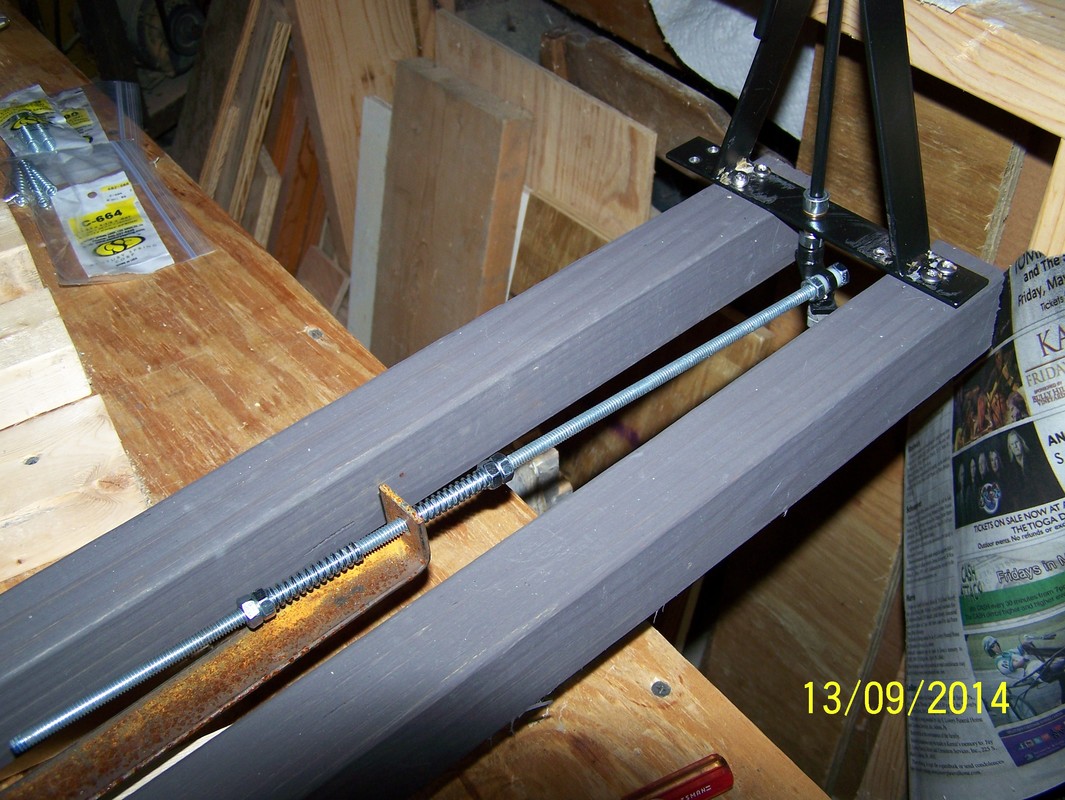
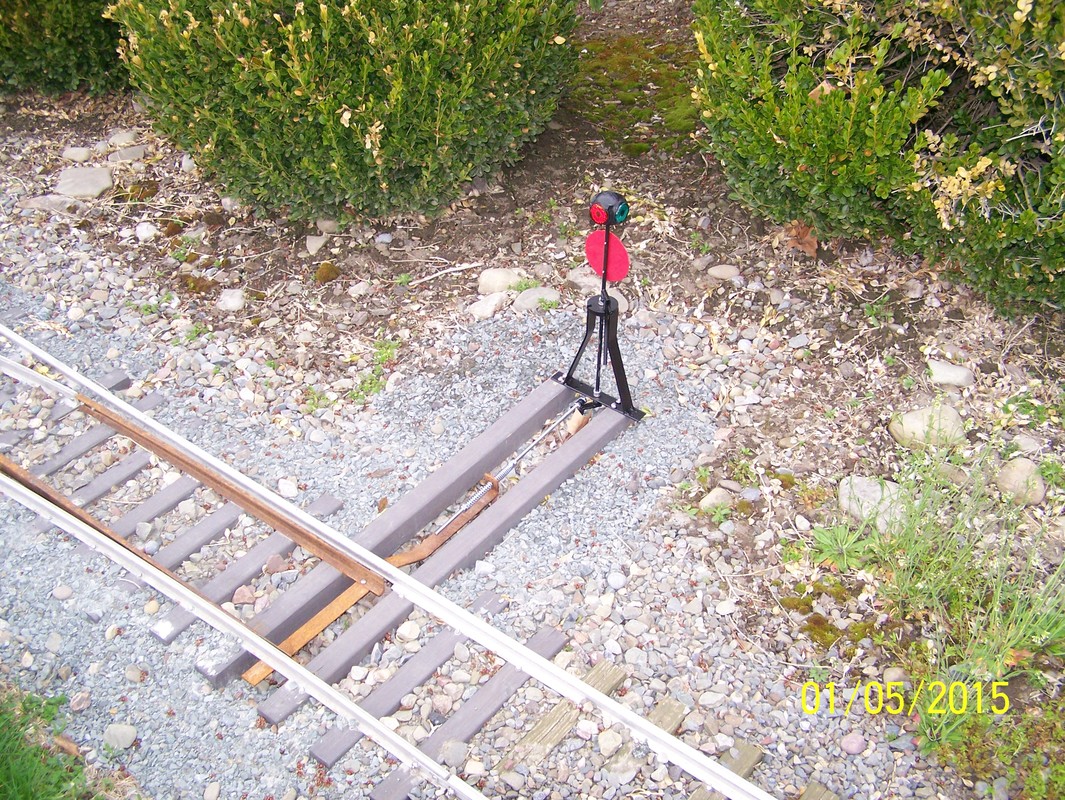
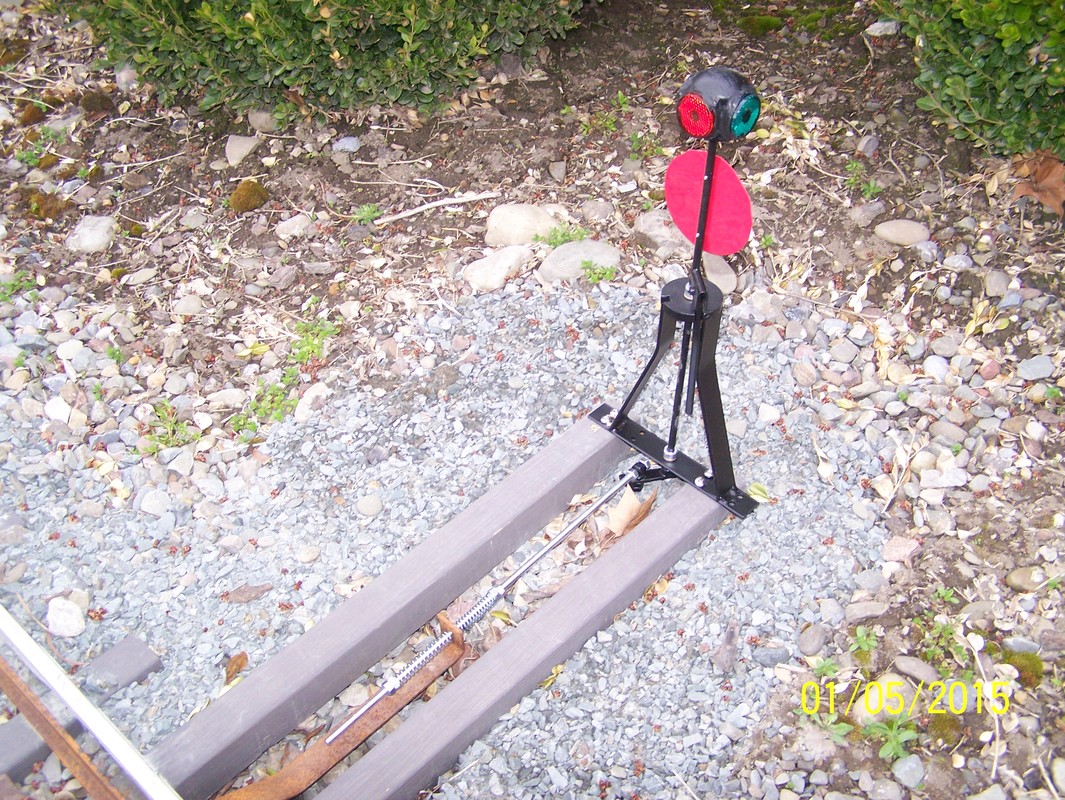
Sept, 2014. Here is how it works. It is connected to the switch throw bar with a 1/4-20 threaded rod and lock nuts to secure it from moving. On the throw bar end are two opposing springs with lock nuts at the end of the springs. I use Century Spring Corp., Model #C-690 springs. I get them at the local hardware store.
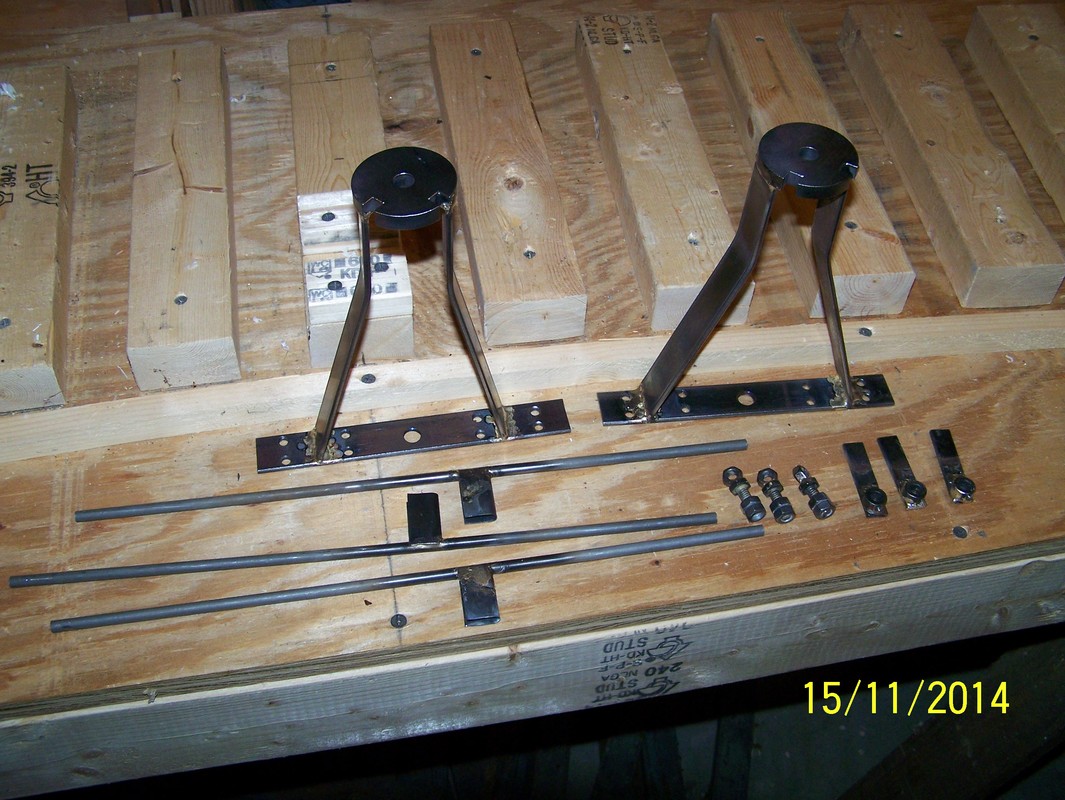
Nov, 2014. making up two more.
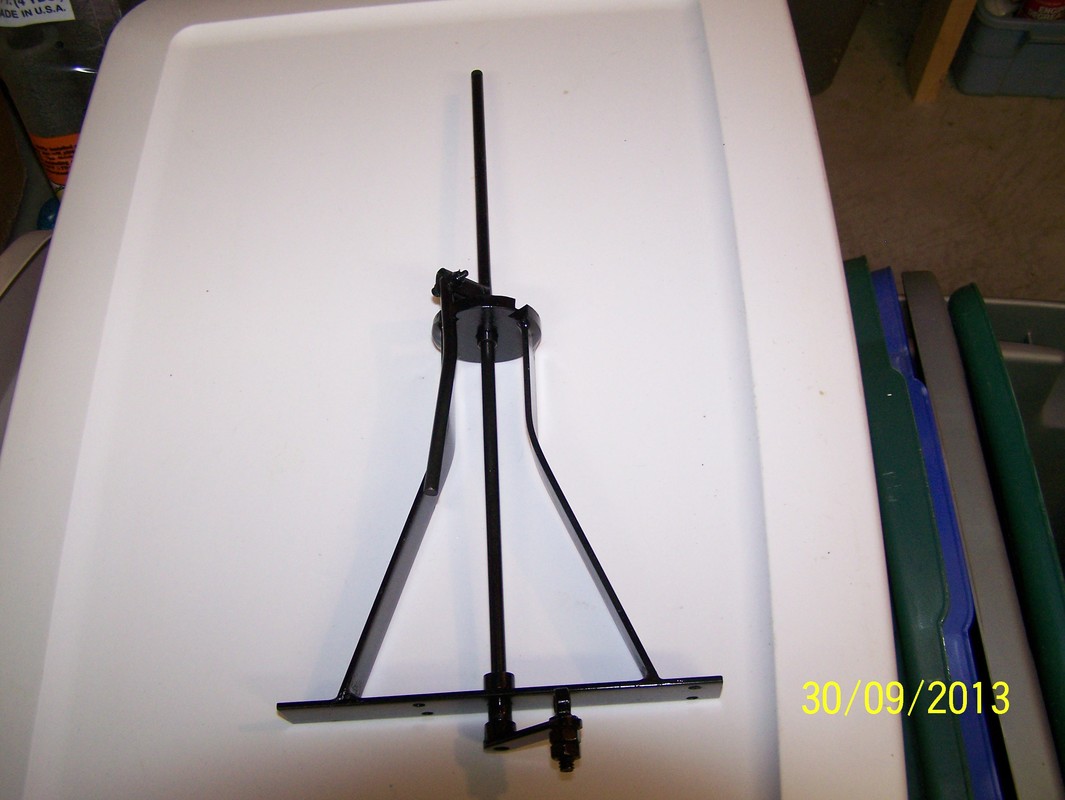
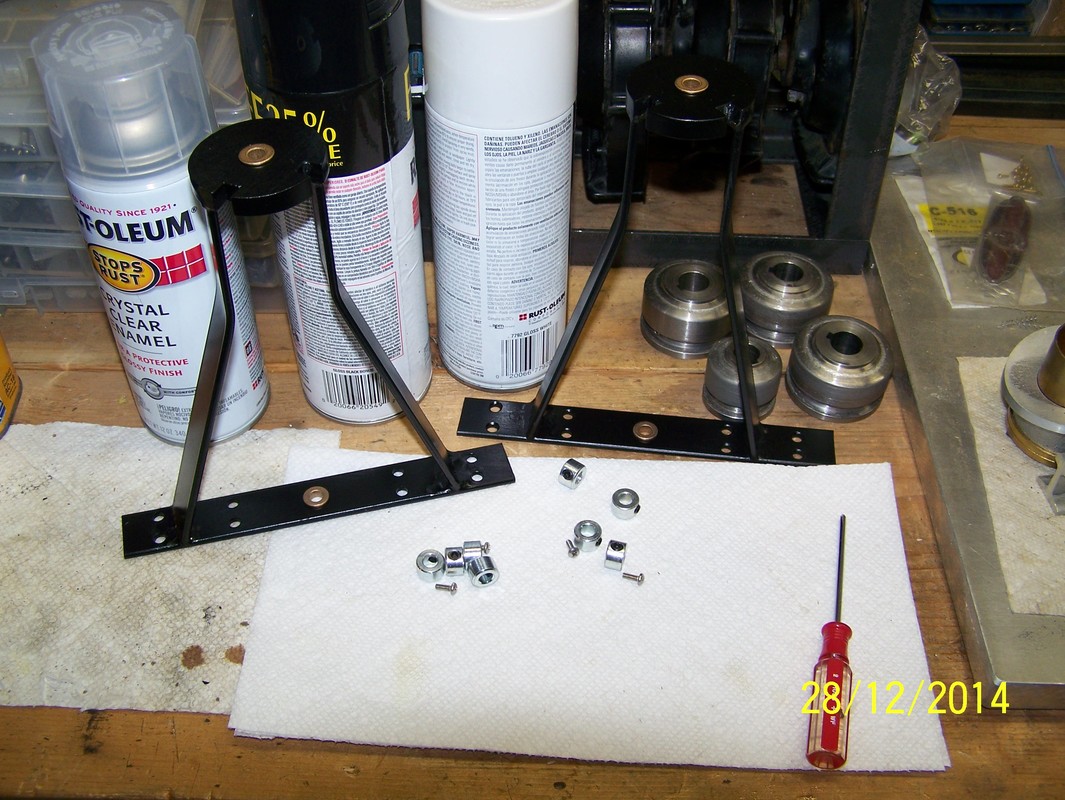
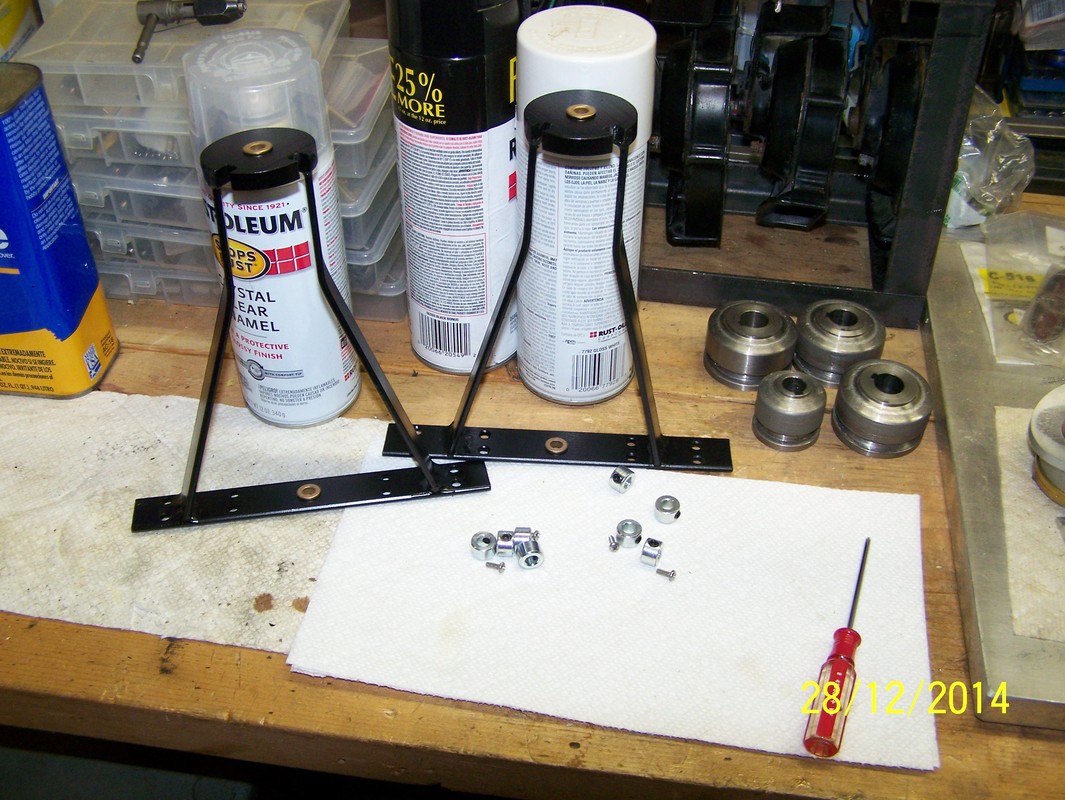
Dec, 2014. Painting up the parts.
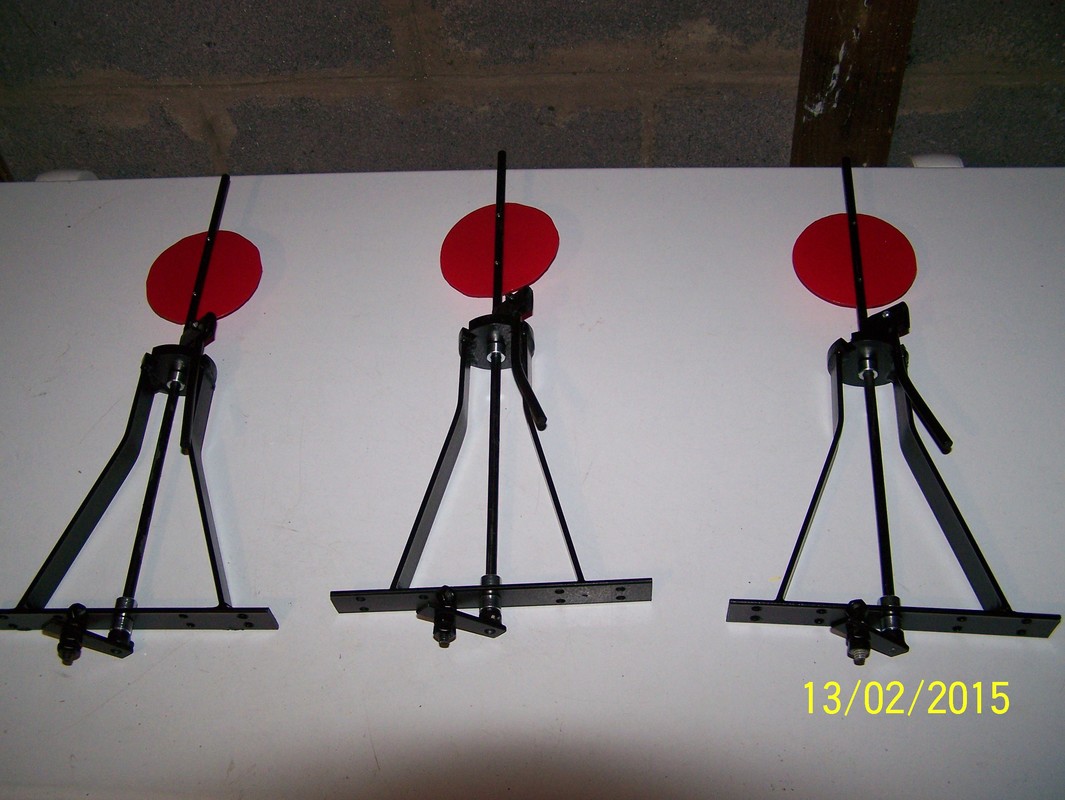
Feb, 2015. Here are three more with the targets attached.
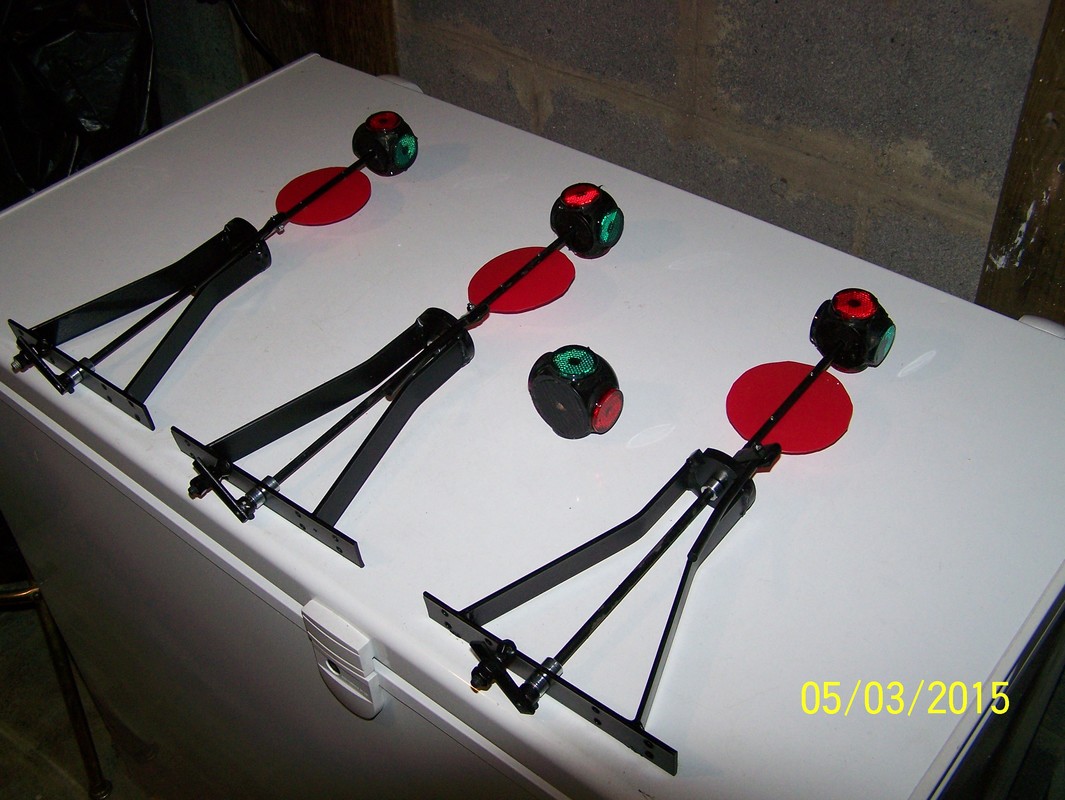
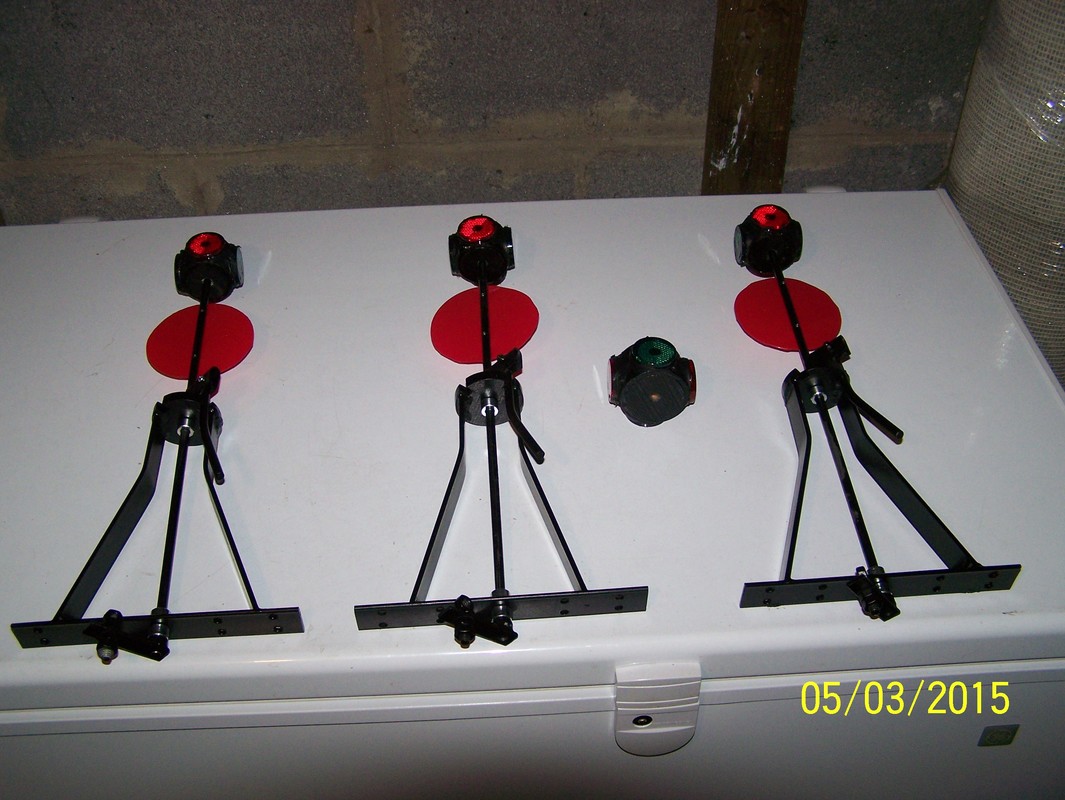
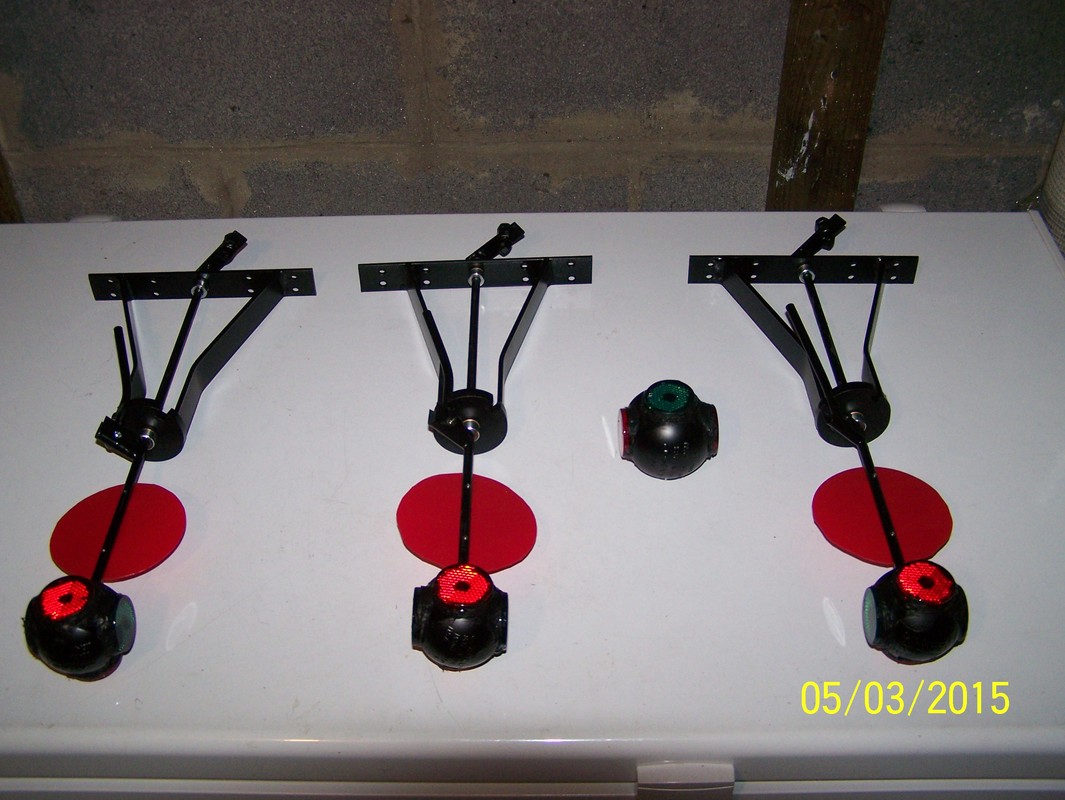
Mar, 2015. Here are the three with the top light. All ready to go.
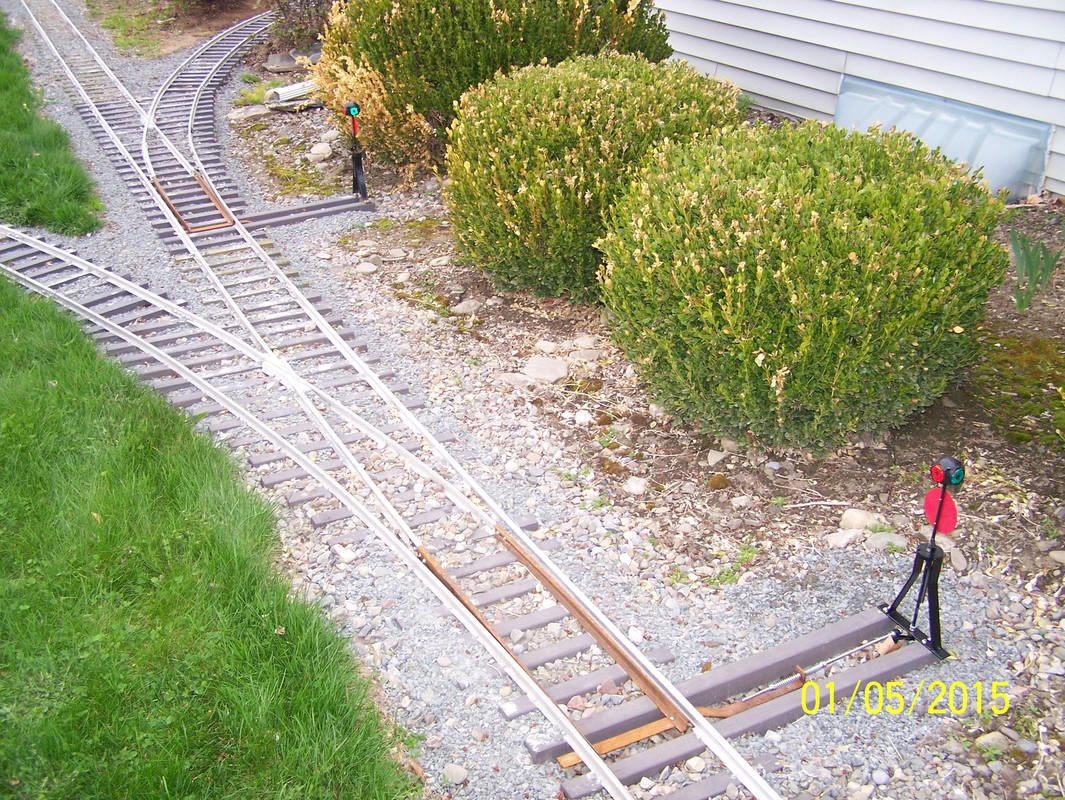
May, 2015. Installed and ready to go.
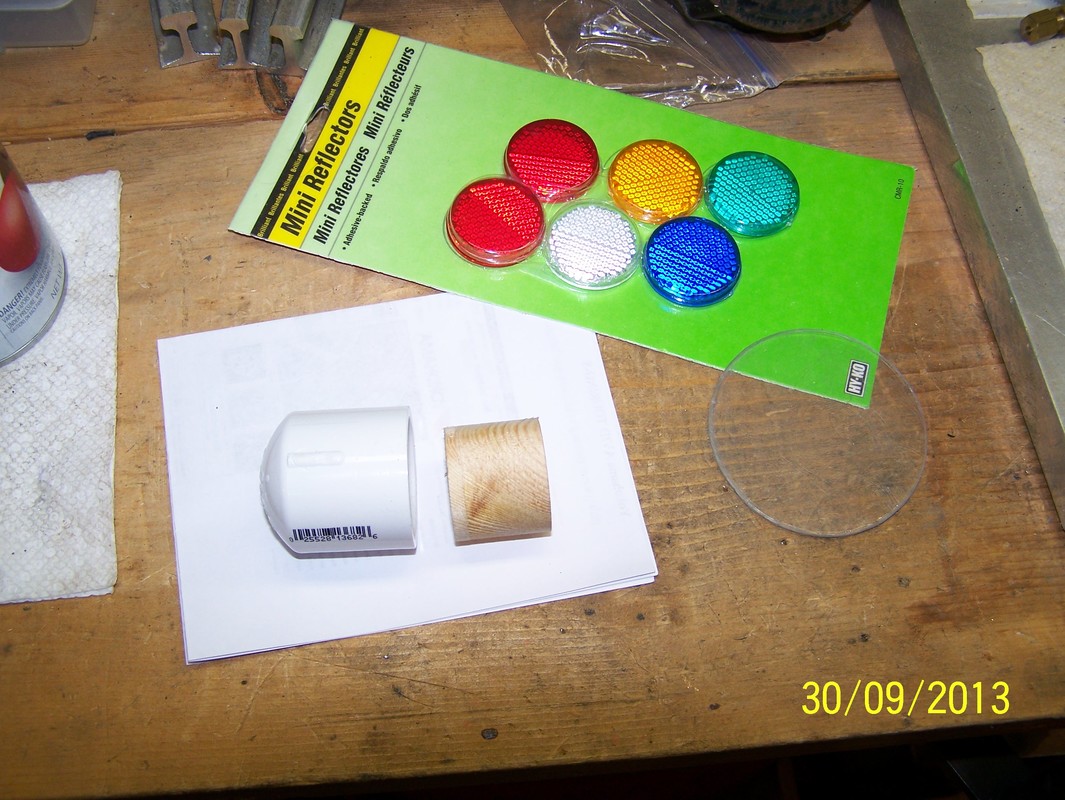
June, 2015. These are the parts for the top signal light.