Track Installation.
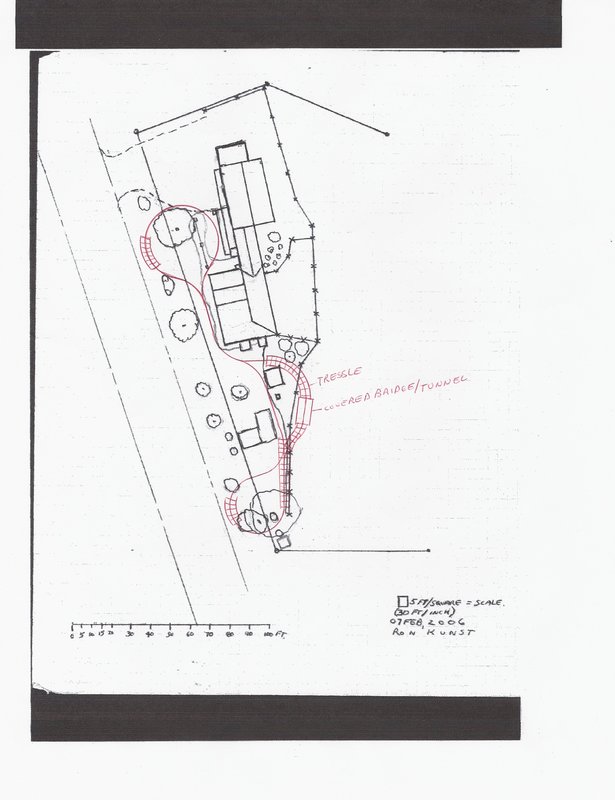
Feb, 2006. This is the layout plans for the railroad, mainline and river sub.
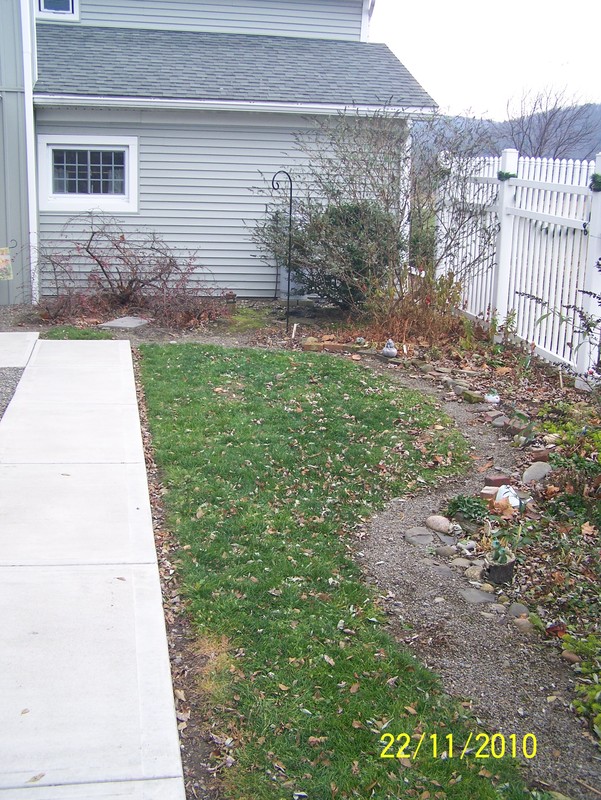
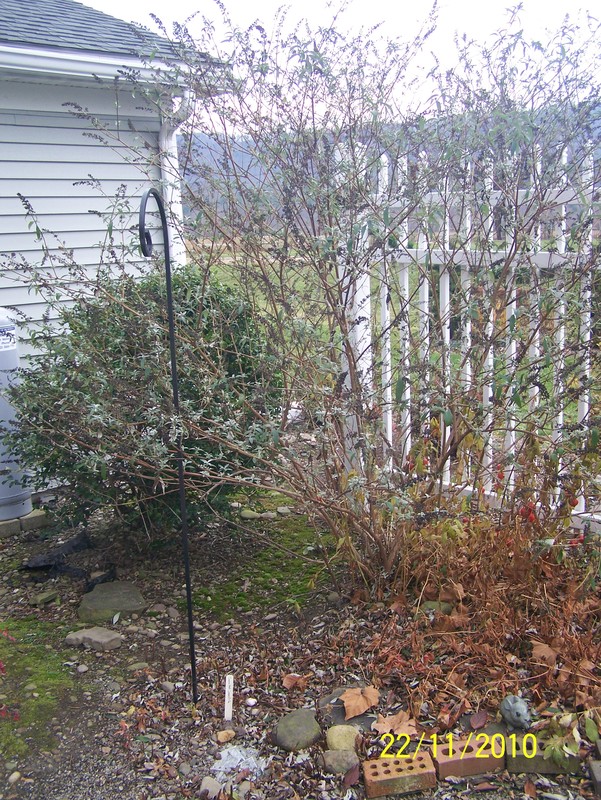
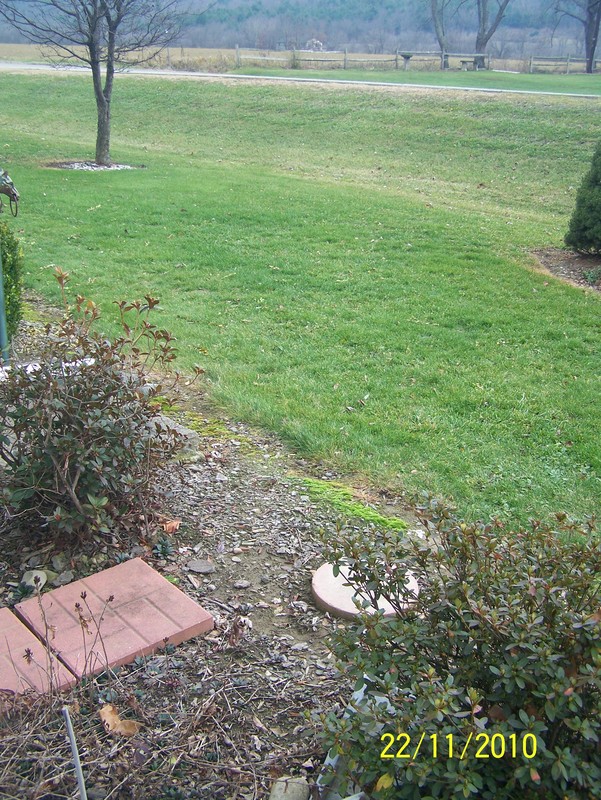
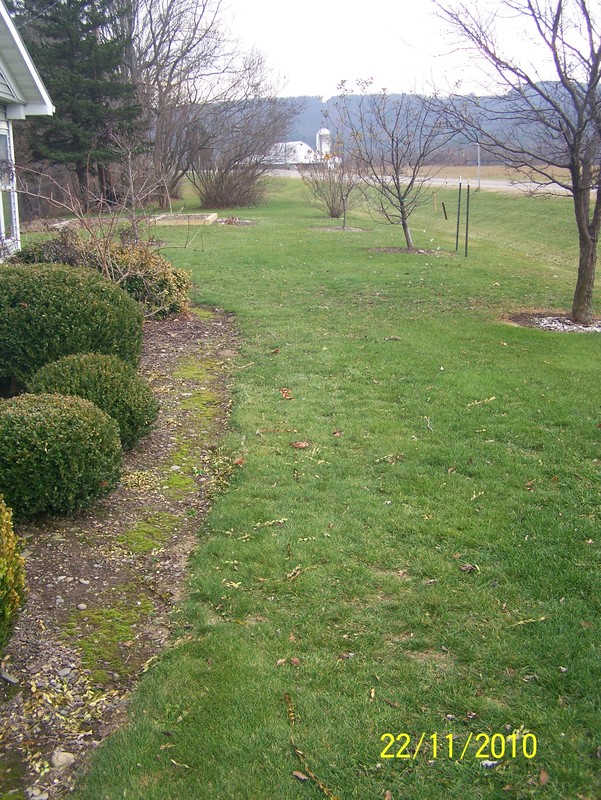
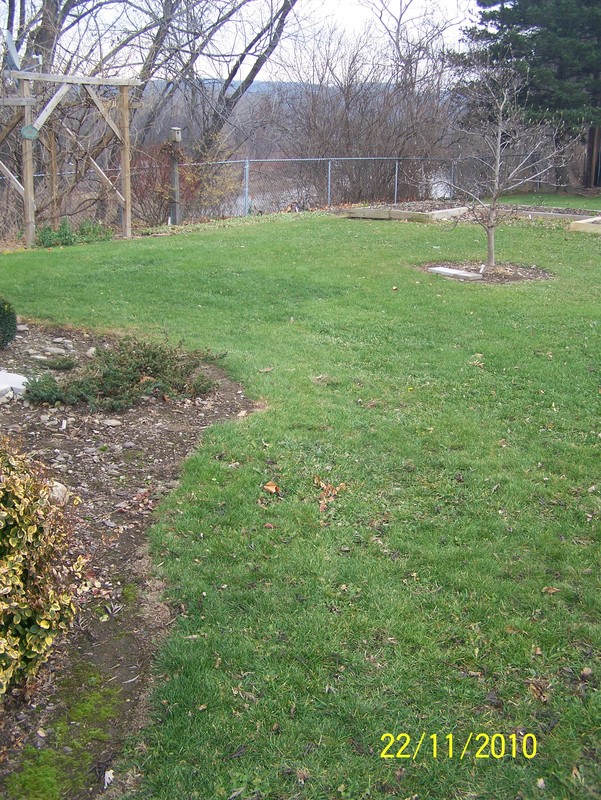
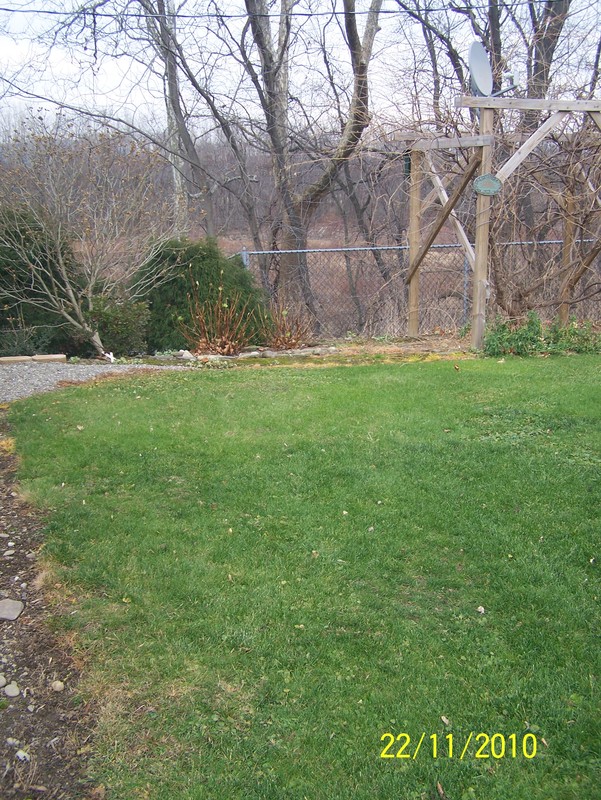
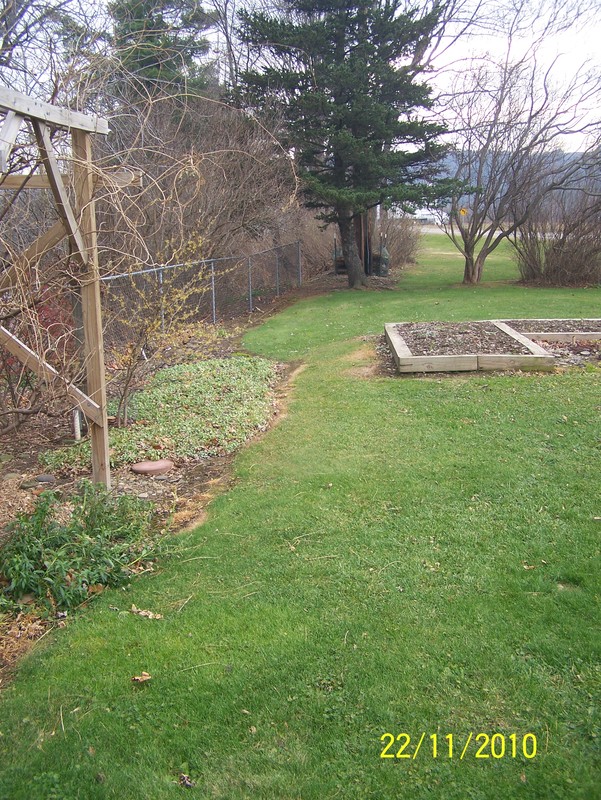
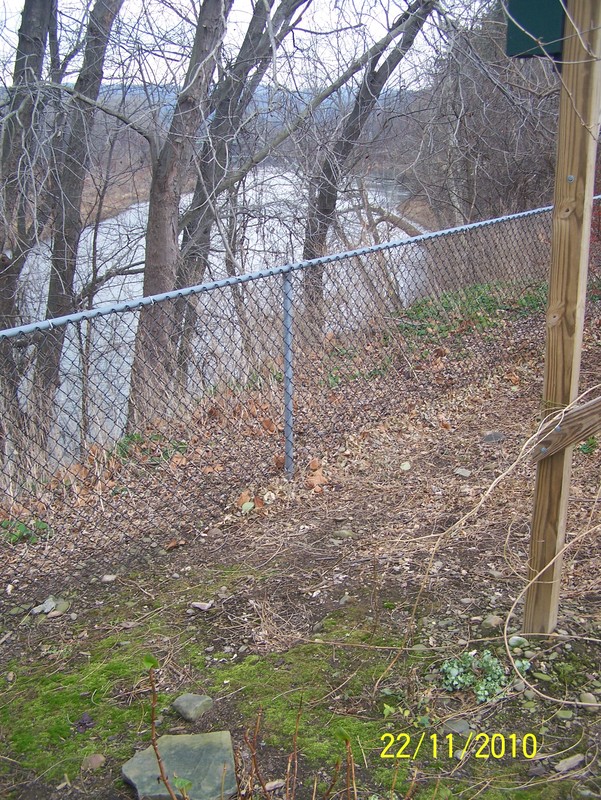
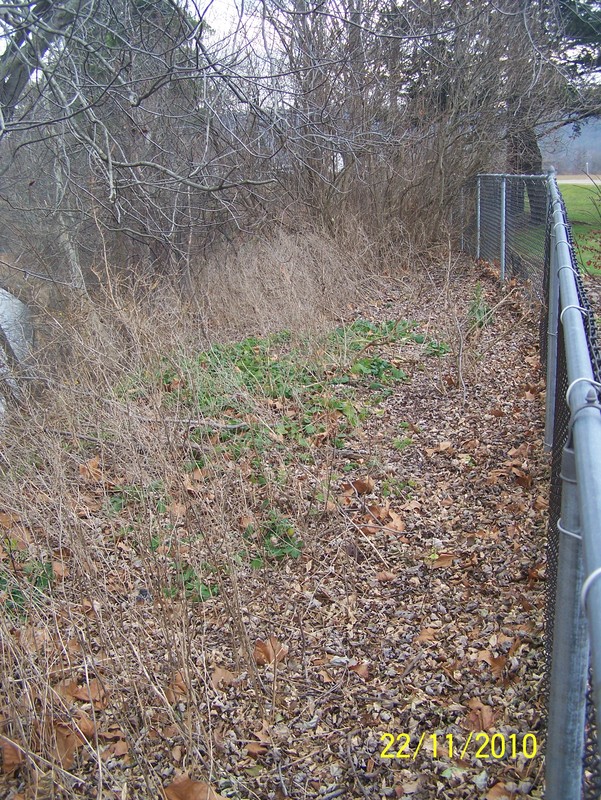
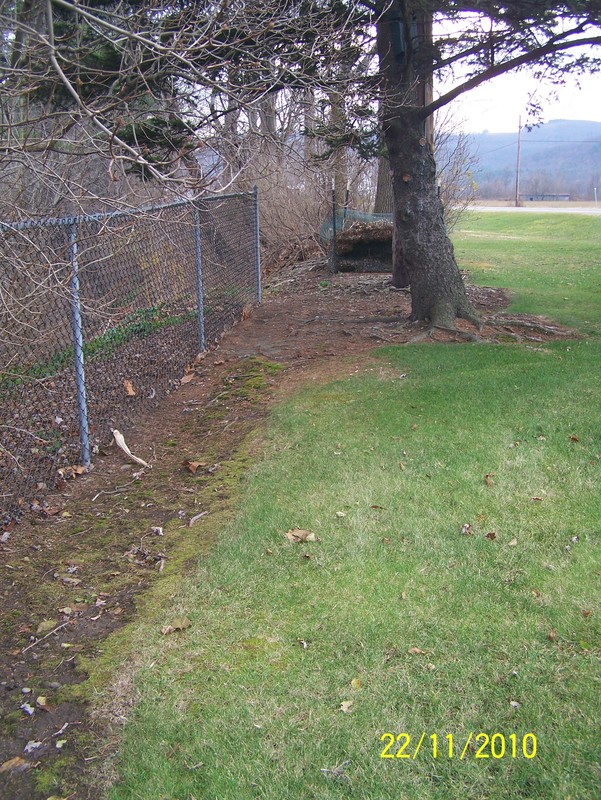
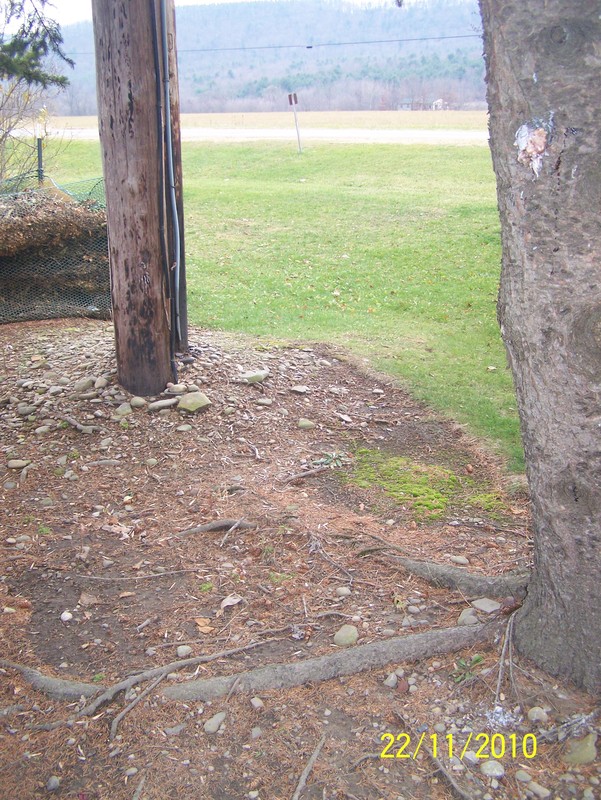
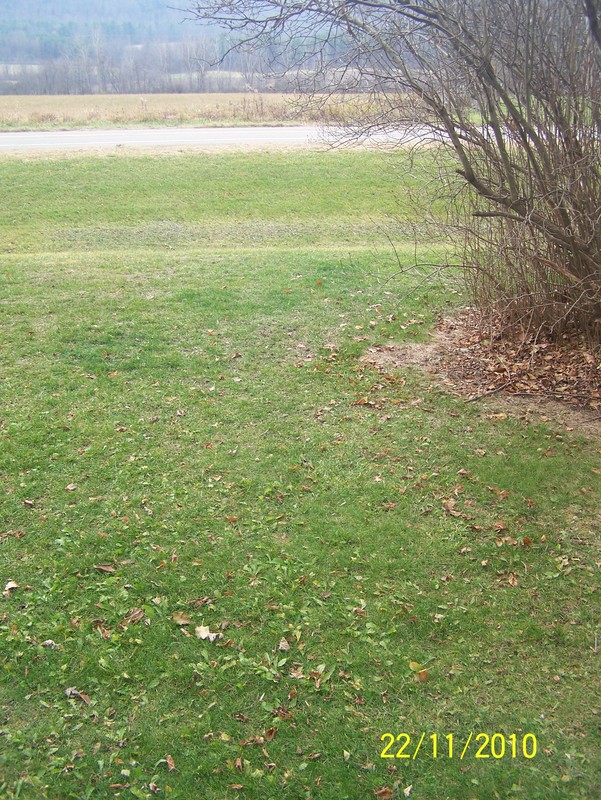
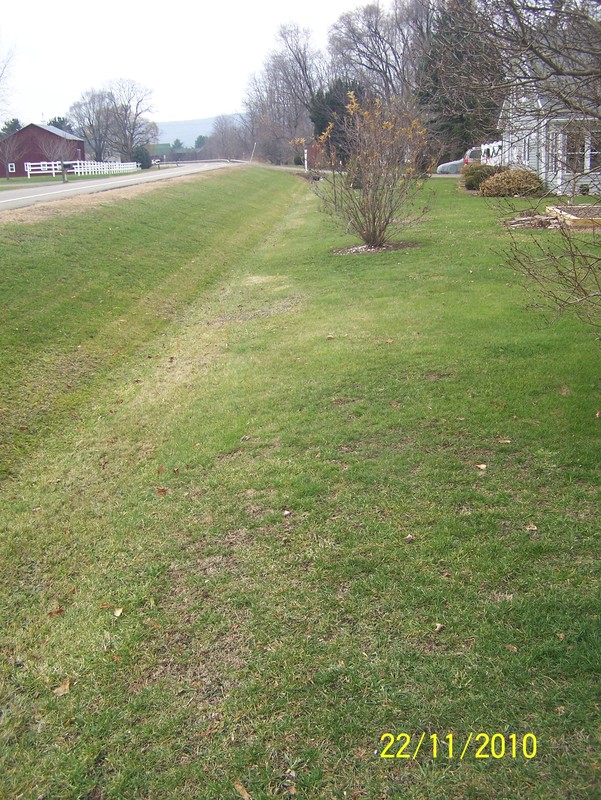
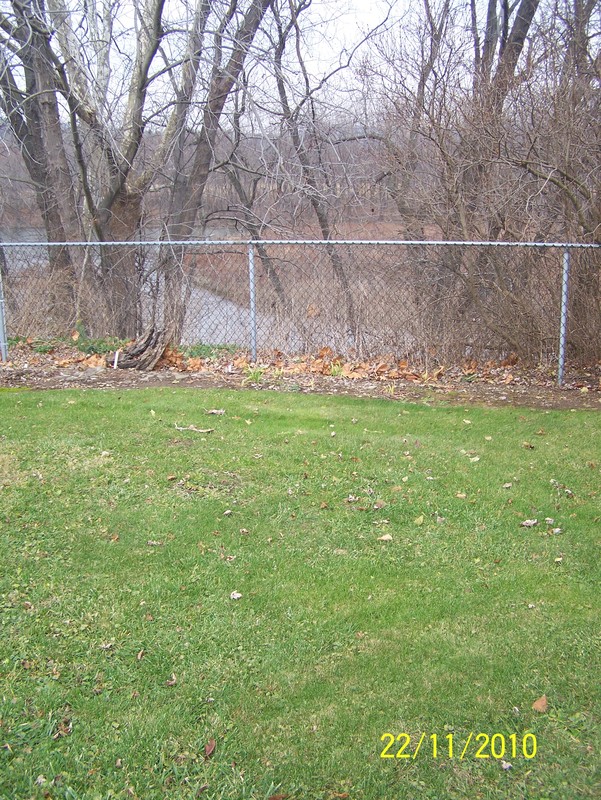
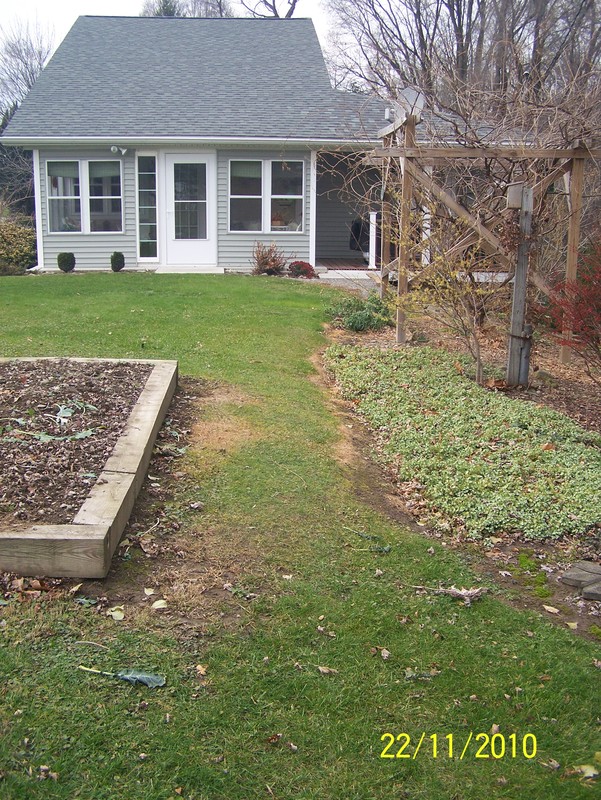
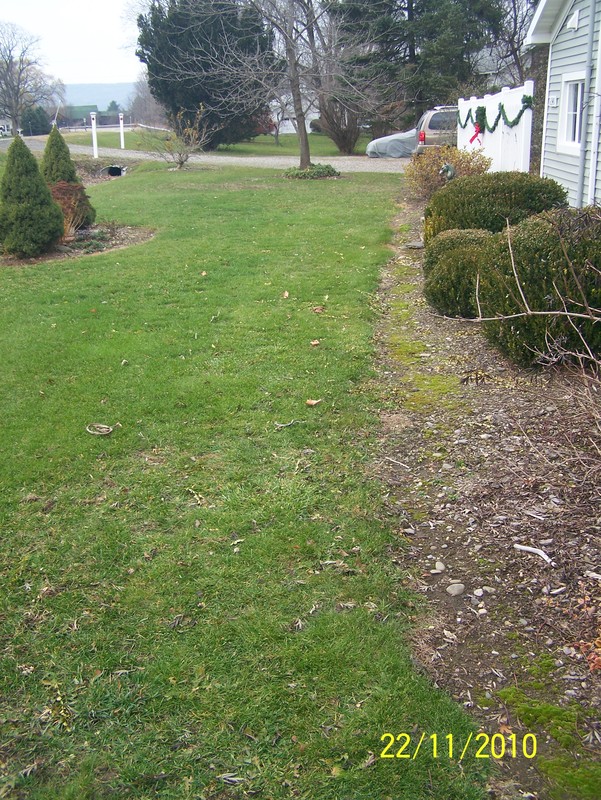
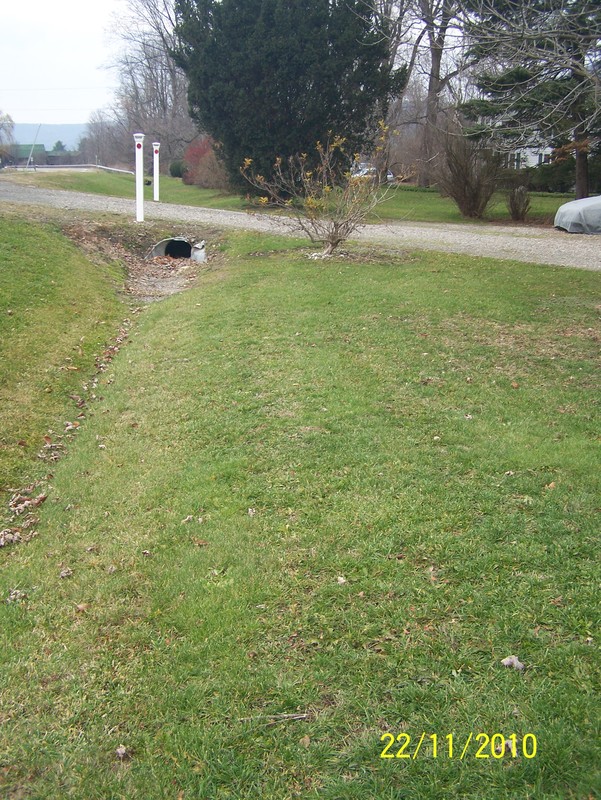
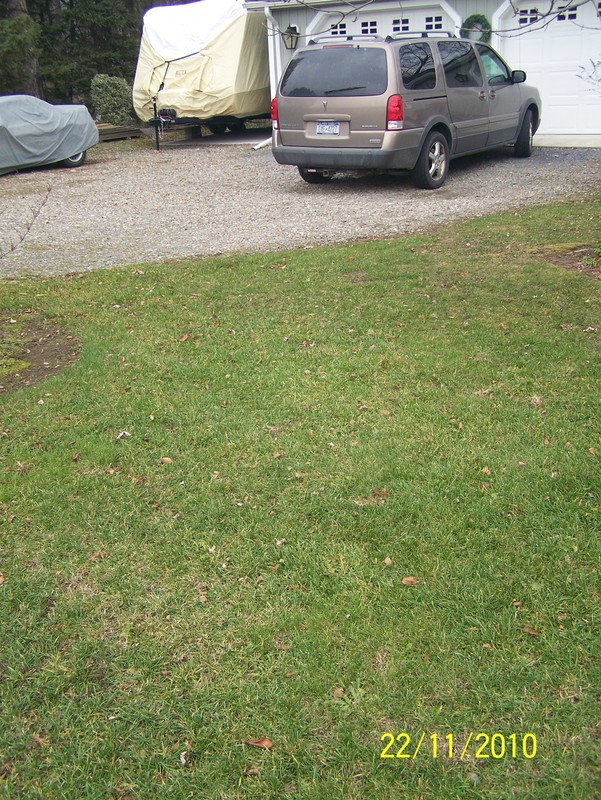
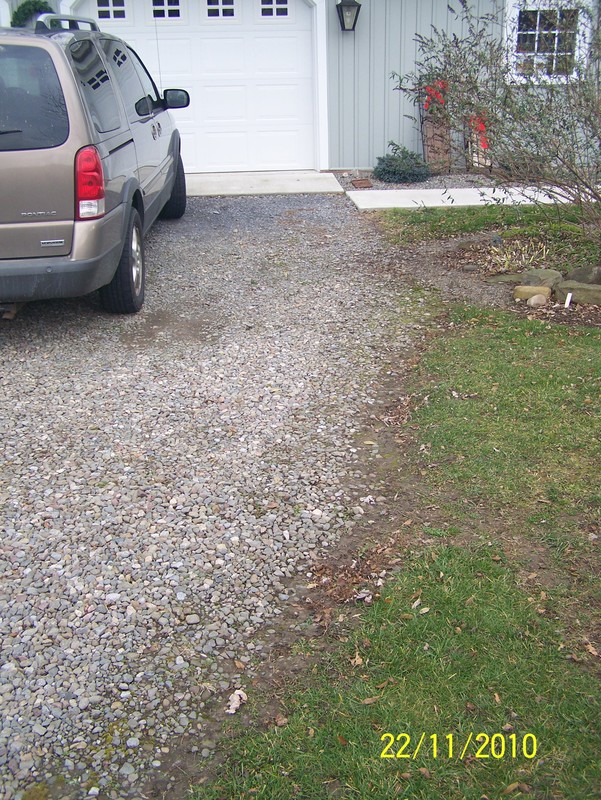
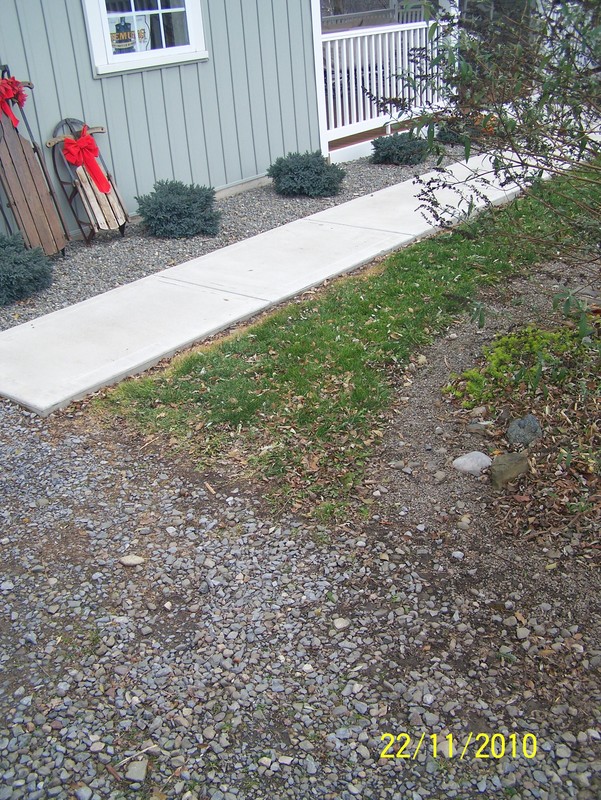
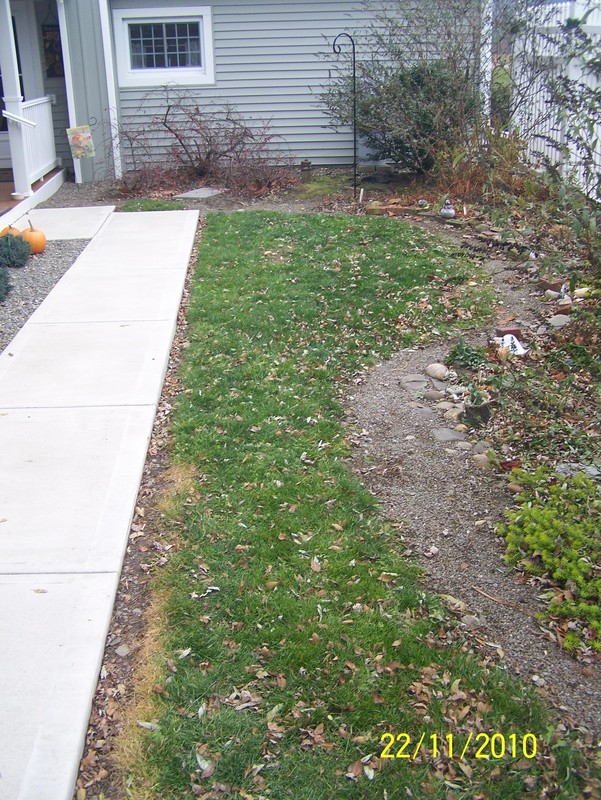
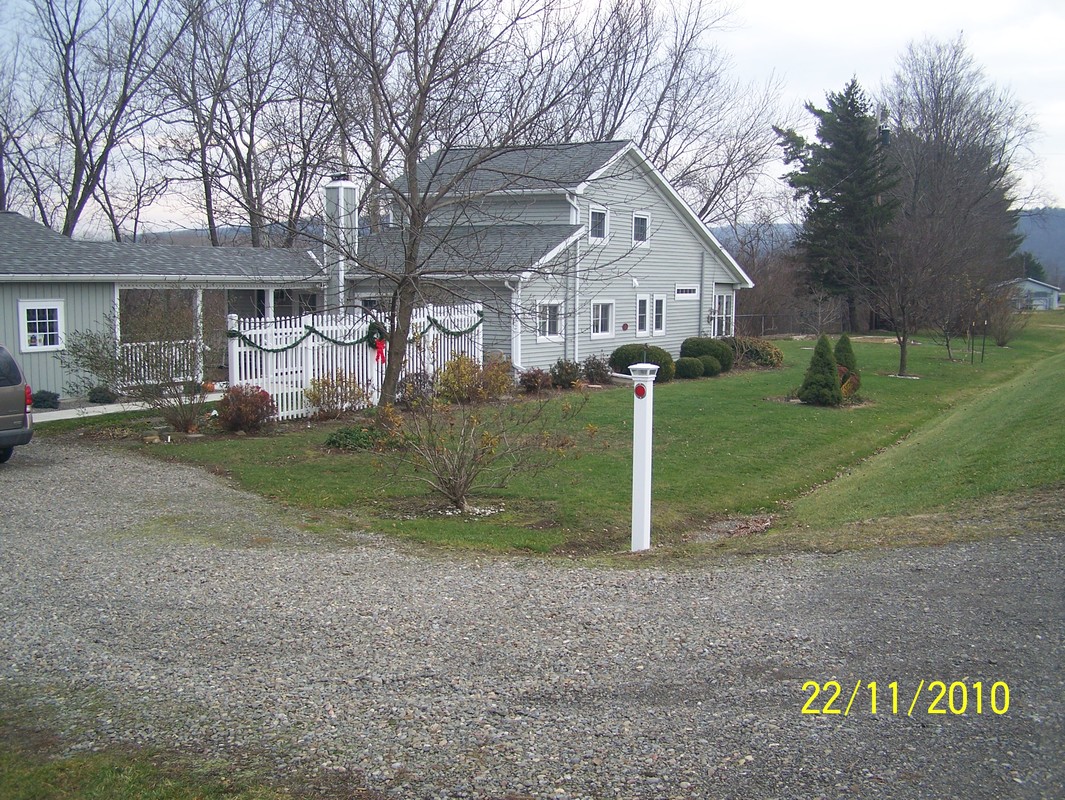
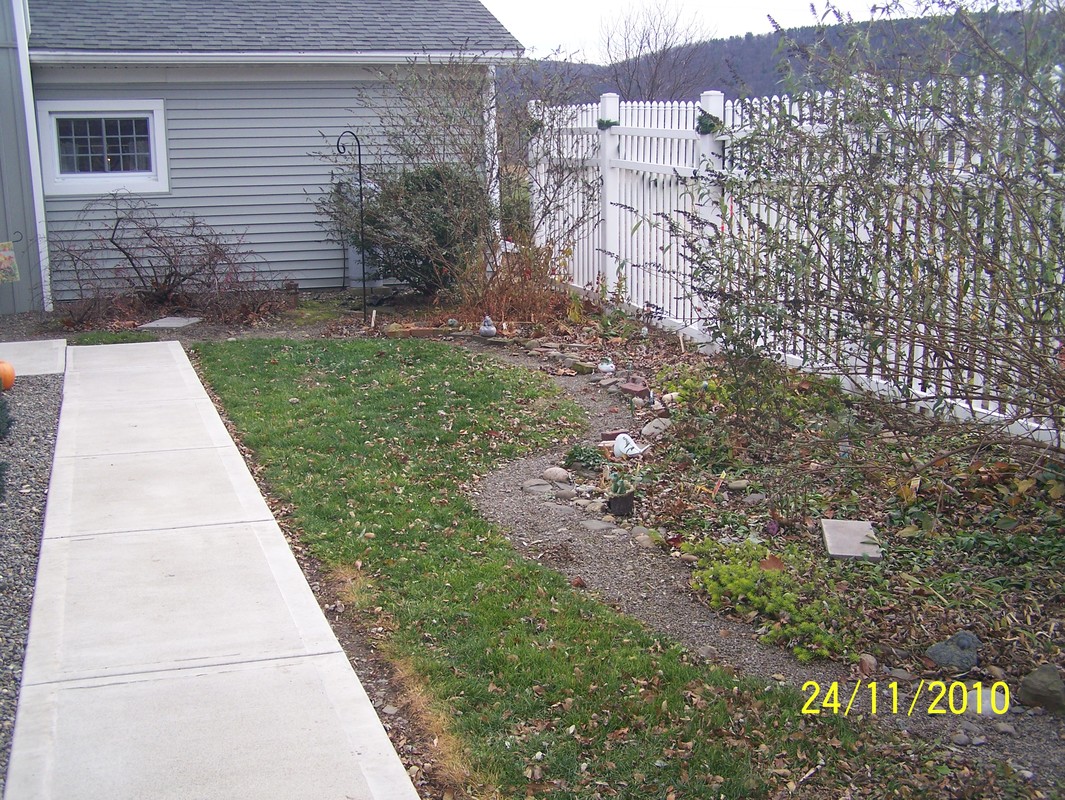
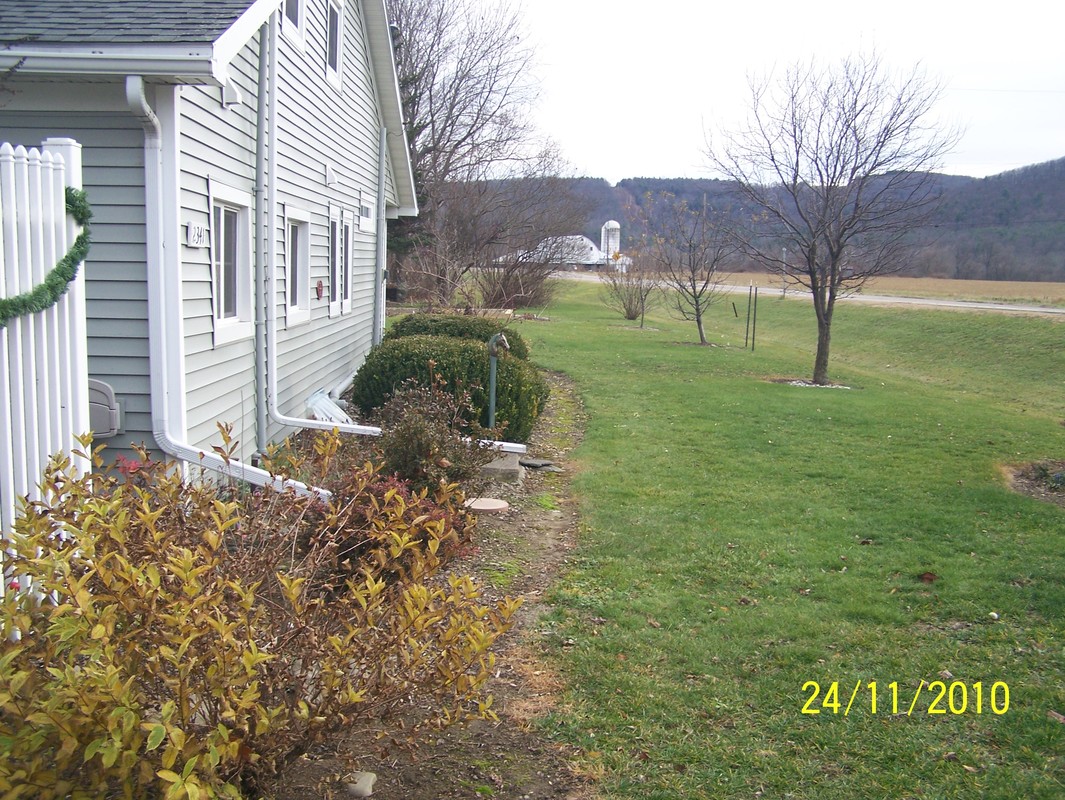
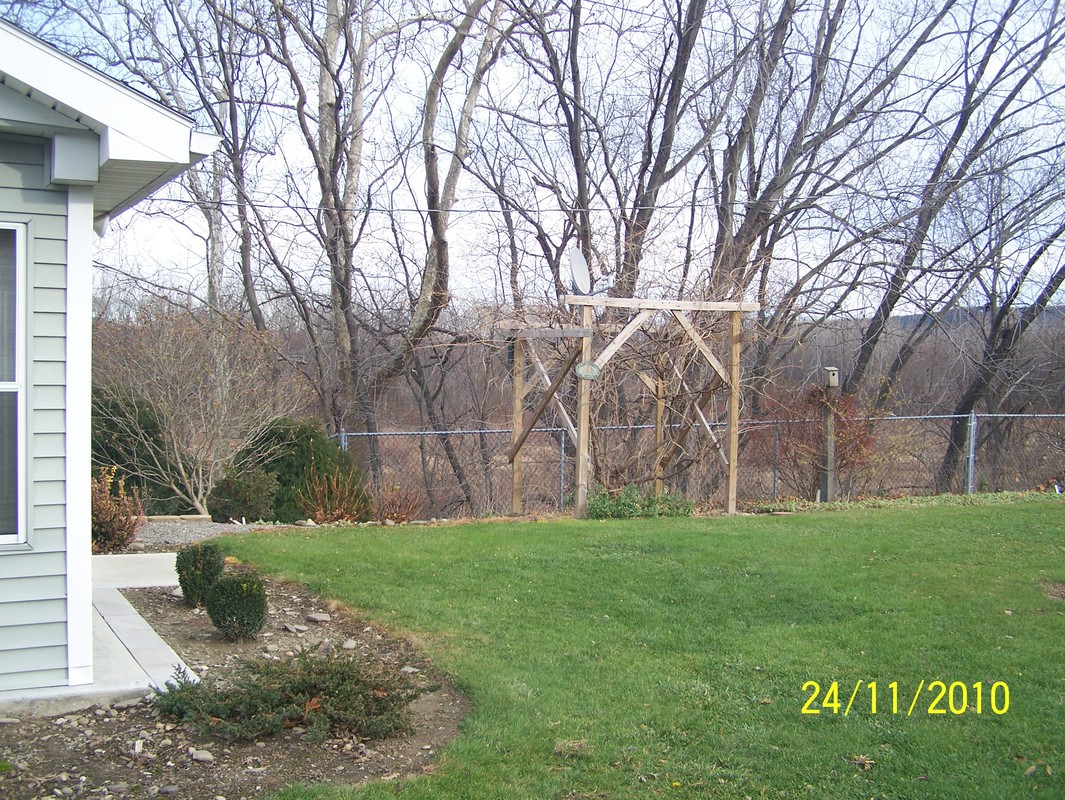
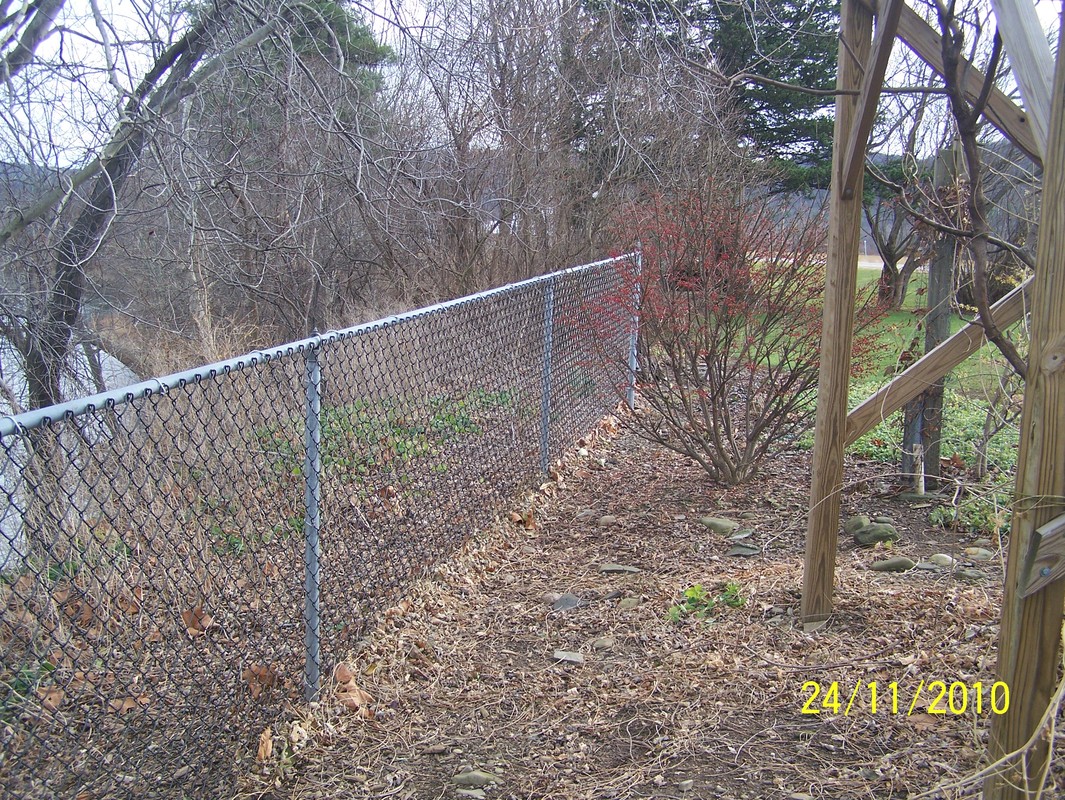
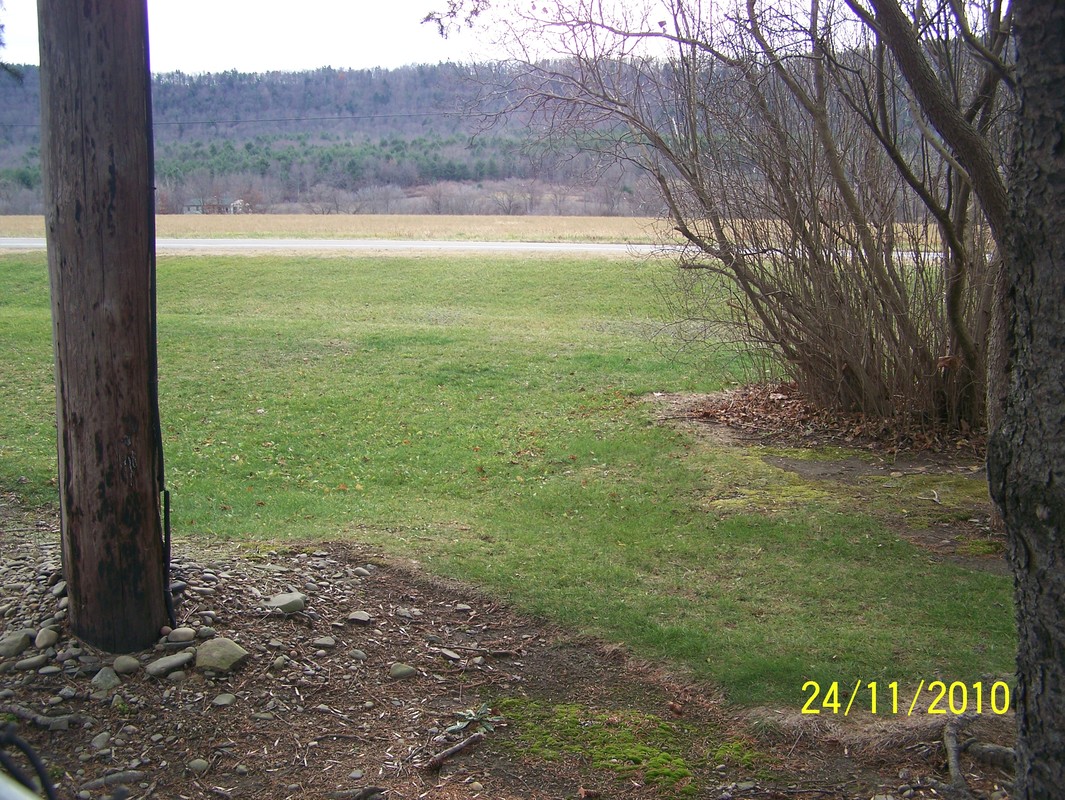
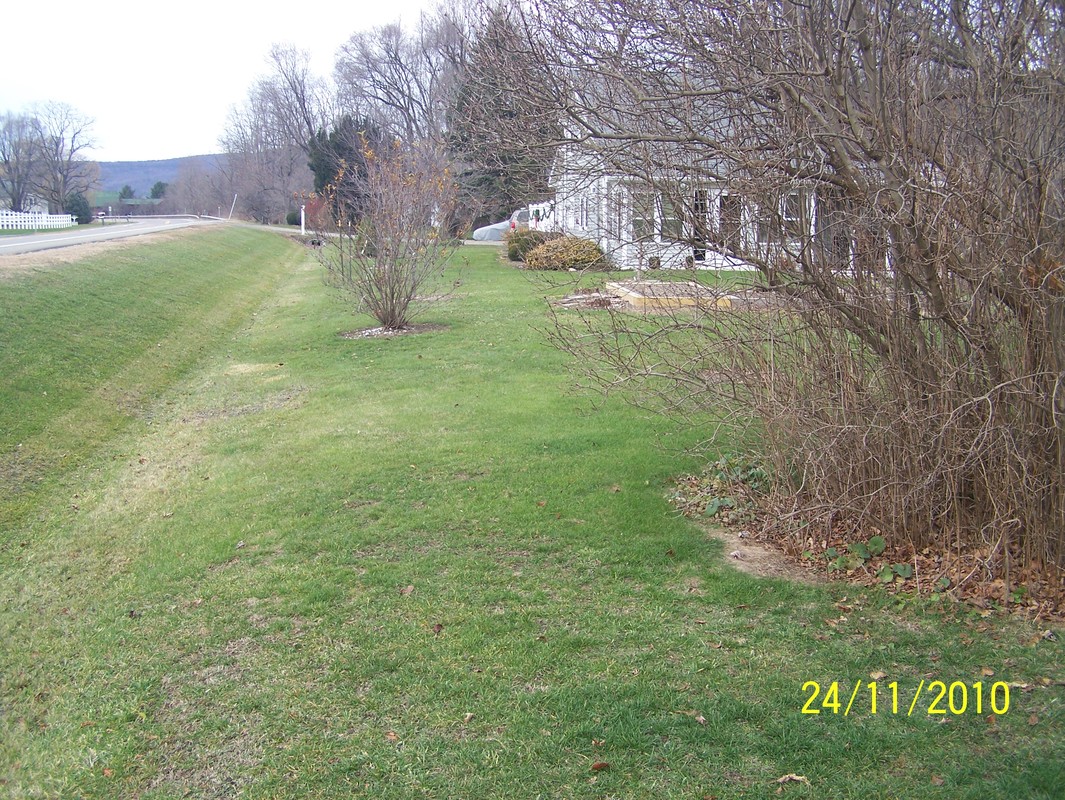
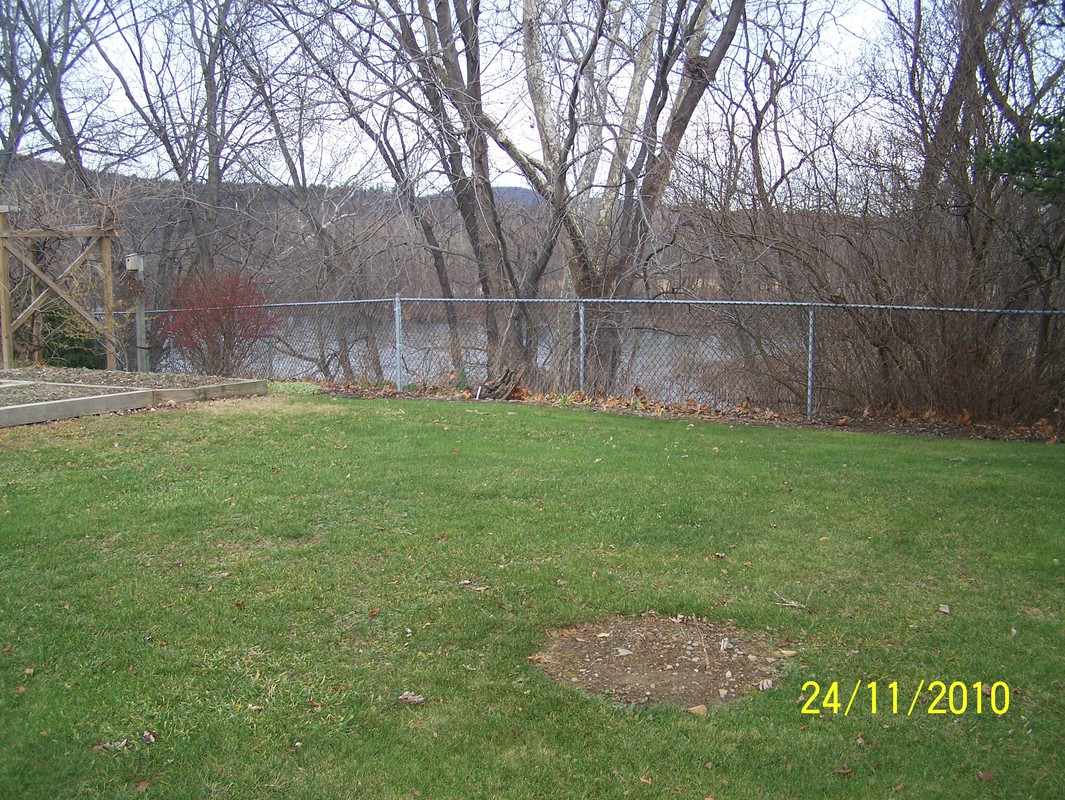
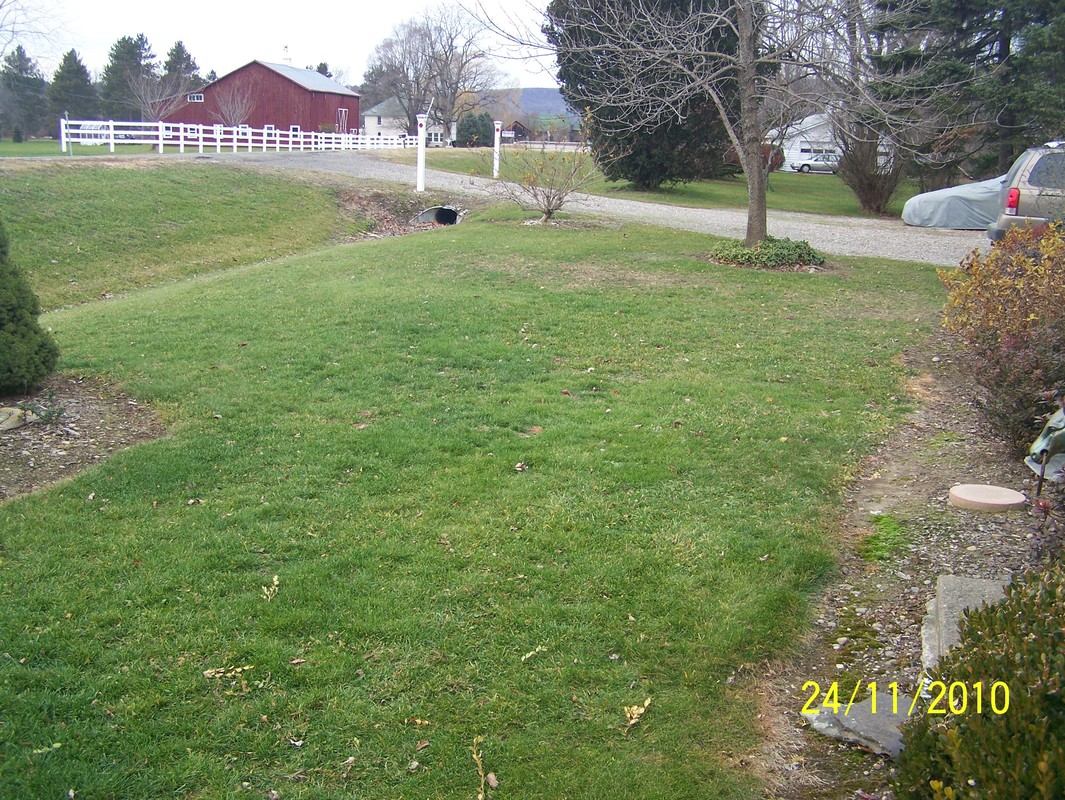
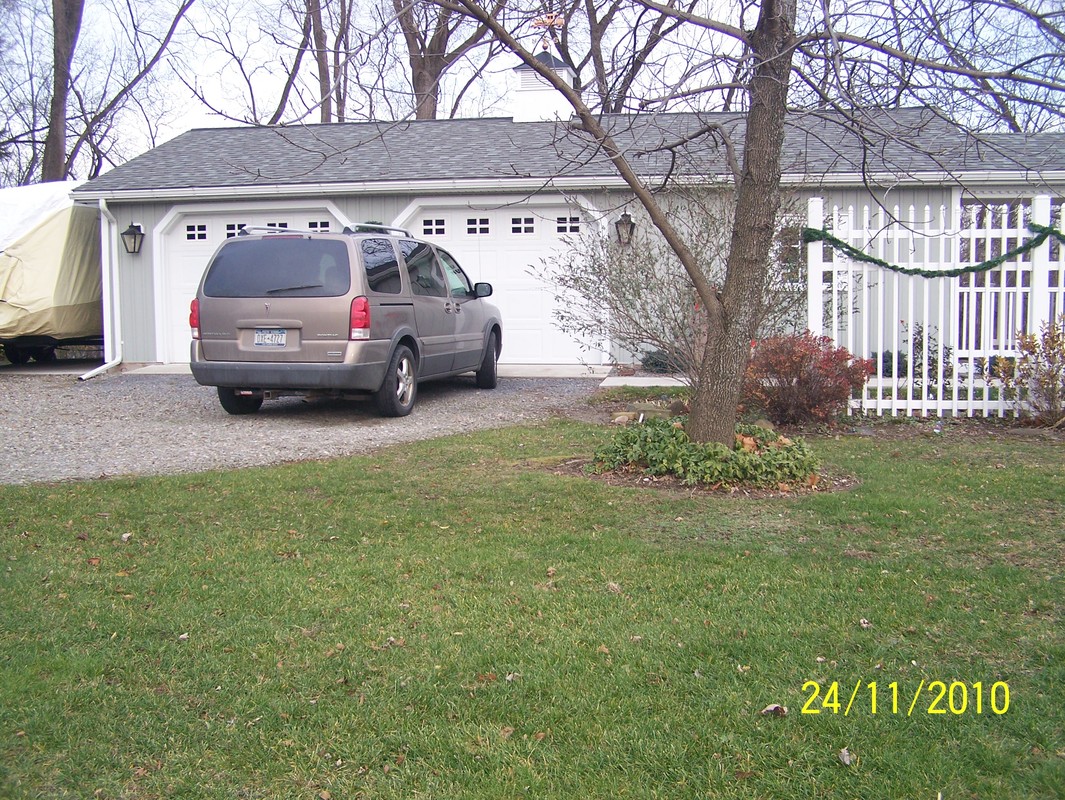
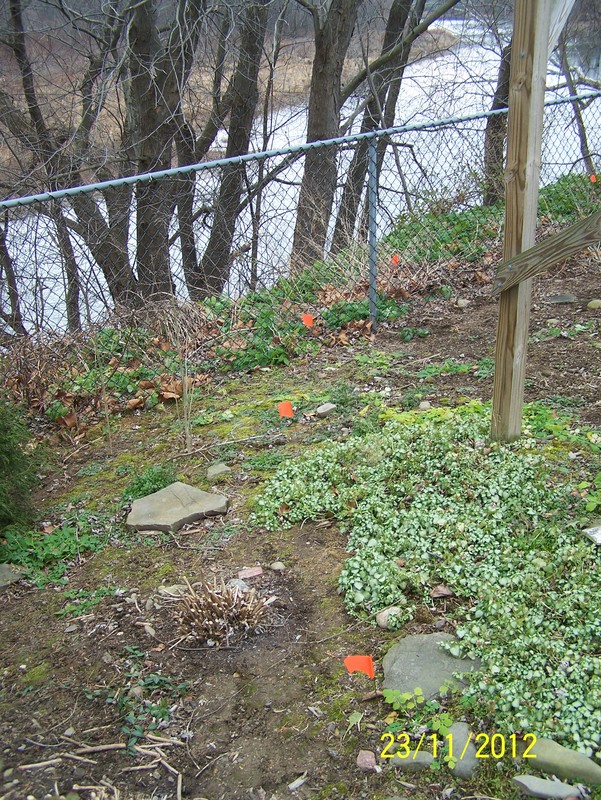
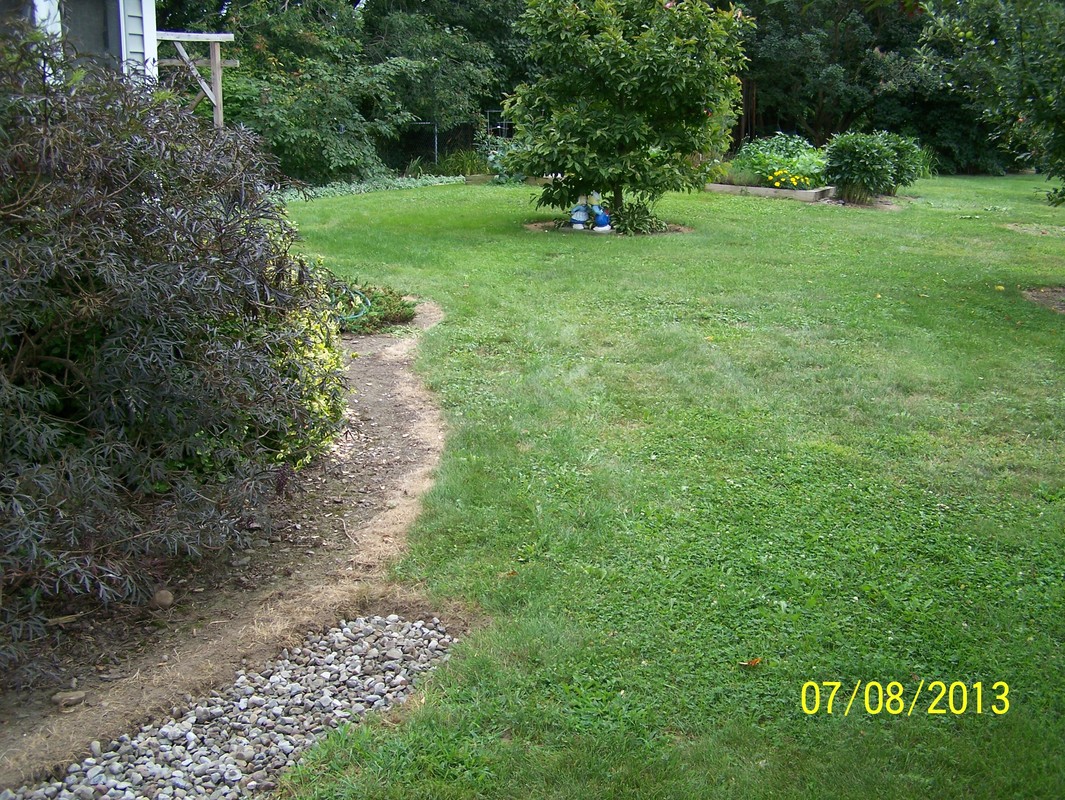
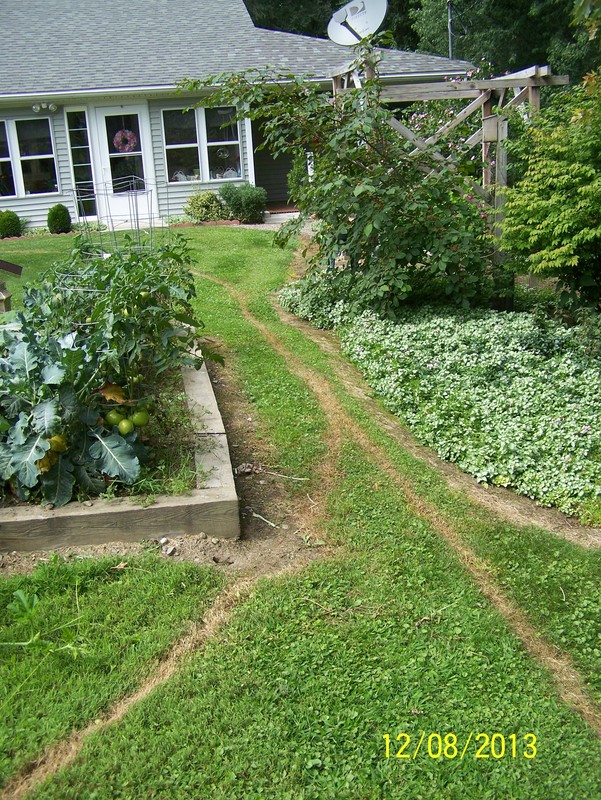
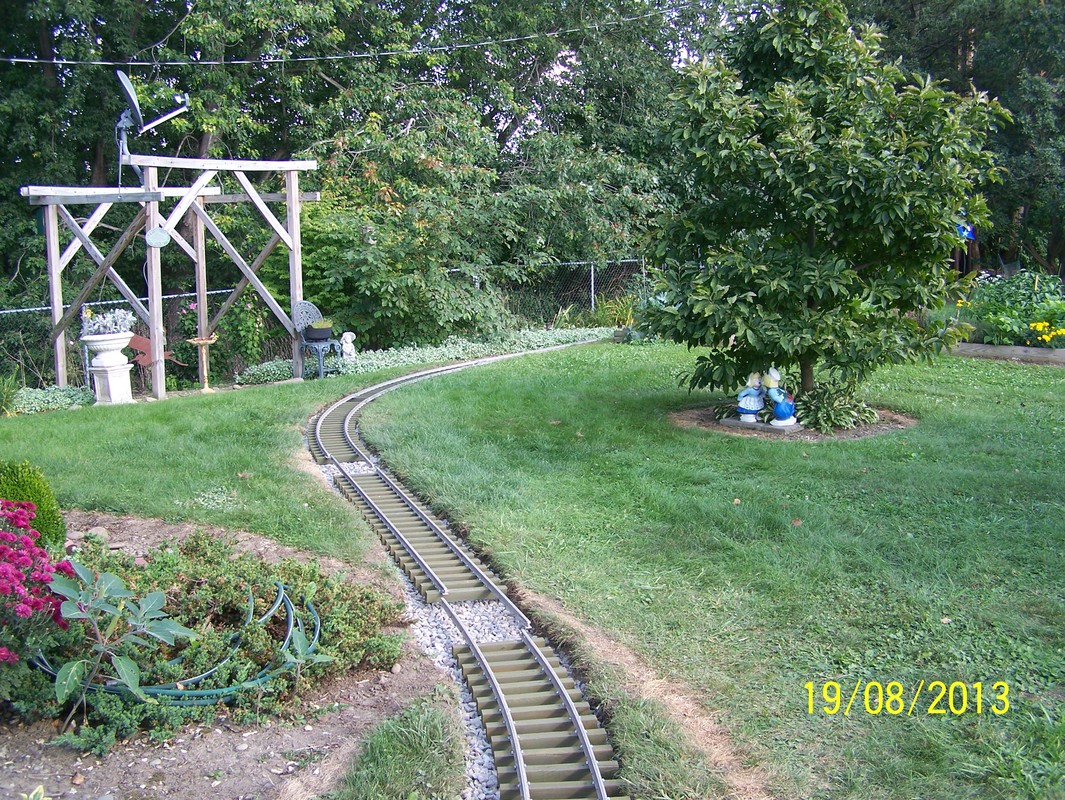
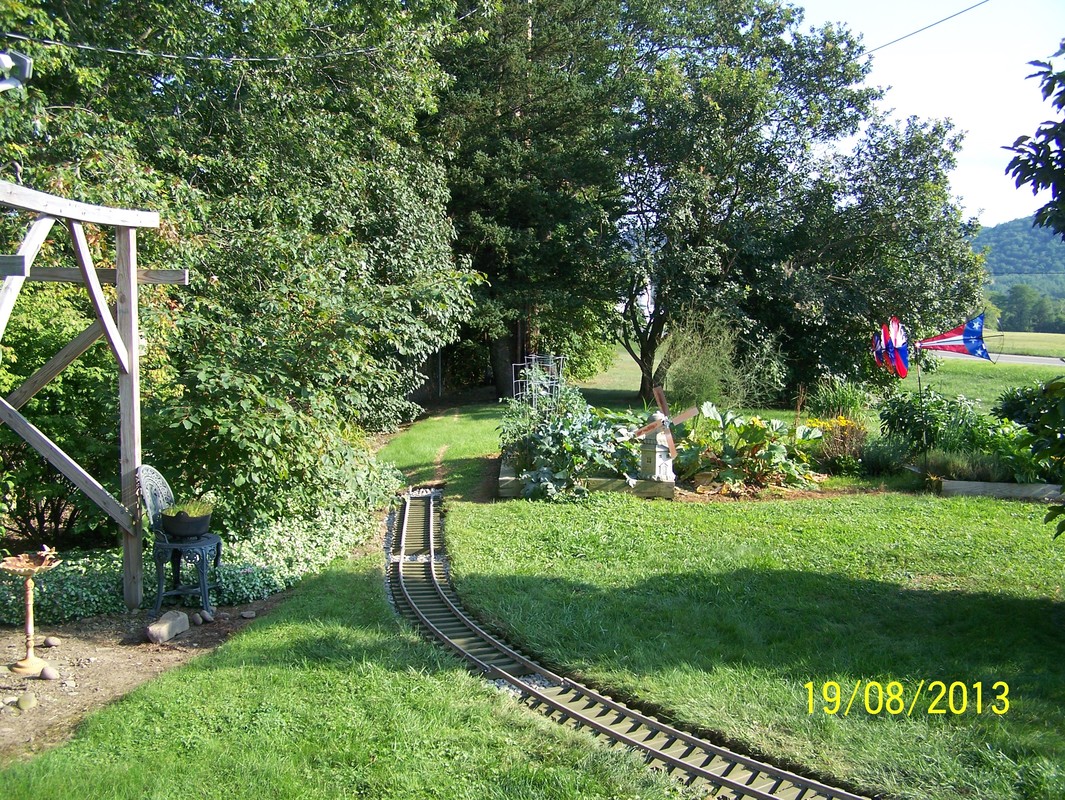
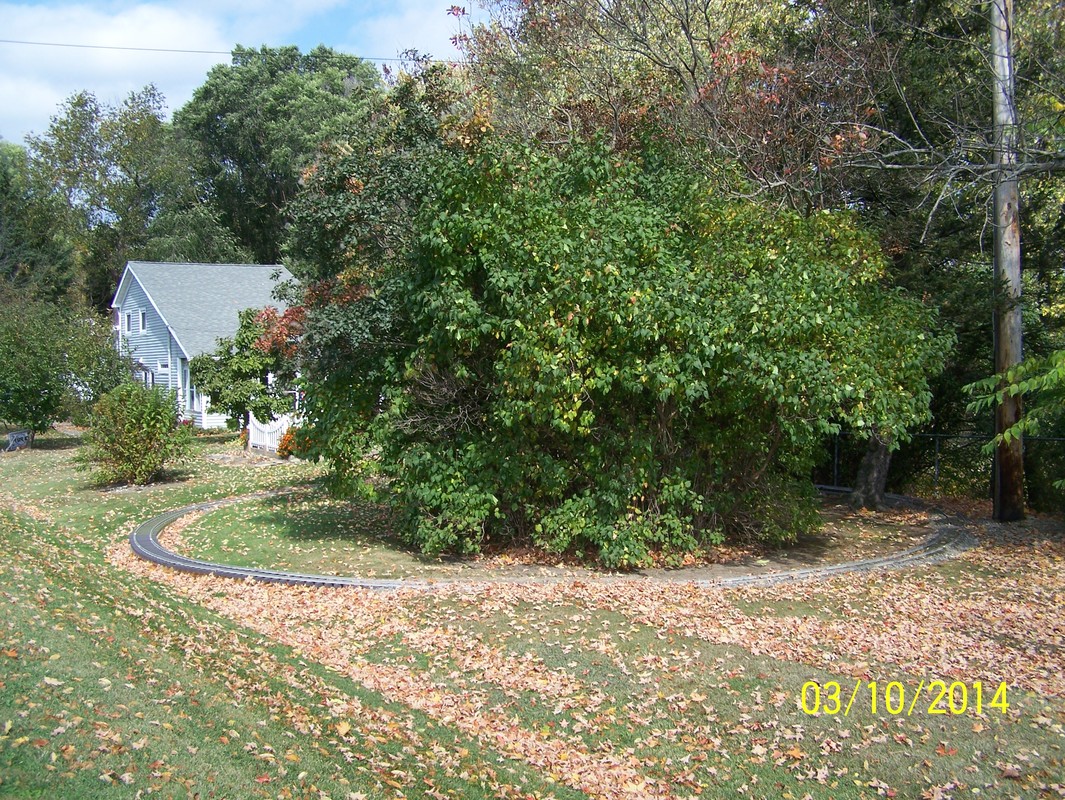
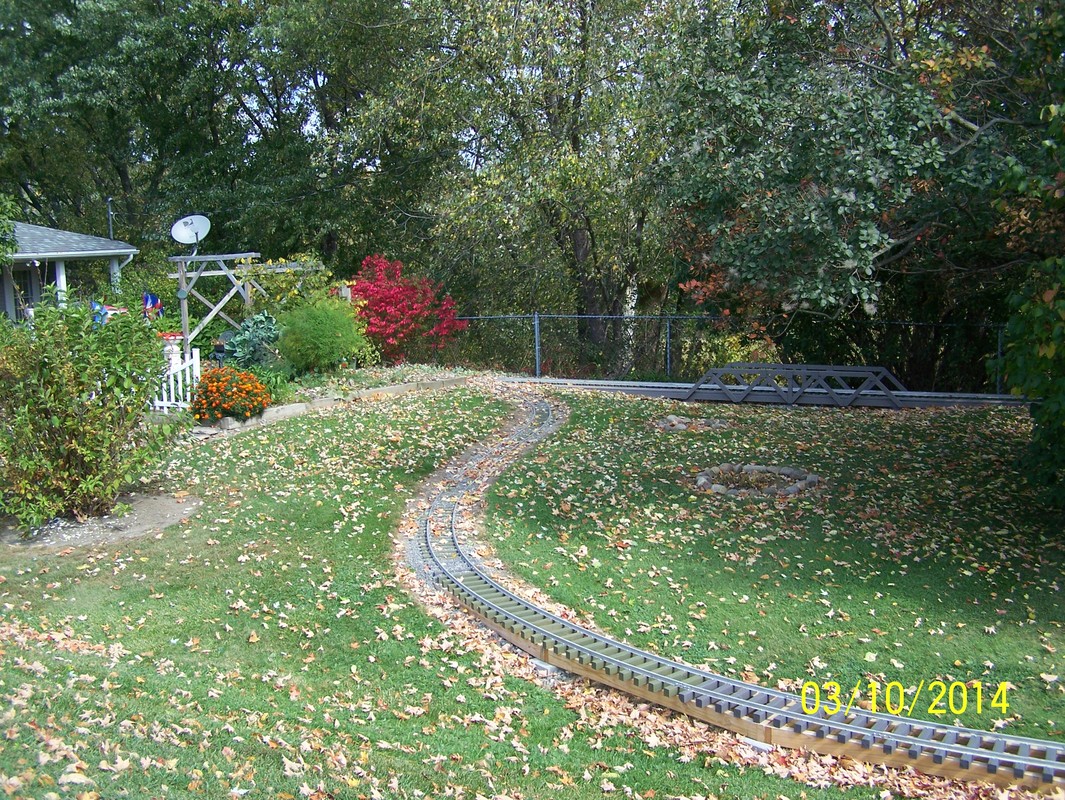
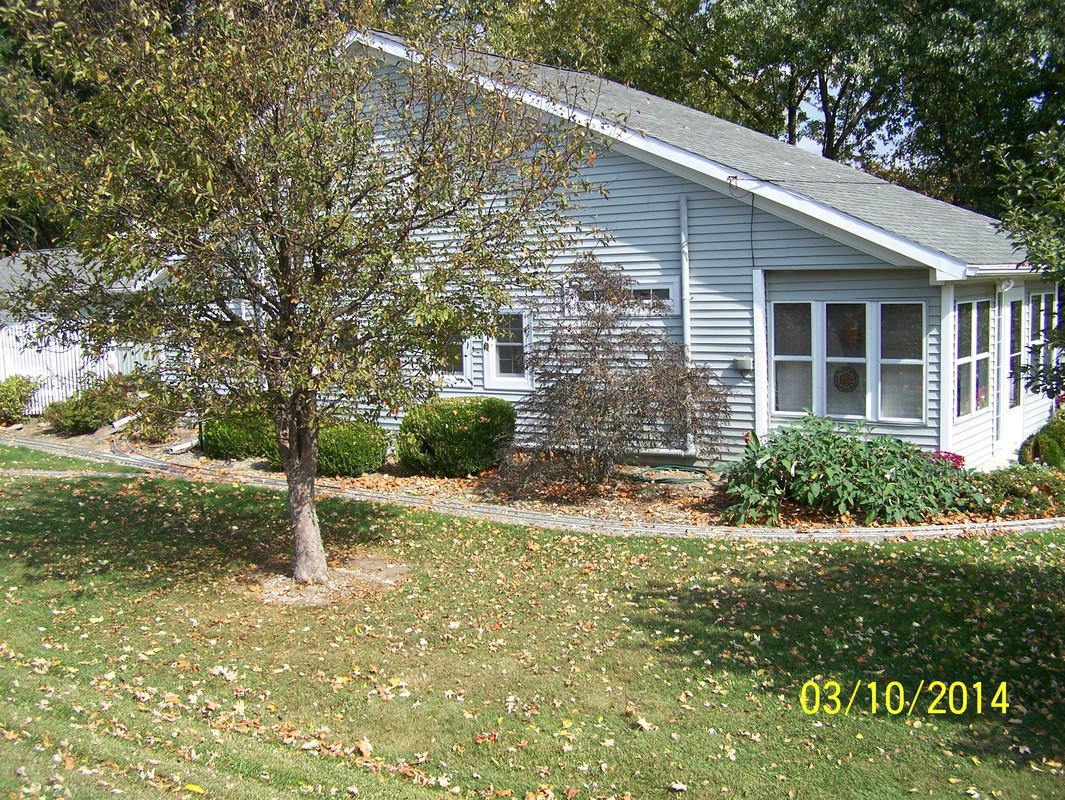
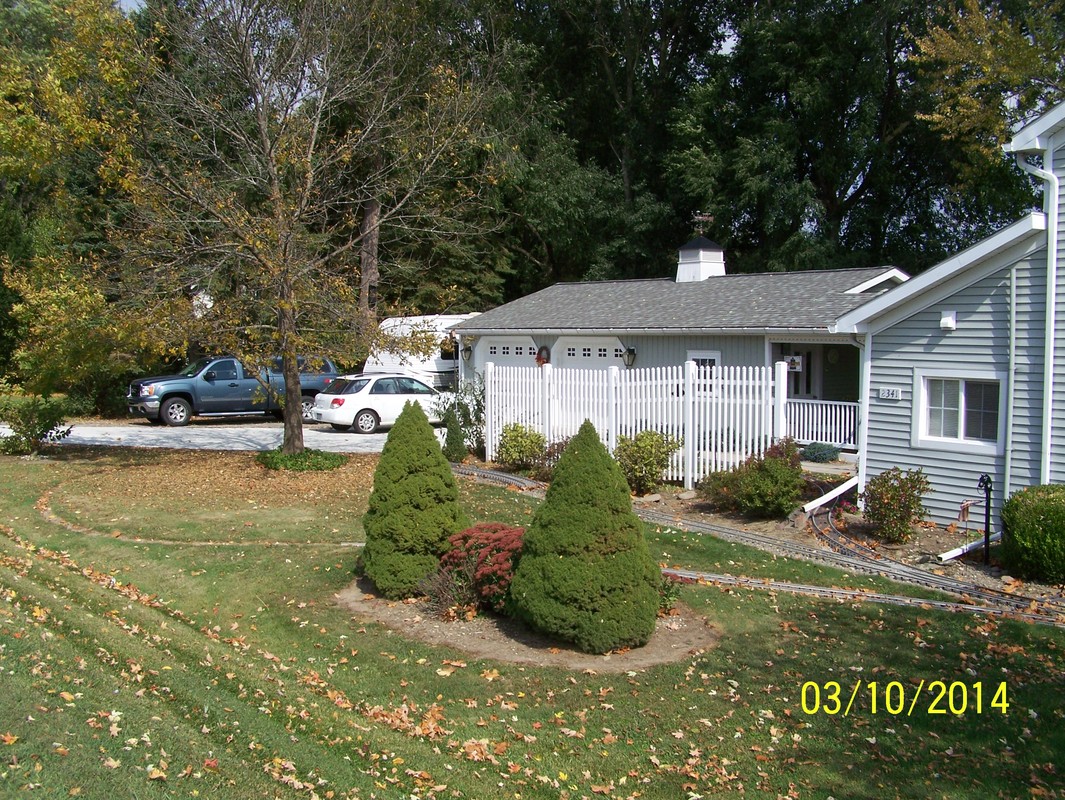
Nov, 2010. These are pictures of where the mainline and river sub will go.


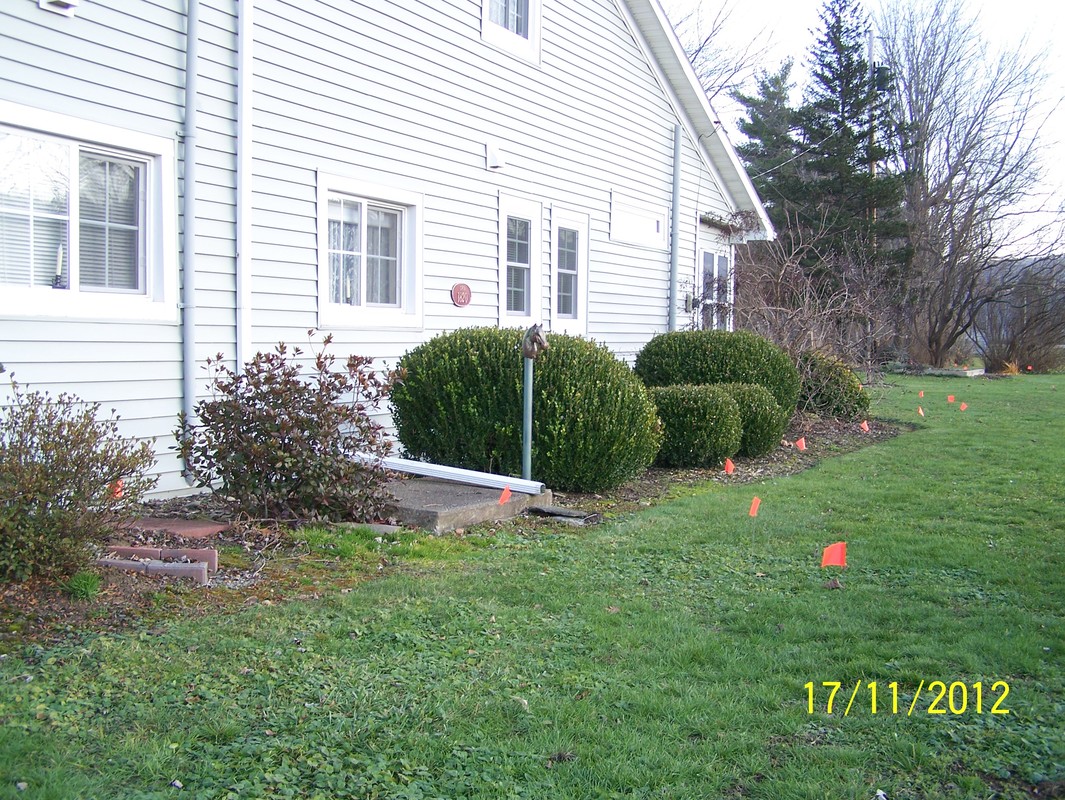
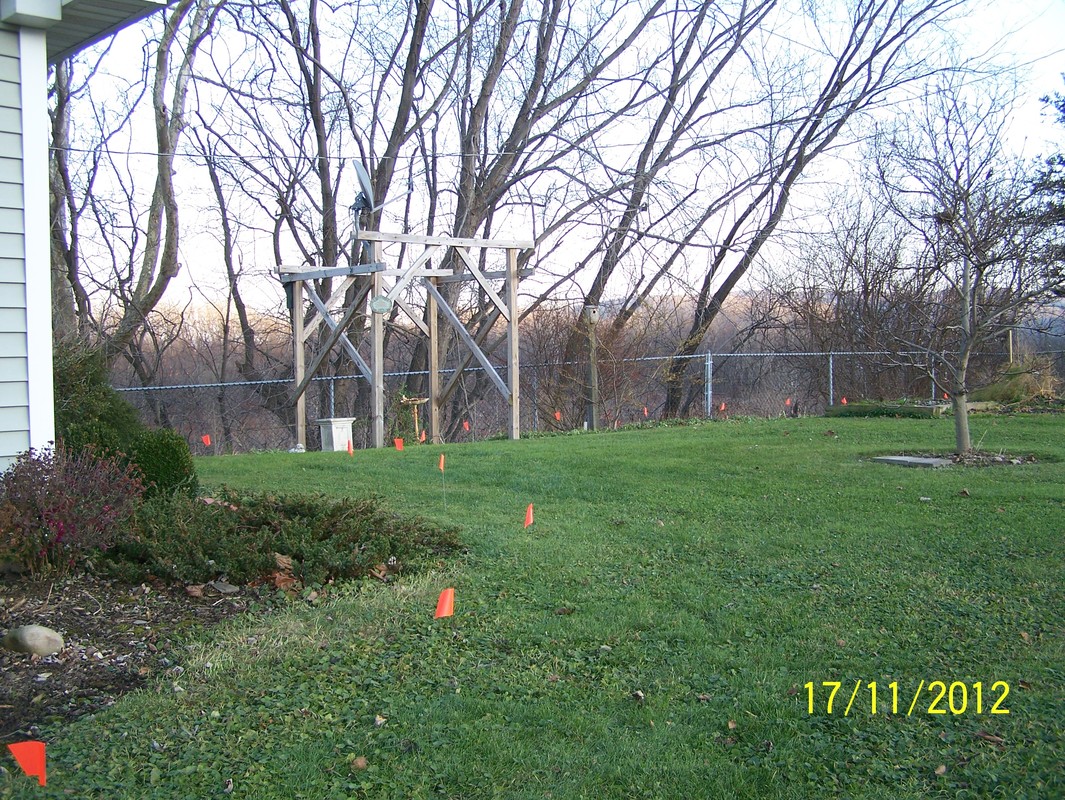
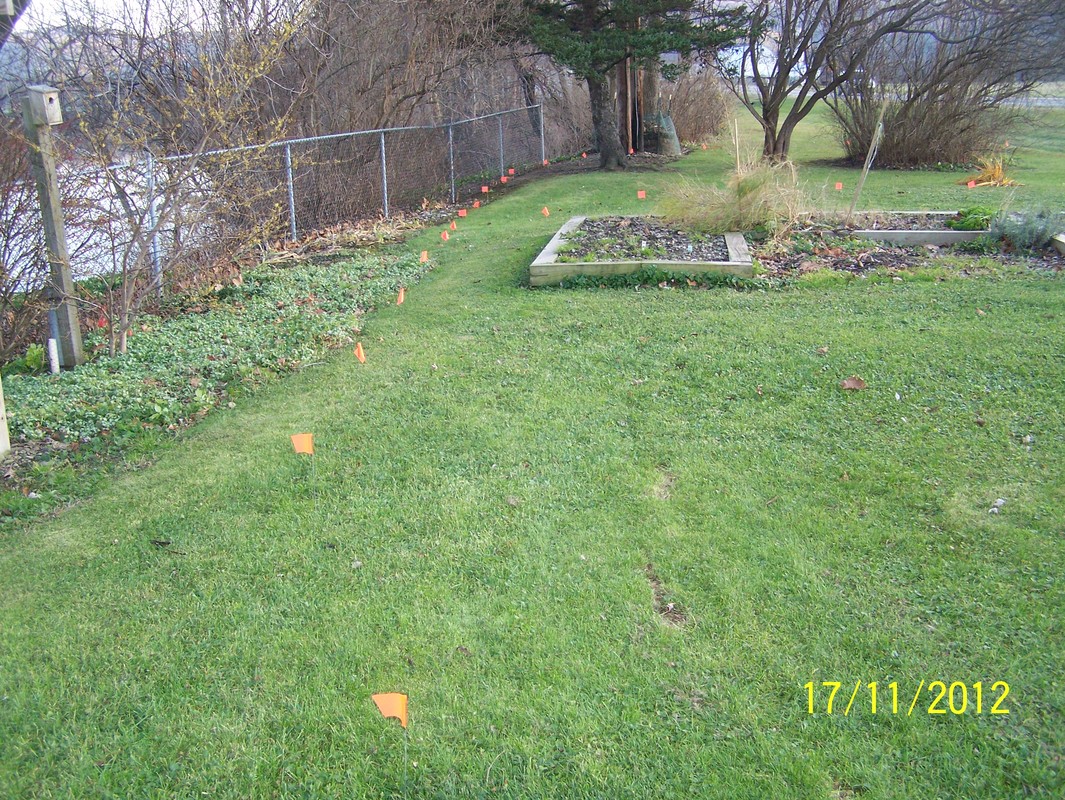
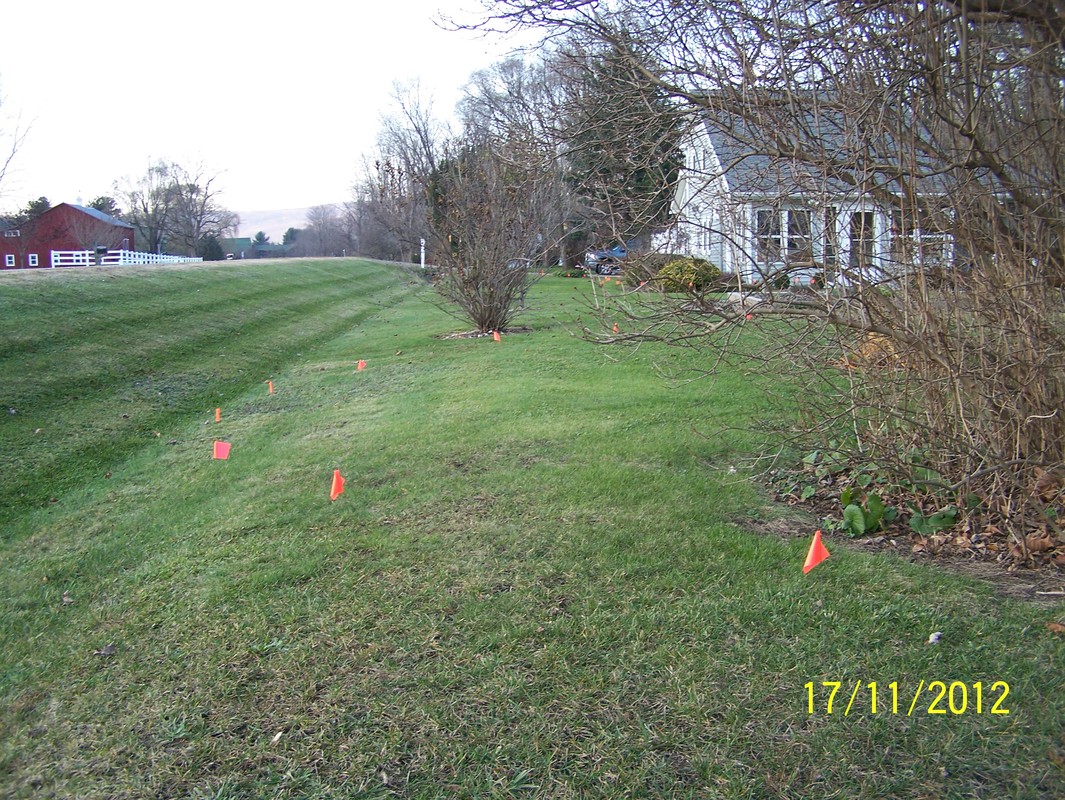
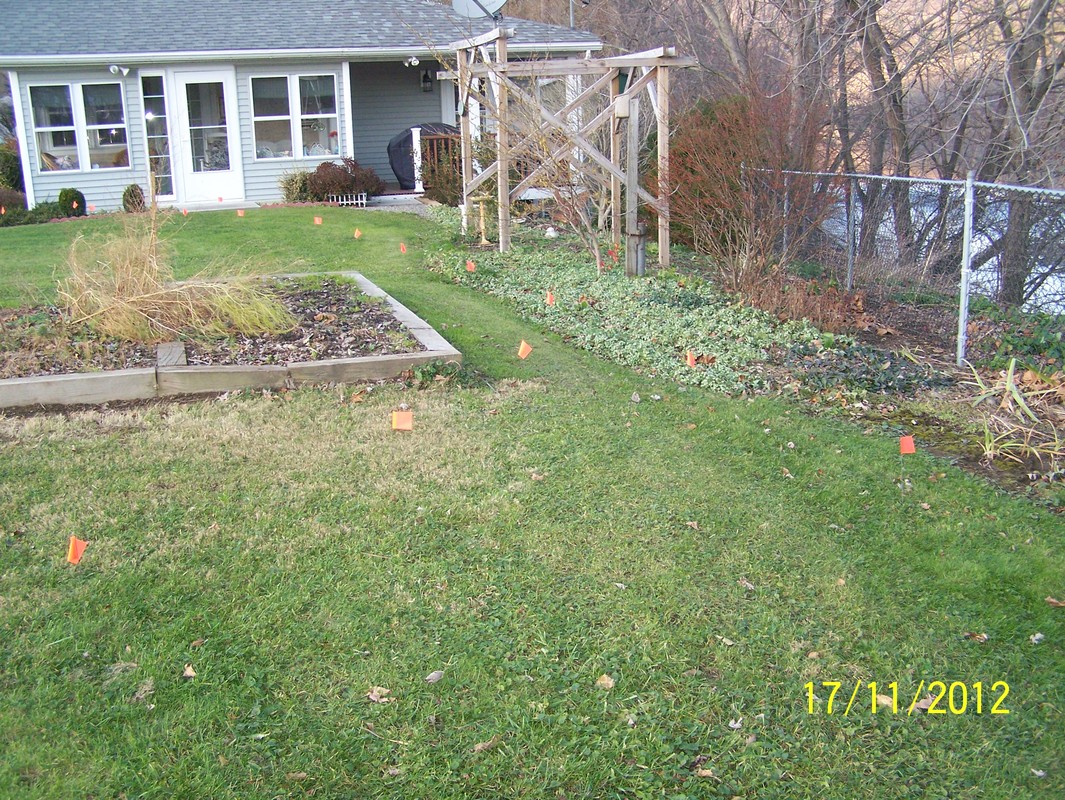
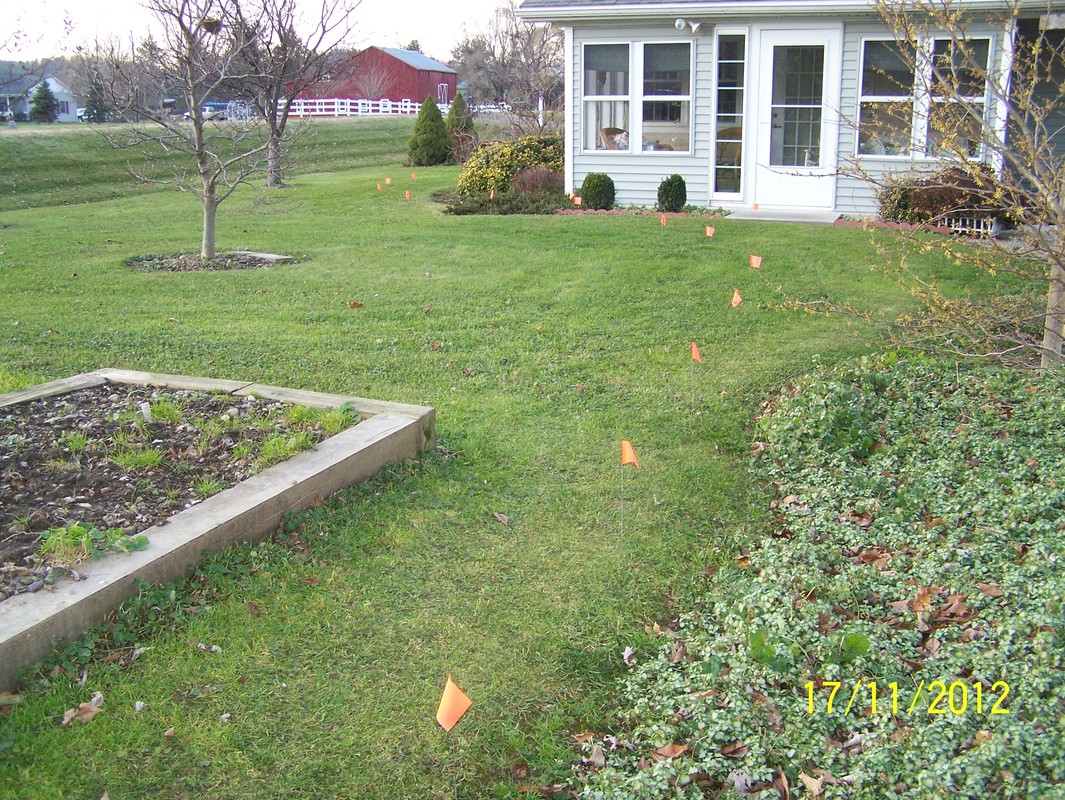
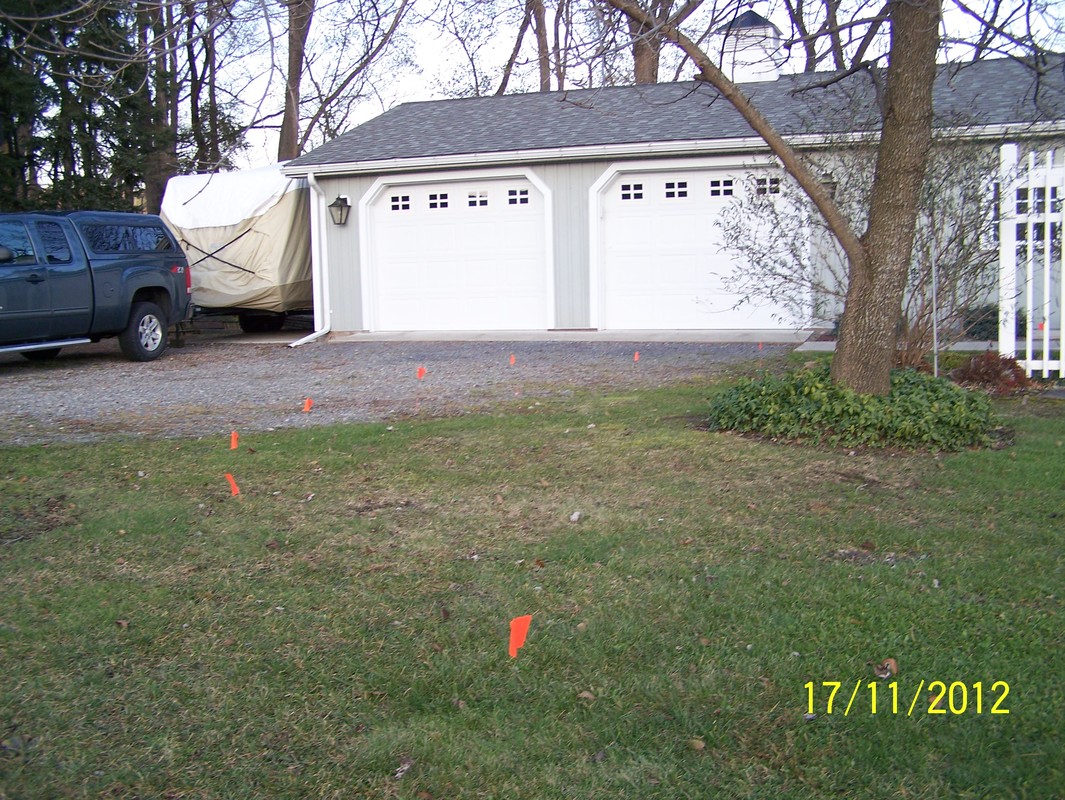
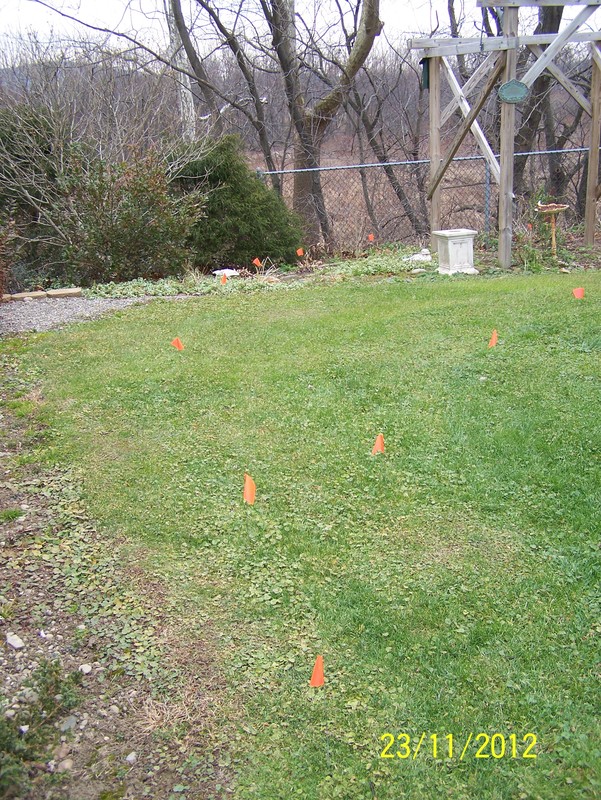
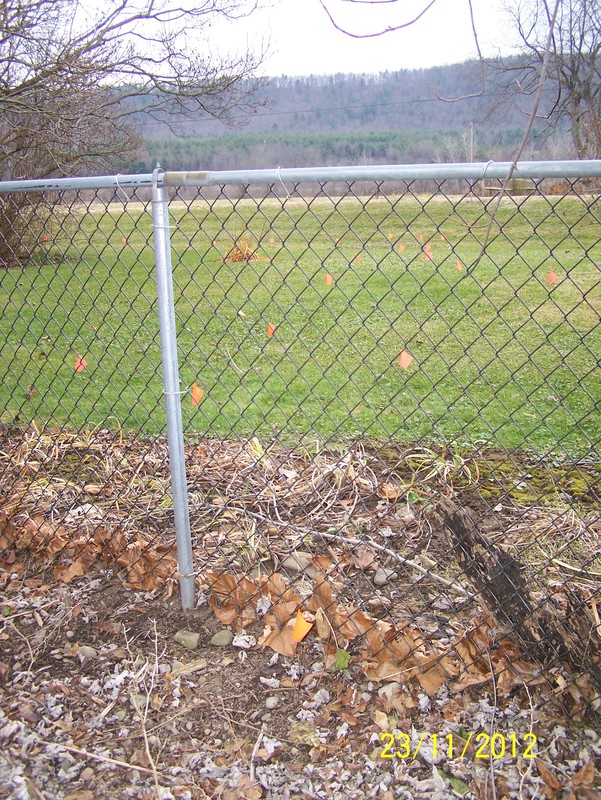
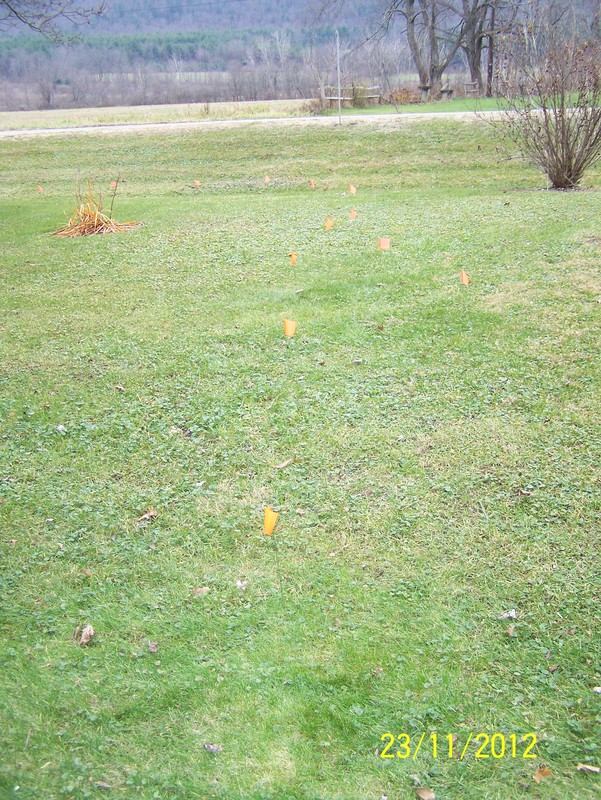
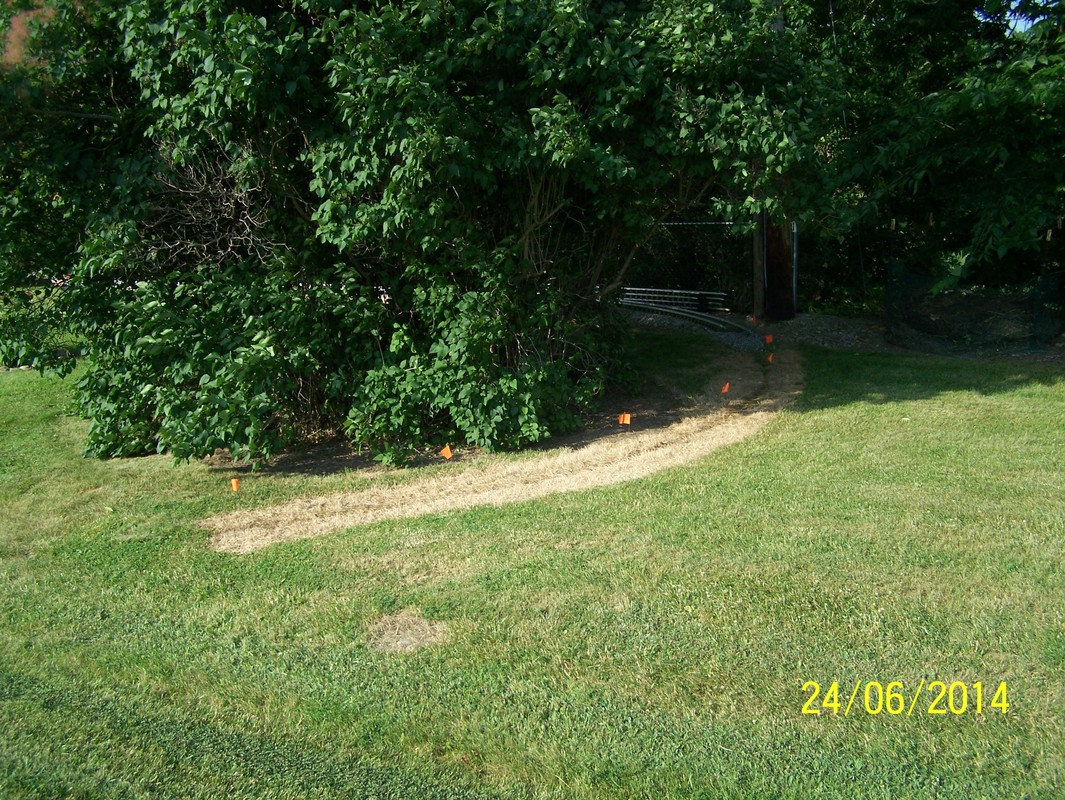
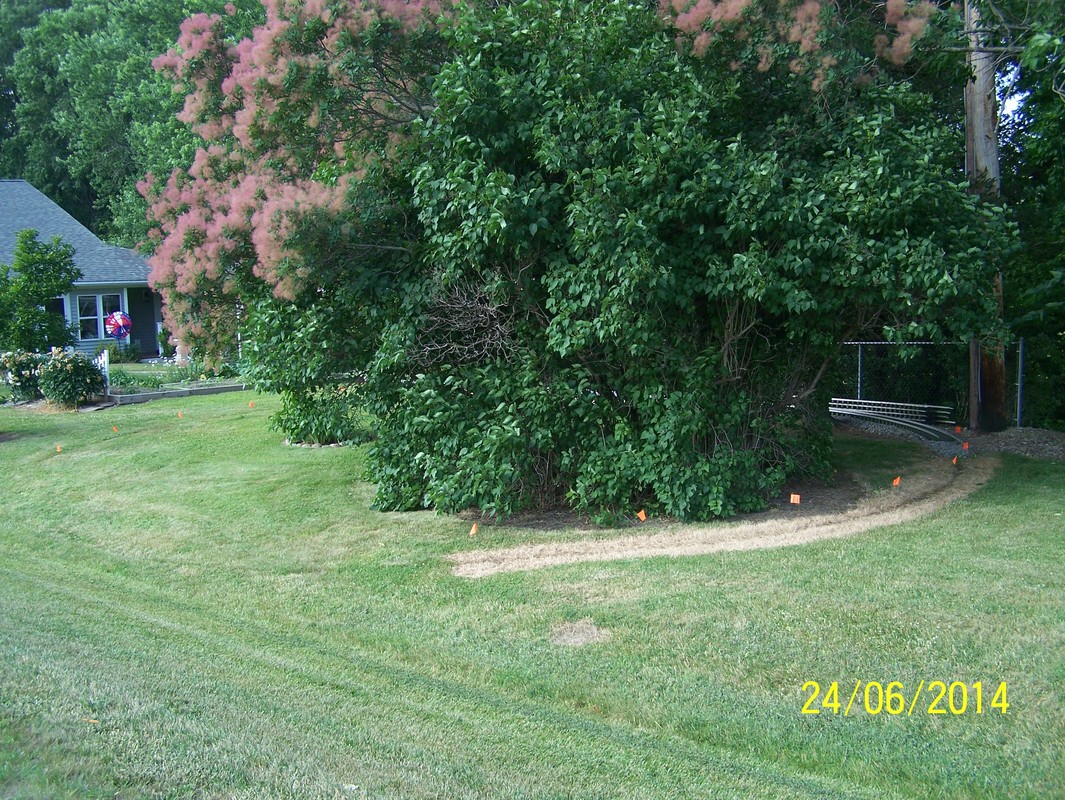
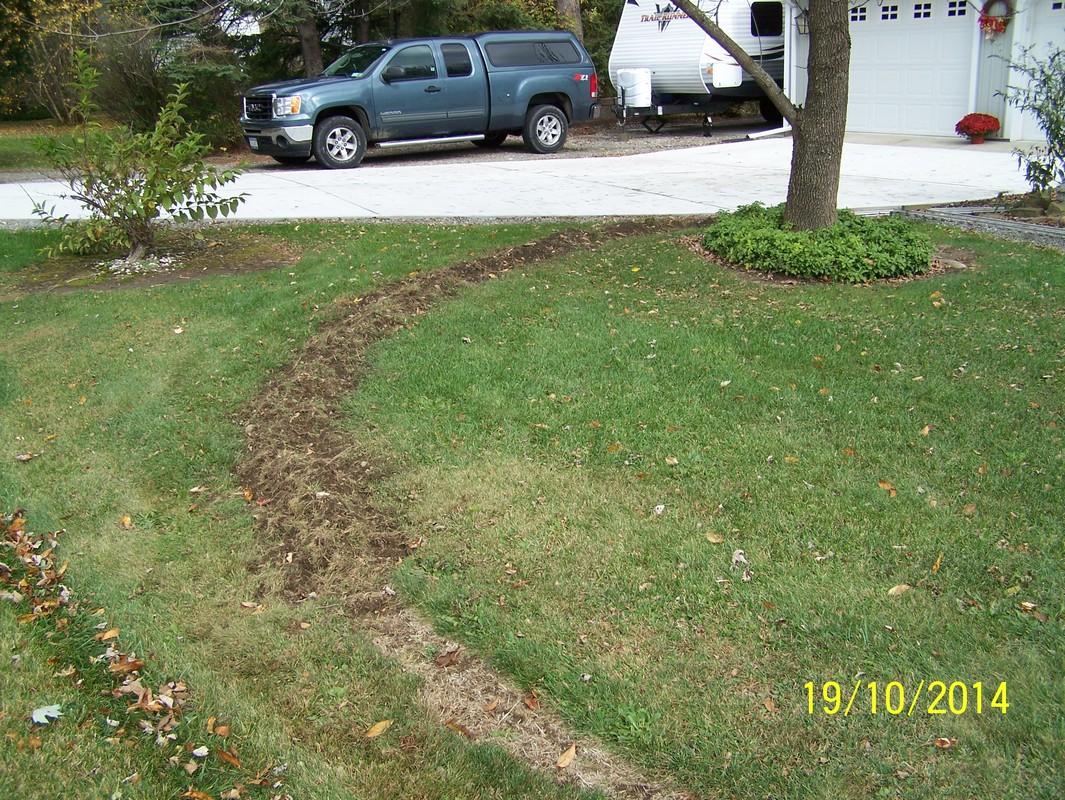
Nov, 2012. Finally got some little surveyor flags and marked out where the mainline will go.
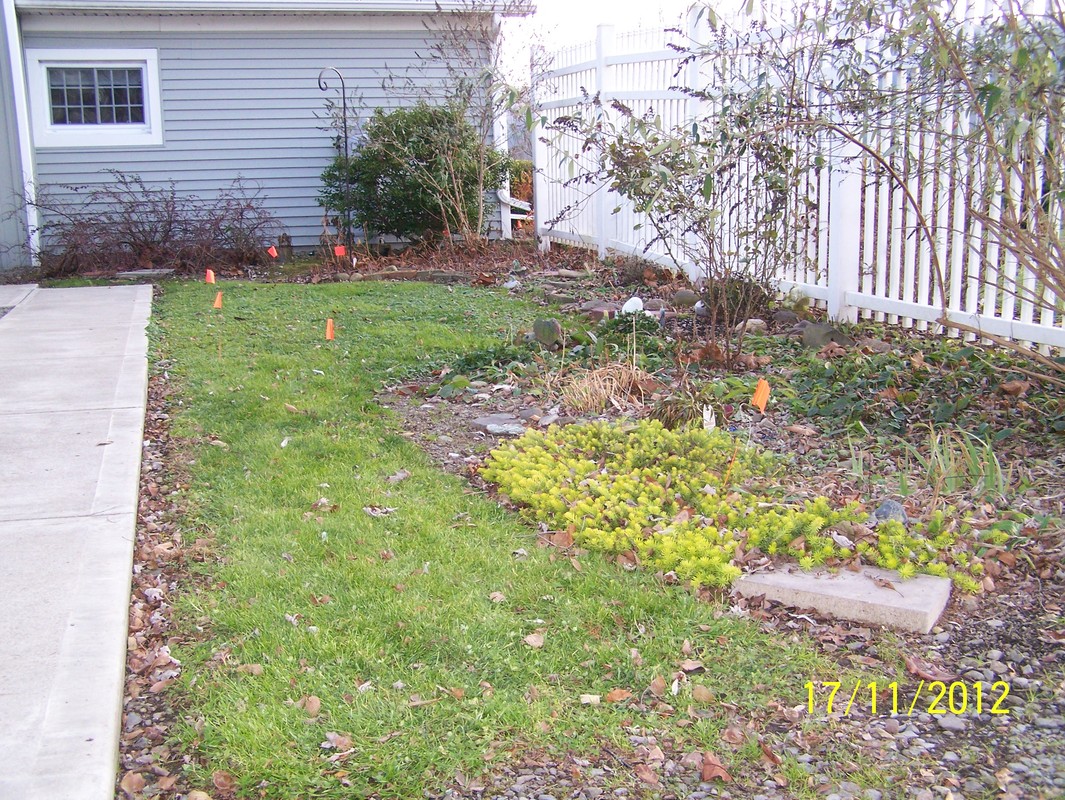
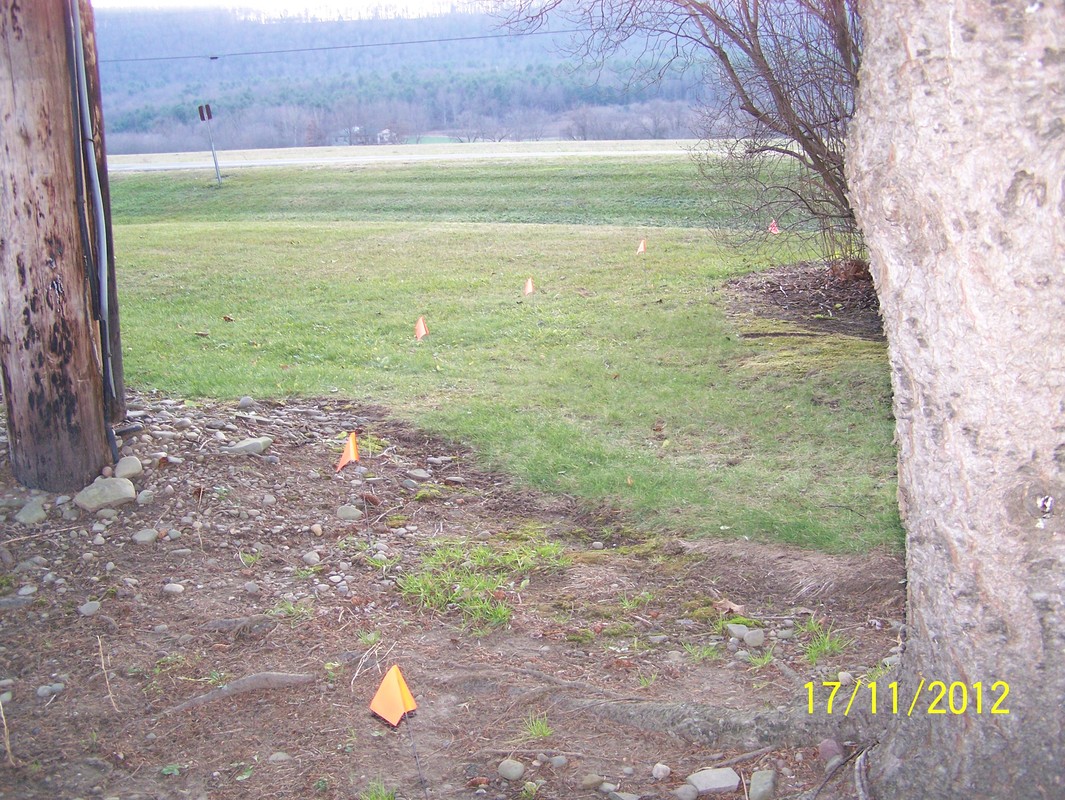
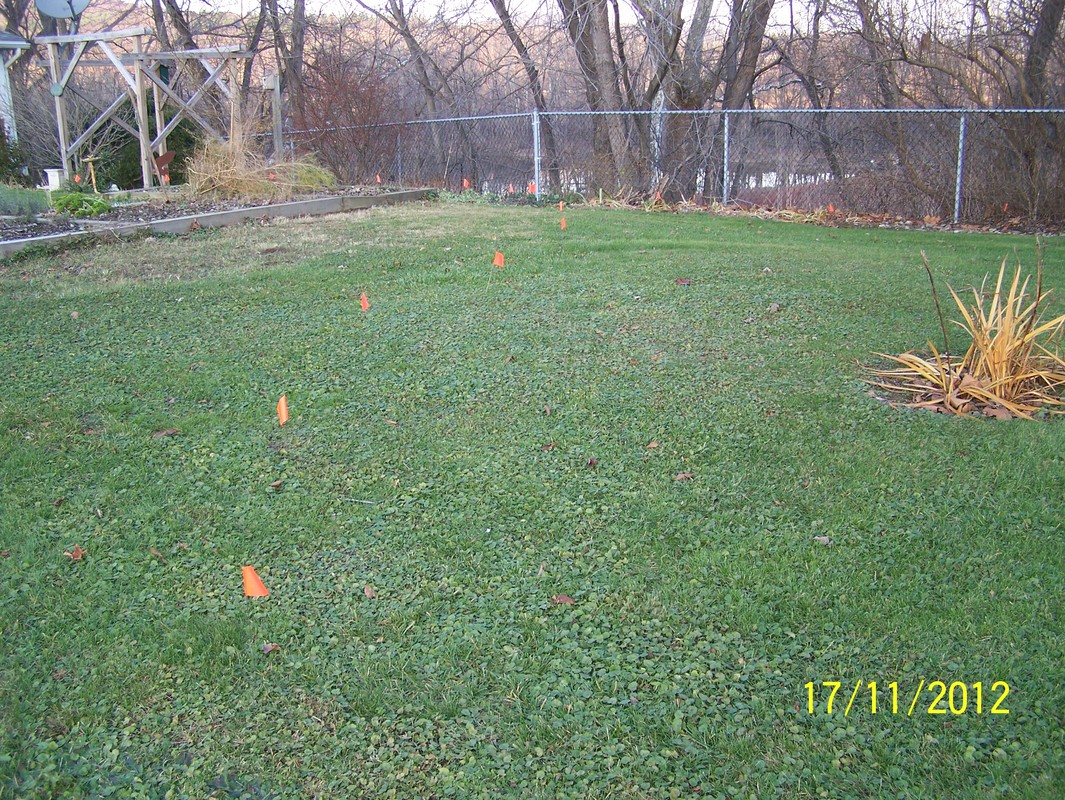
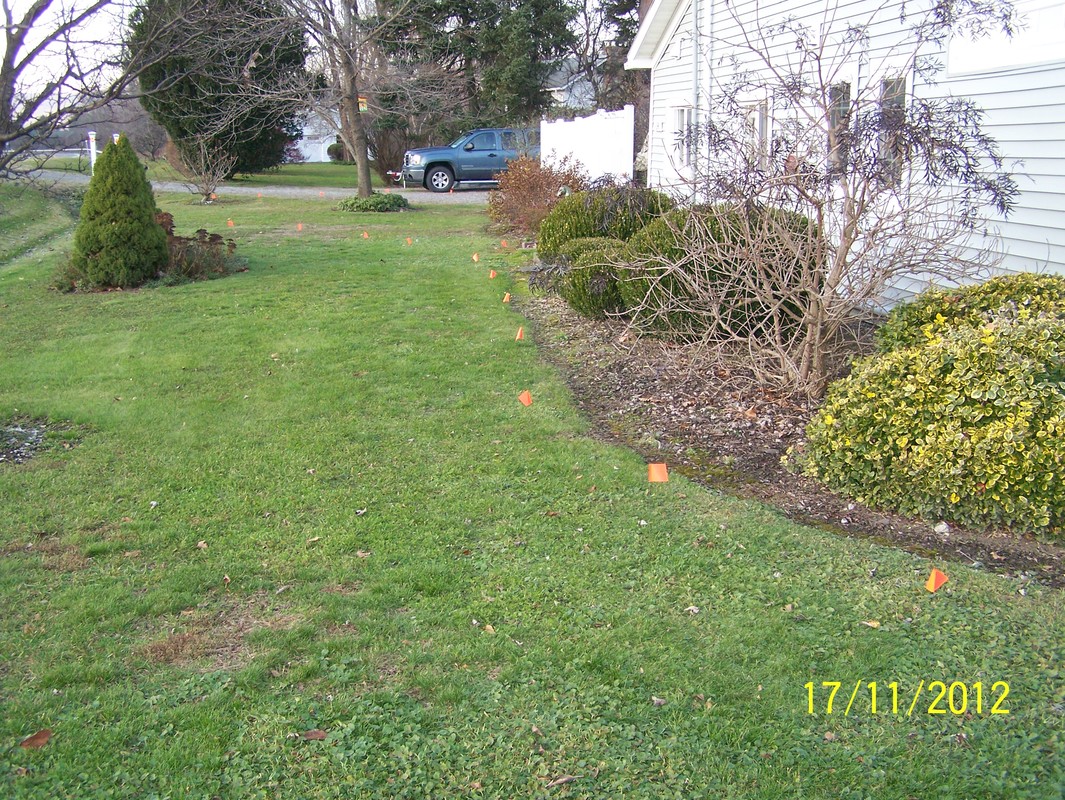
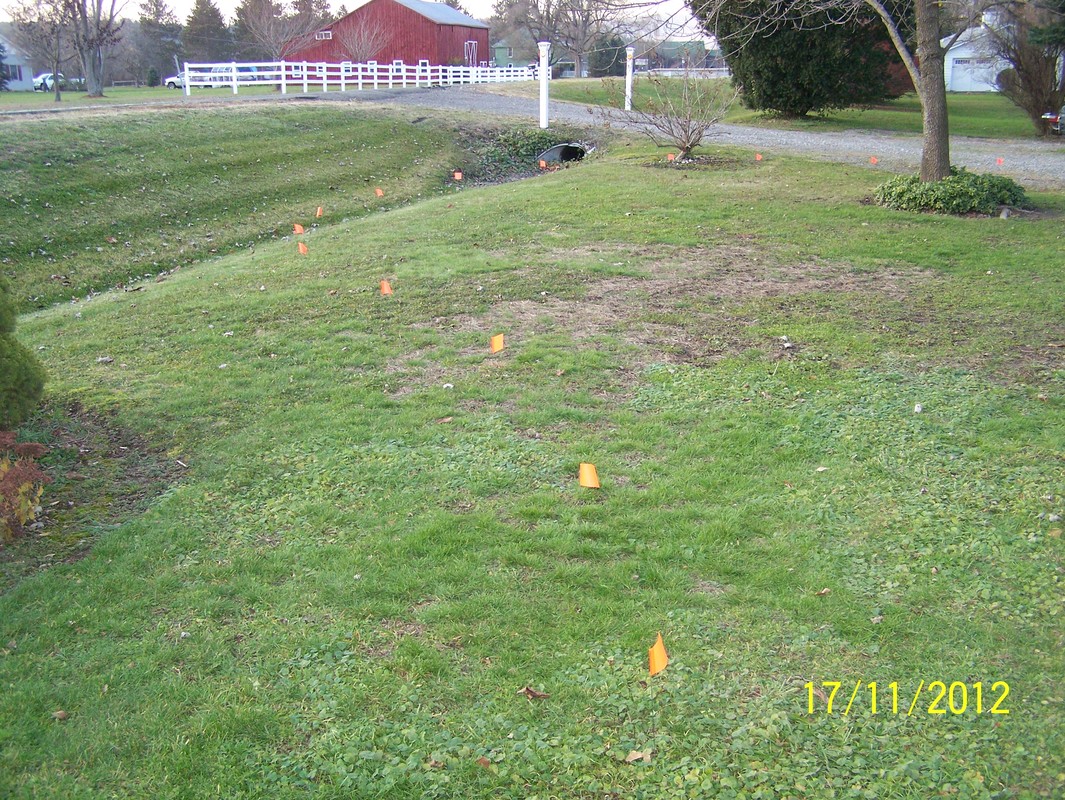
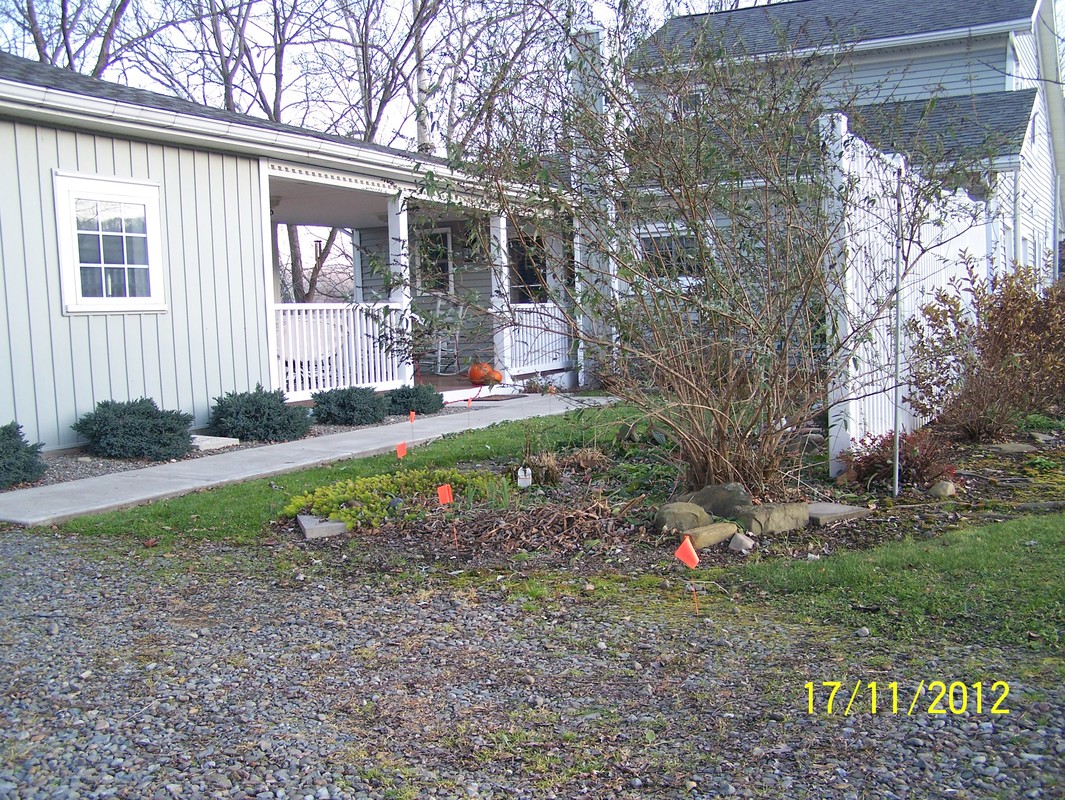
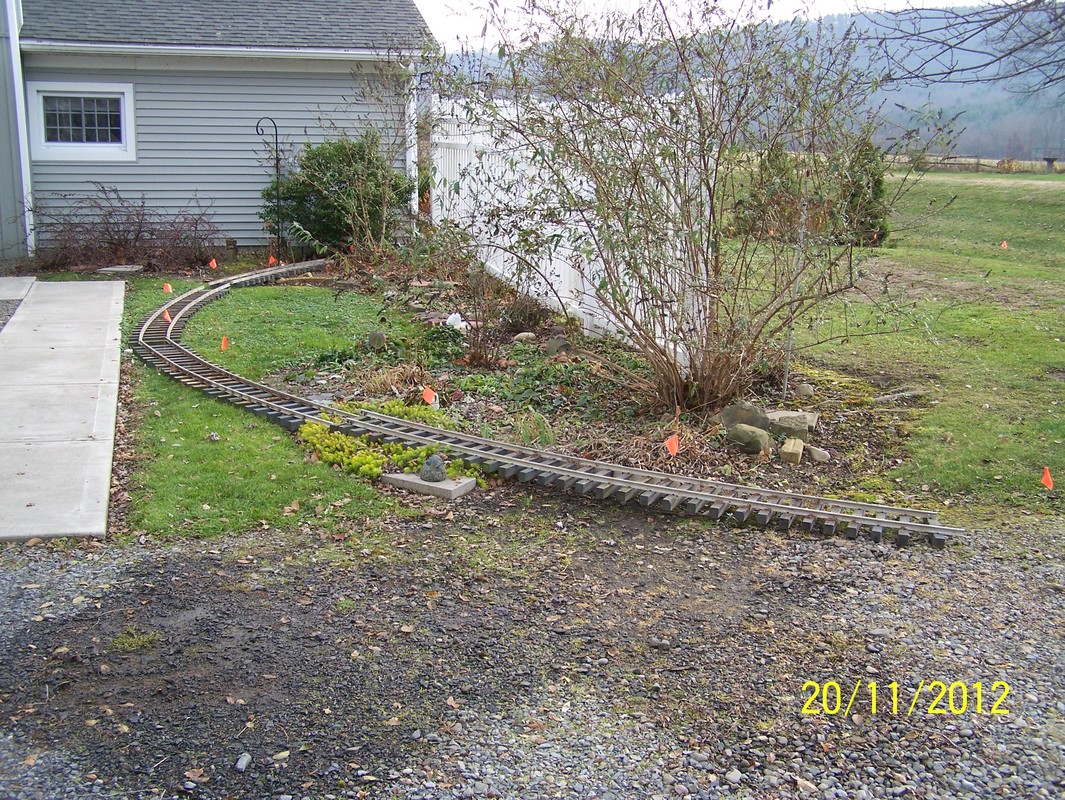
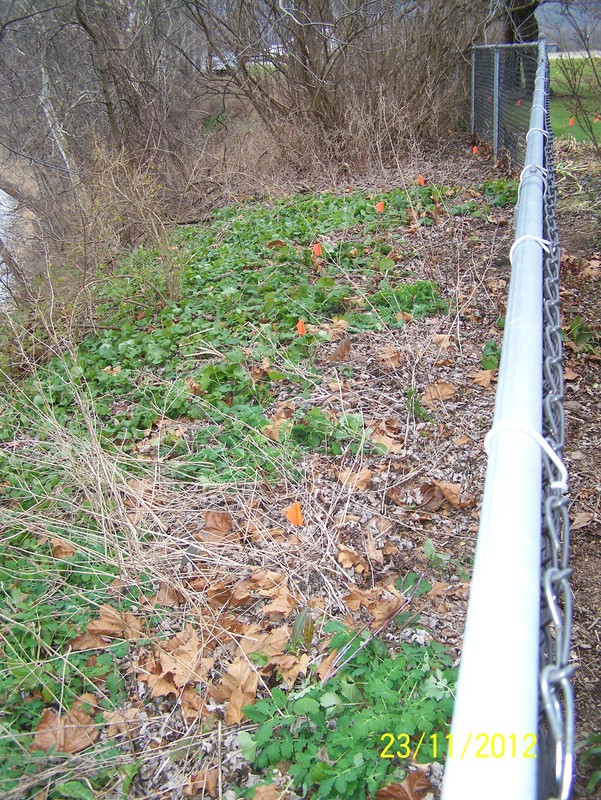
Nov, 2012. Here I marked out, with the surveyor flags, where the River Sub-division will go.
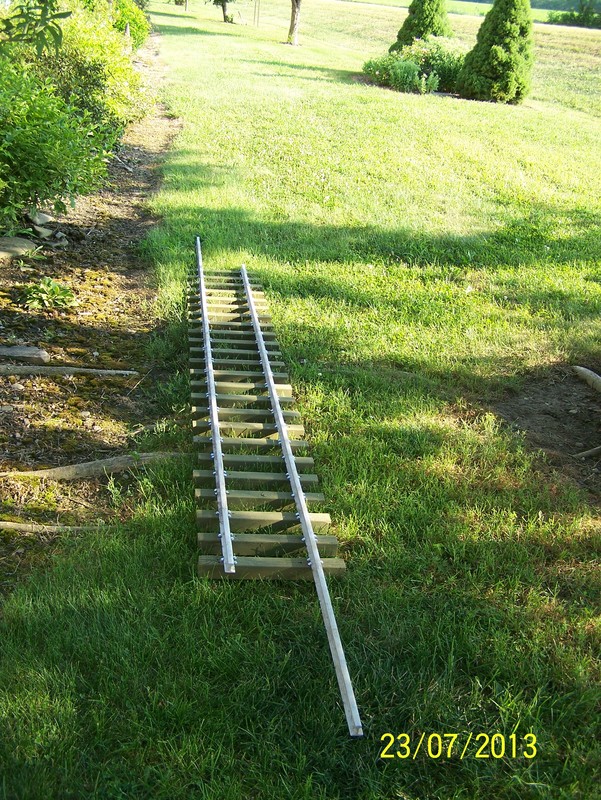
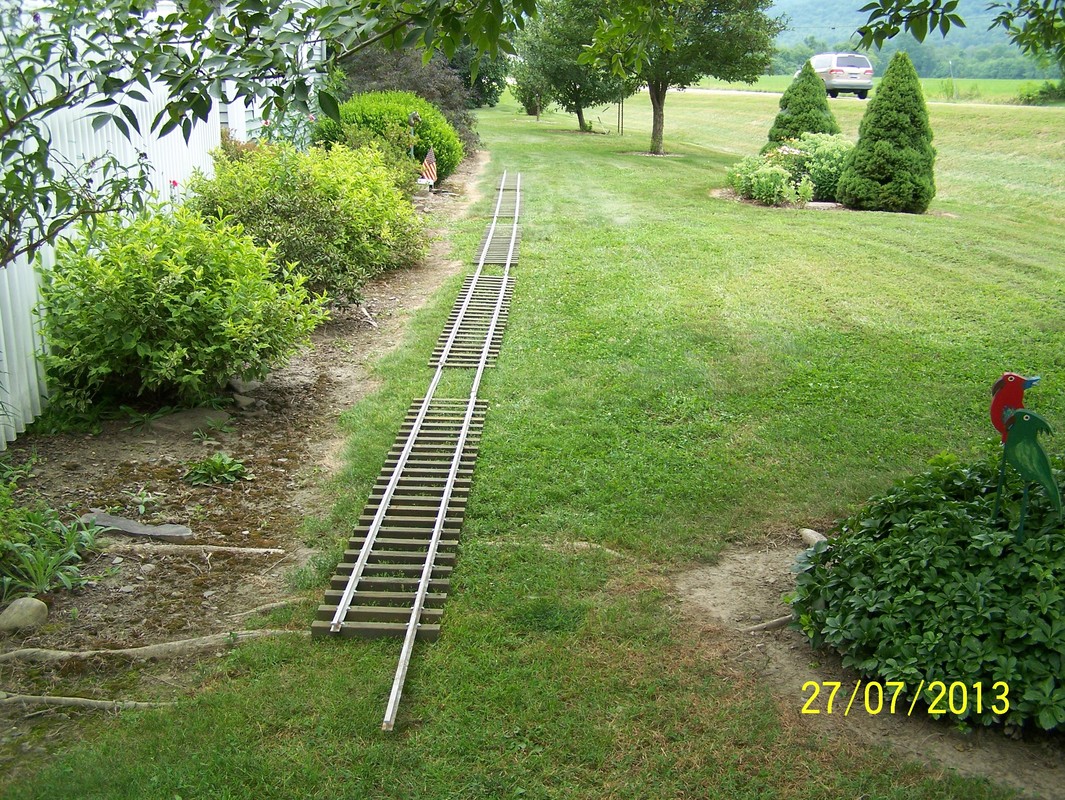
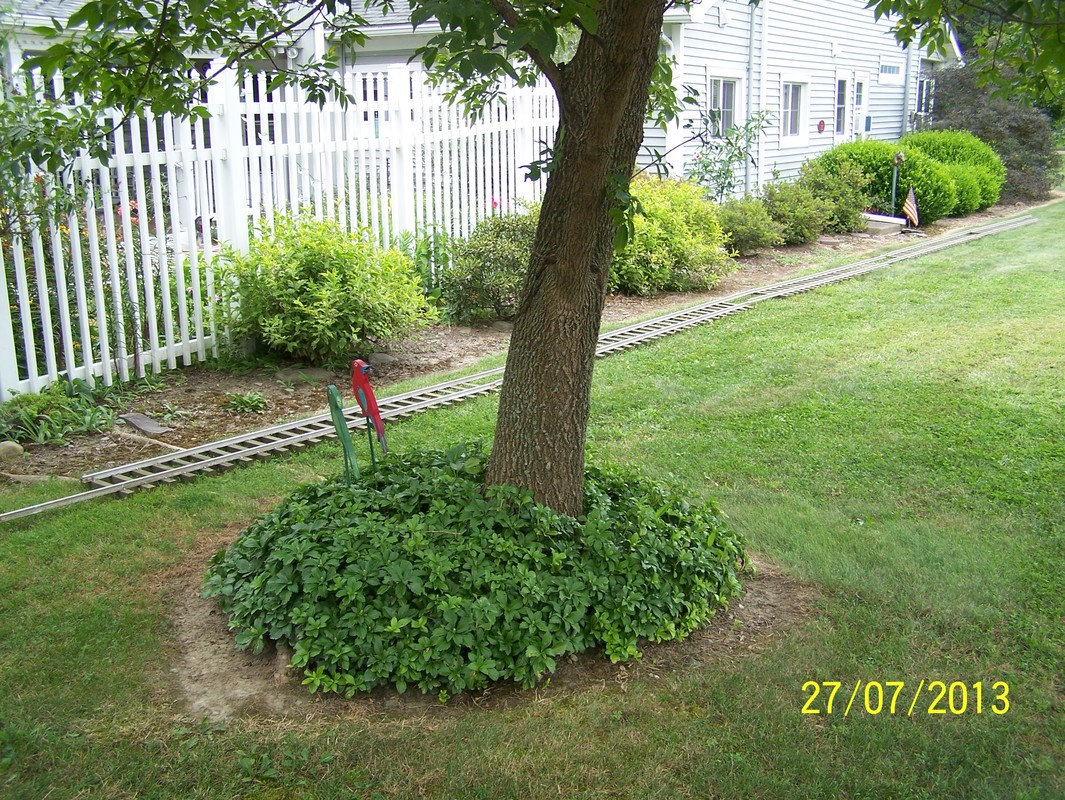
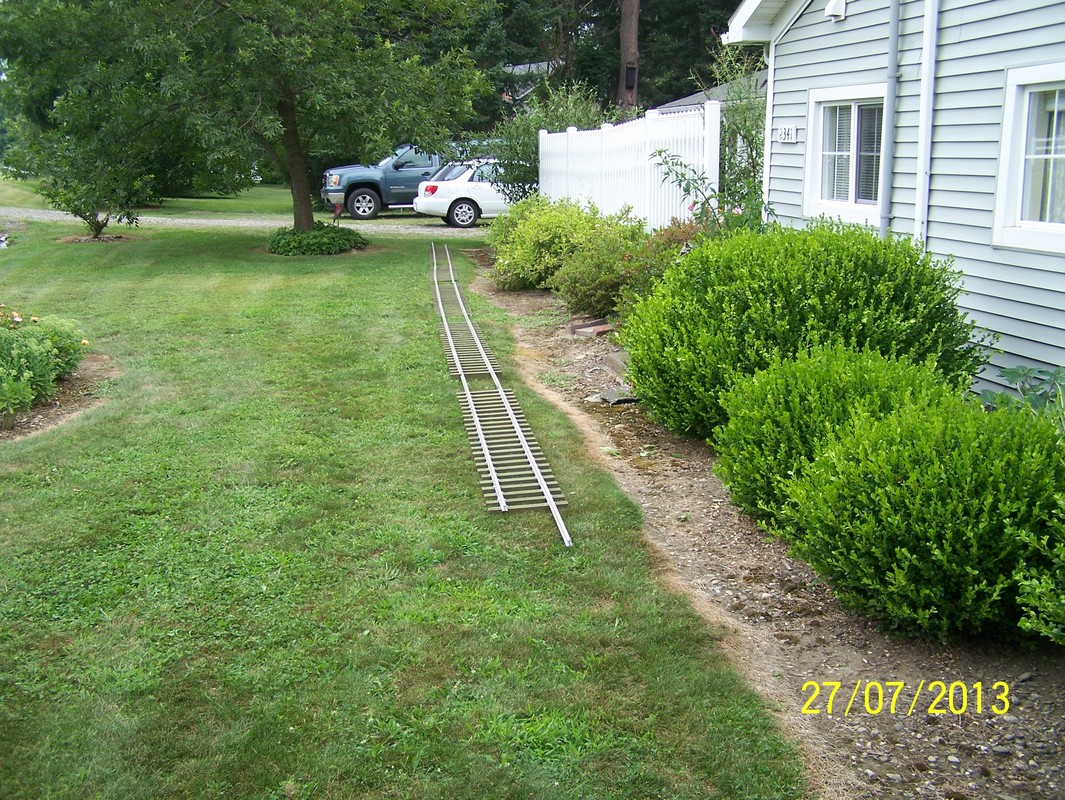
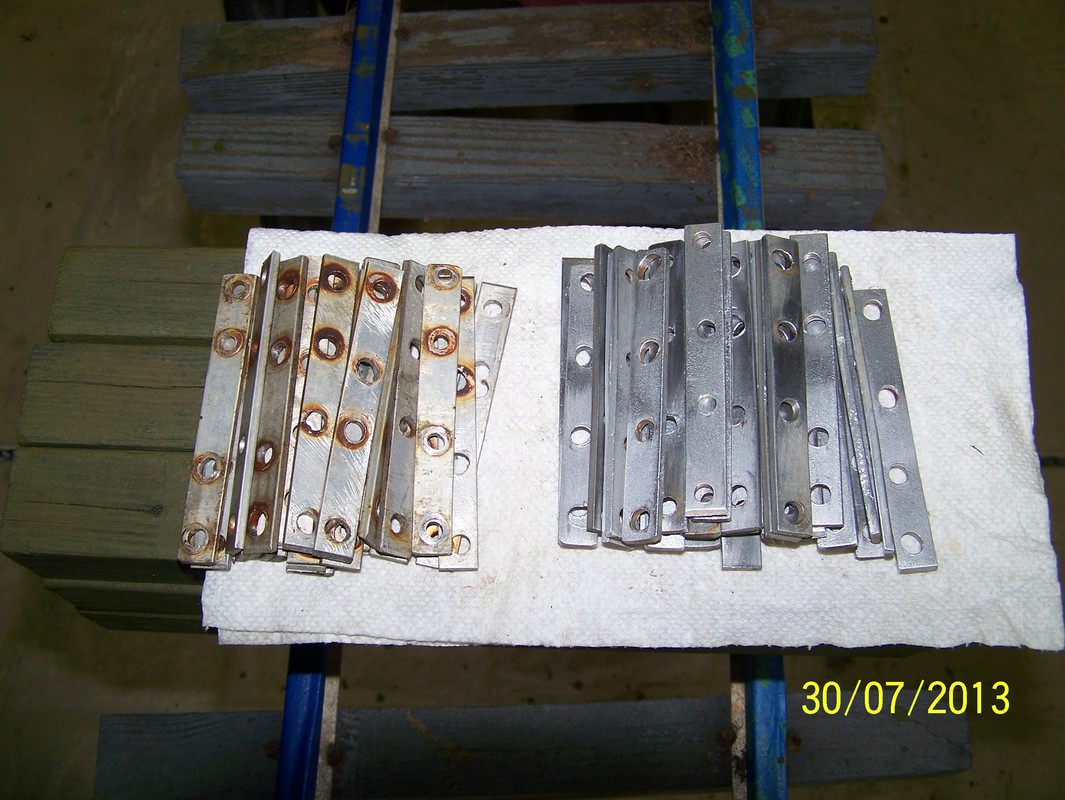
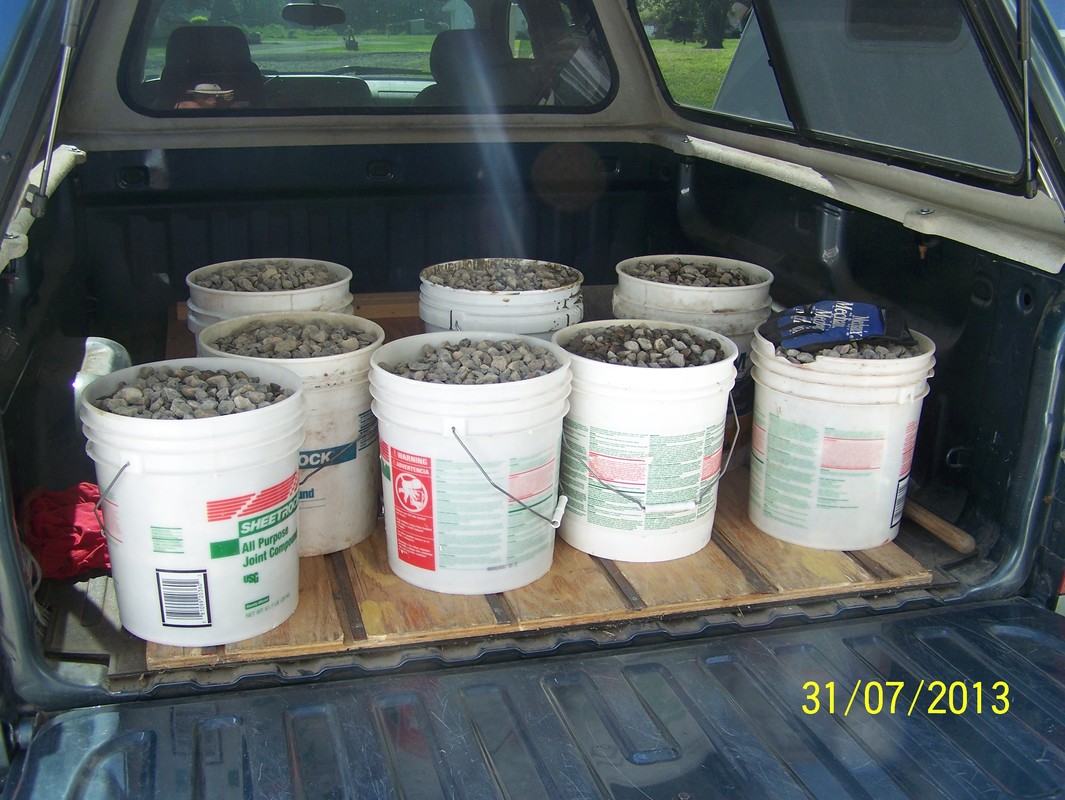
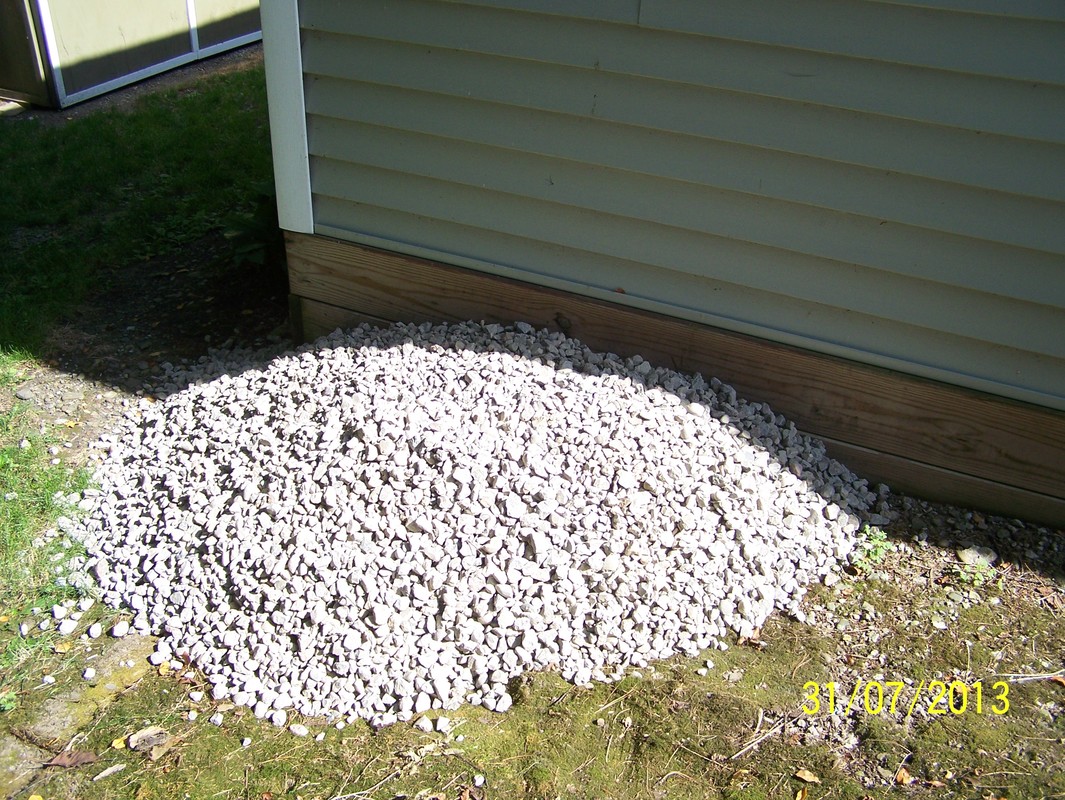
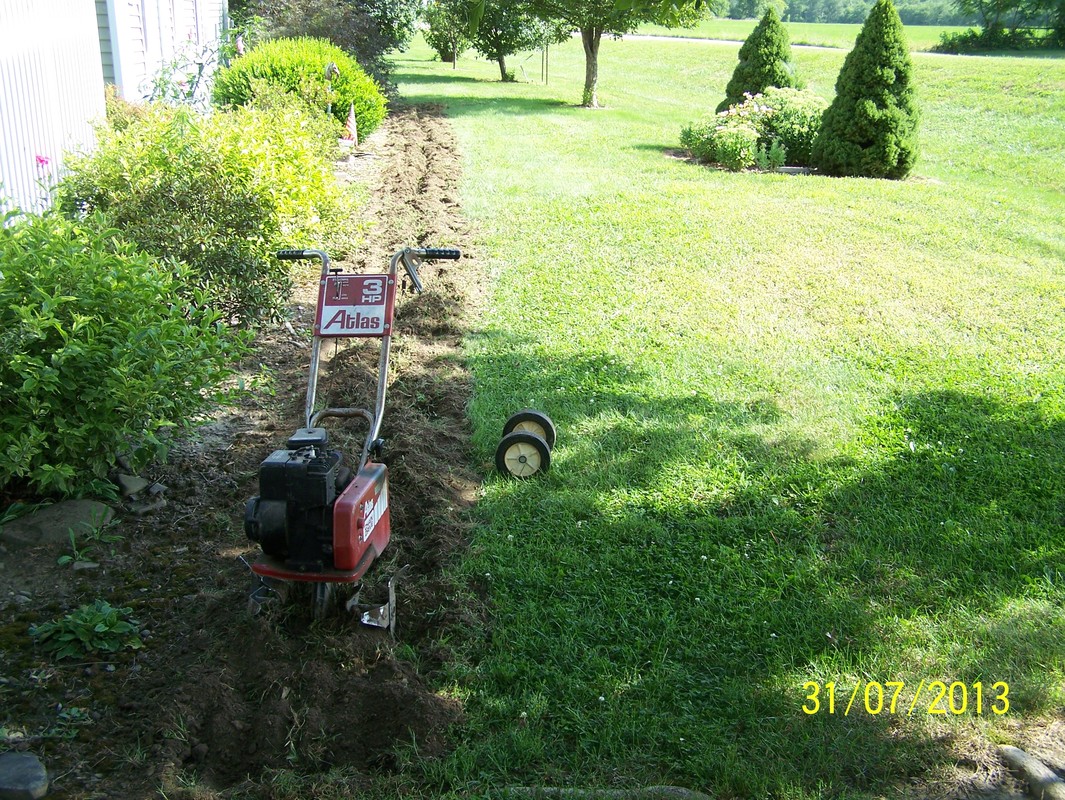
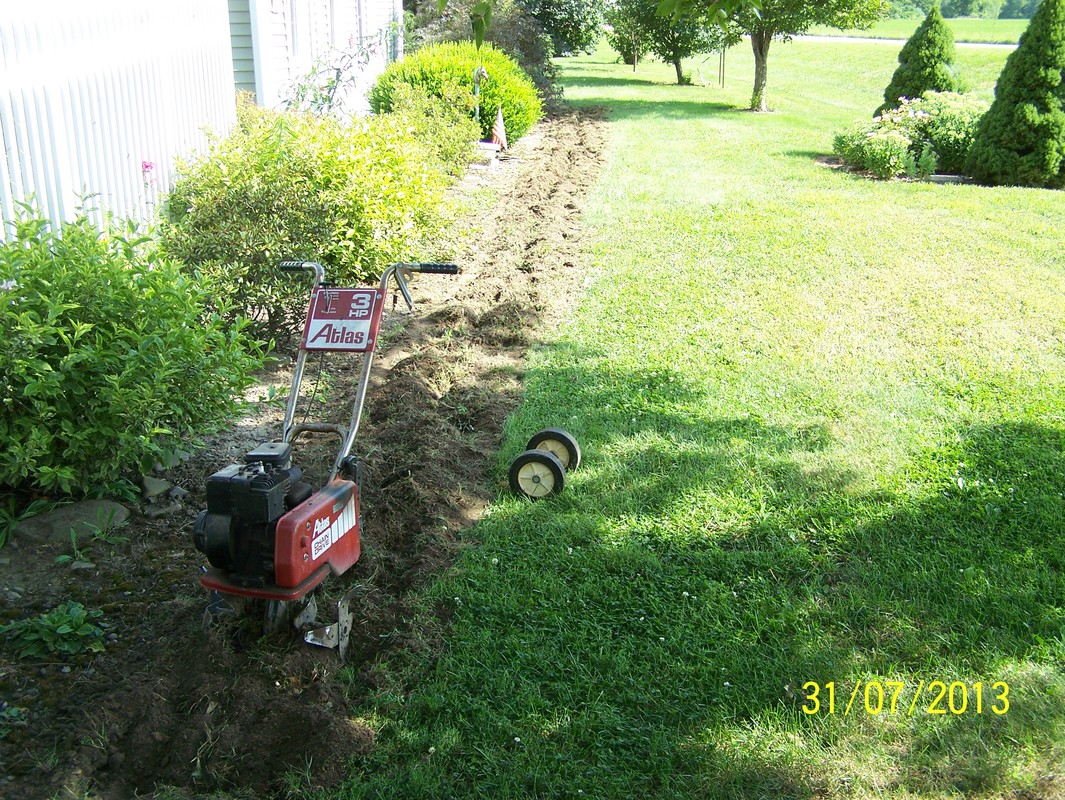
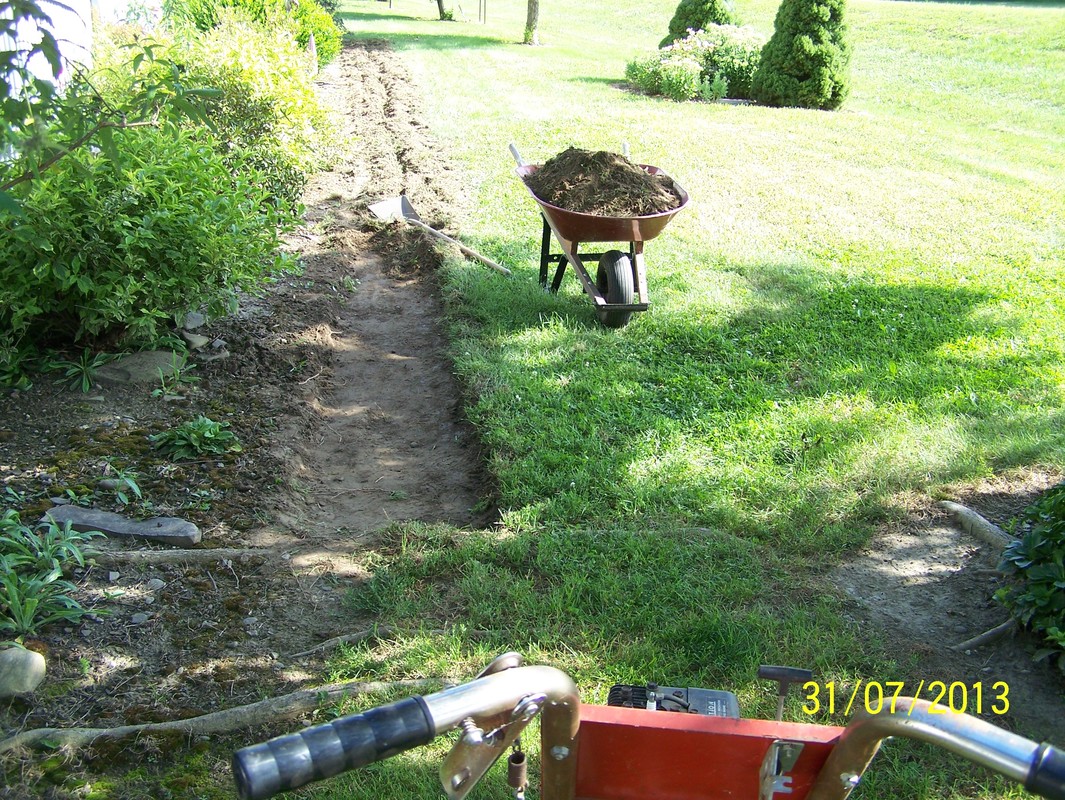
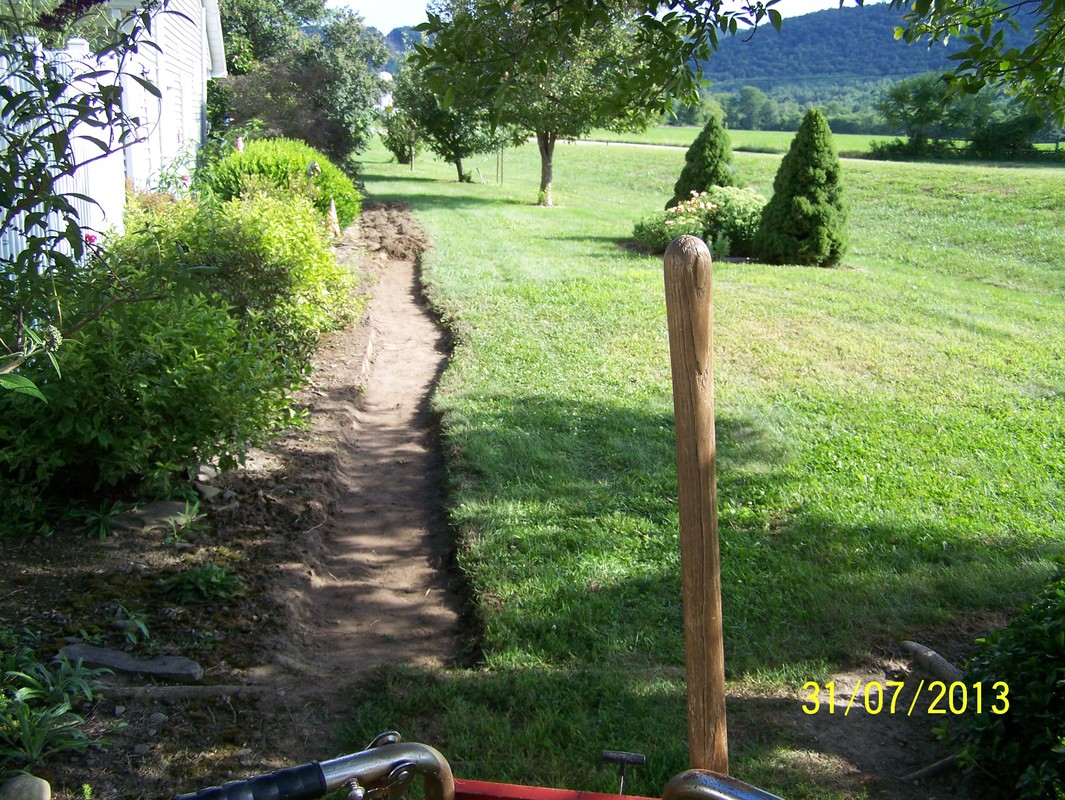
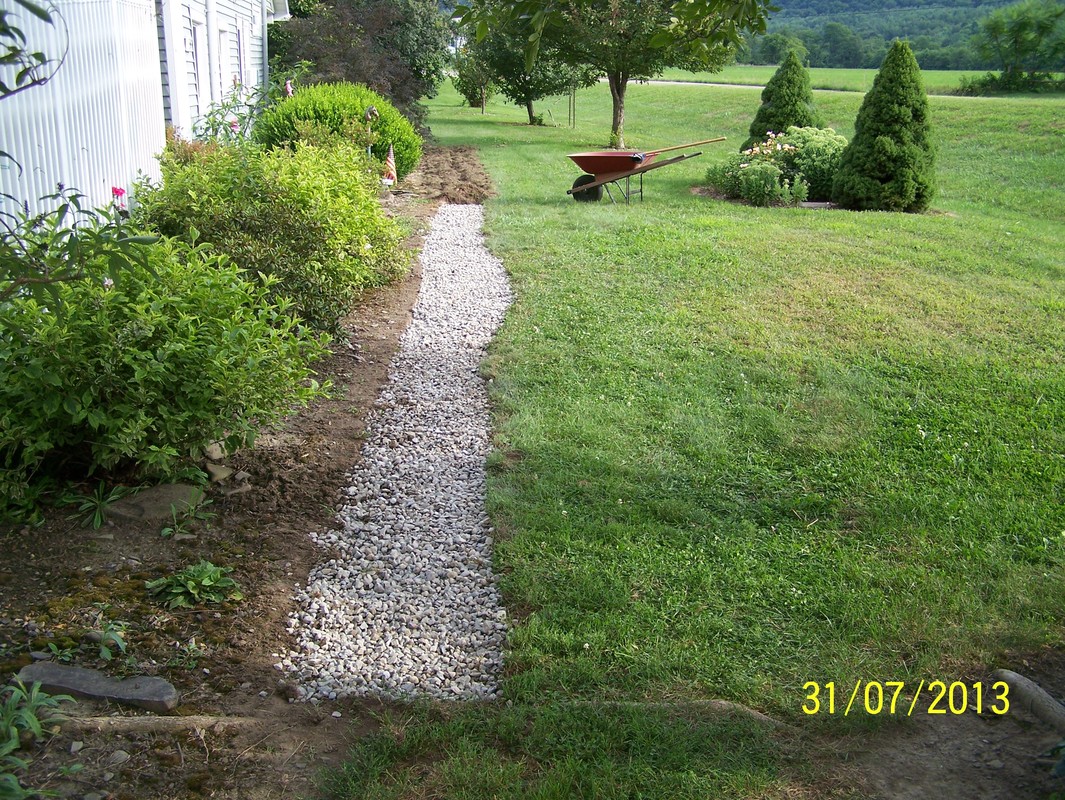
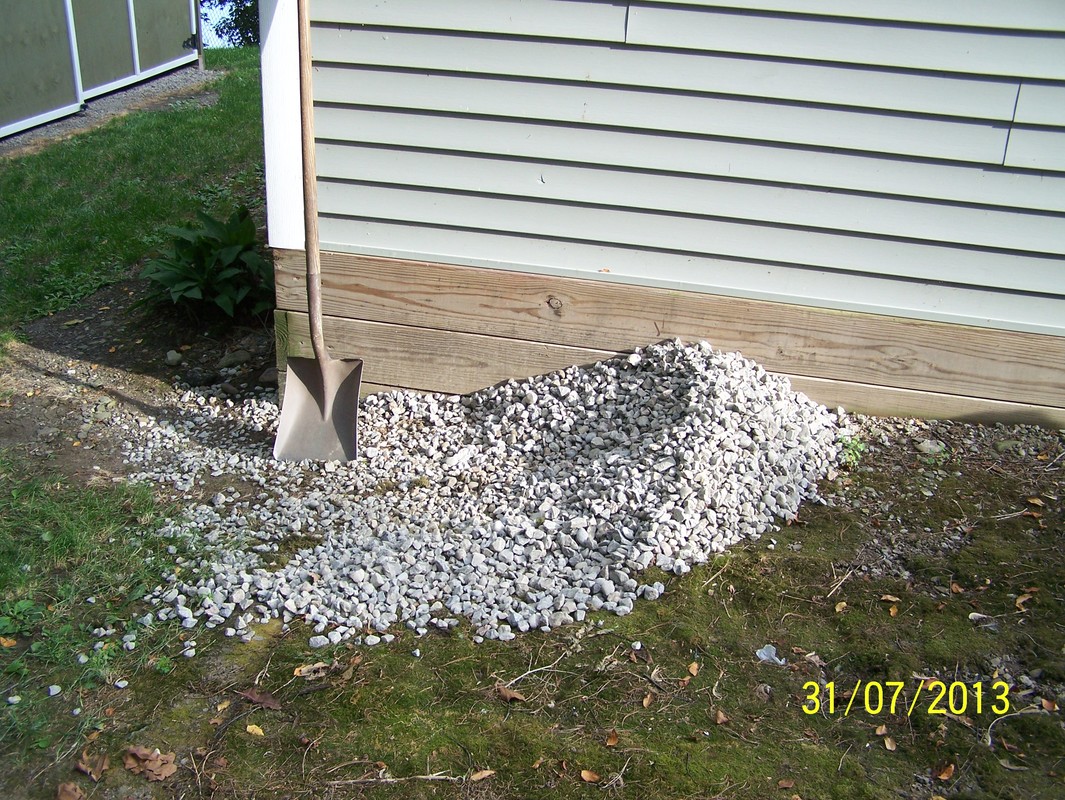
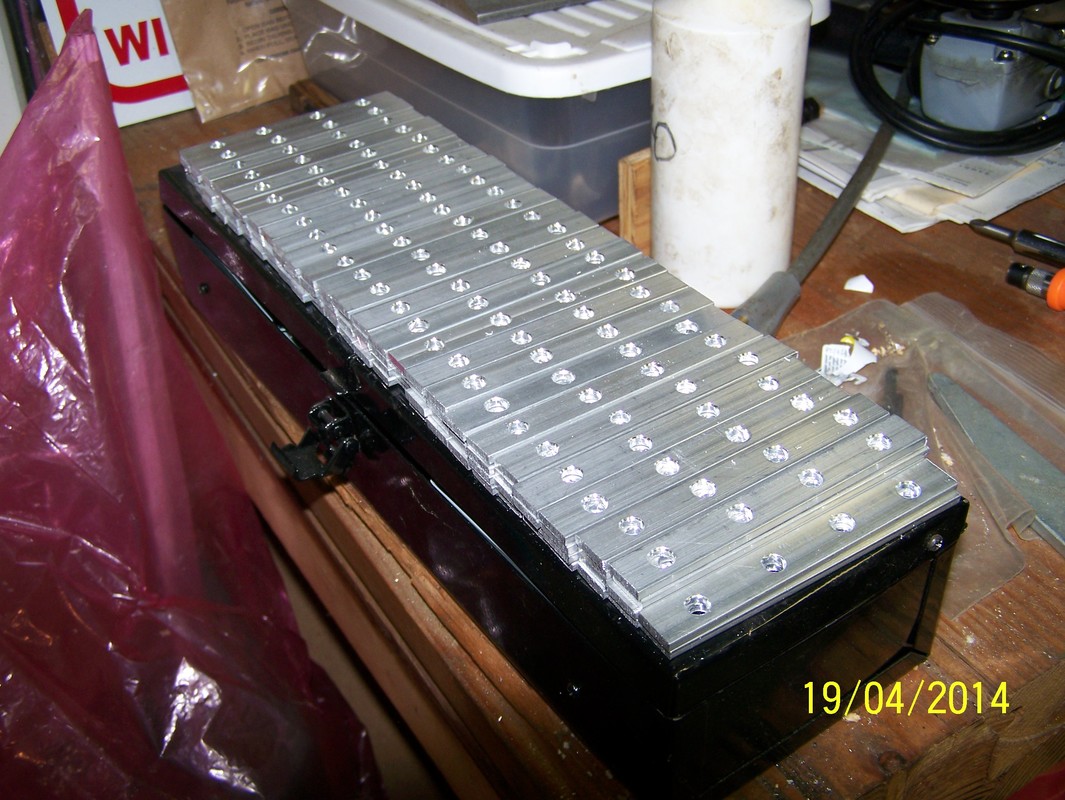
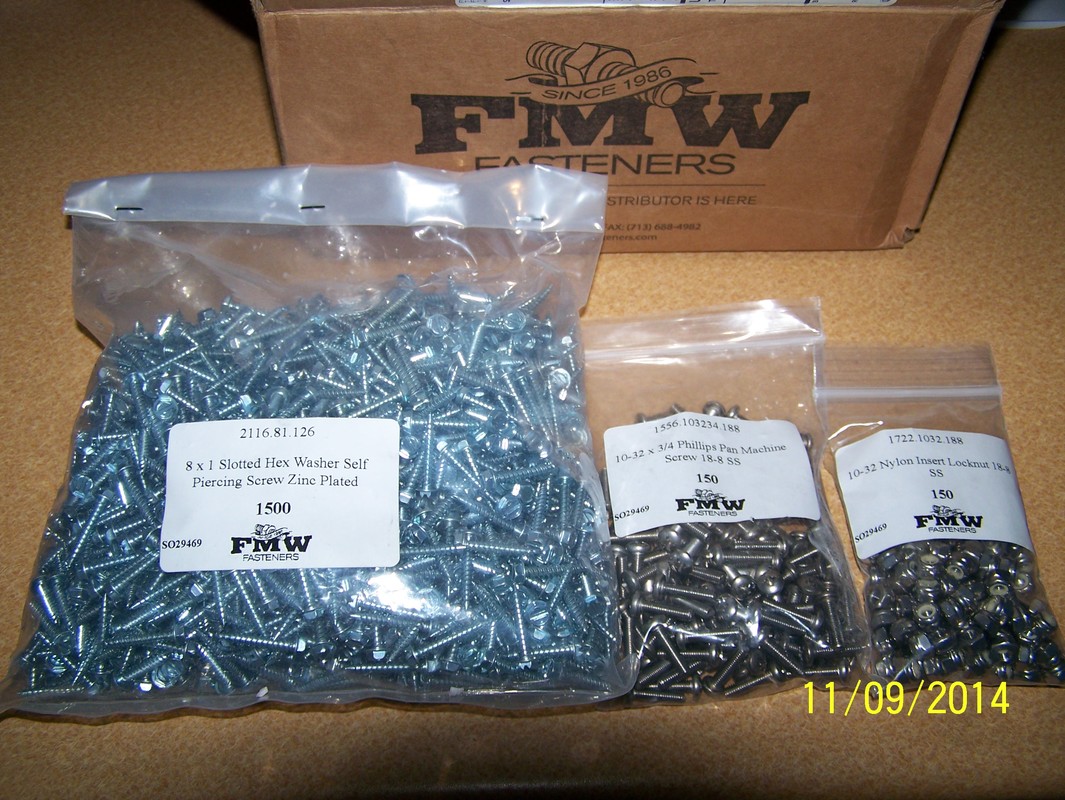
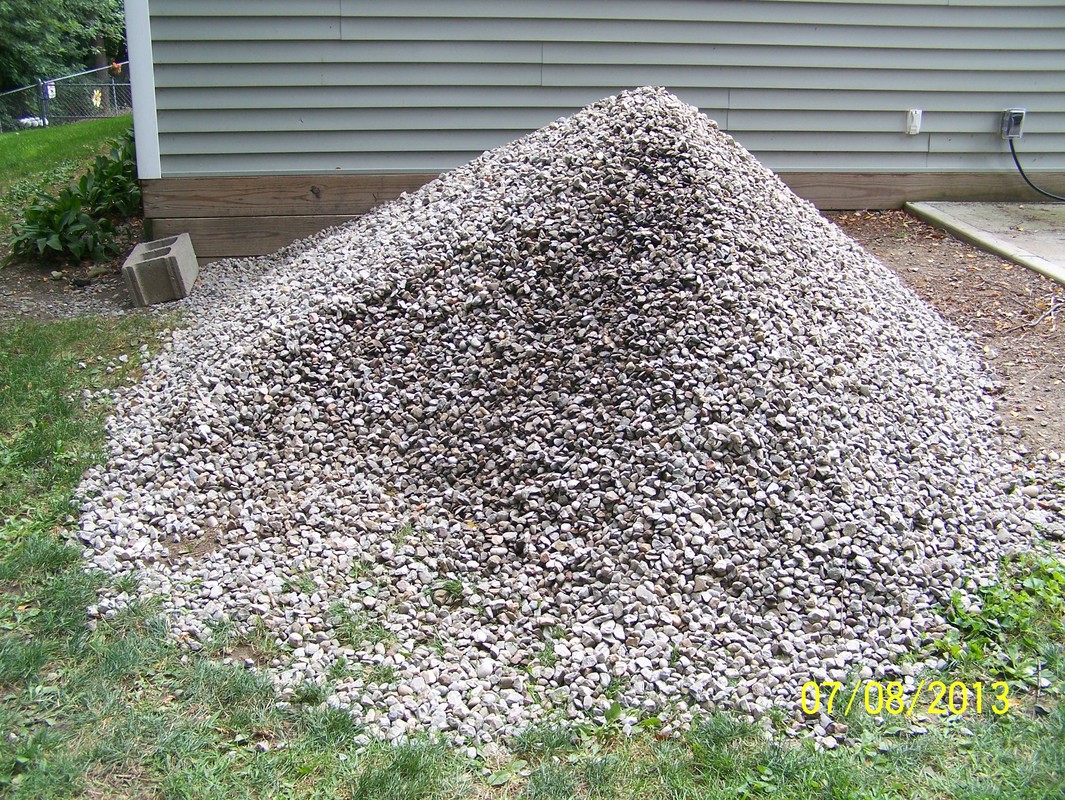
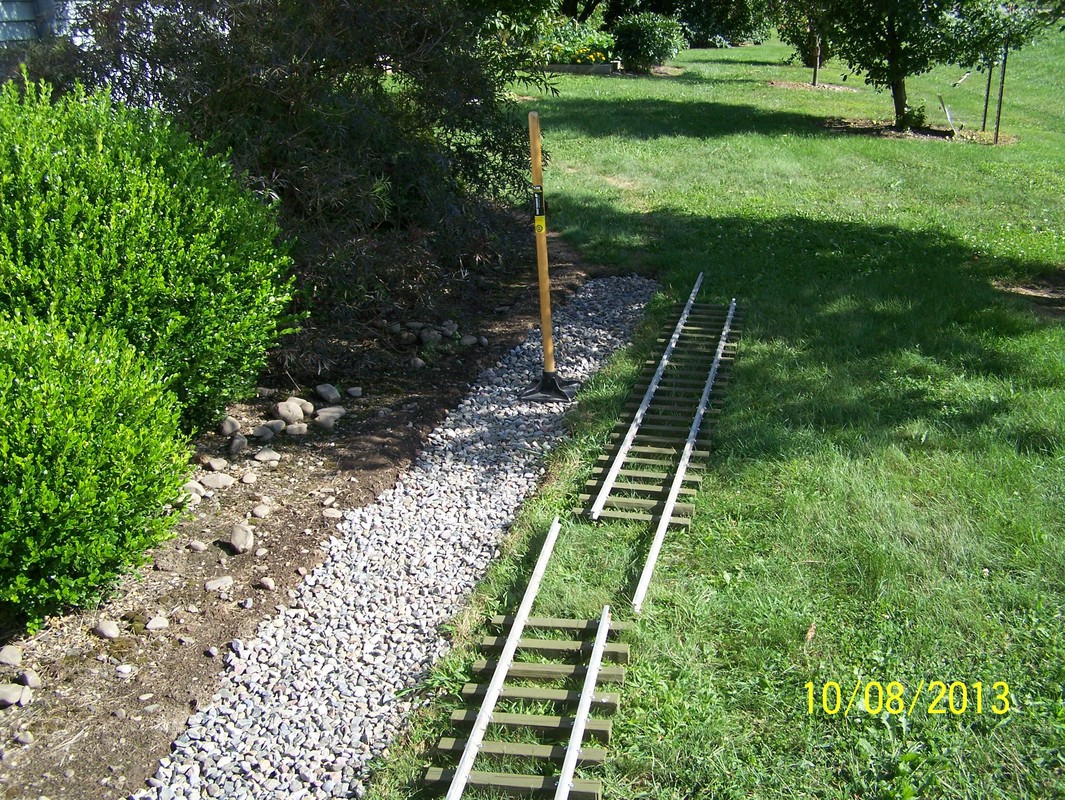
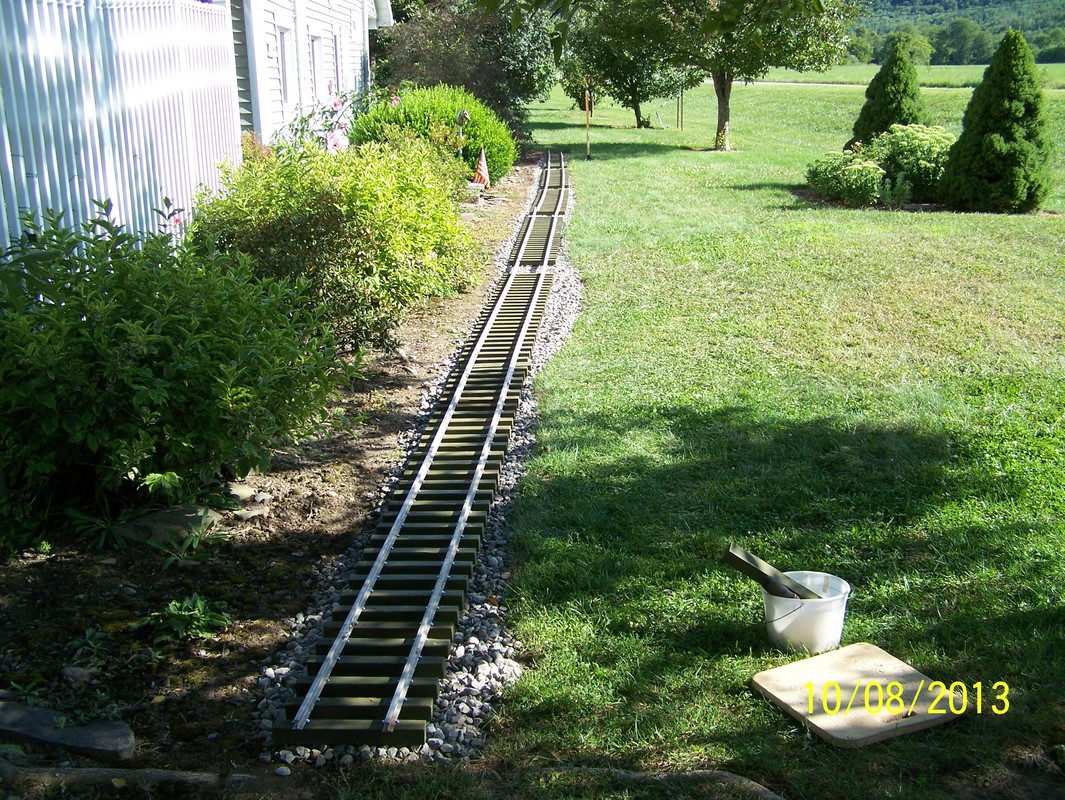
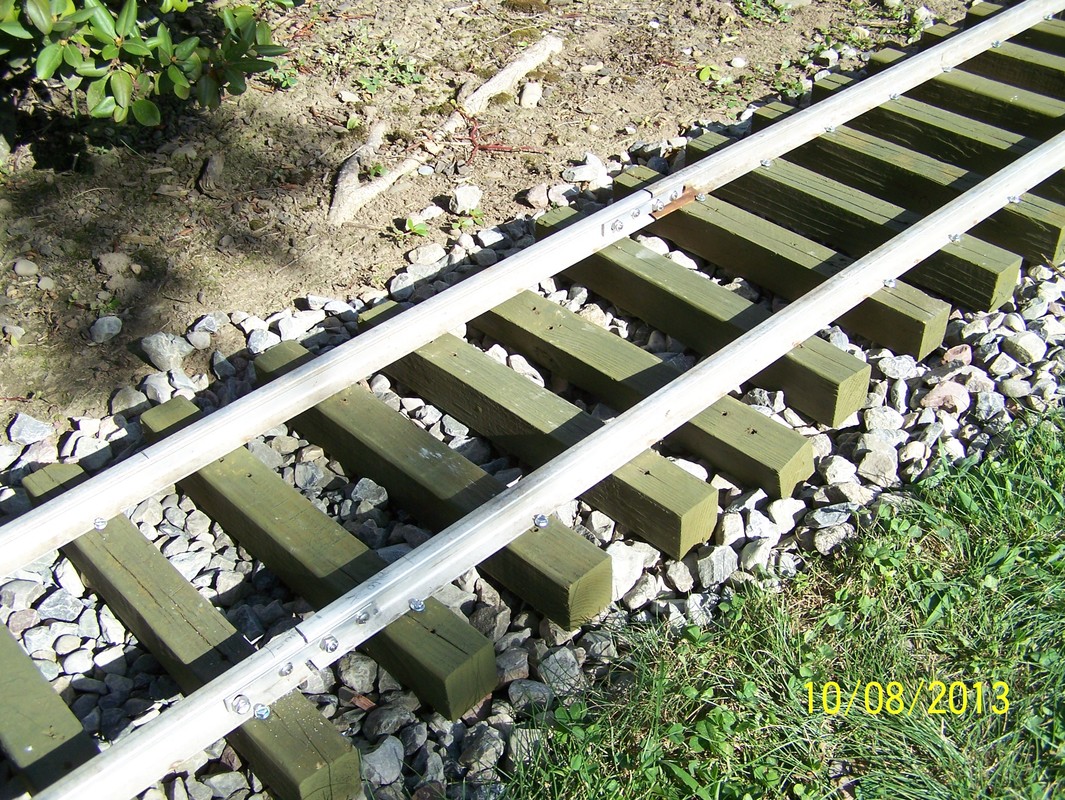
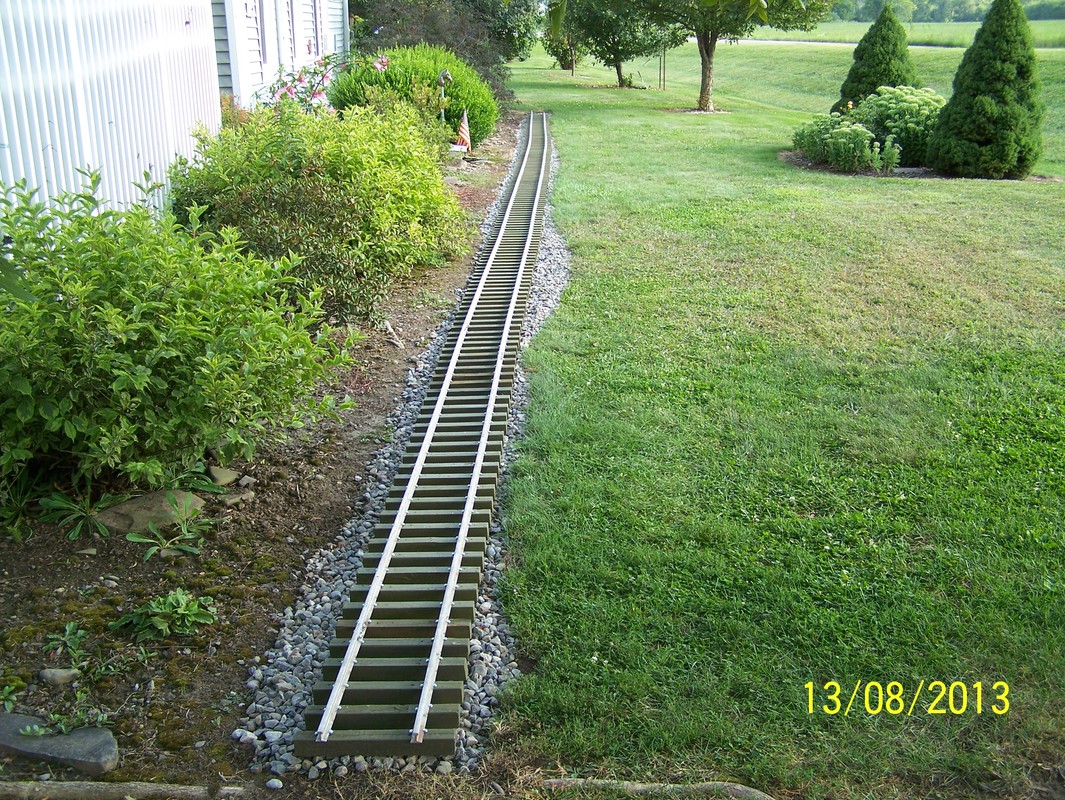
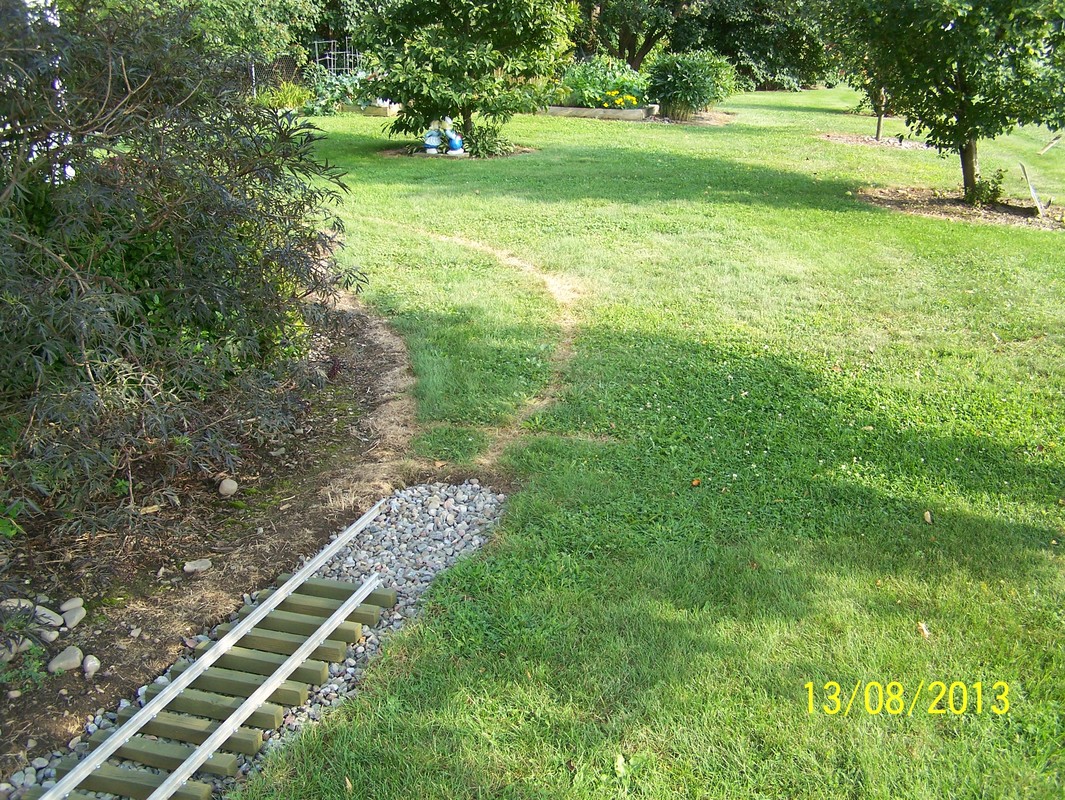
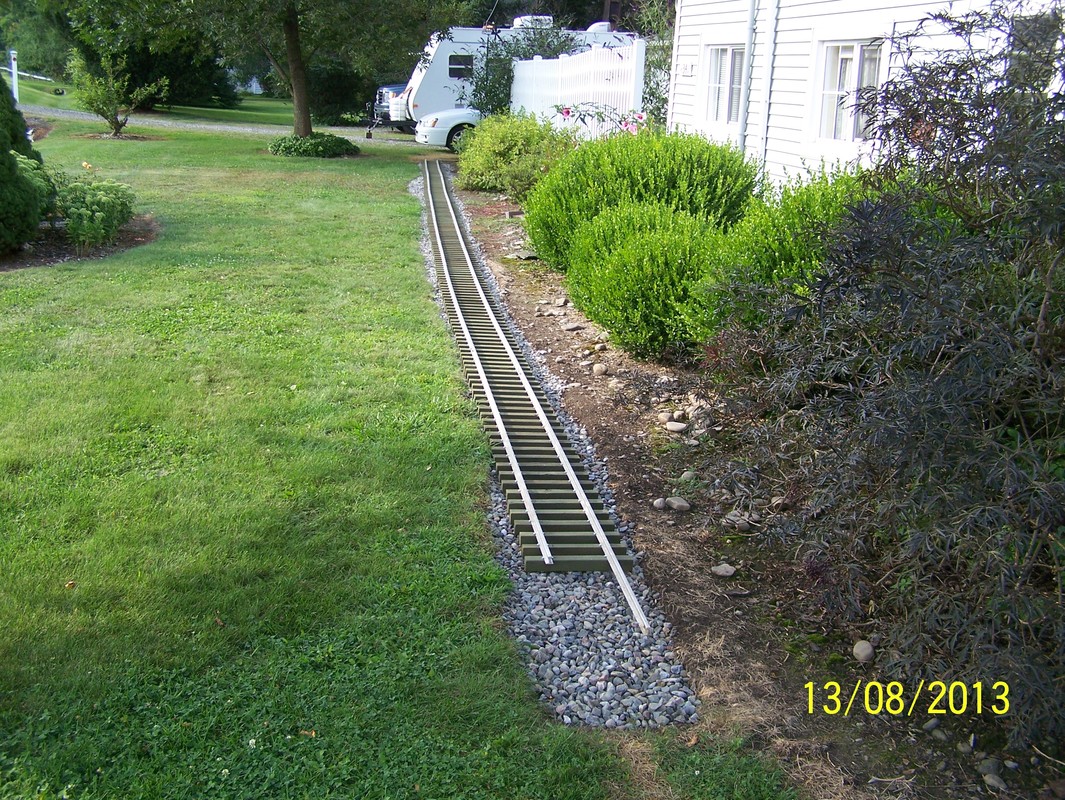
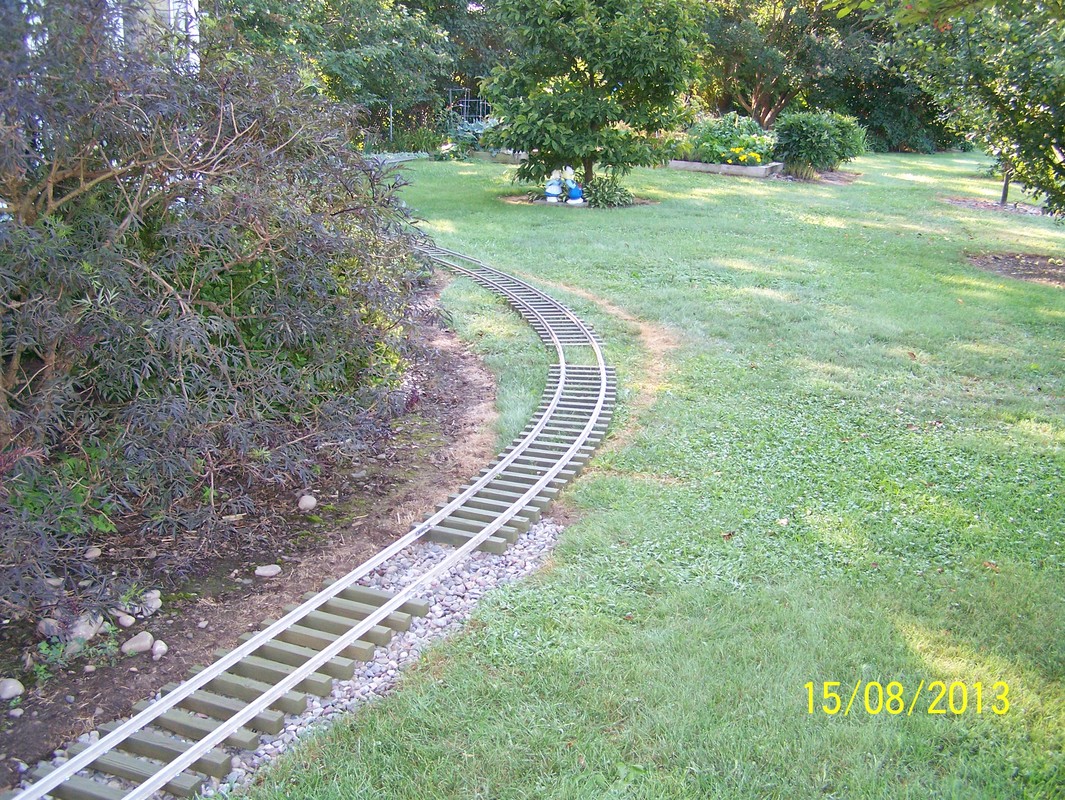
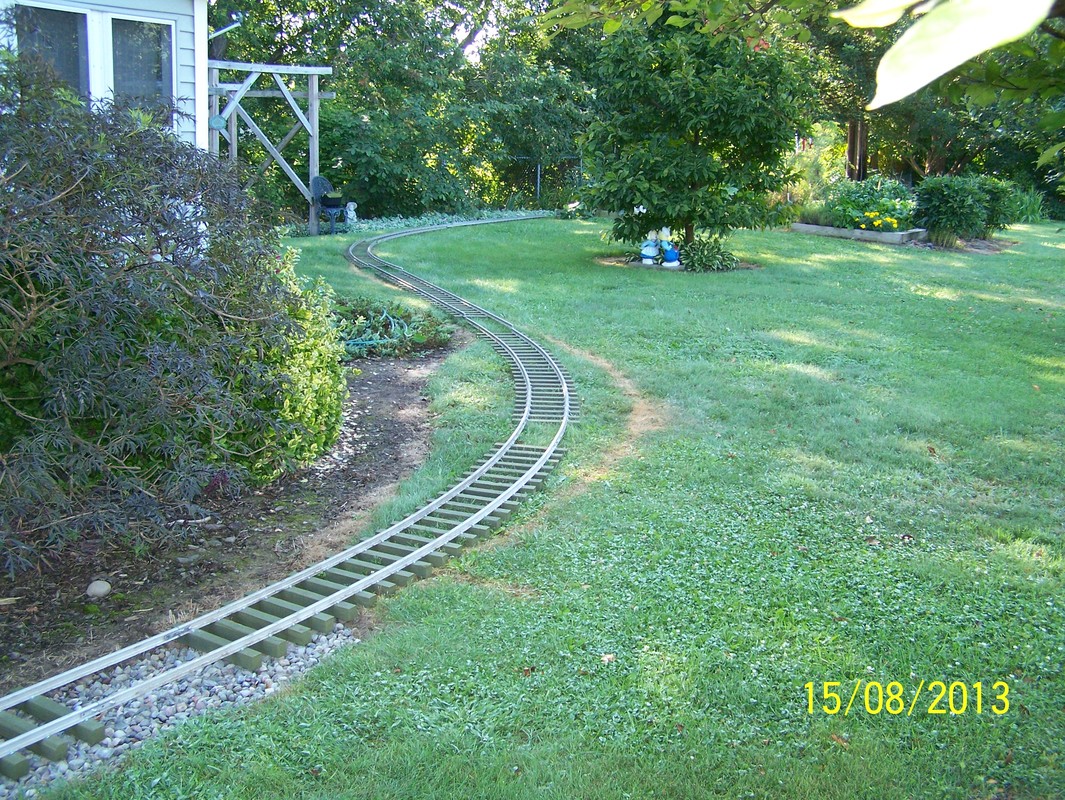
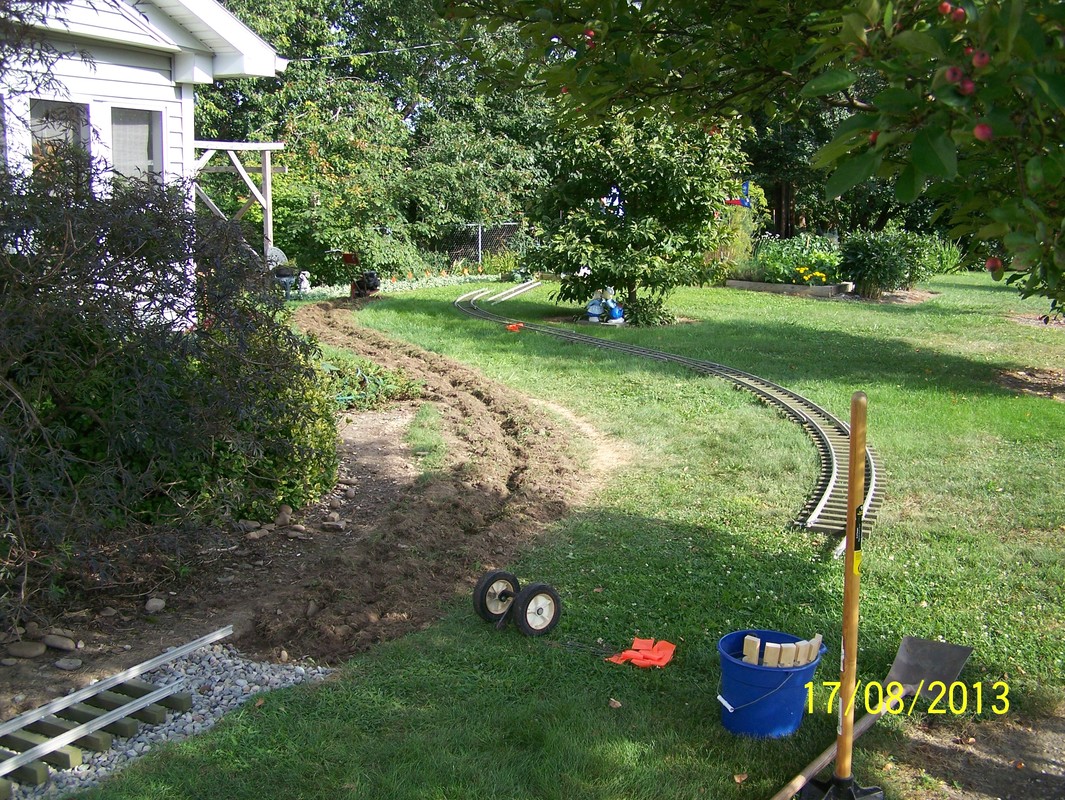
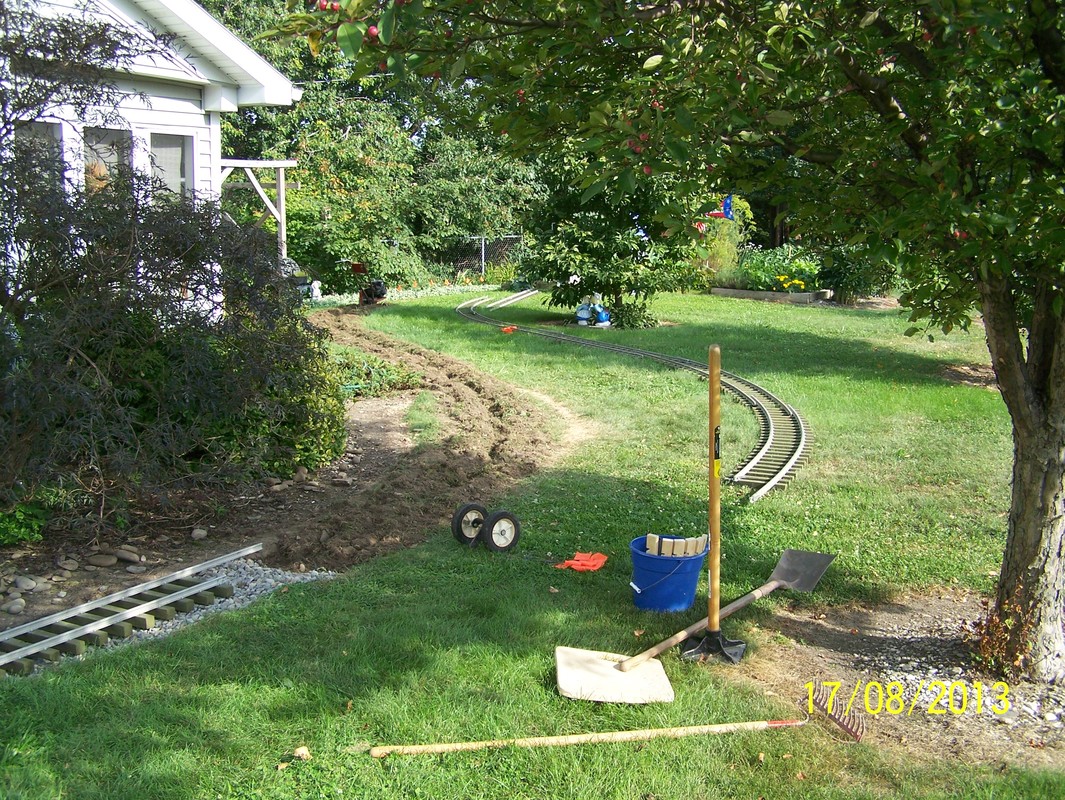
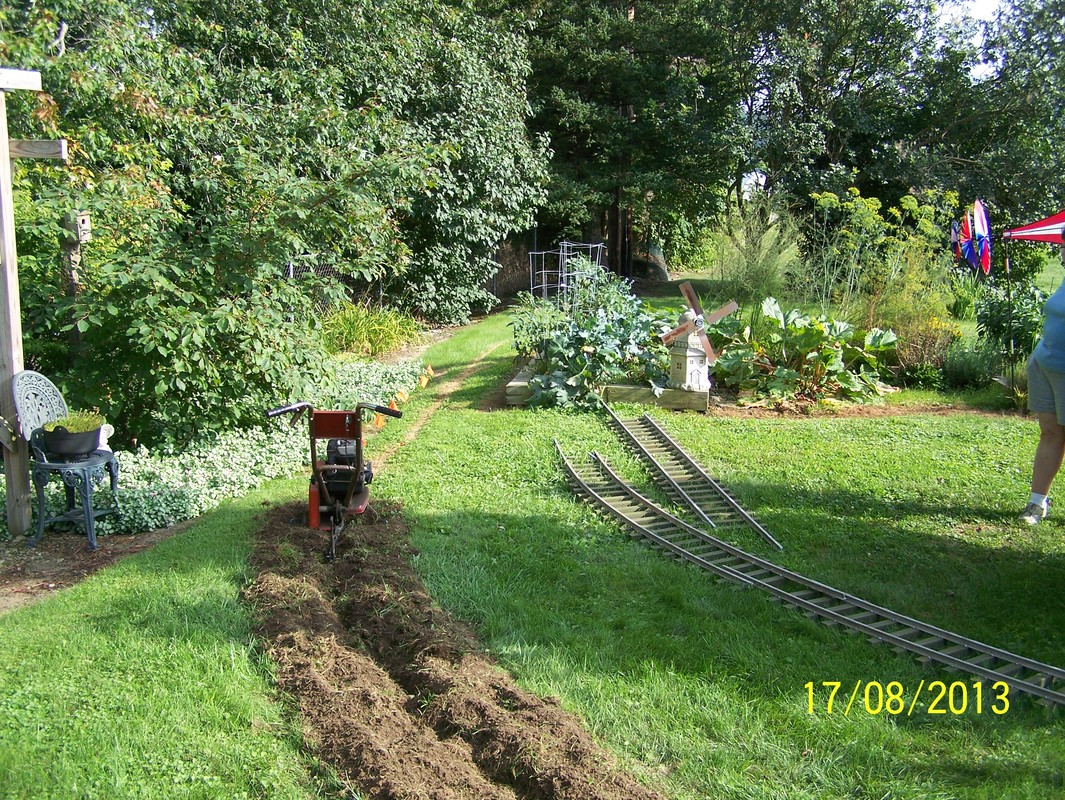
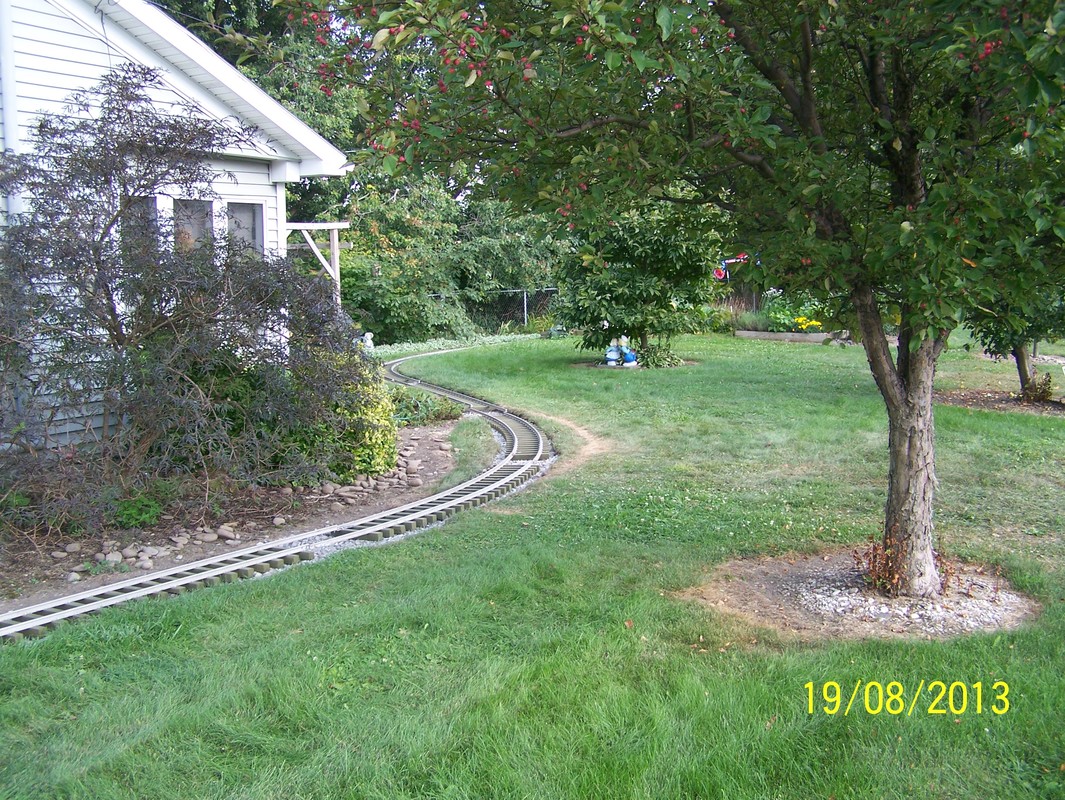
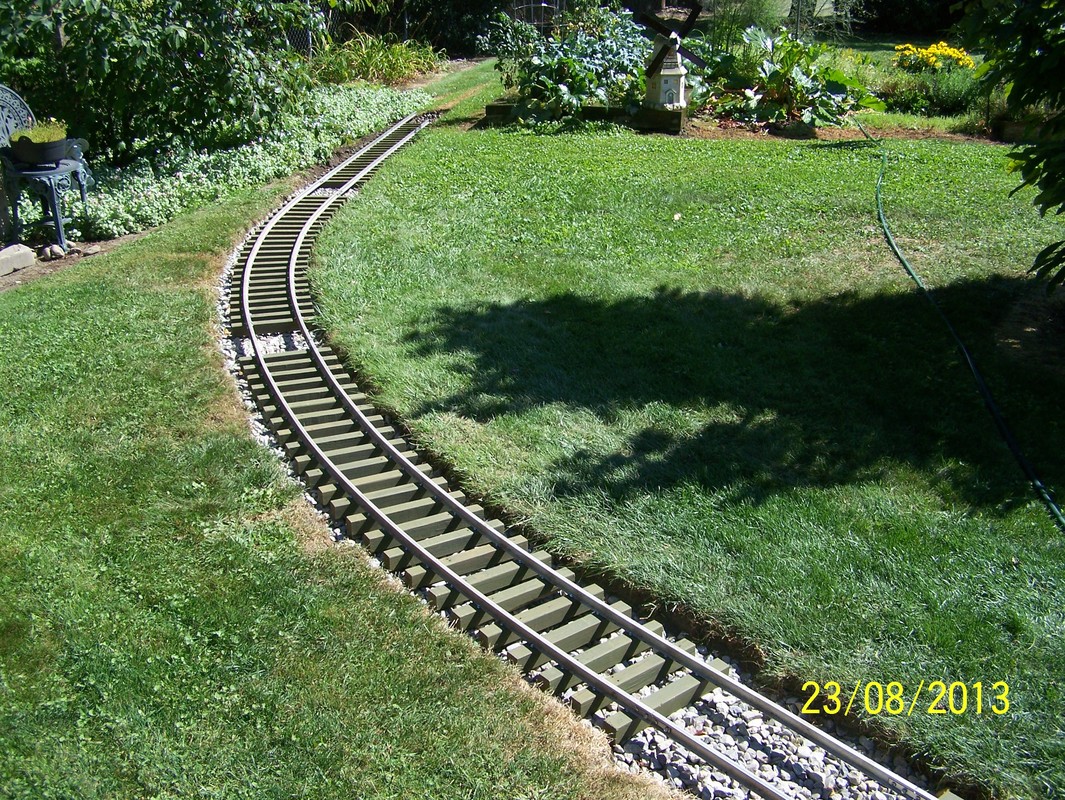
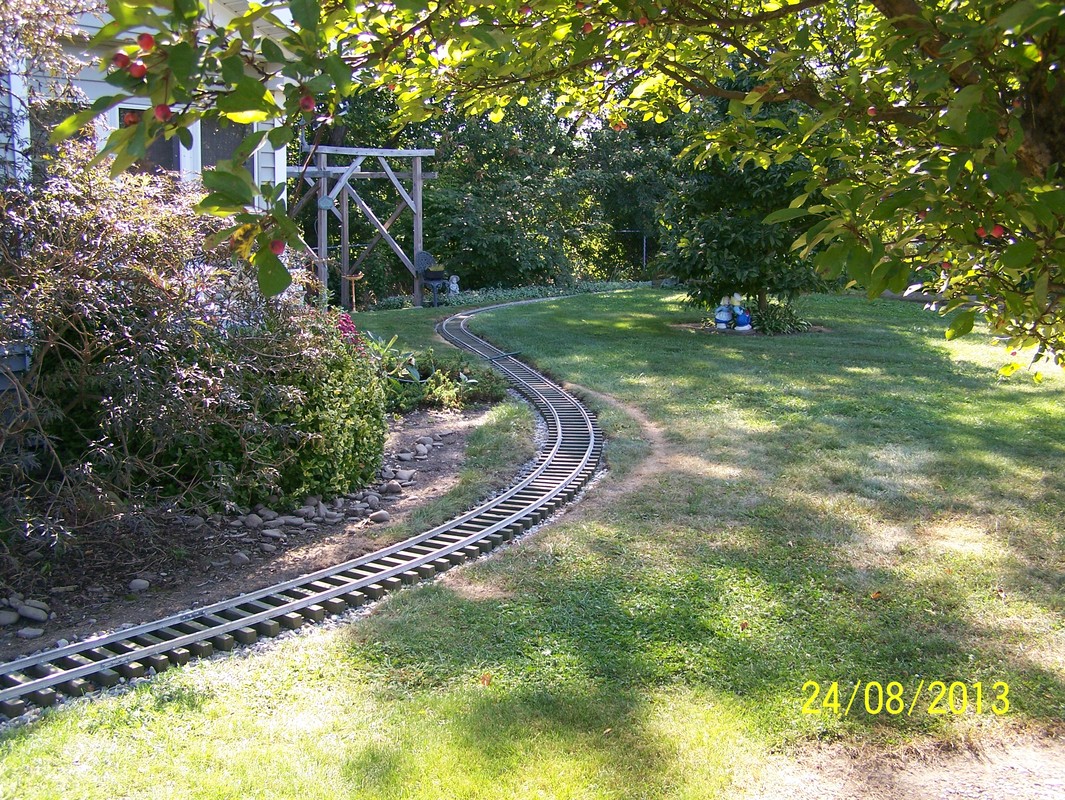
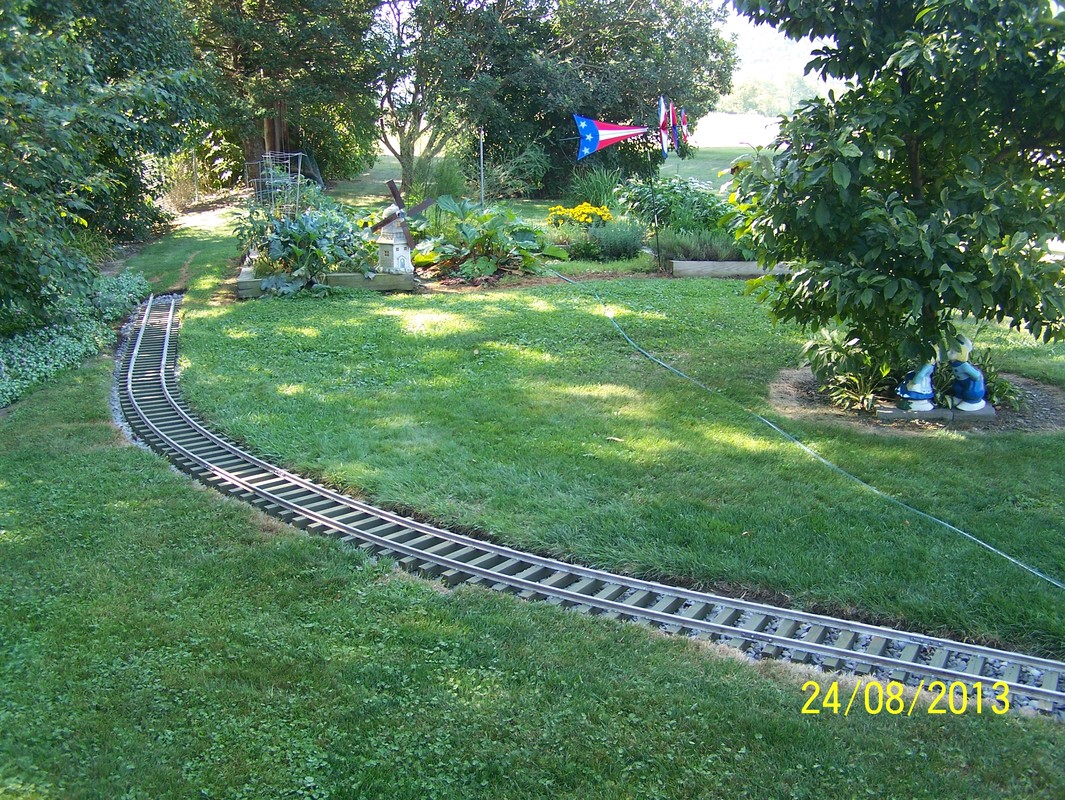
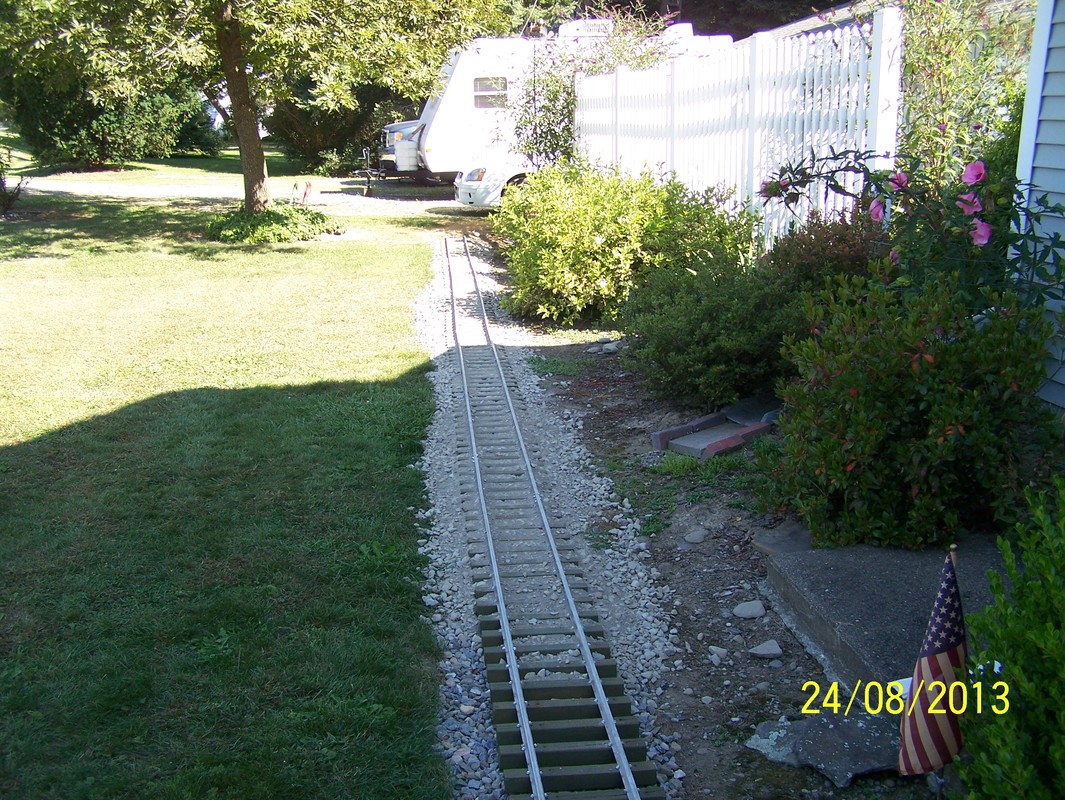
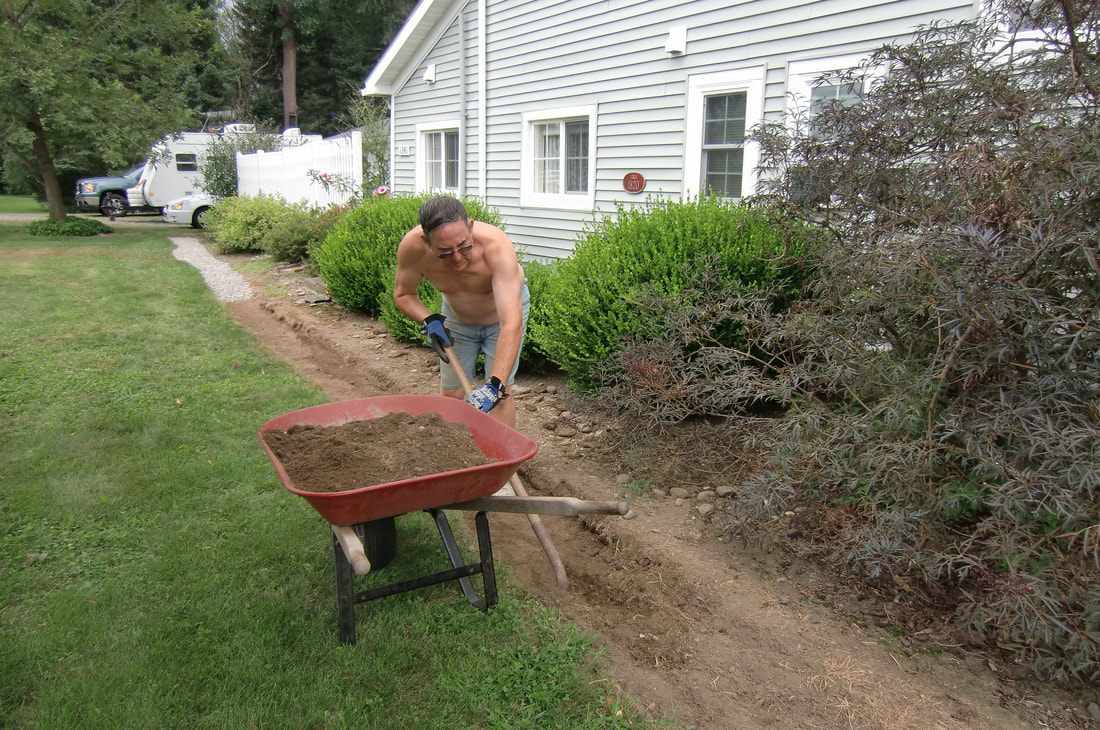
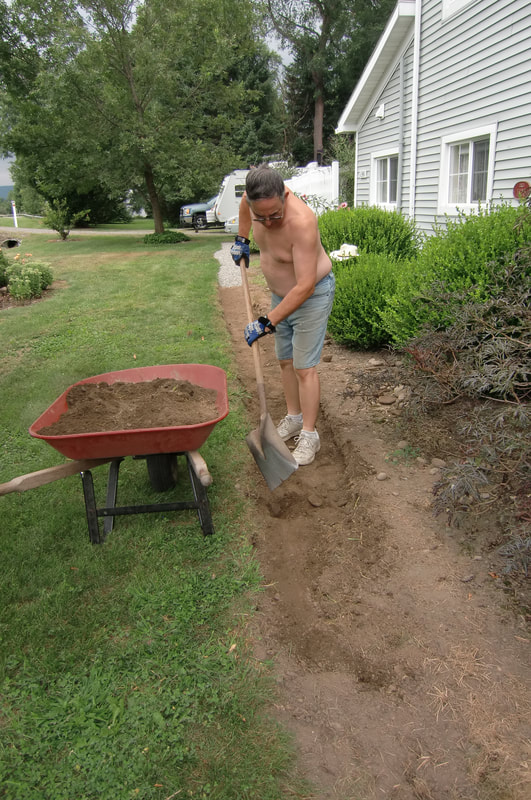
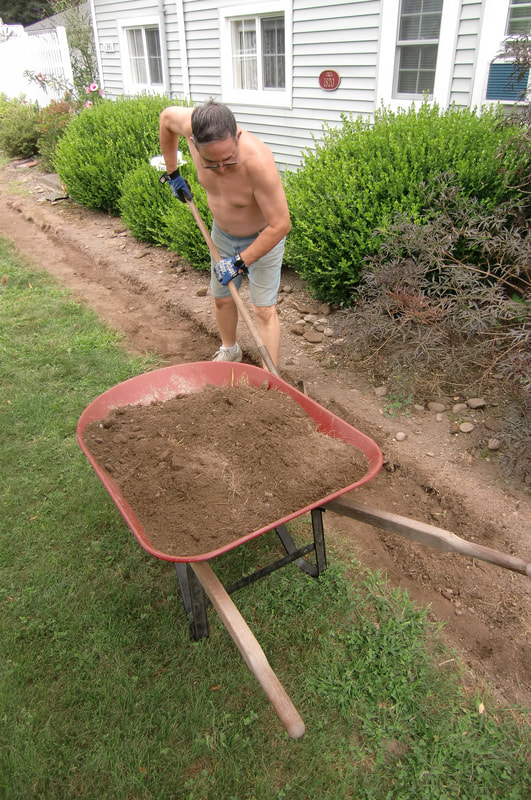
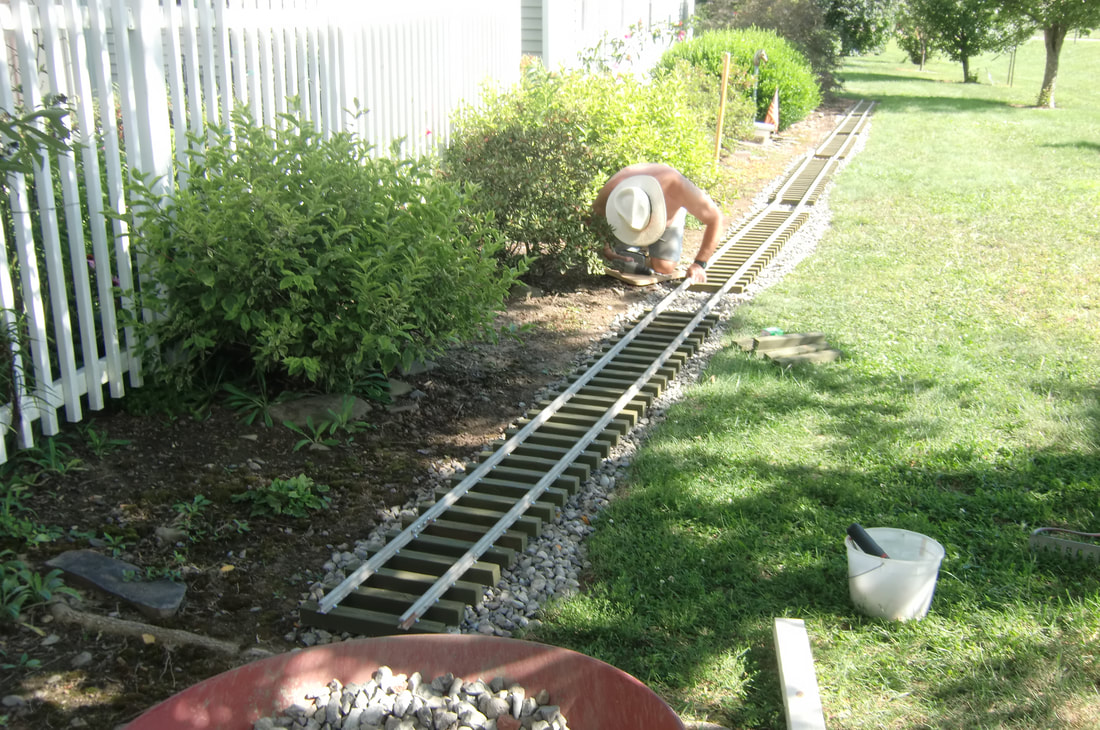
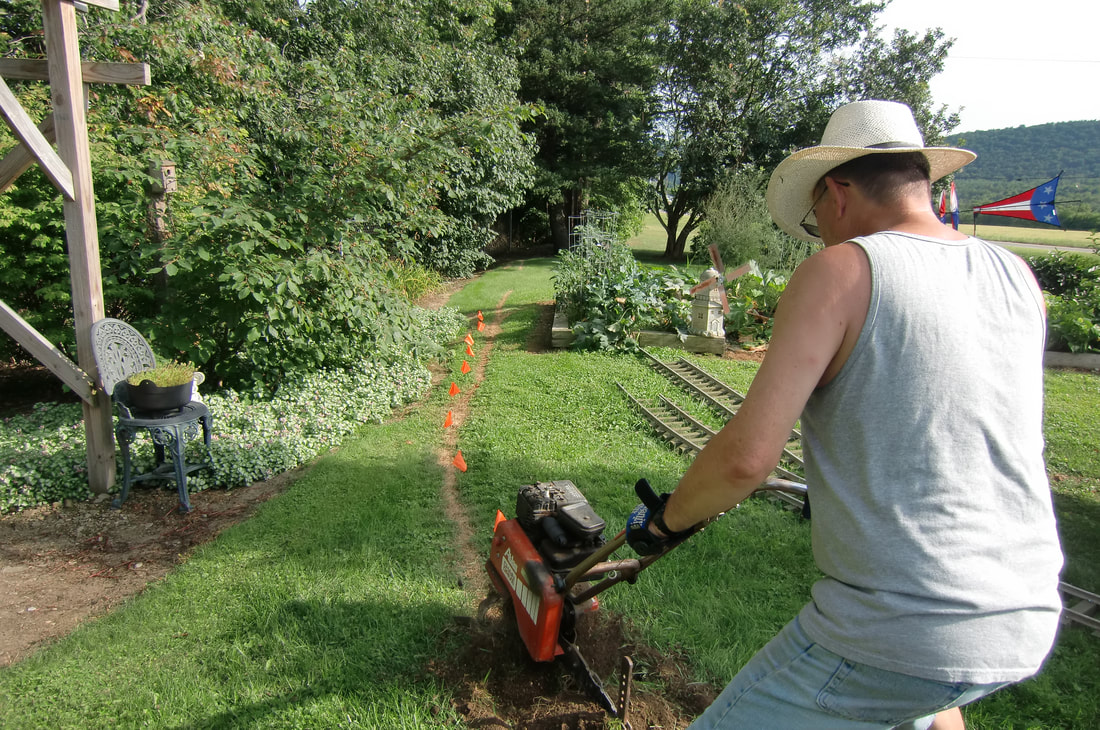
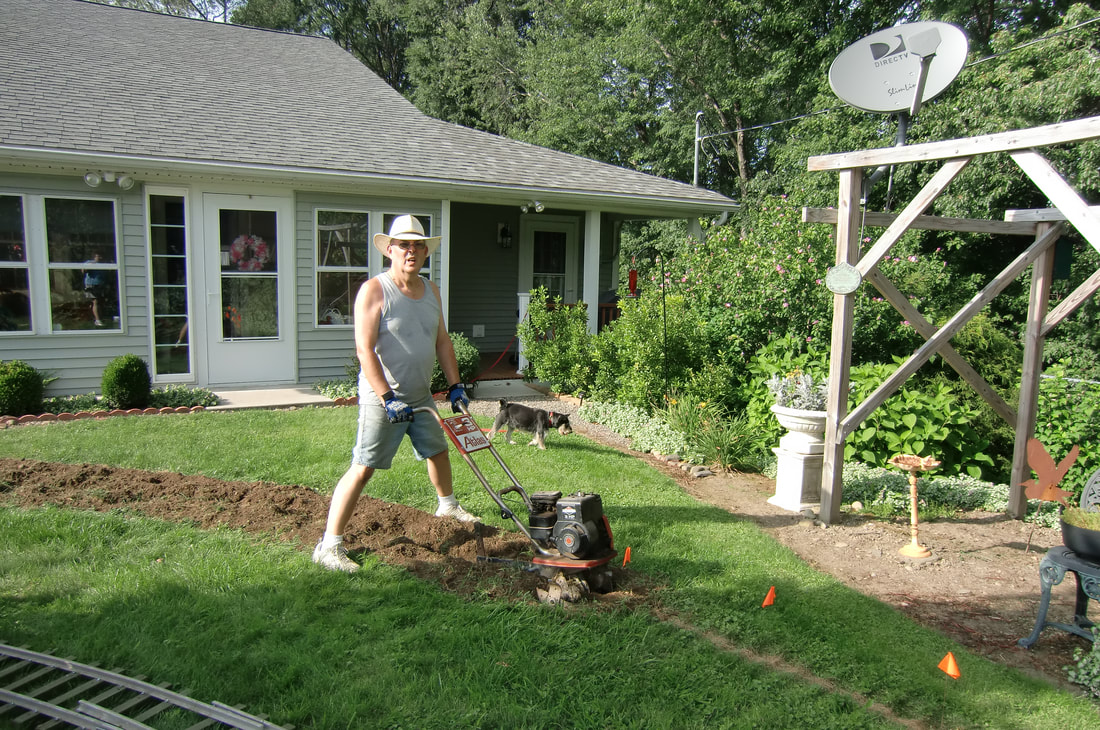
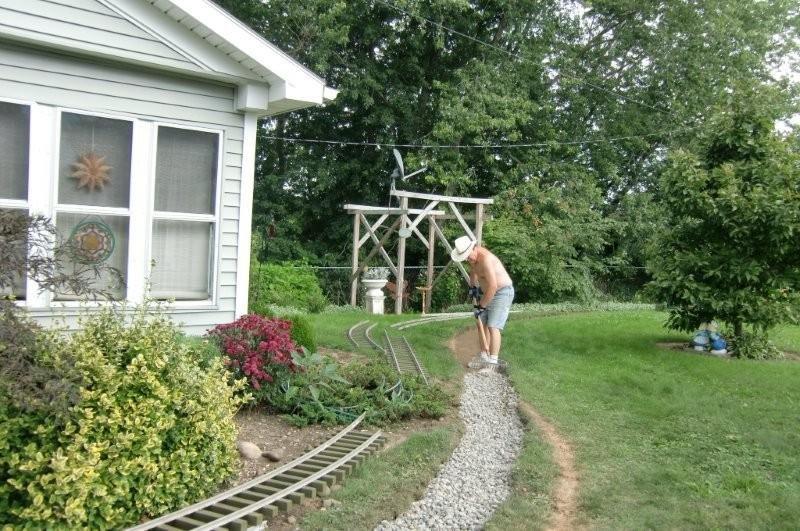
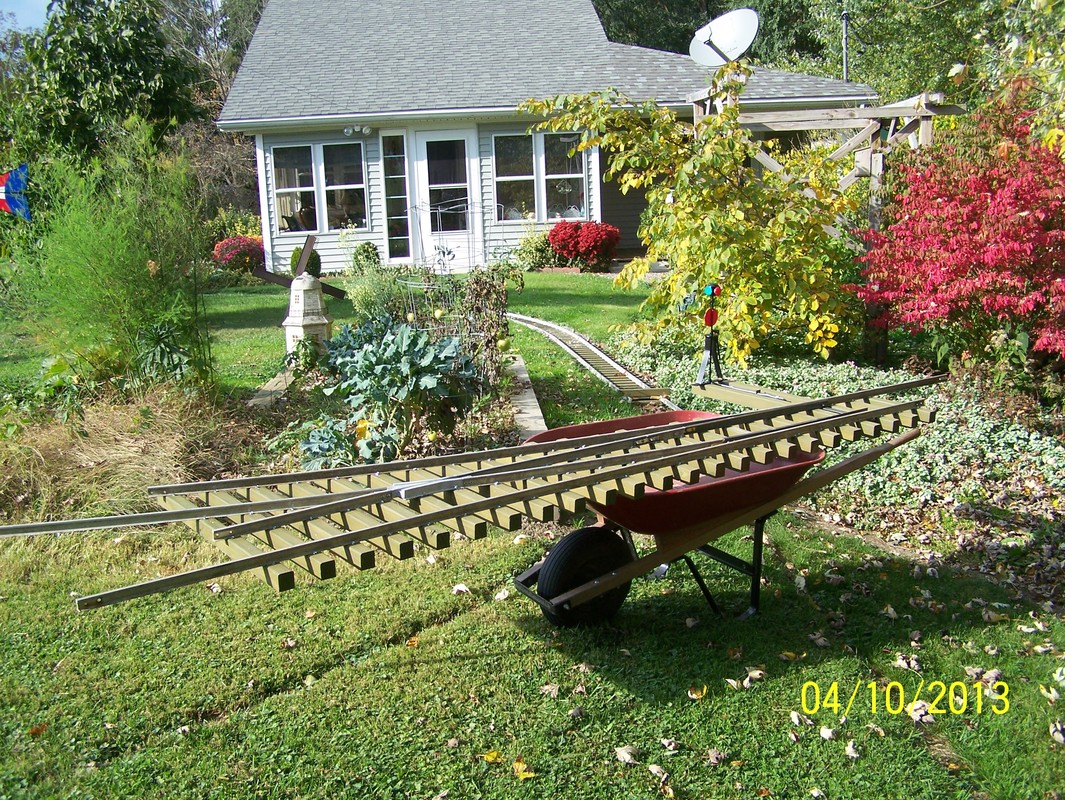
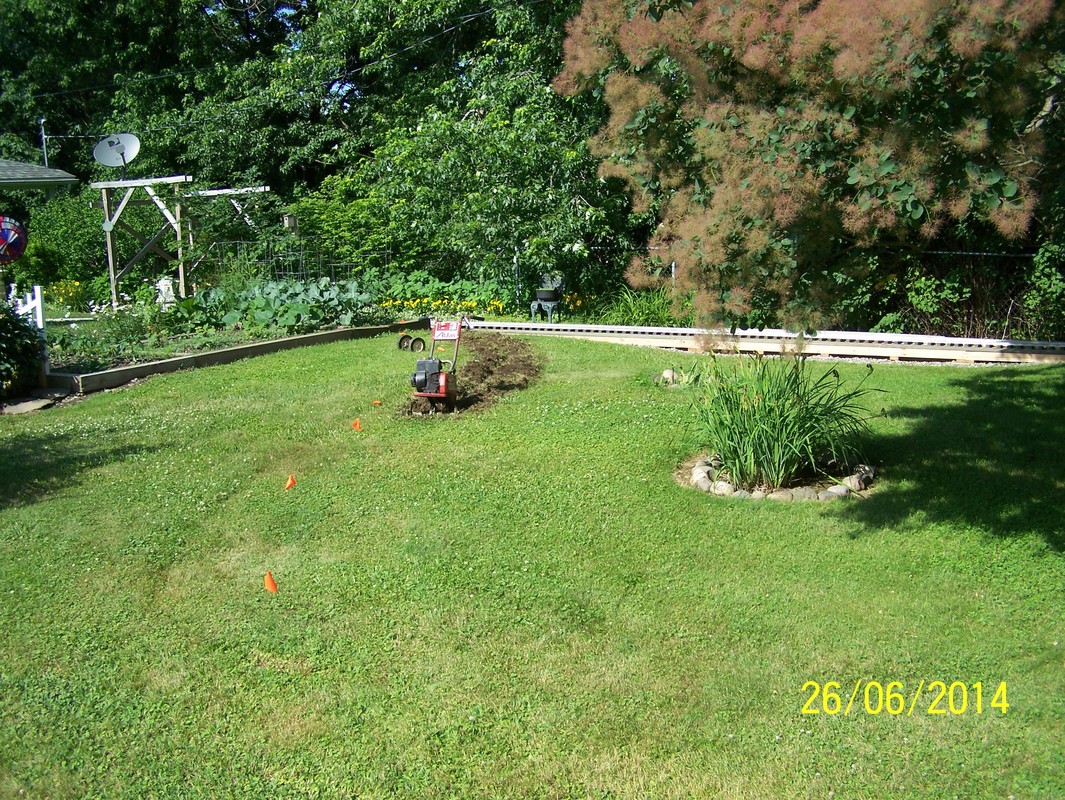
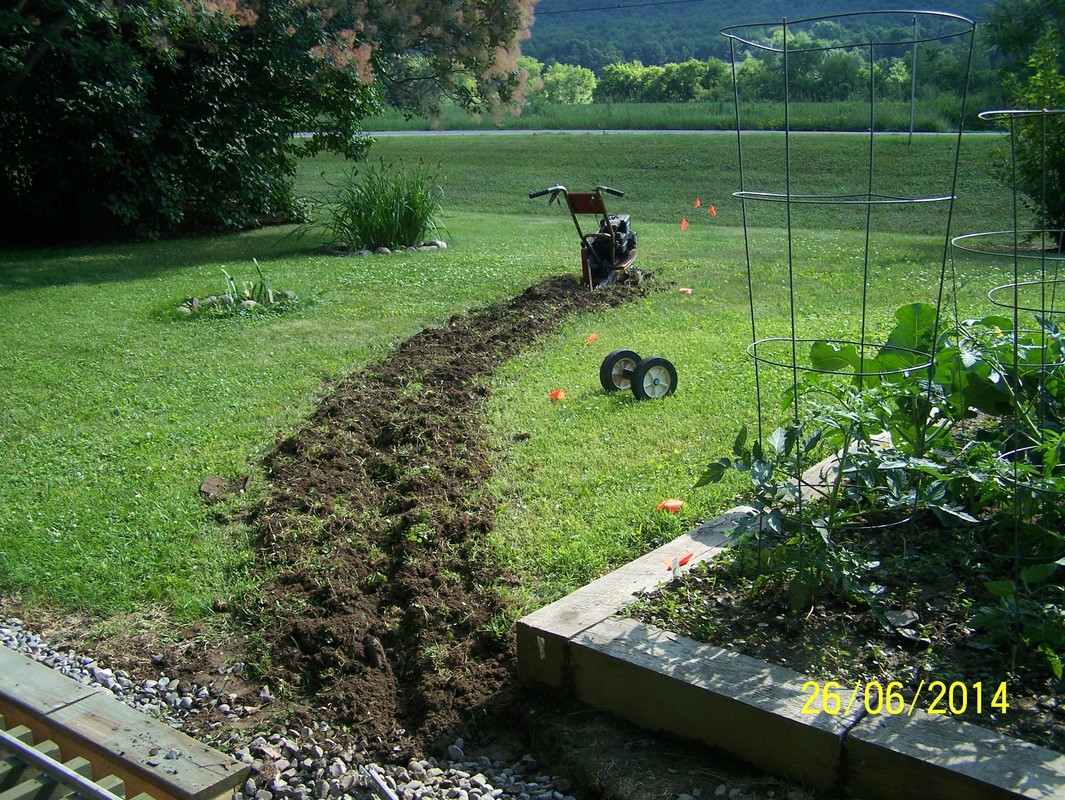
July, 2013. Ok, here we go with the first track panels getting ready to go in. To give you a brief overview. I have a small rototiller. It is 18" wide and about 11" in diameter. So, if I rototill out the road bed down about half way on the diameter (about 5") and then shovel out the dirt, fill back in at a depth of about 3" with 3/4" sub ballast, level it and tamp it down. Then I install the track panels and bolt together with the fish plates (rail jointers), with #10-32 by 3/4" long SS pan Philip head machine screws and #10-32 SS hex lock nuts. By doing it this way I start out with about a 5" deep trench and put in about 3" of sub ballast and then 1 1/2" for the ties and we are up to 4 1/2". Now with the 1" rail on top of the ties, it ends up with the rail about 1/2" to sometimes 1" above the grass. From the pictures you can see the fish plates (rail jointers) that I got from Marty McCarthy. I cleaned some up and am reusing them. Next are some buckets of sub ballast that I get from local gravel supplier. They had free piles where a I can go and get it. Plus these piles are about a mile down the road. Finally there are the new fish plates (rail jointers) that I have made and a picture of the screw that I use from FMW Supply.

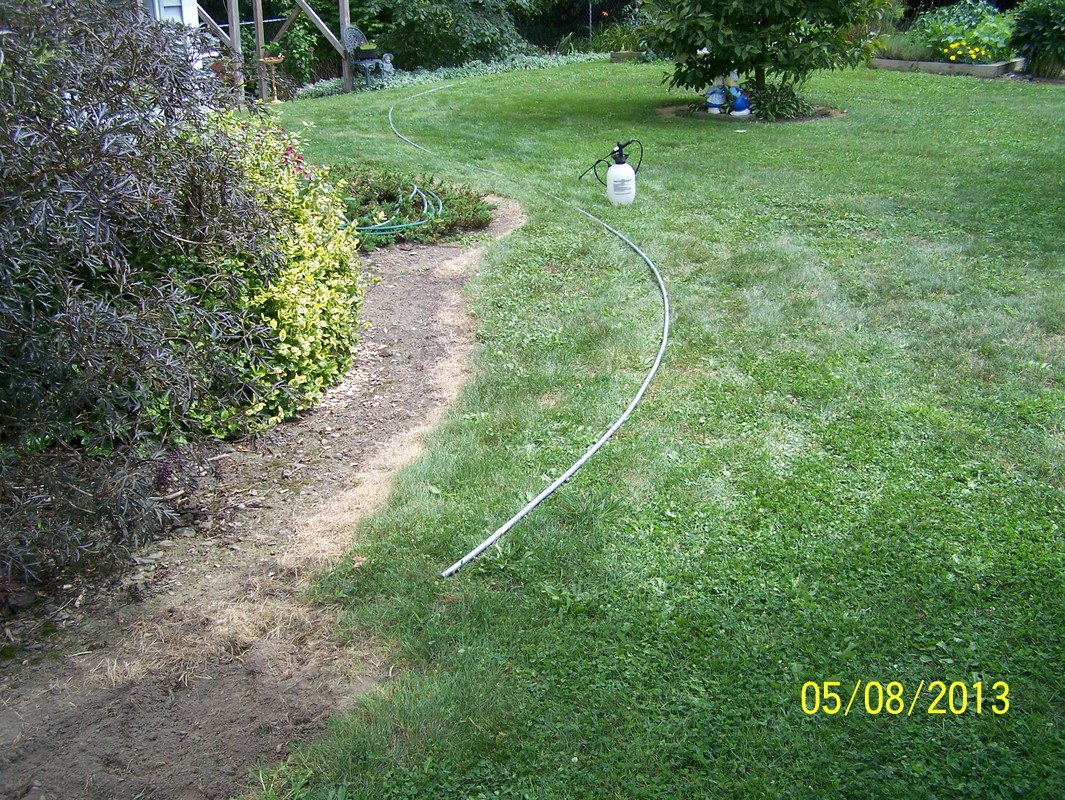
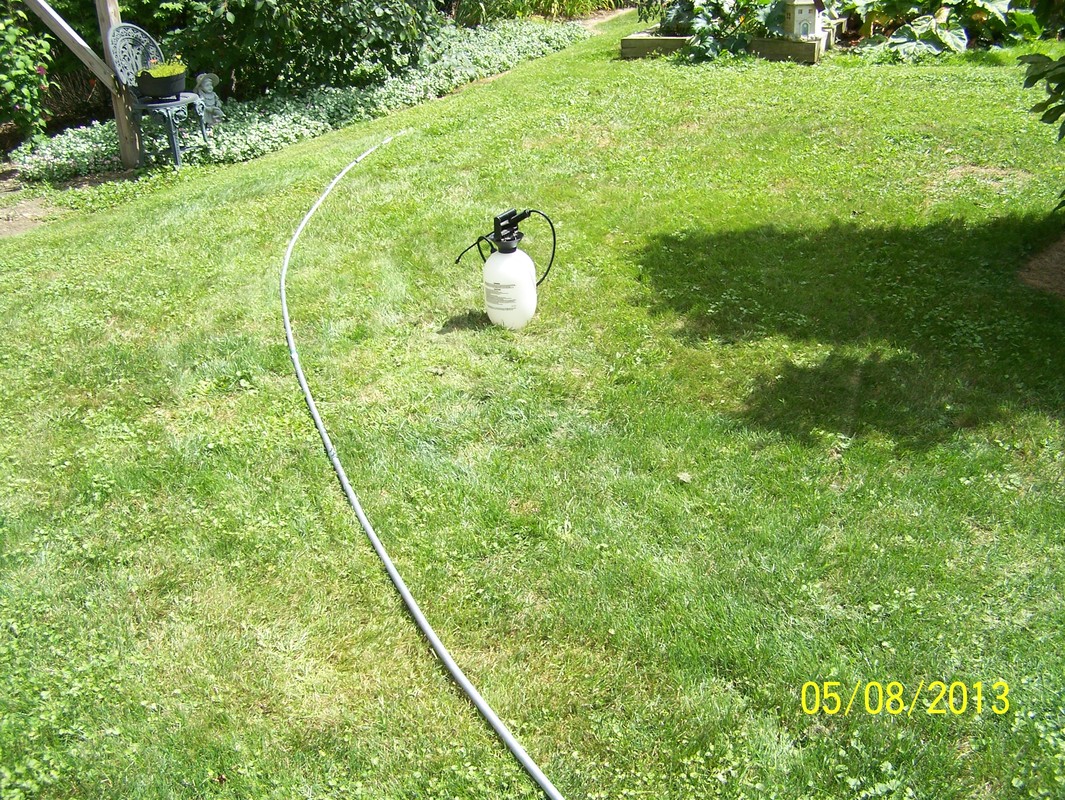
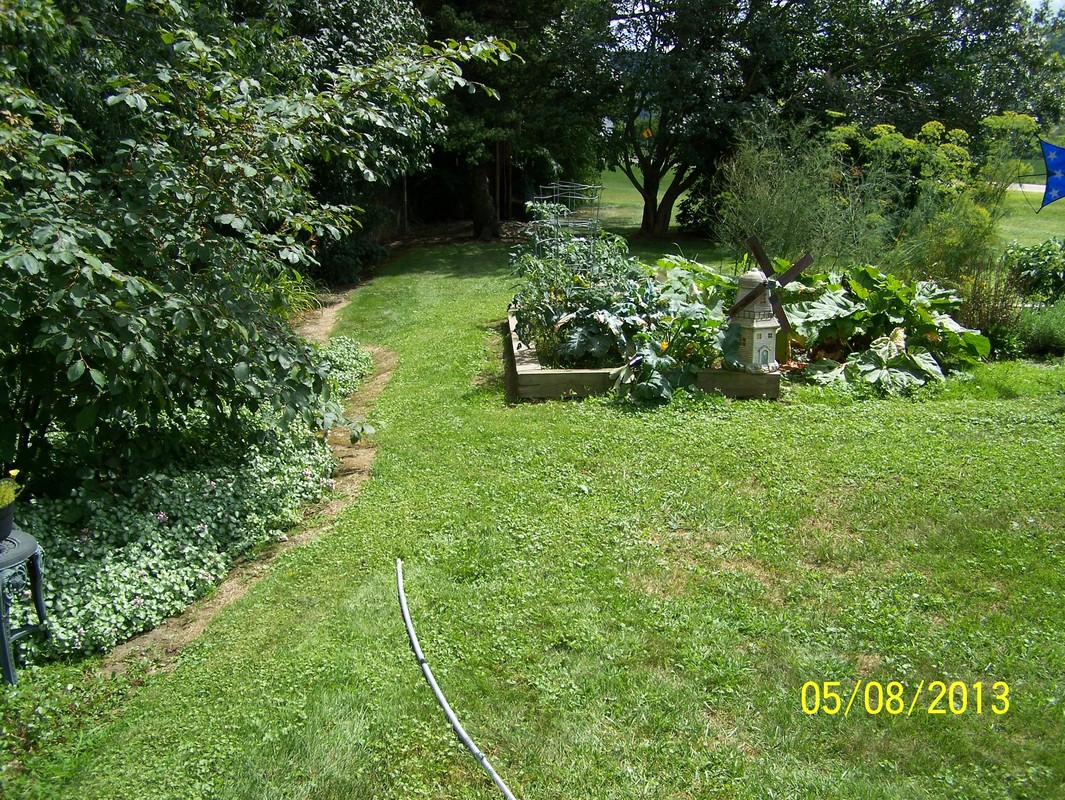
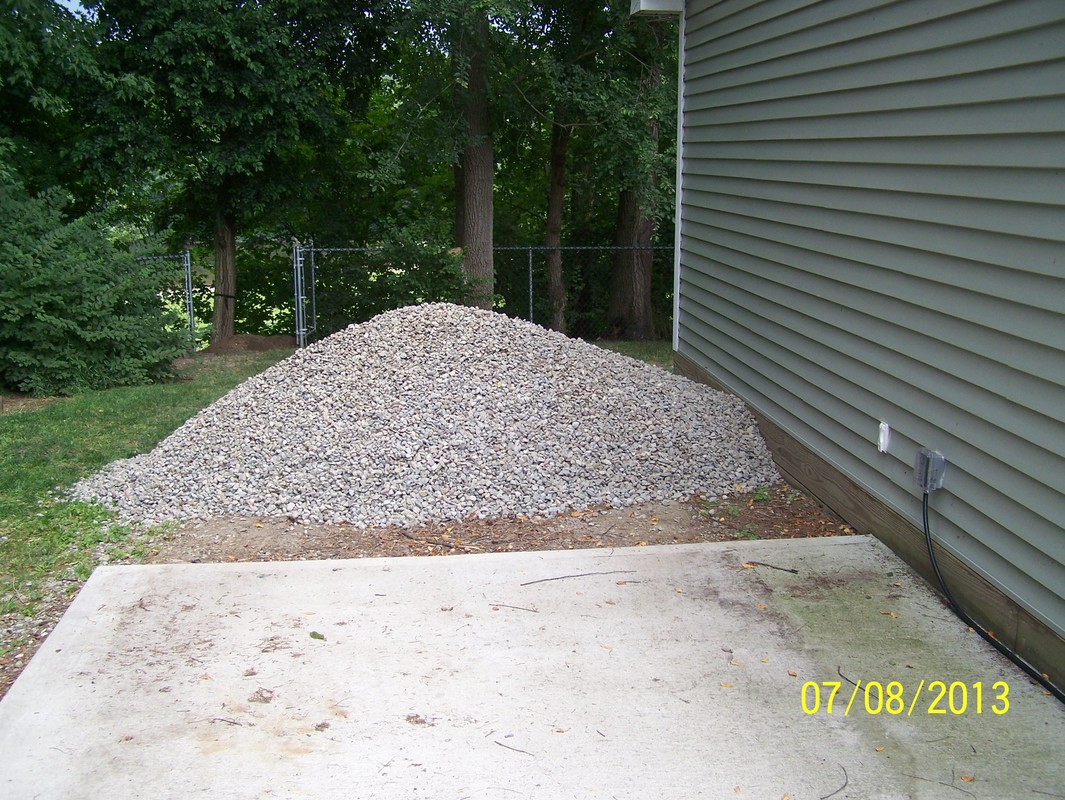
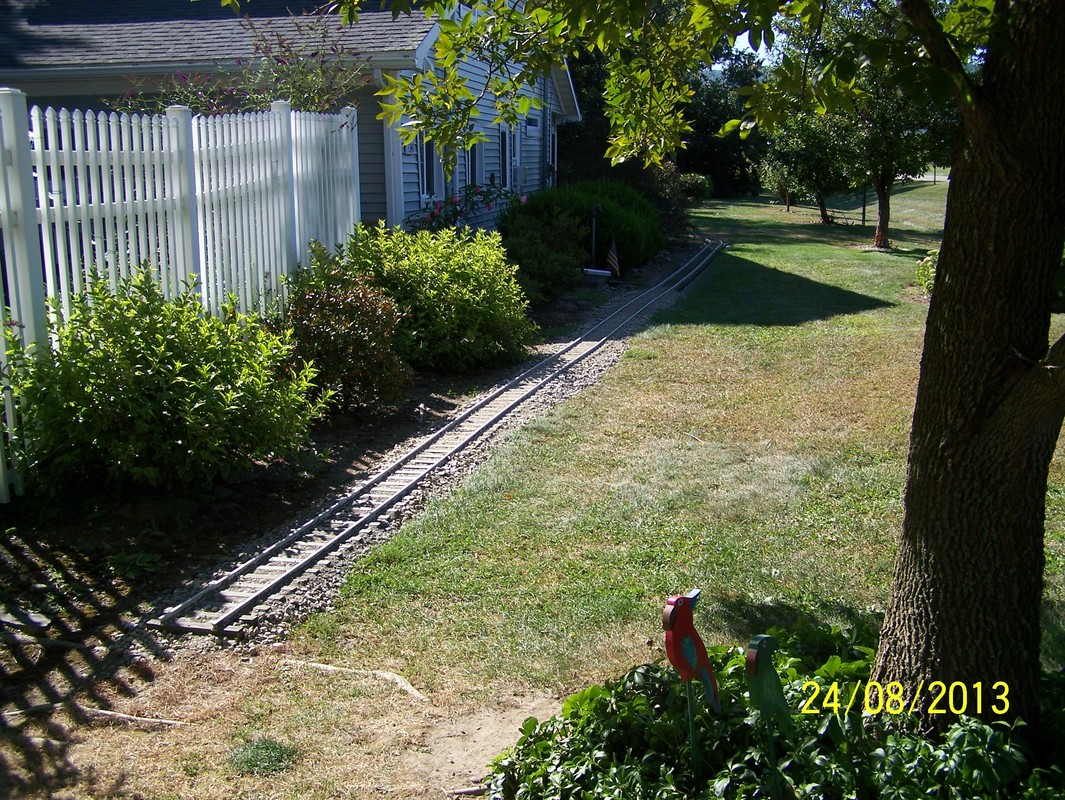
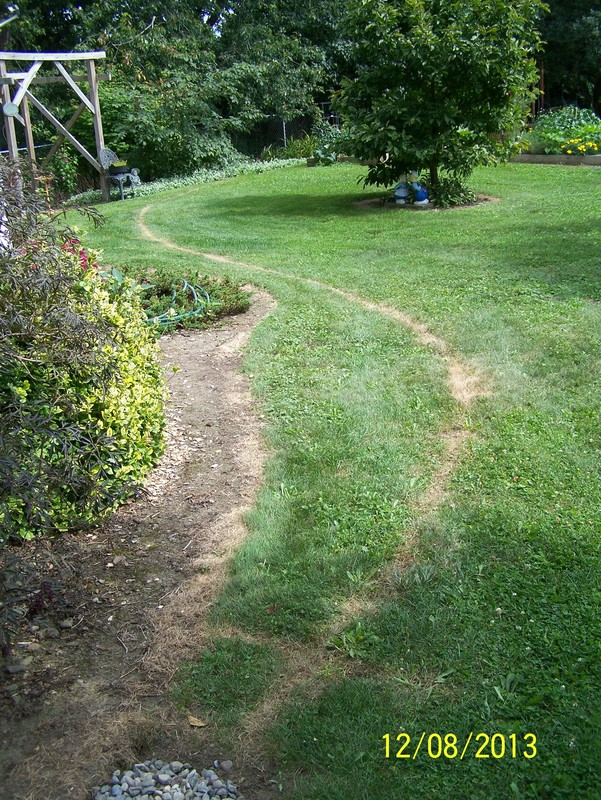
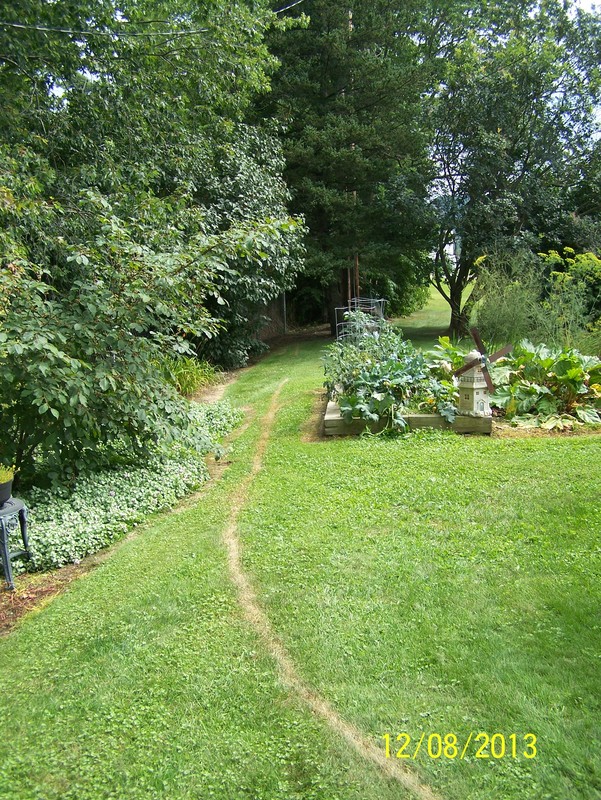
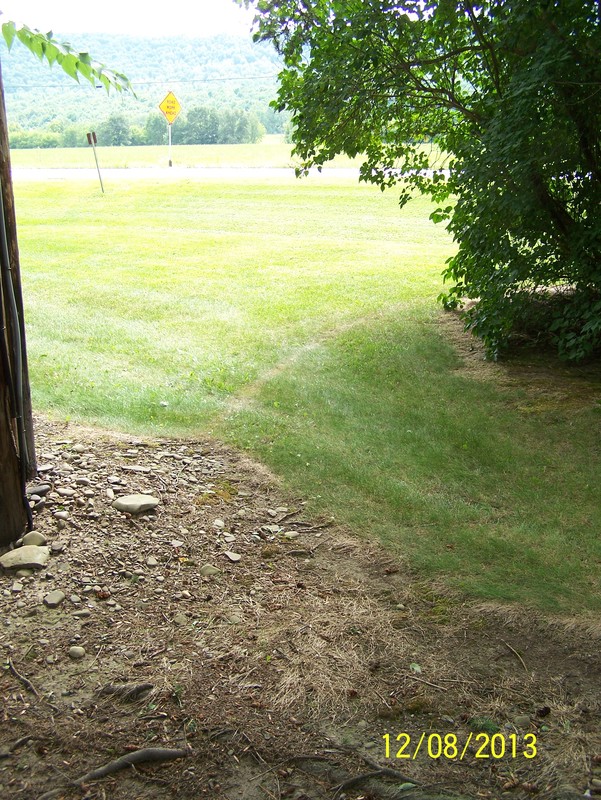
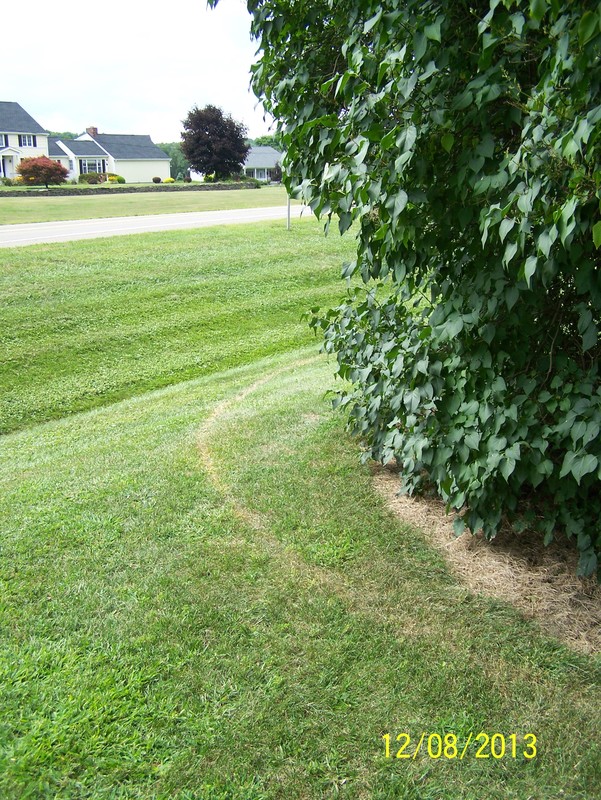
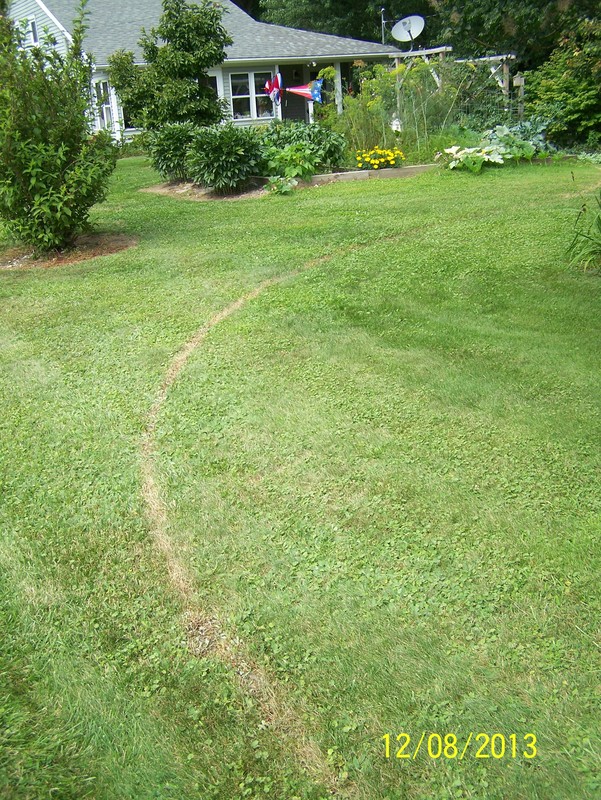
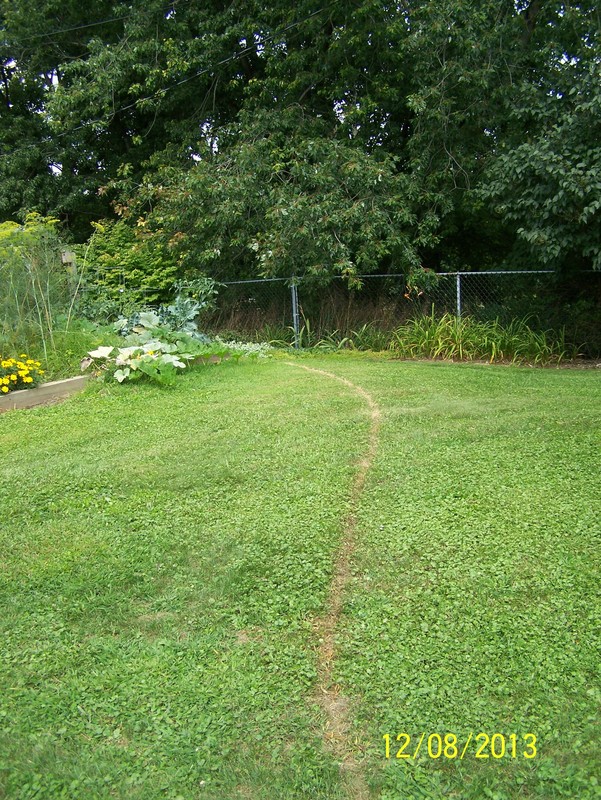
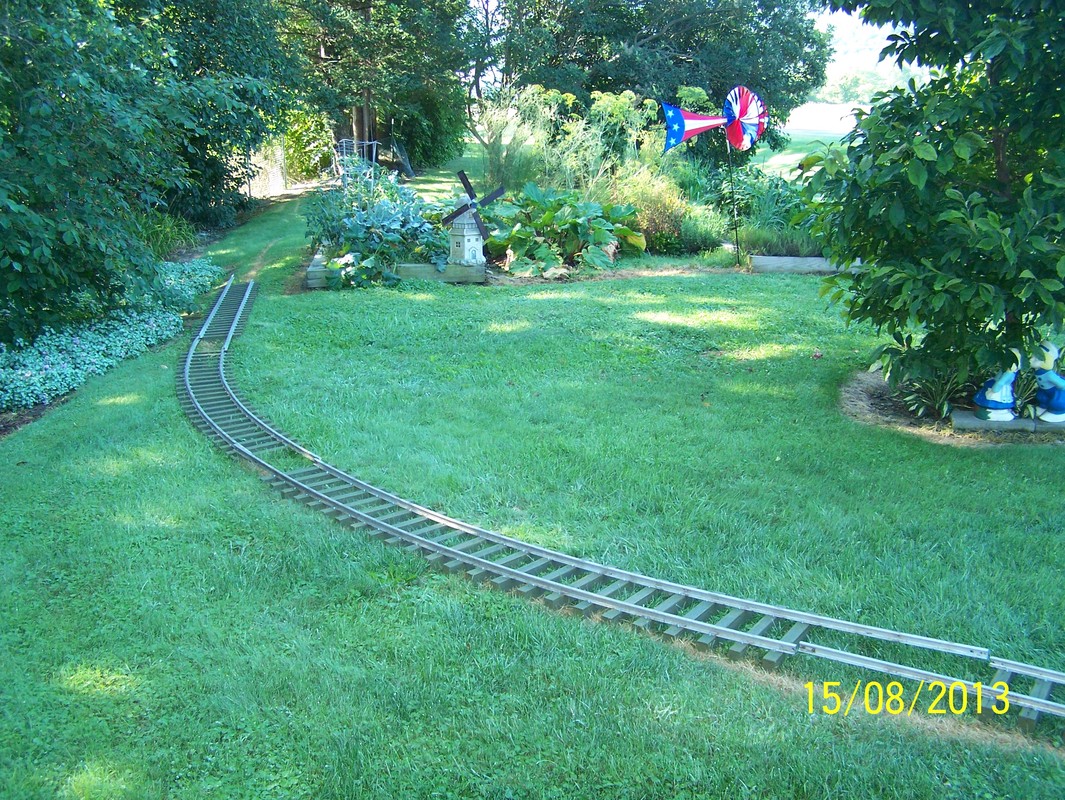
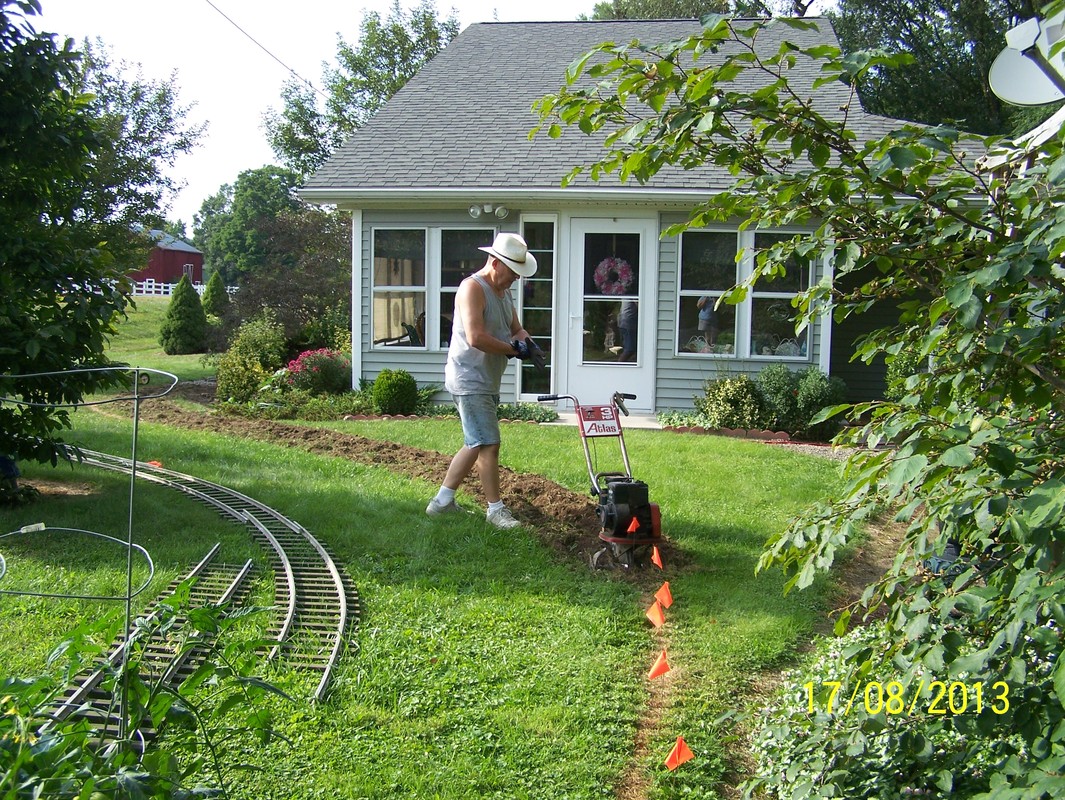
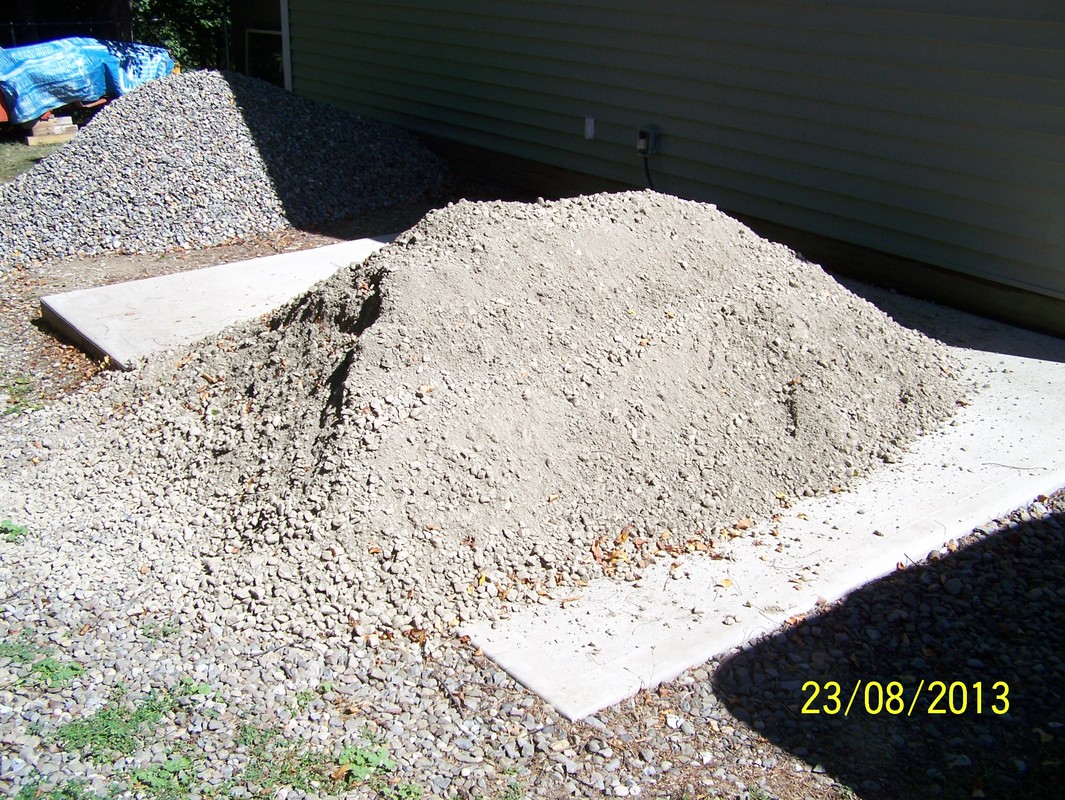
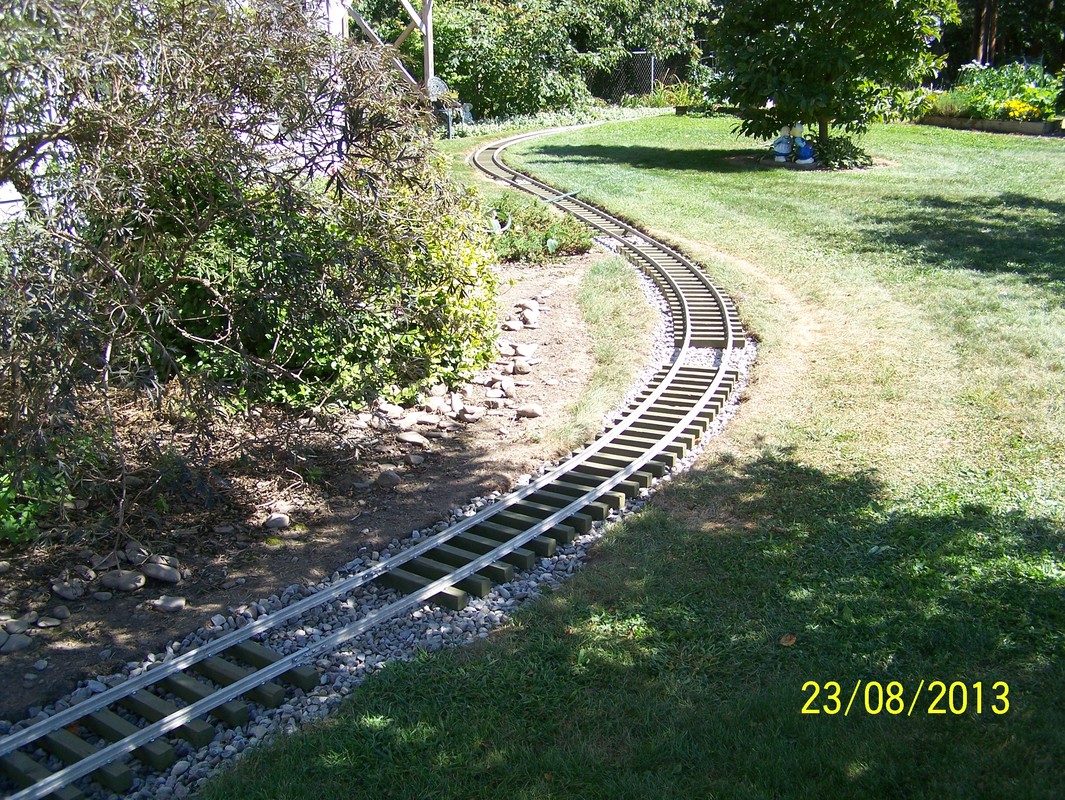
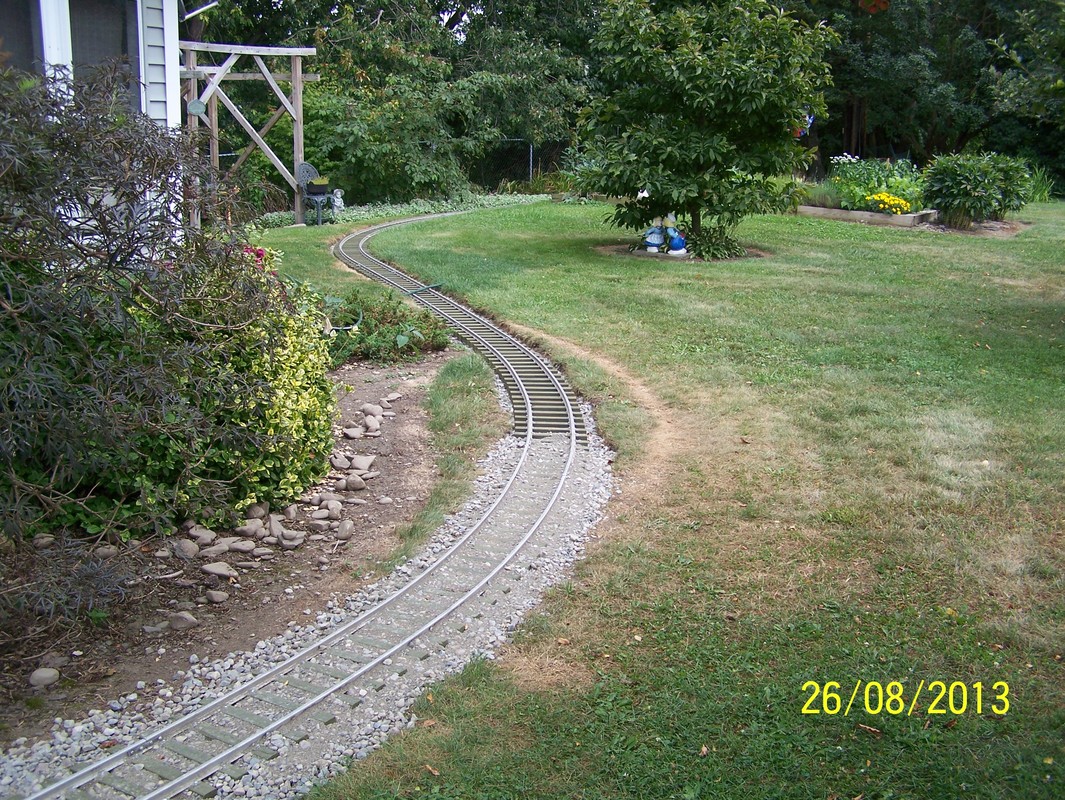
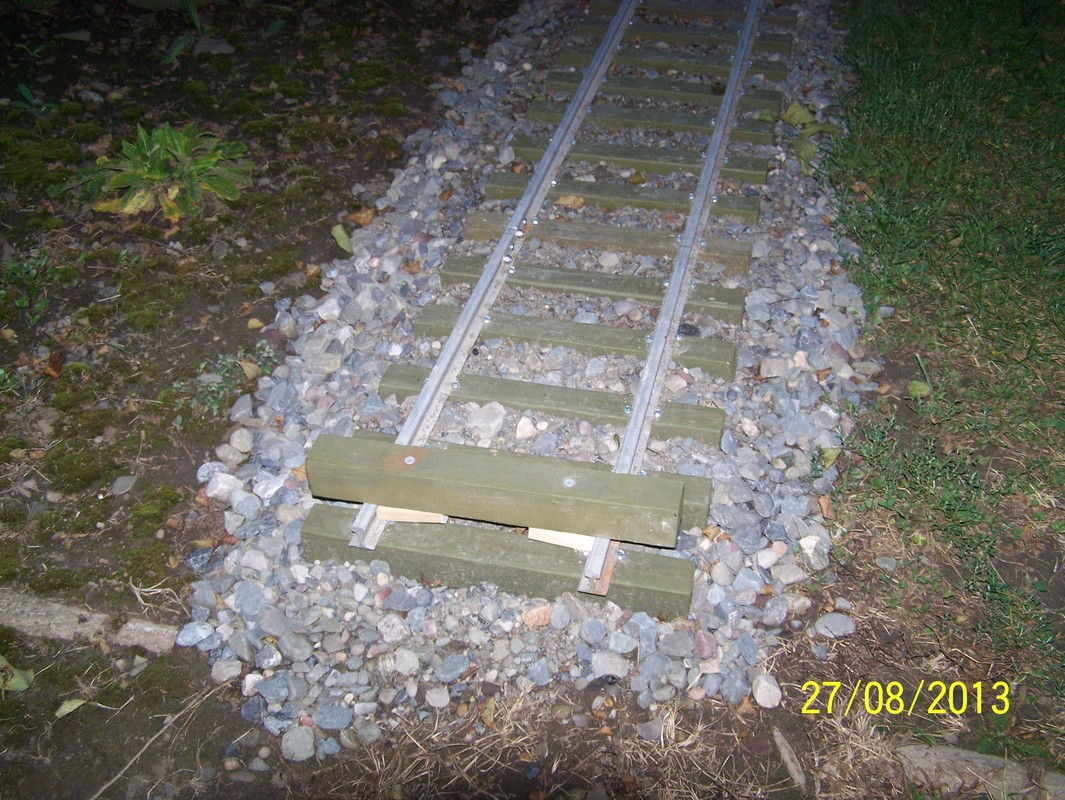
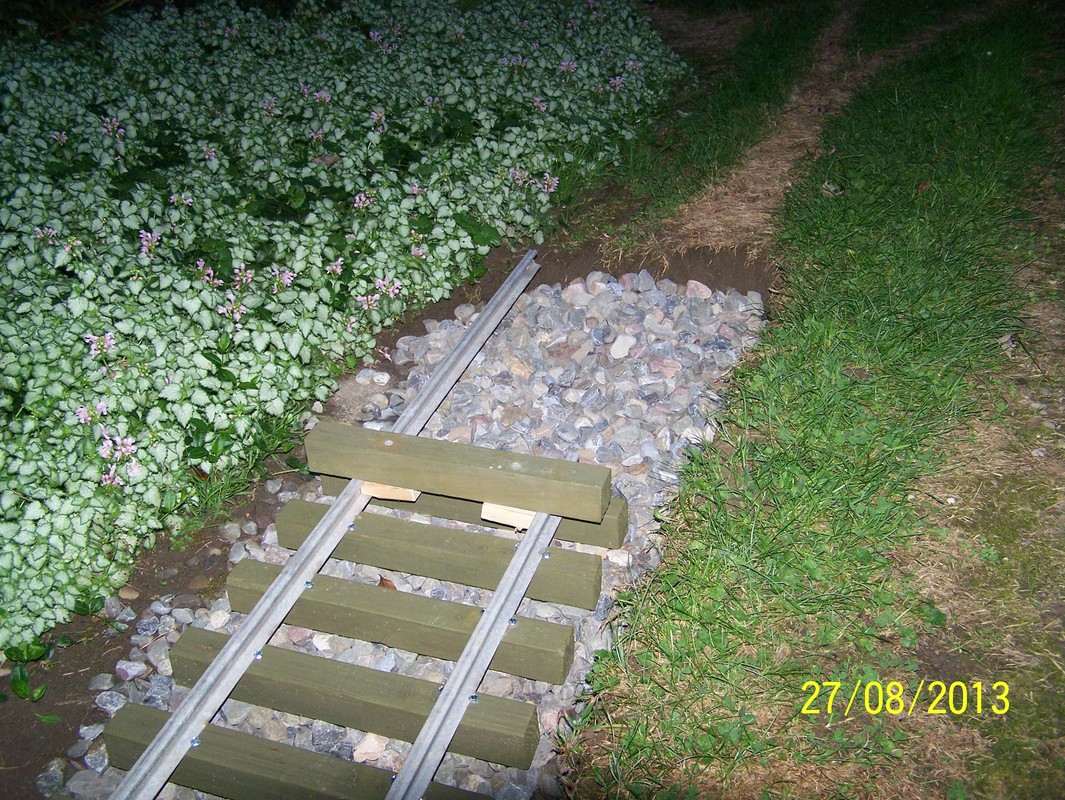
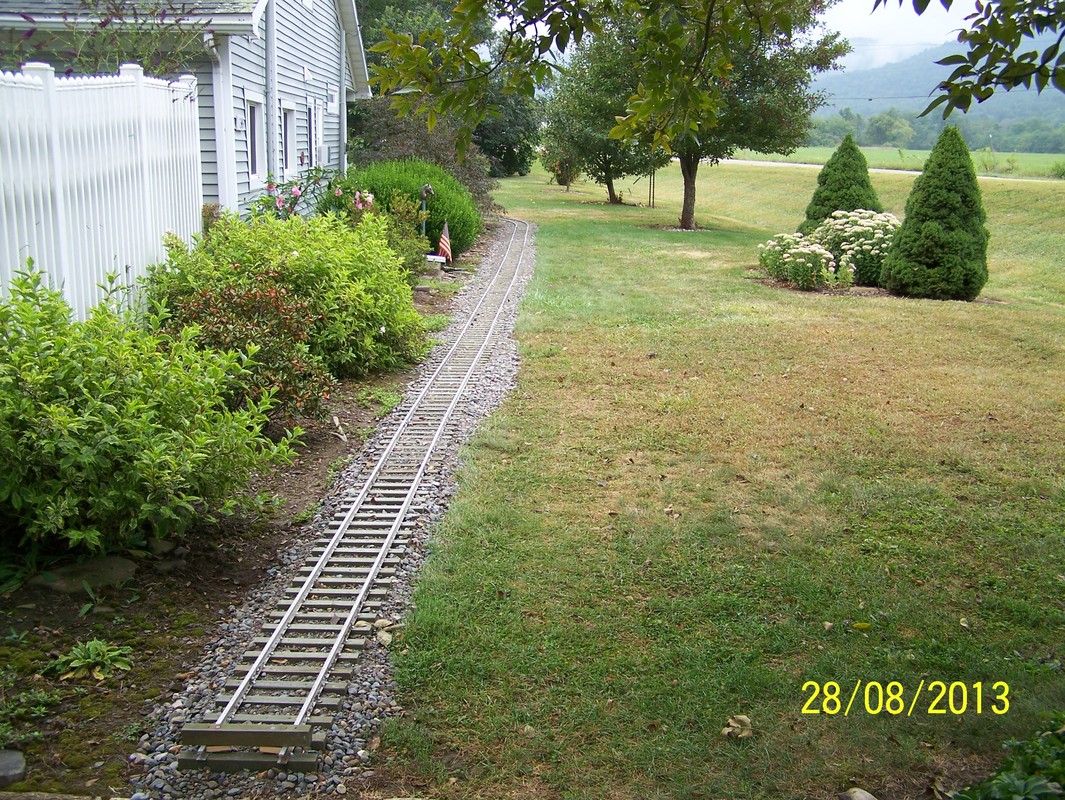
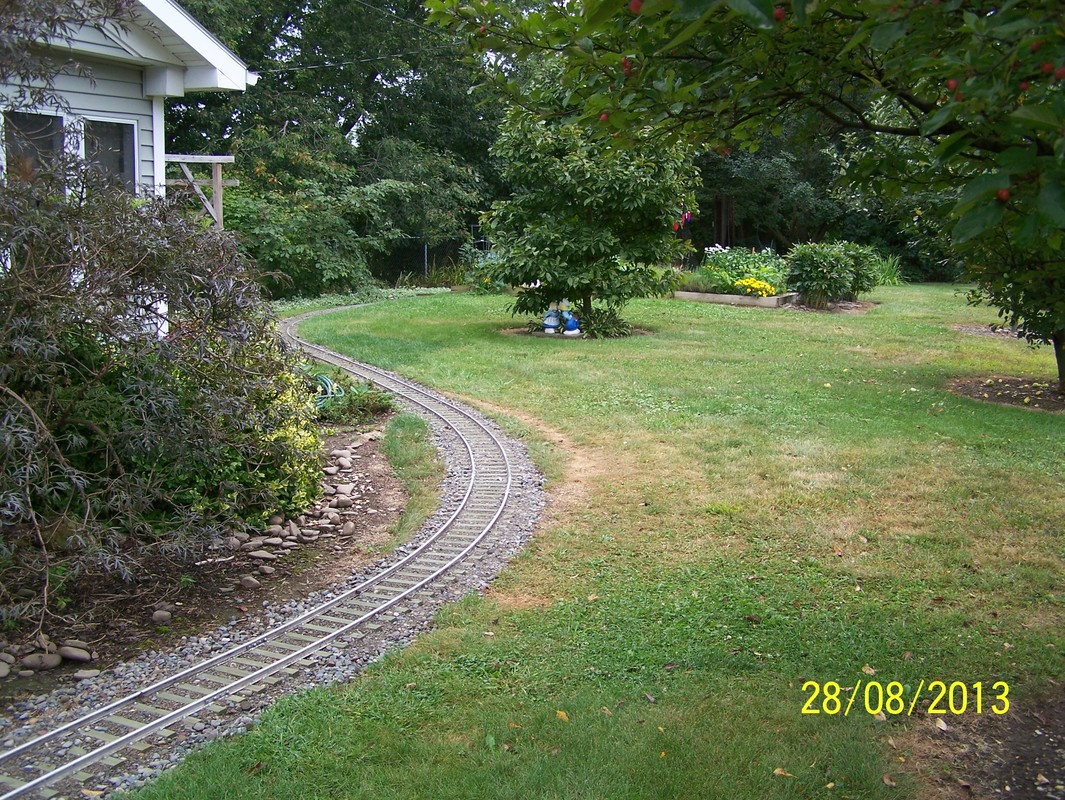
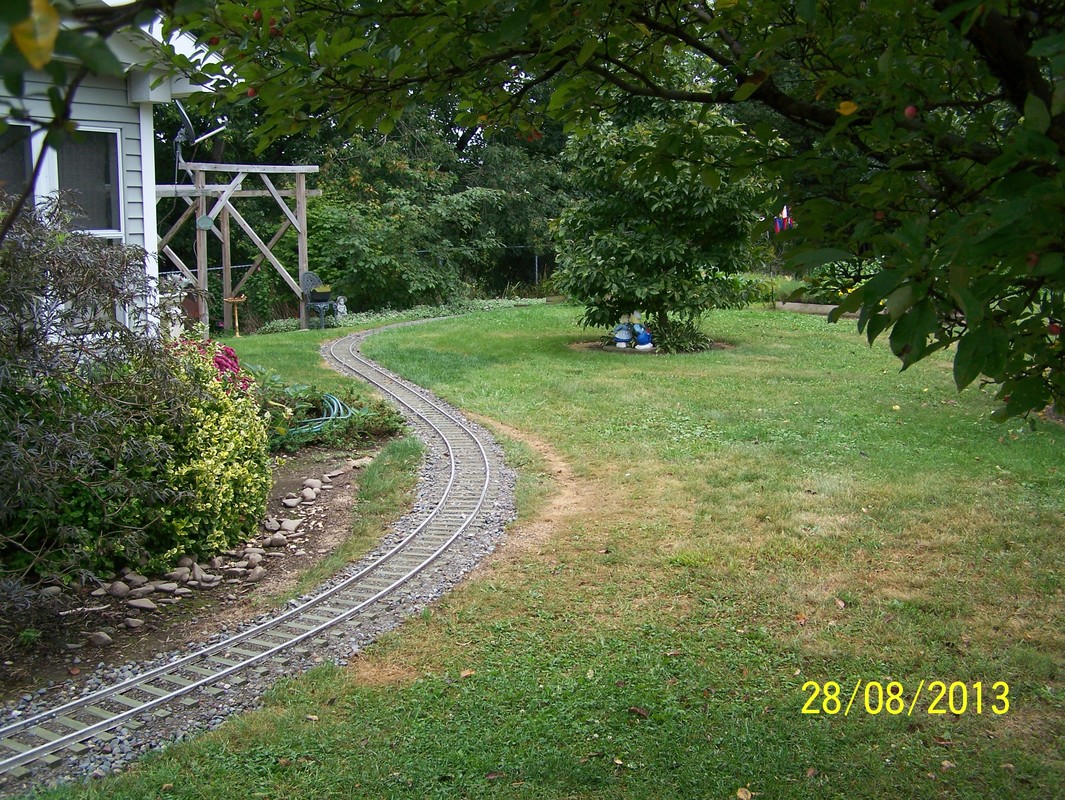
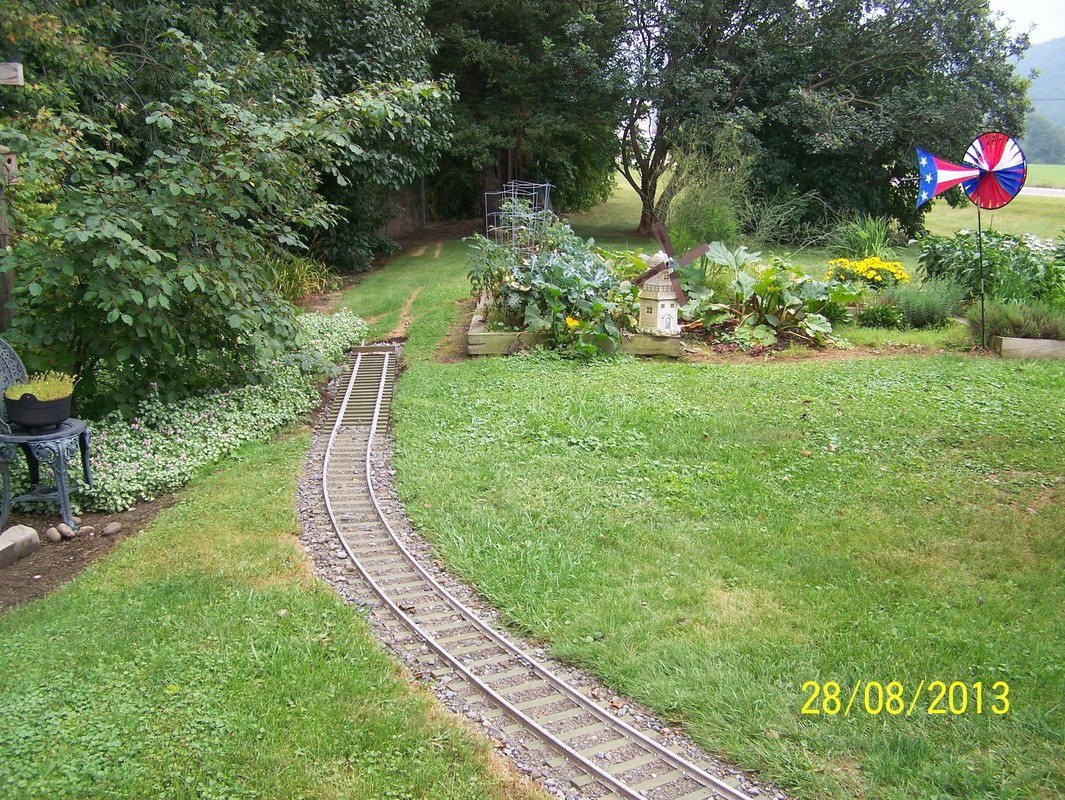
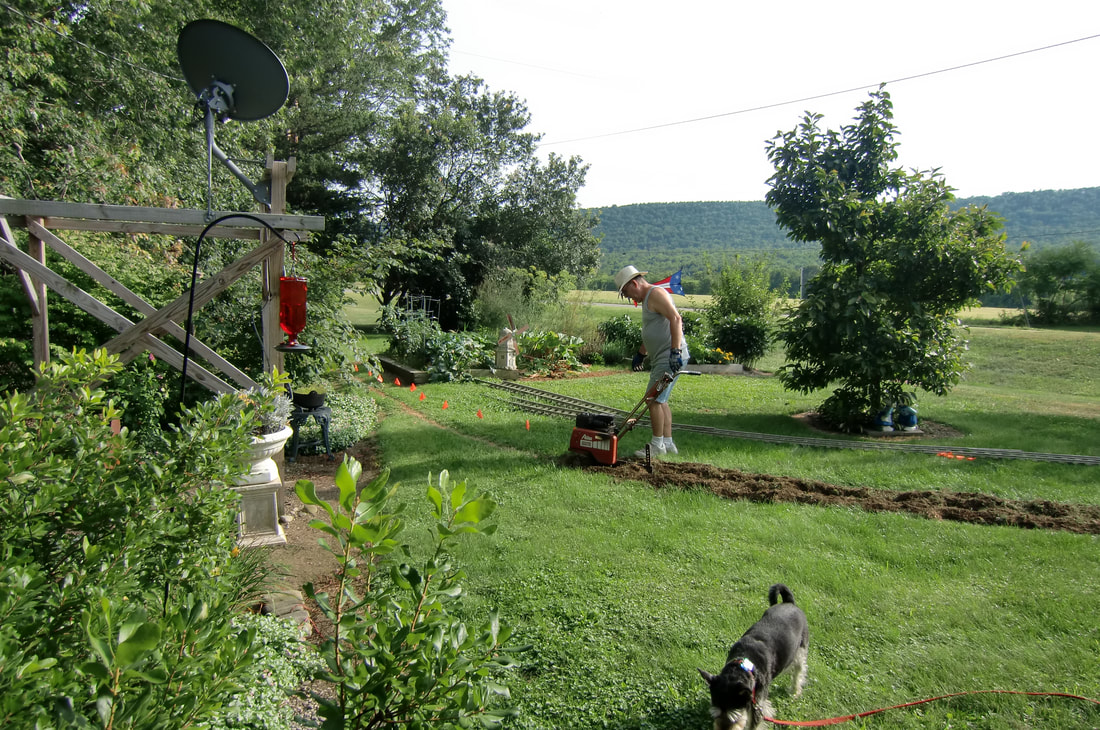
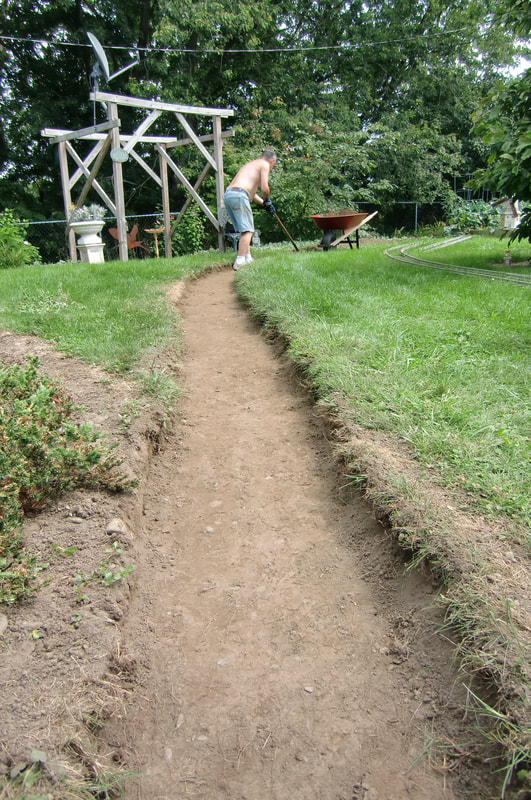
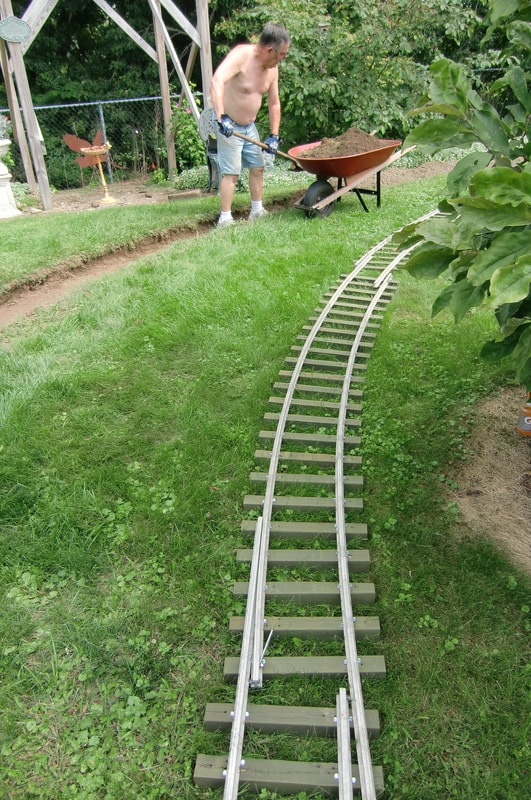
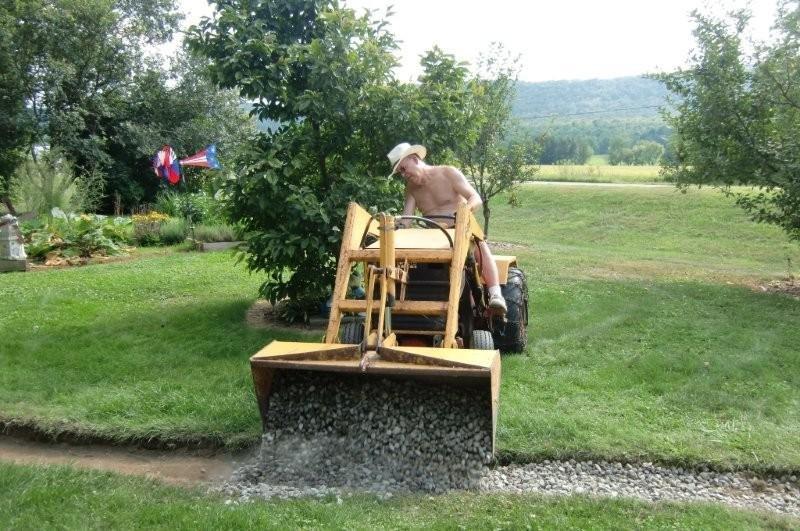
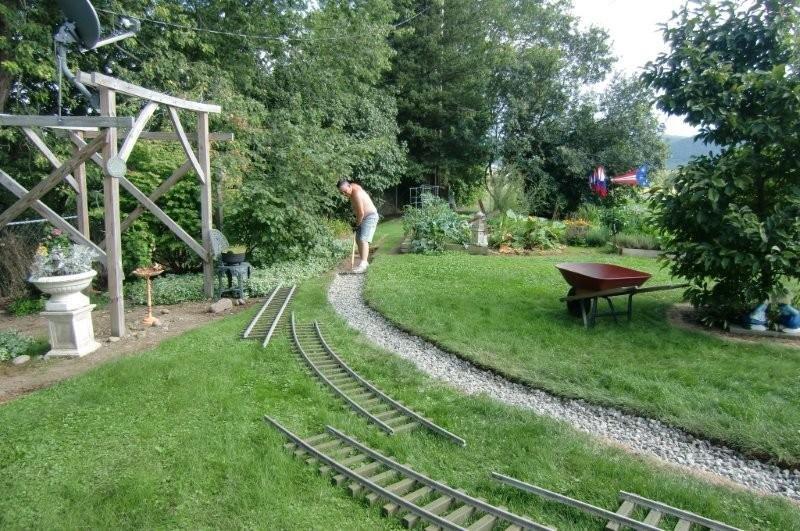
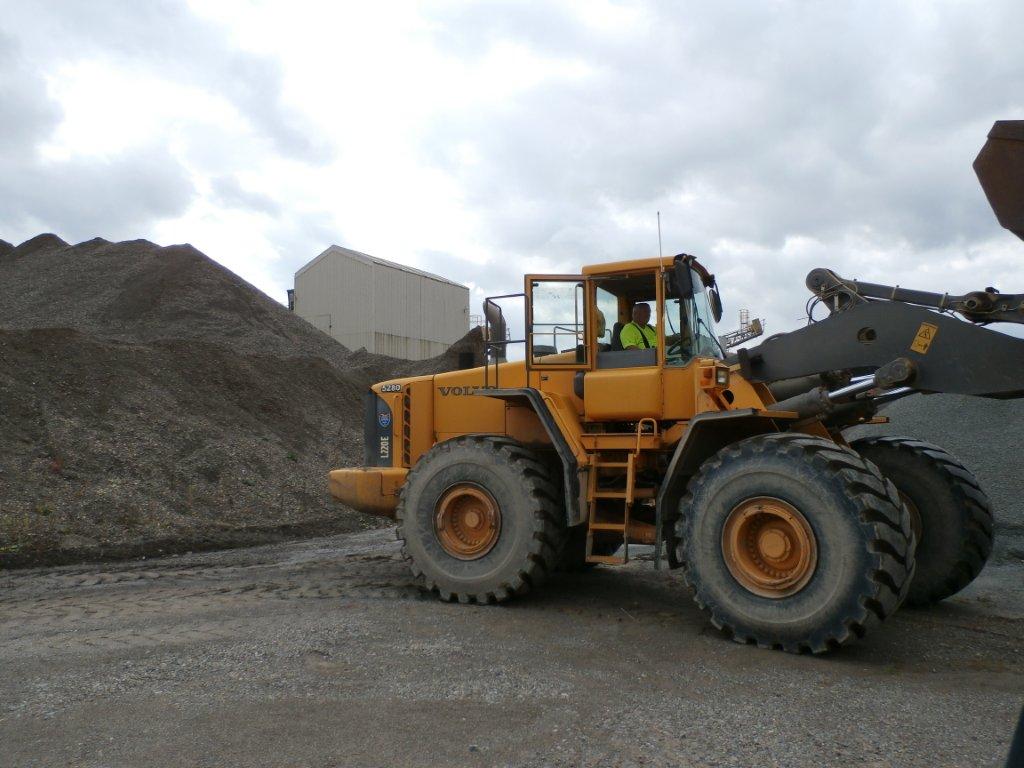
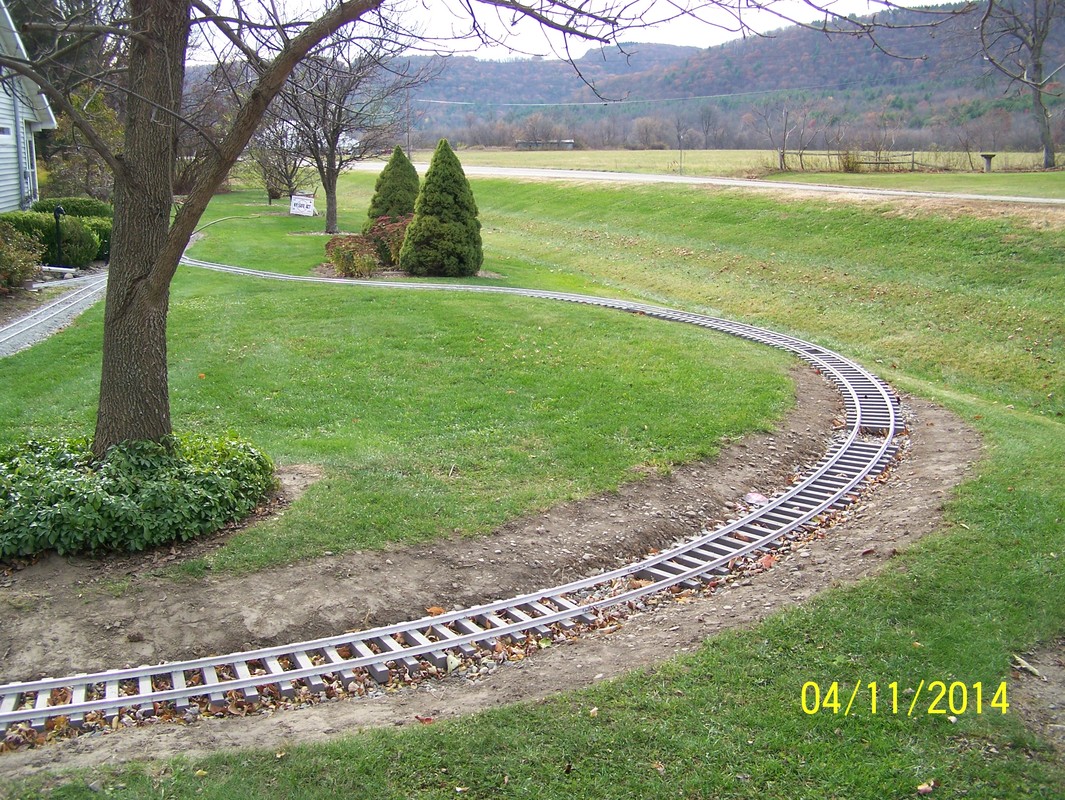
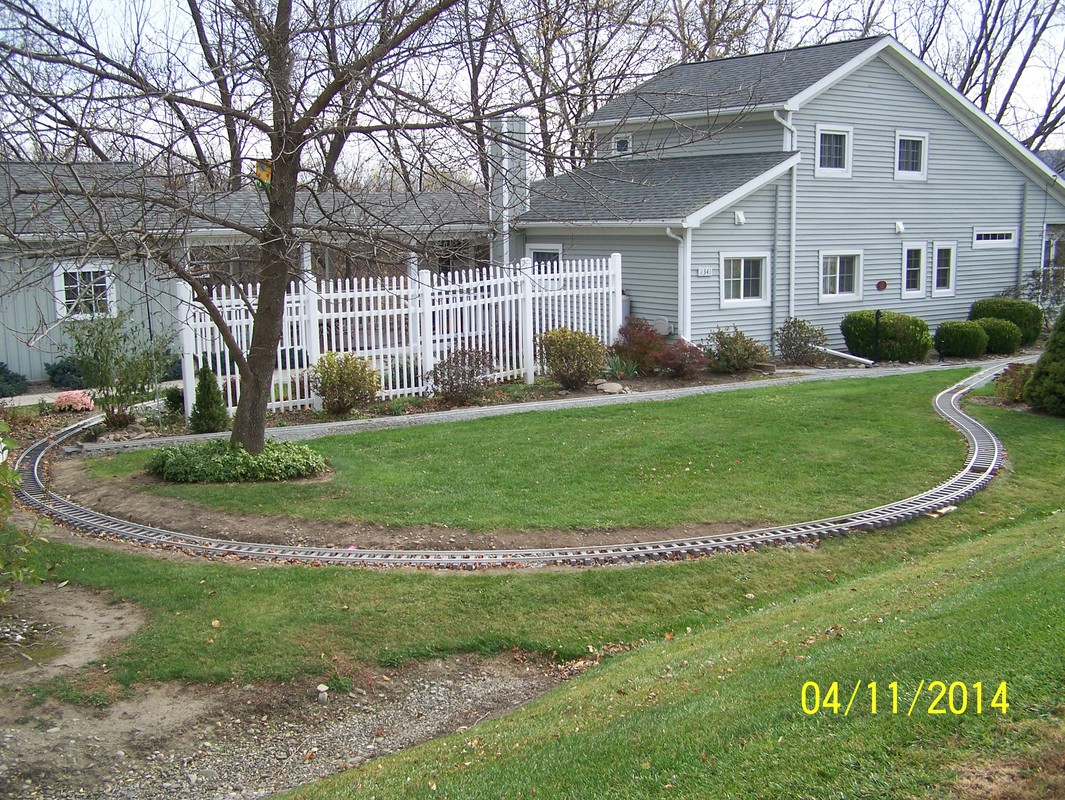
Aug, 2013. The first pictures show my layout tools. I have bent 10' pieces of 1/2" metal electric conduit to the 20' radius and lay out the curves and spray grass killer down and then in a couple of day have a dead grass line to follow. Finally figured out that the buckets of sub-ballast were not working. So ordered a ton of sub-ballast. Then as I got further along on getting the track down ordered a ton of ballast to go over the track panels and over the ties. I tried to use the bucket tractor to put sub-ballast but this became too cumbersome, so switched back to the wheelbarrow.


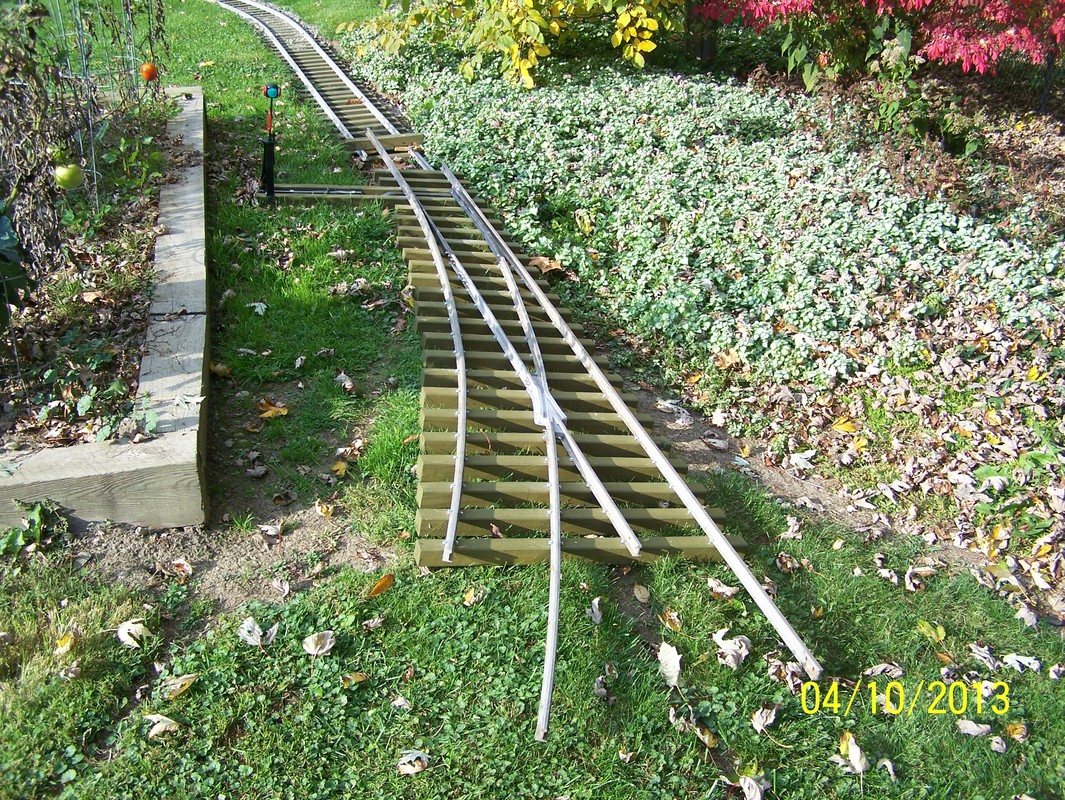
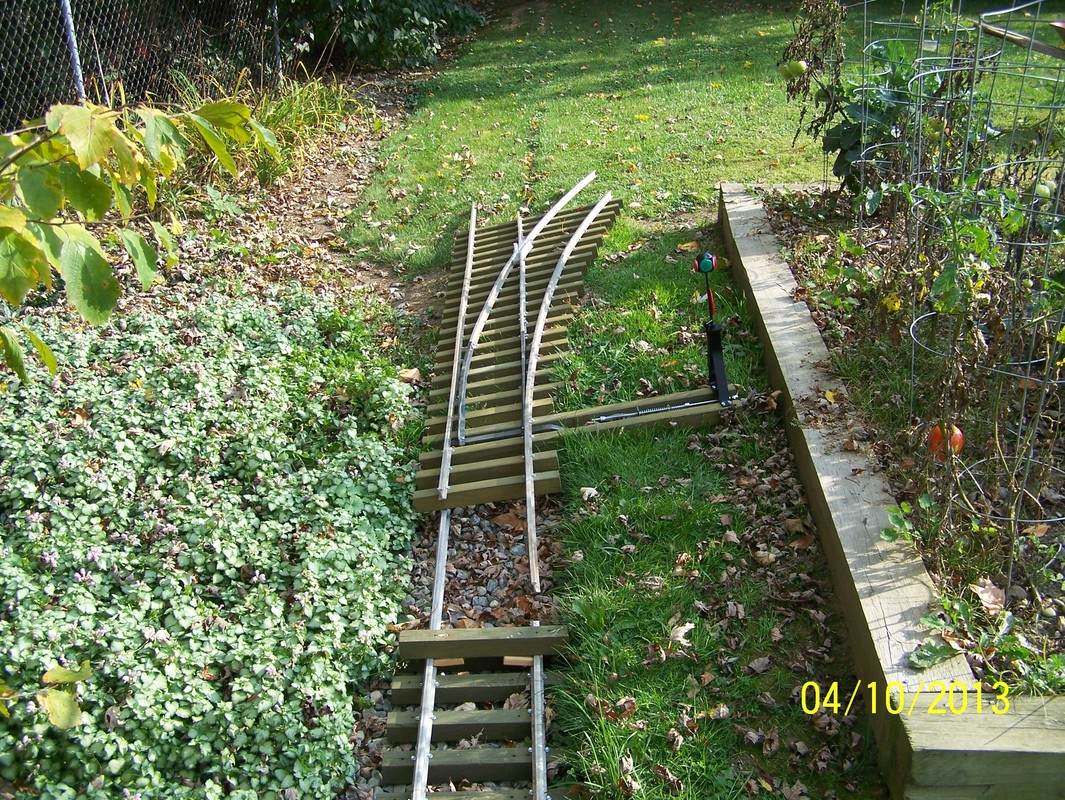
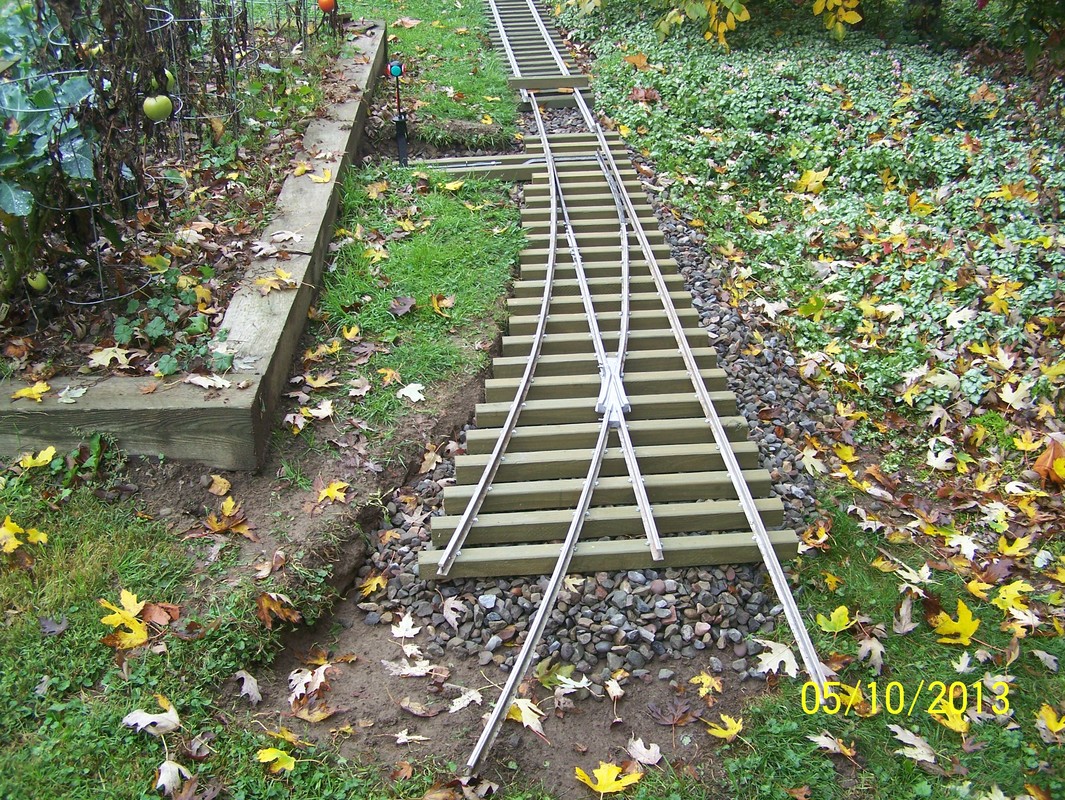
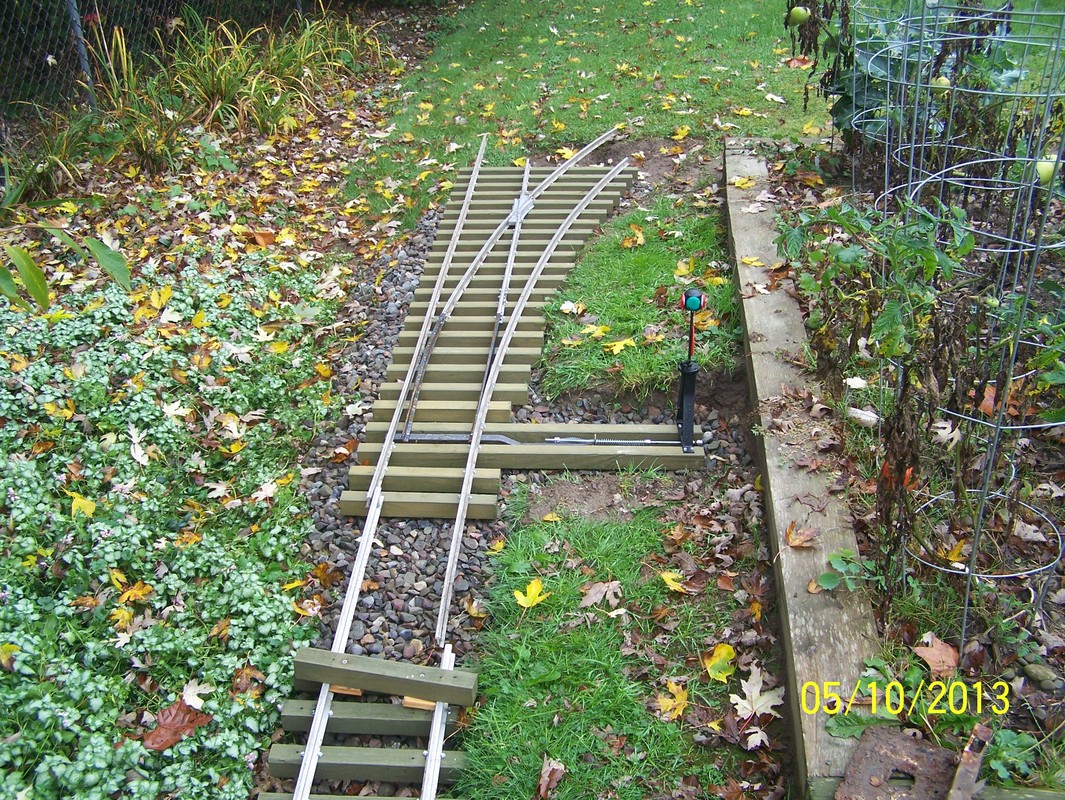
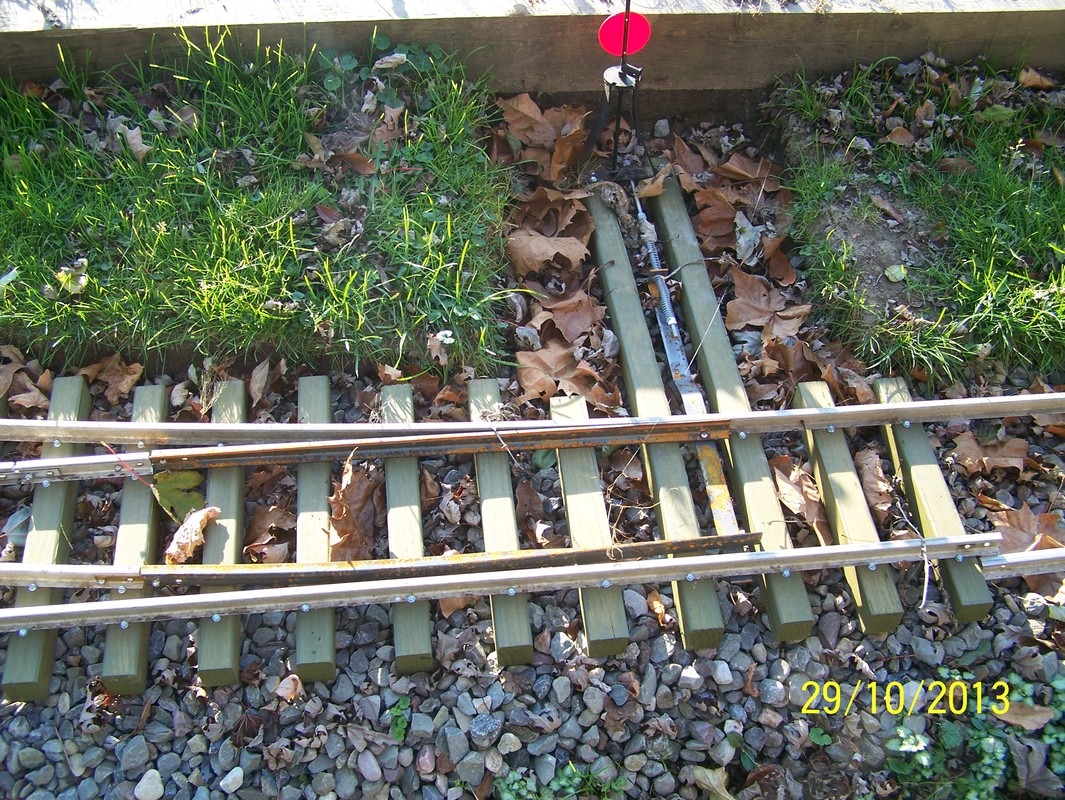
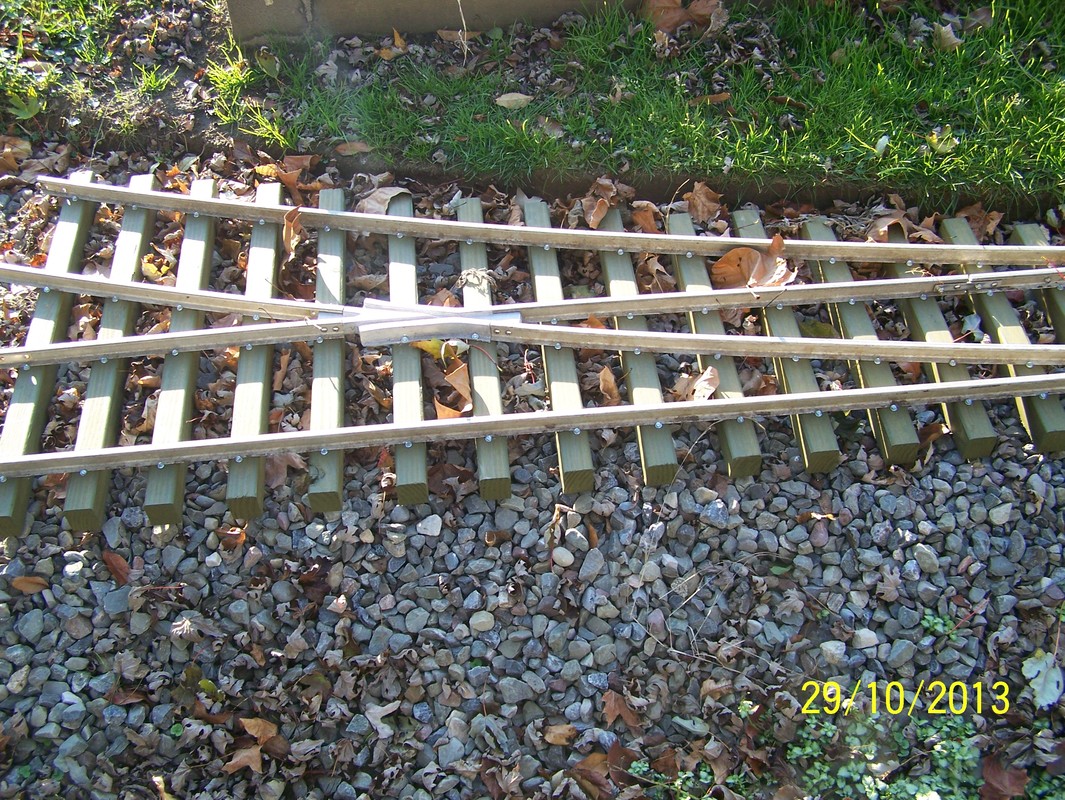
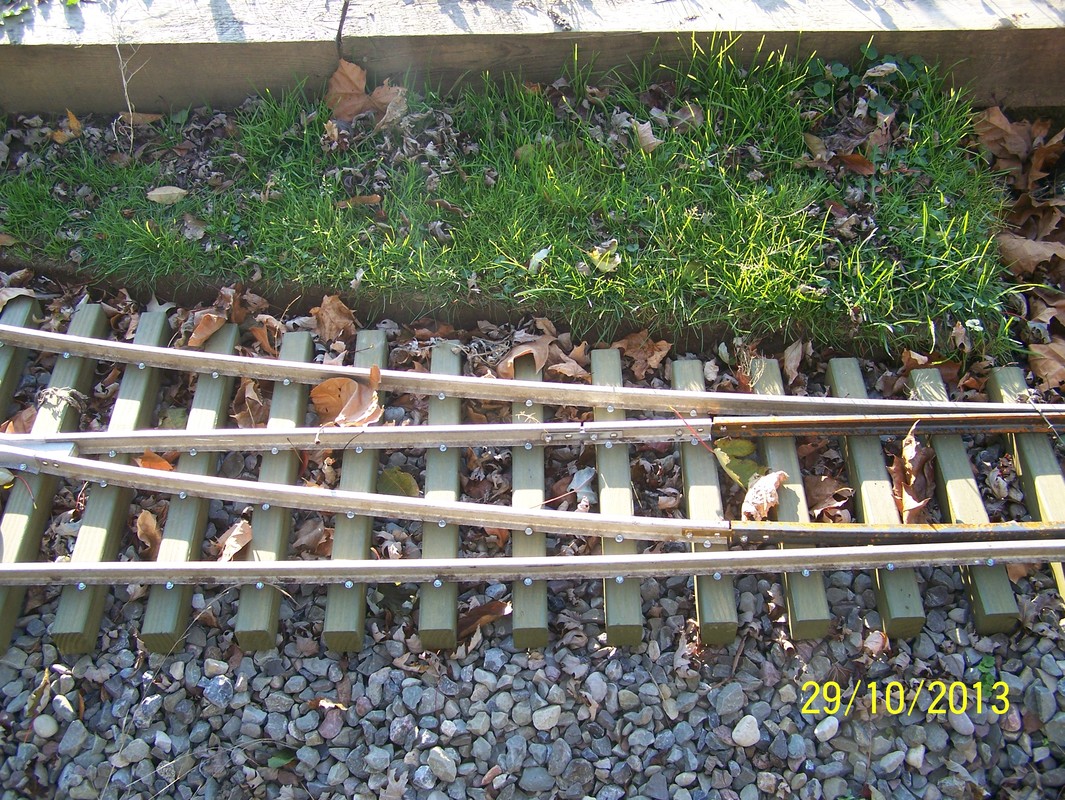
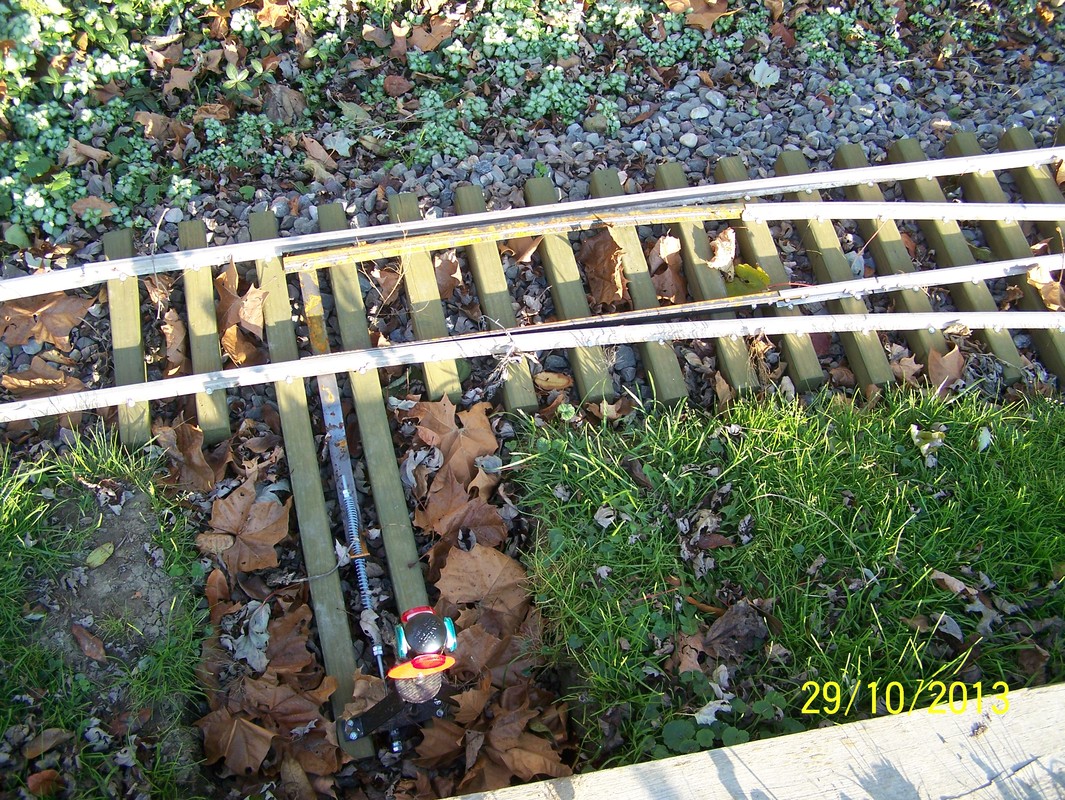
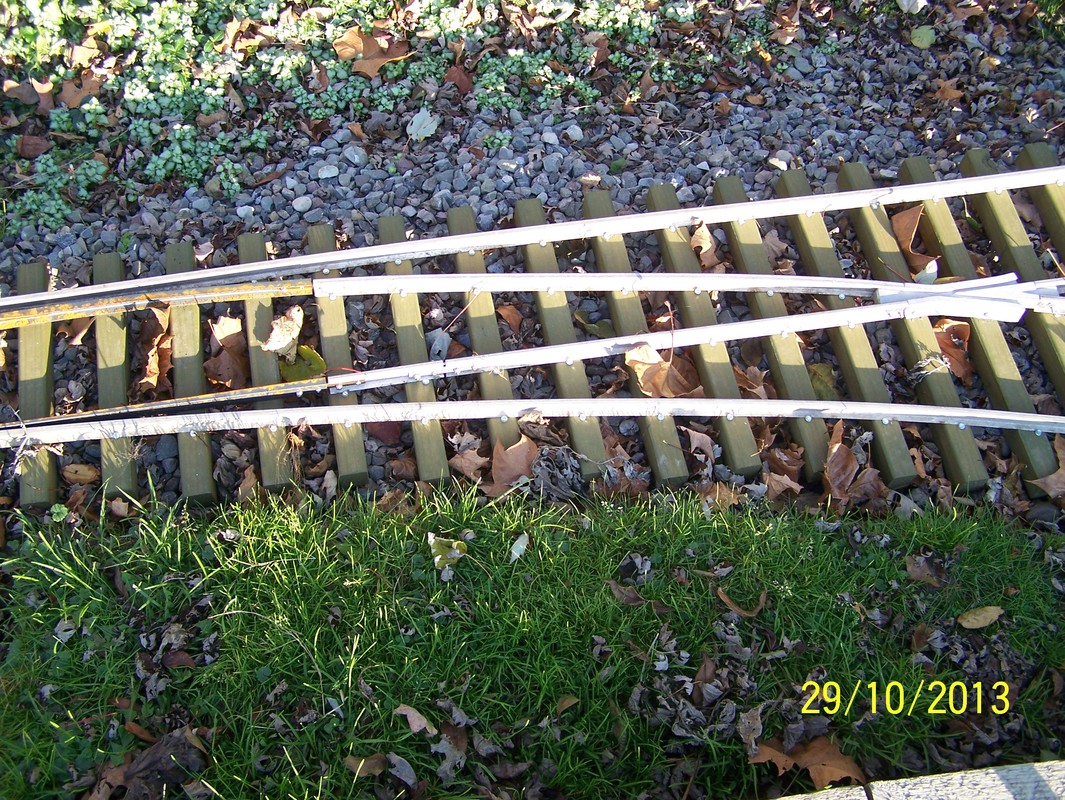
Oct, 2013. Installed the first switch using my standard way.

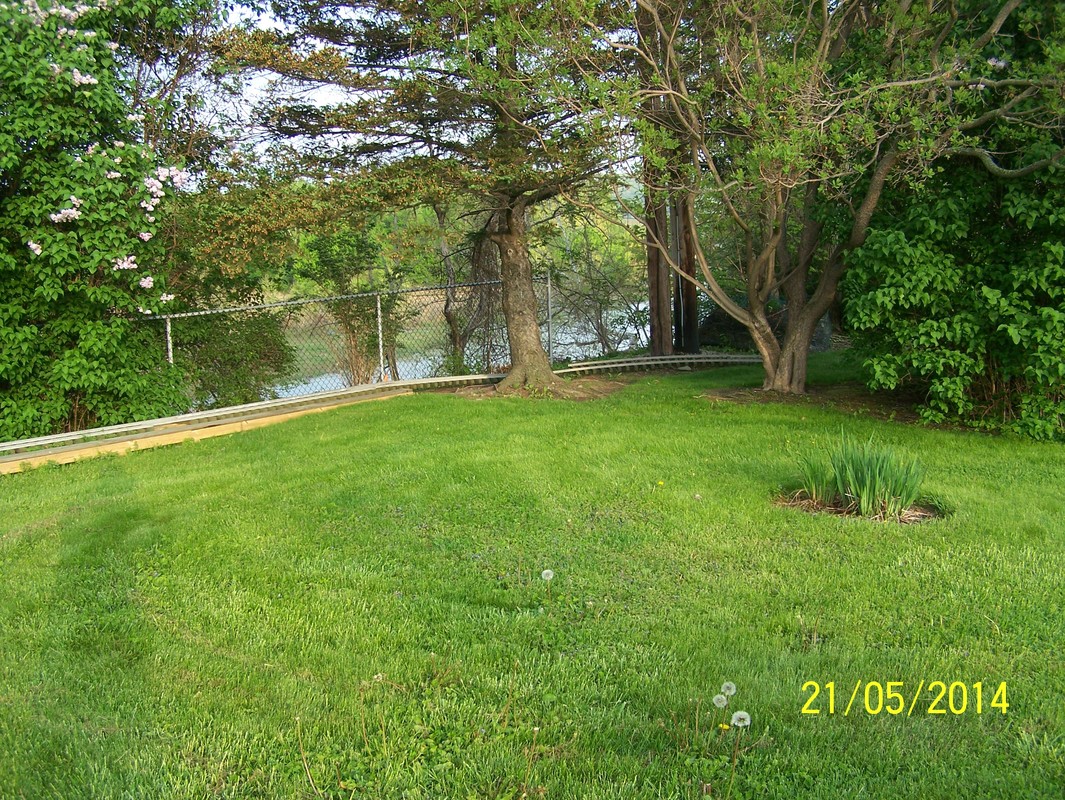
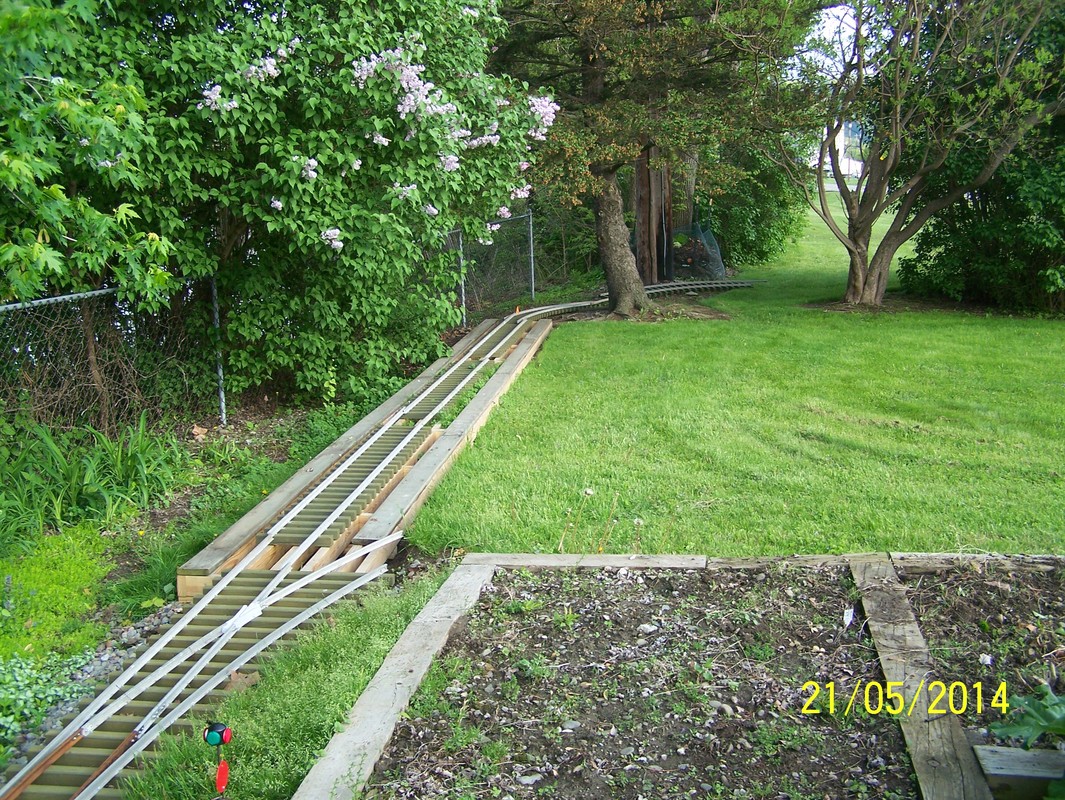
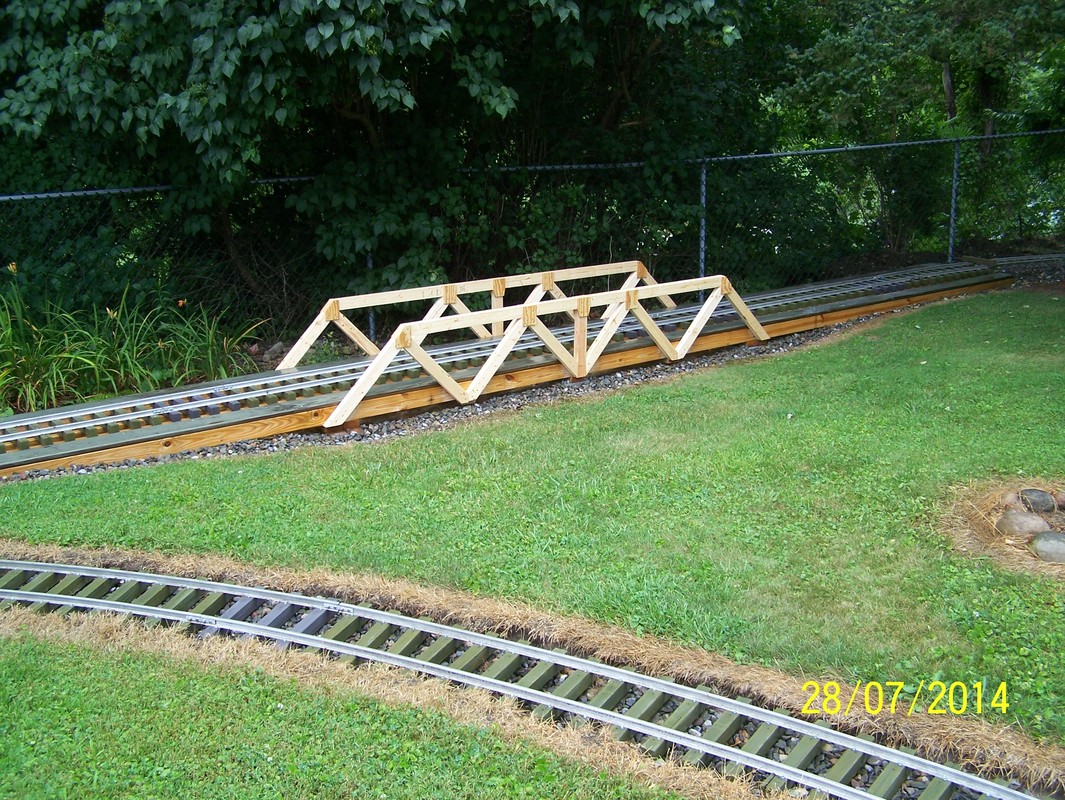
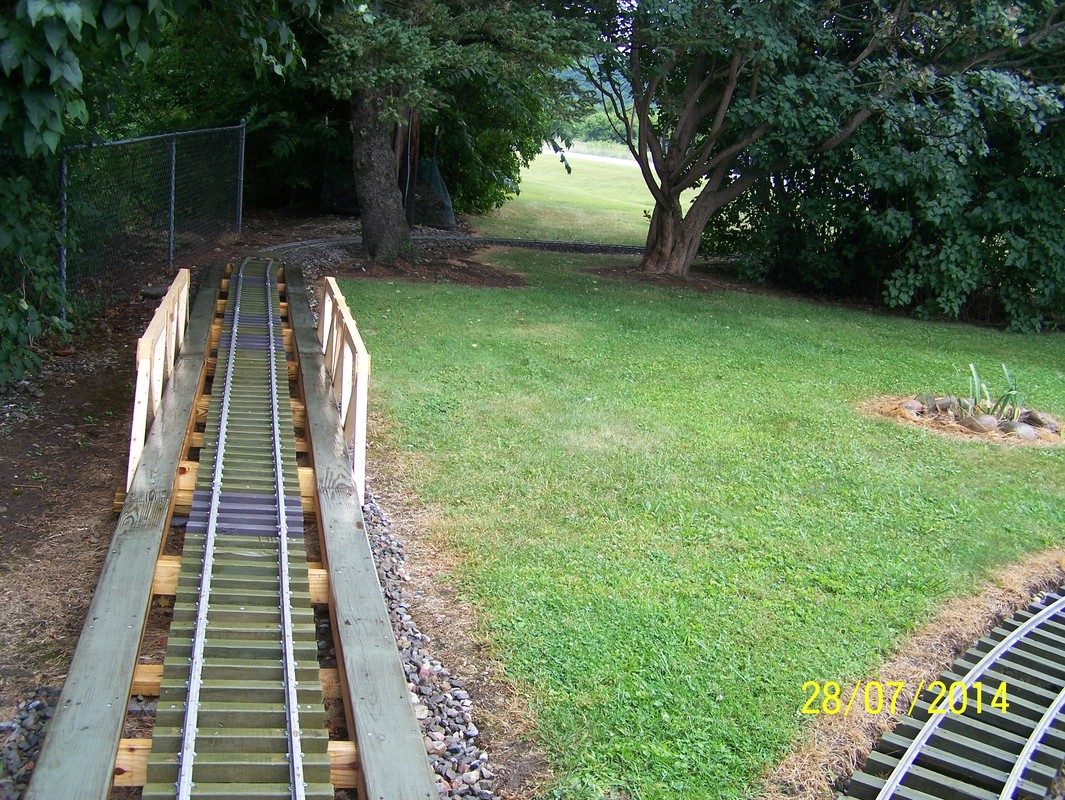
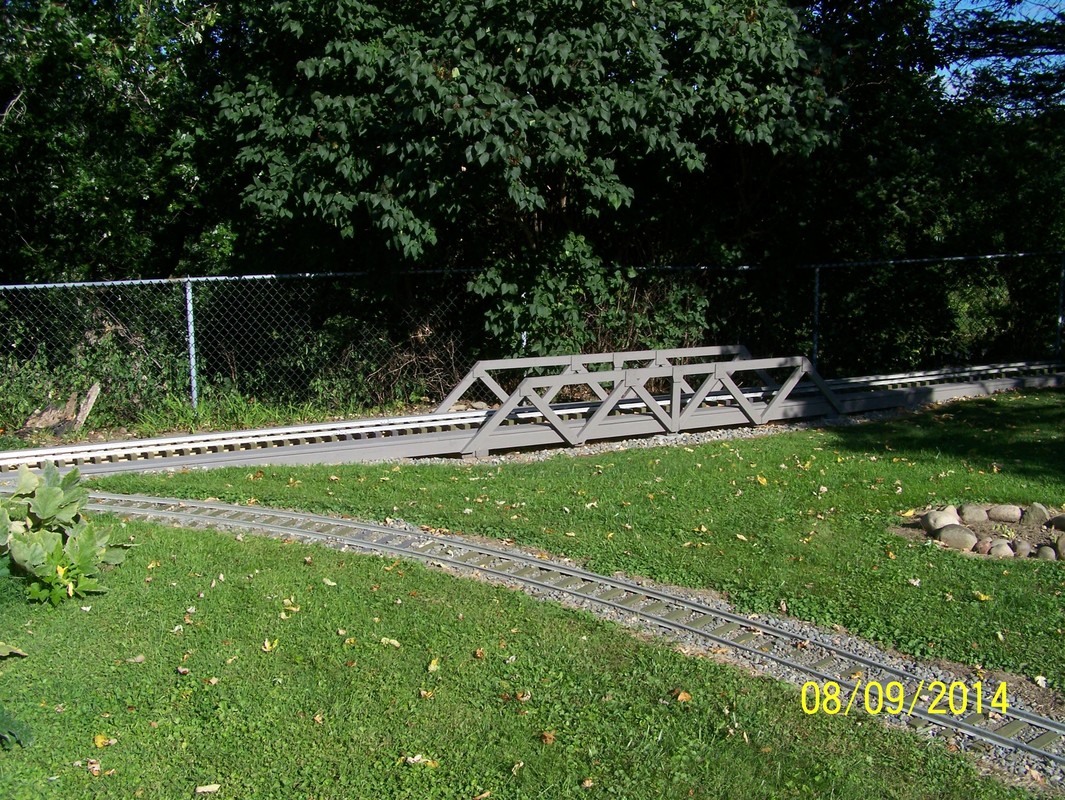
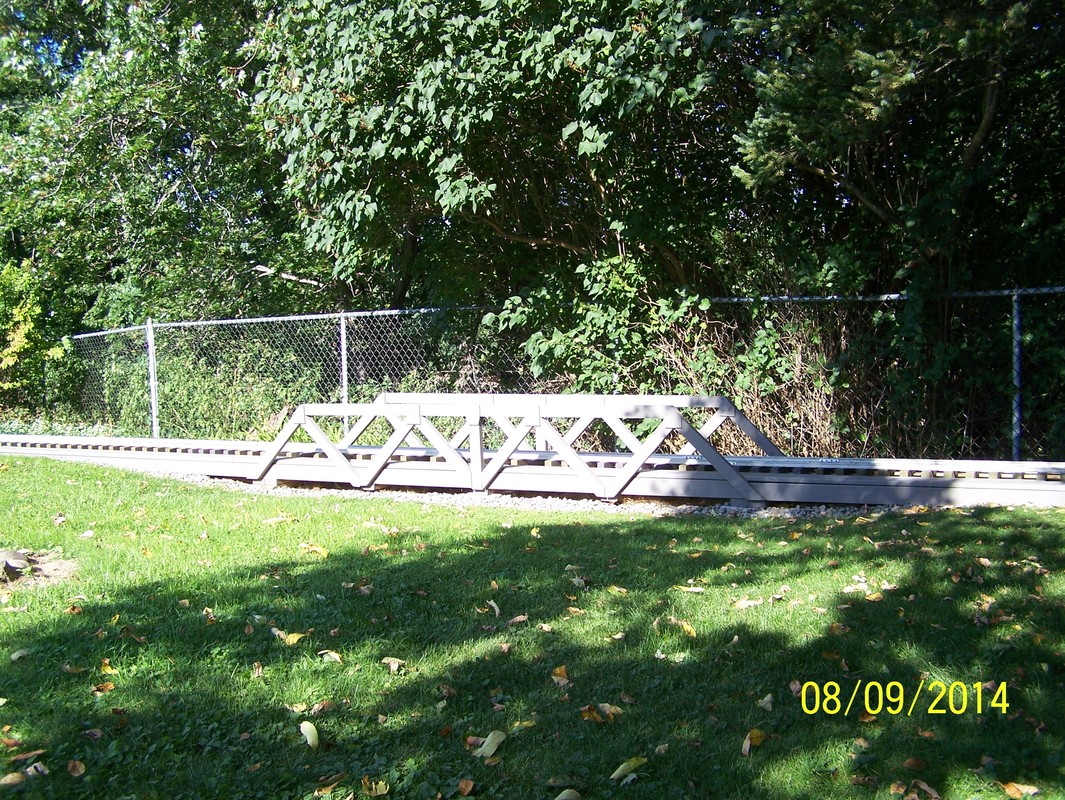
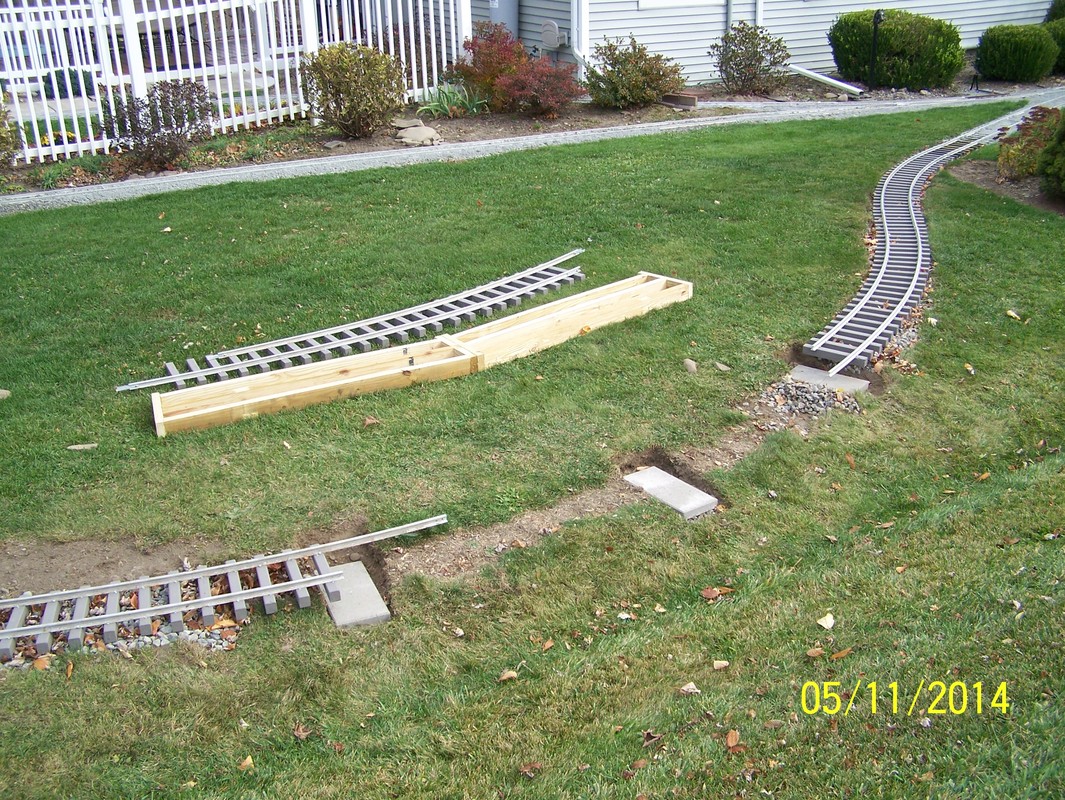
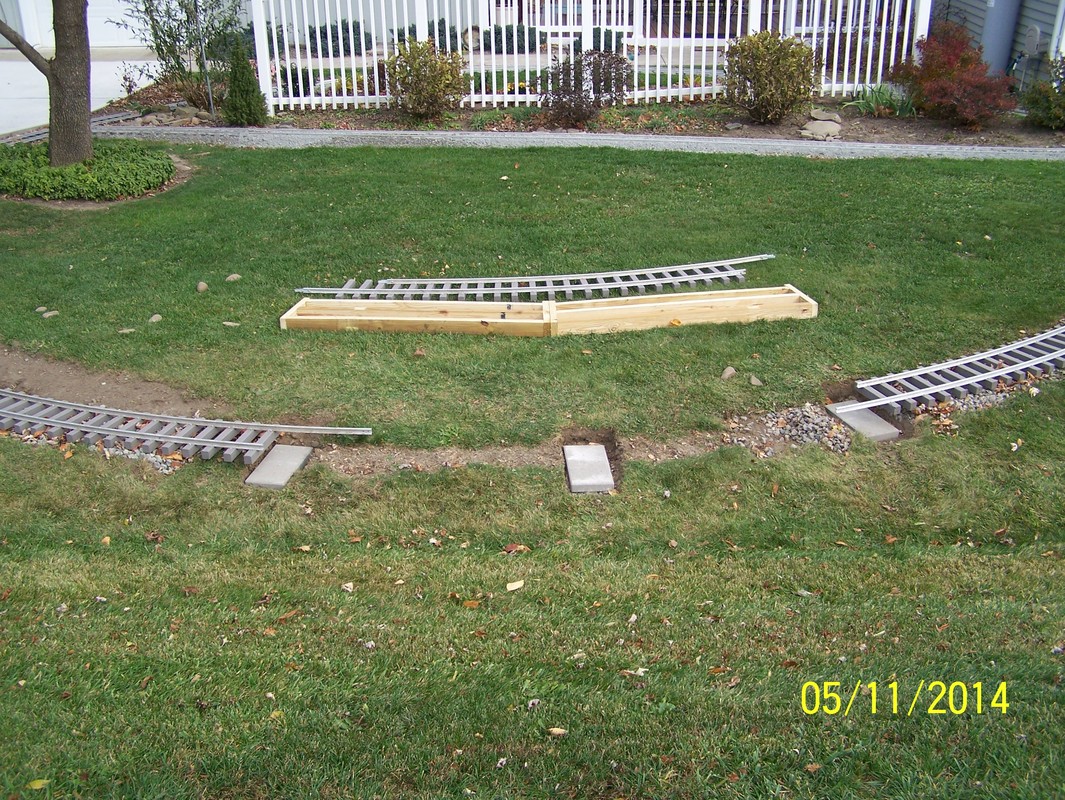
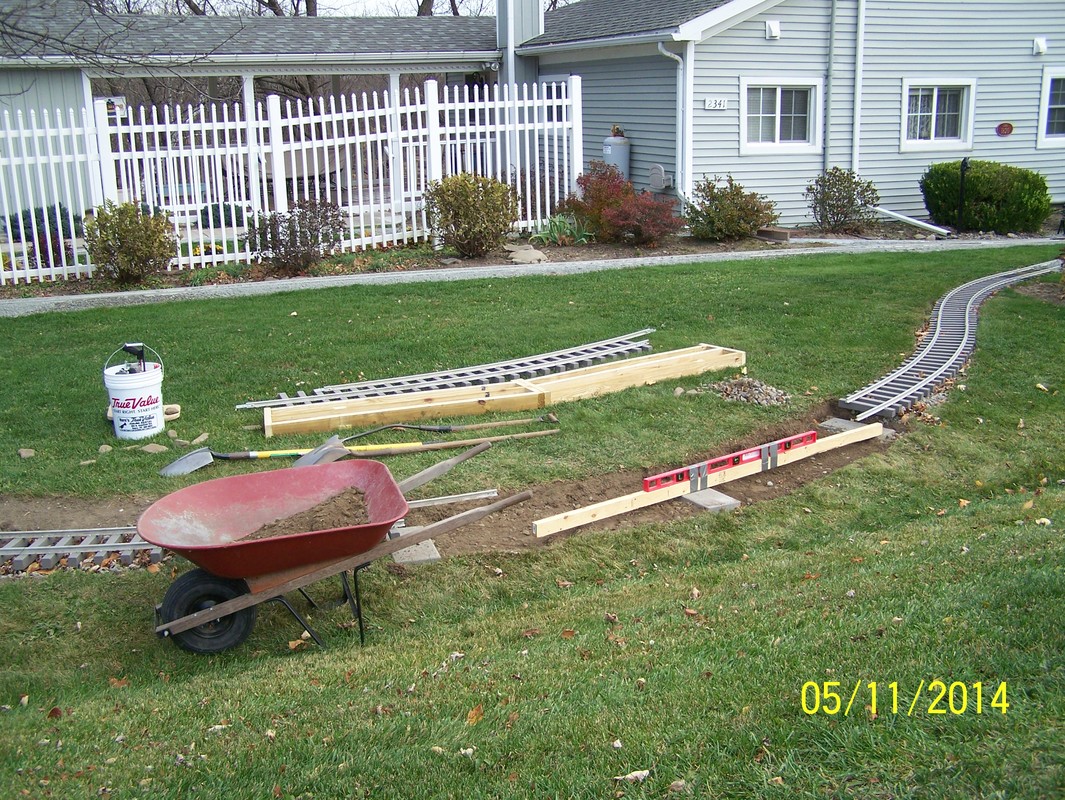
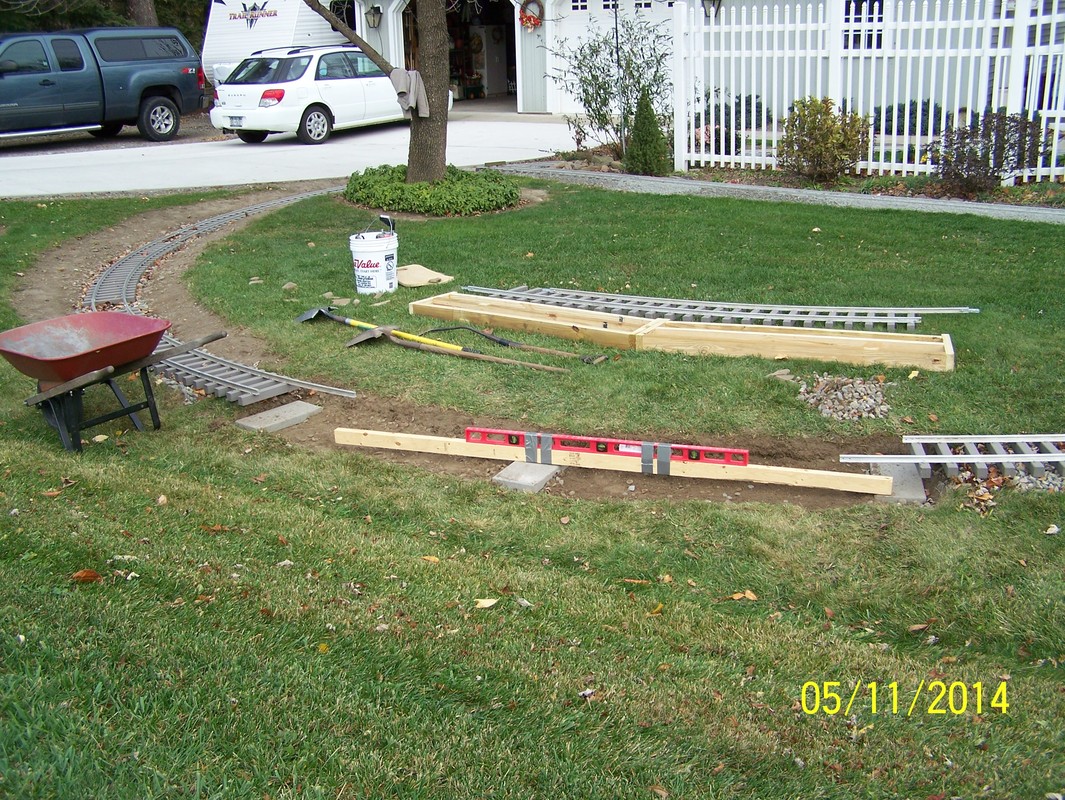
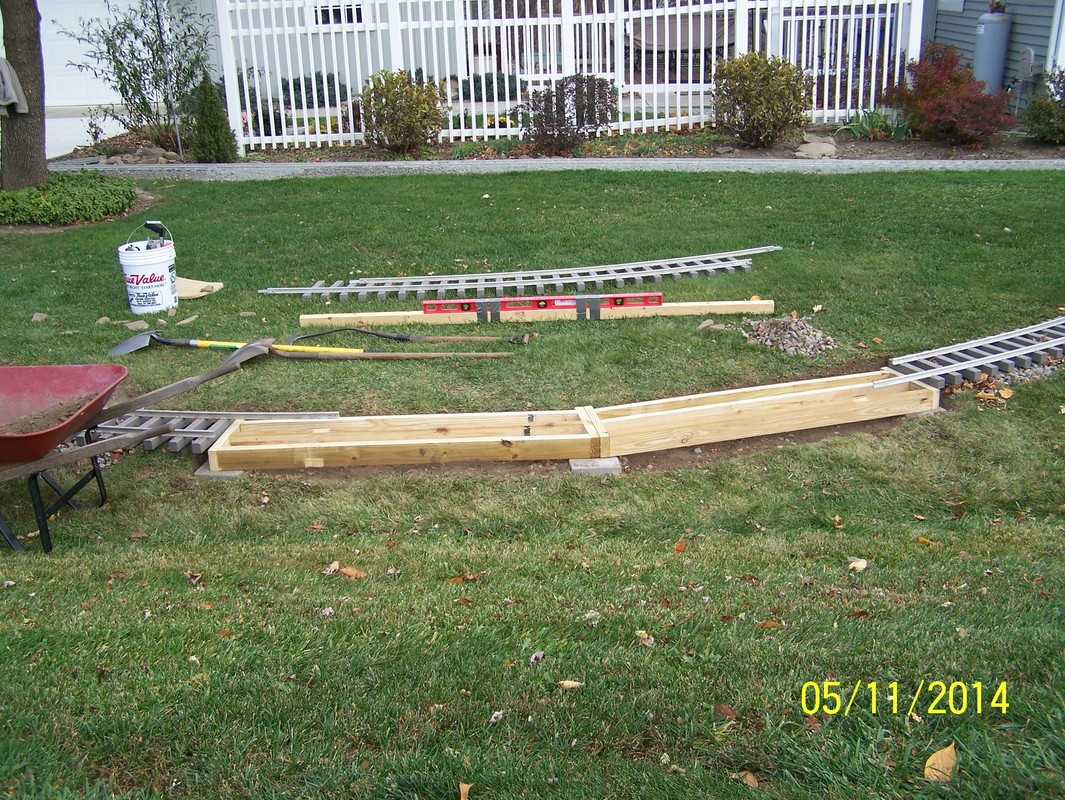
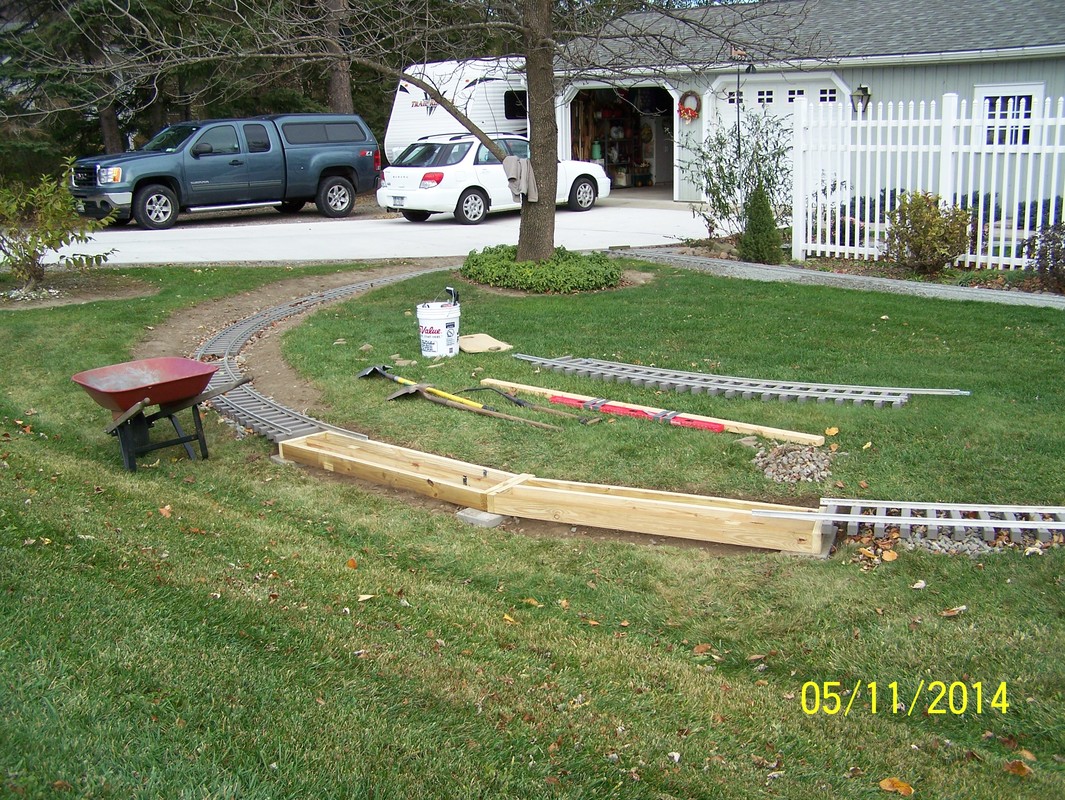
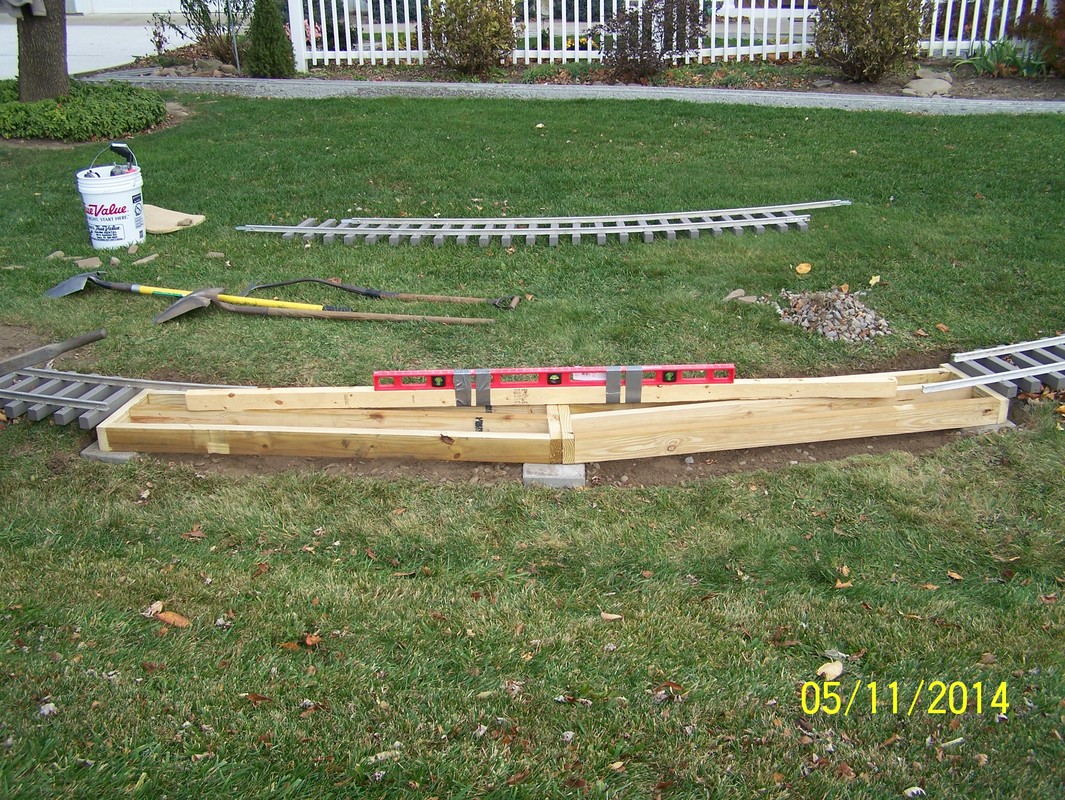
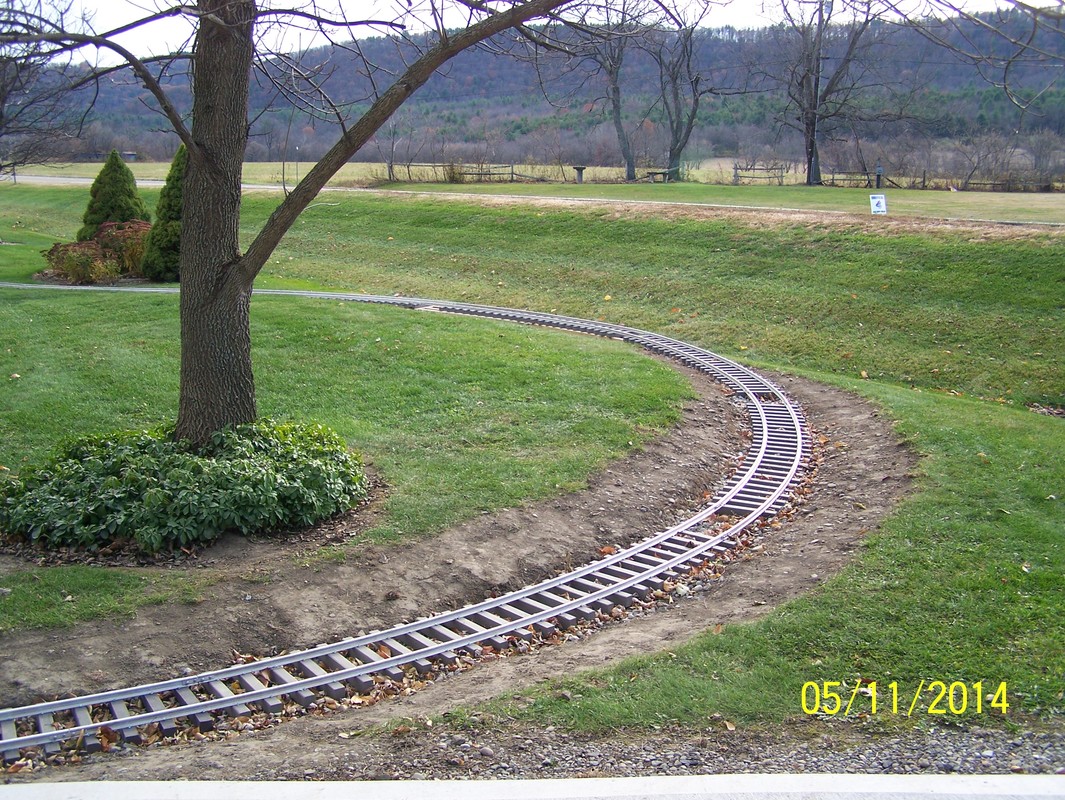
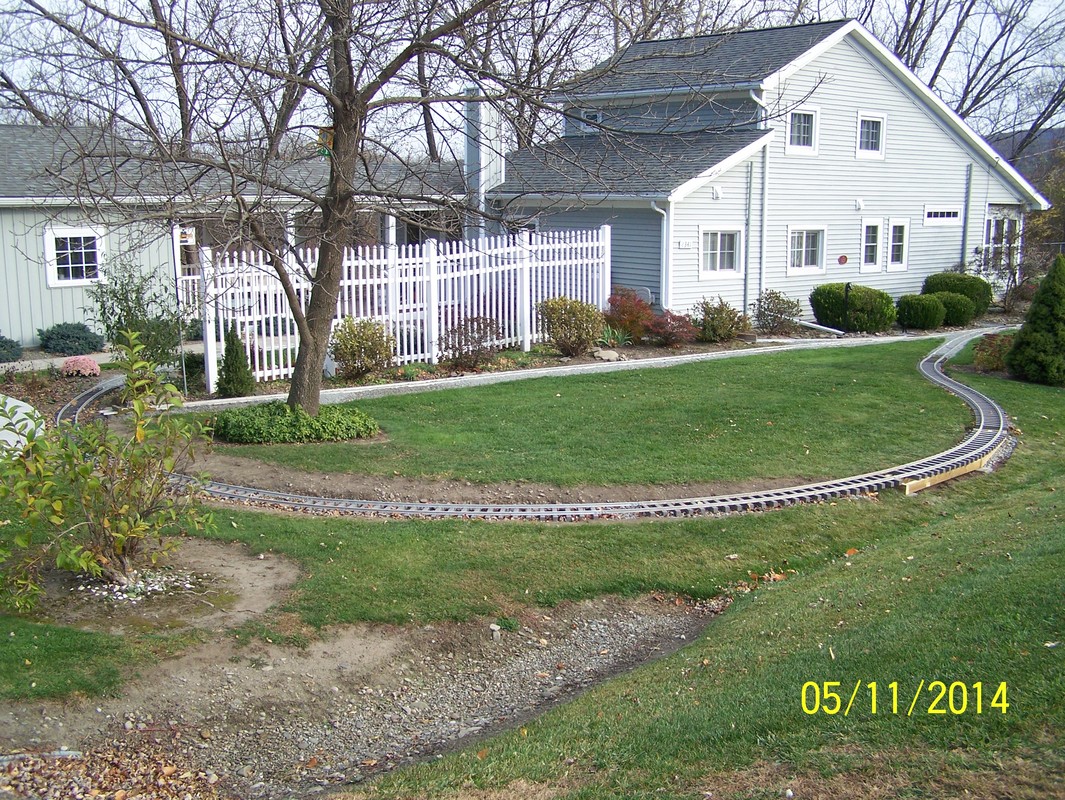
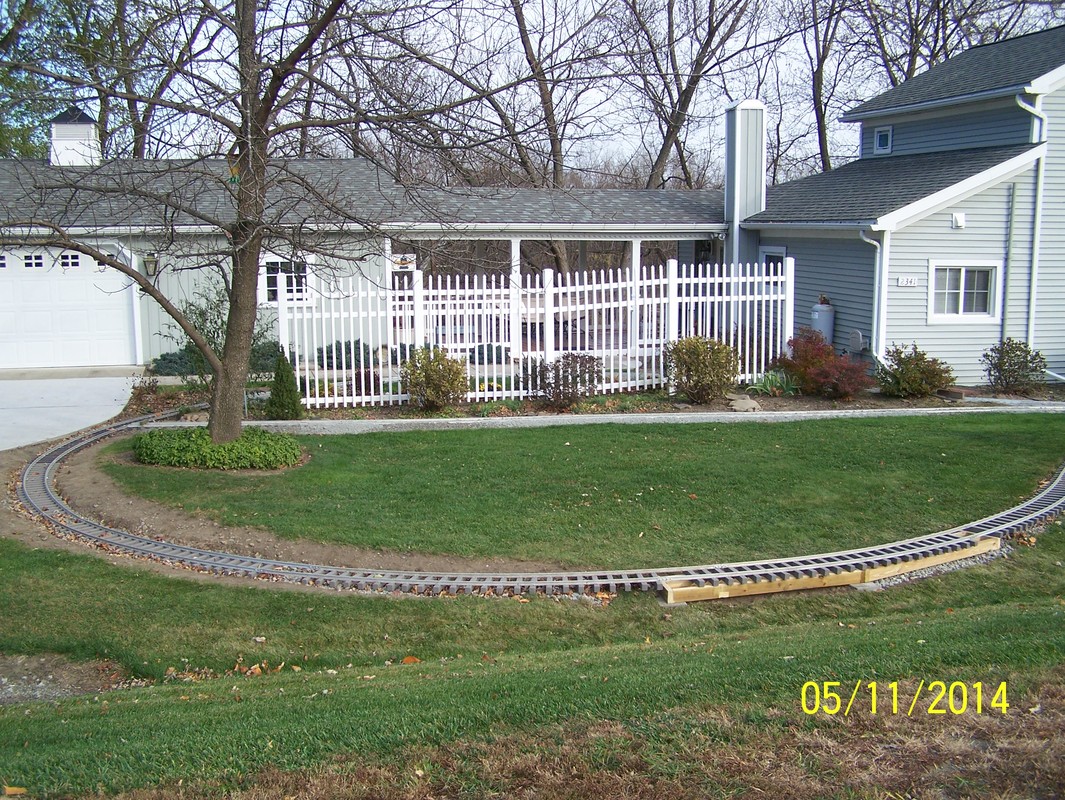
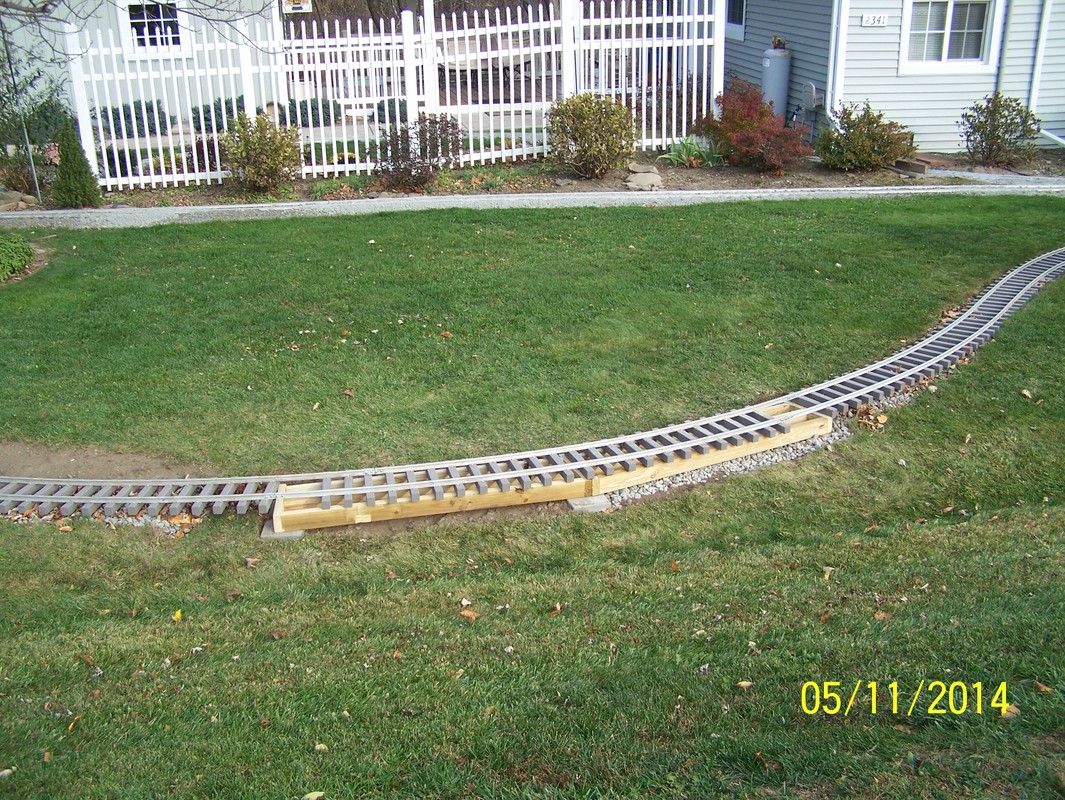
May, 2014. Installing the trestle.

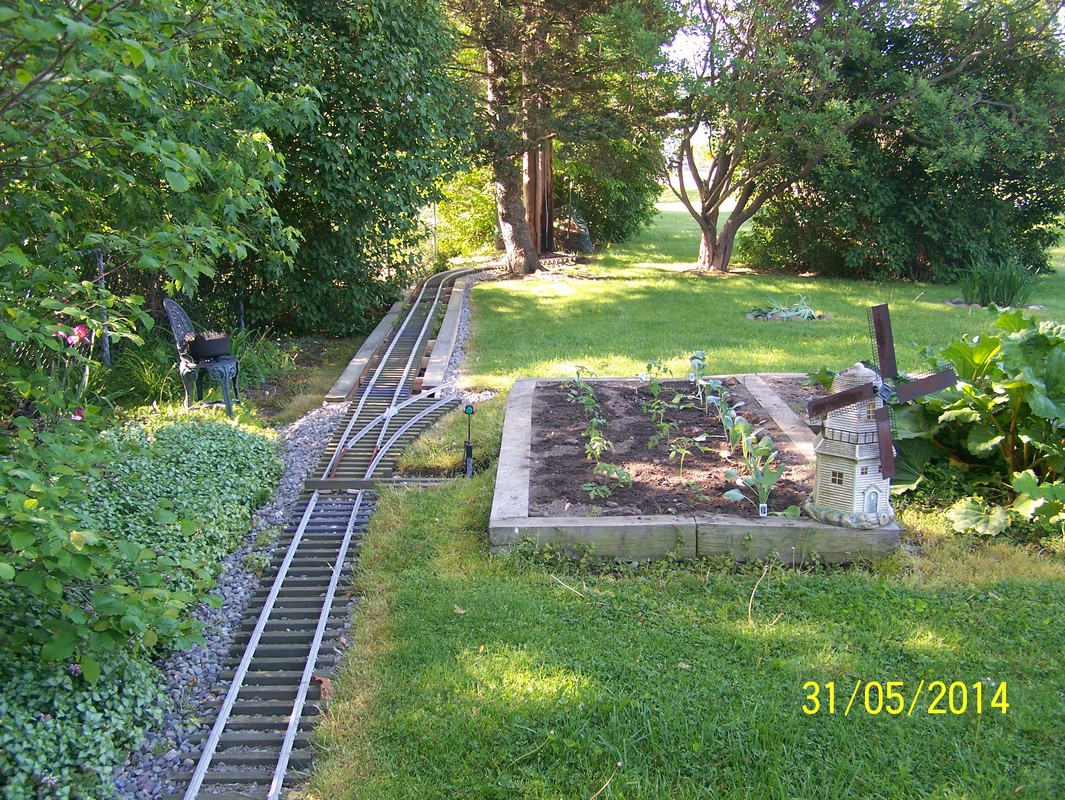
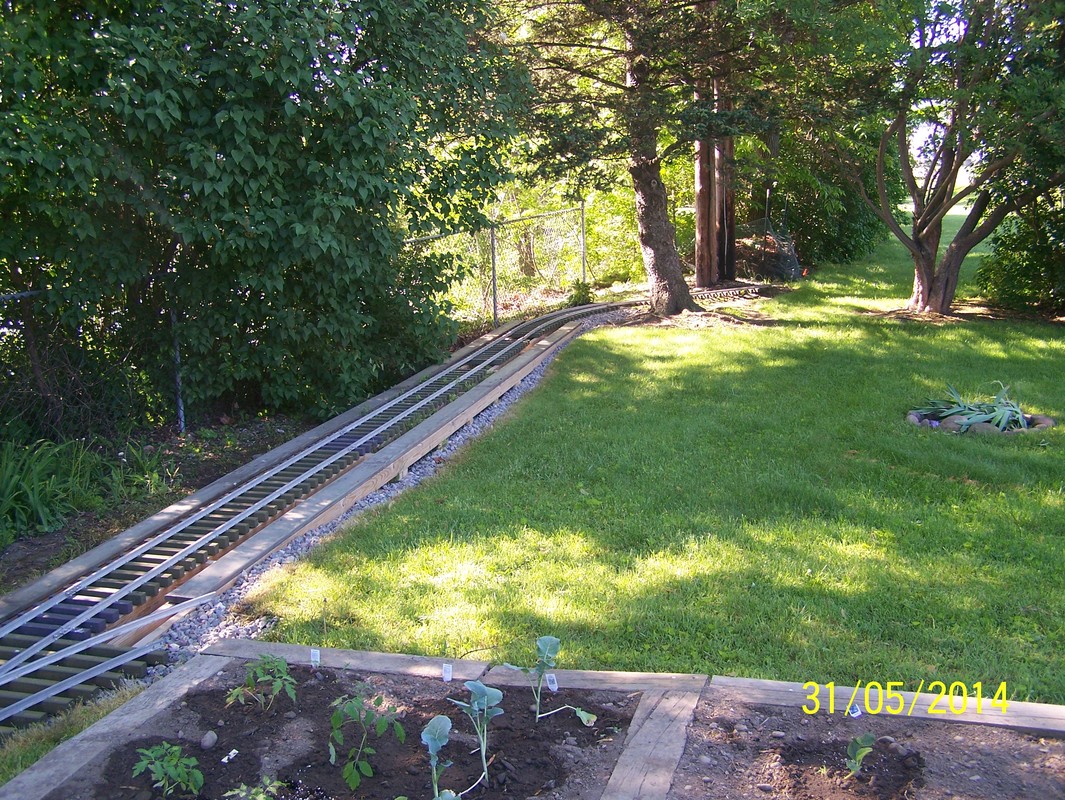
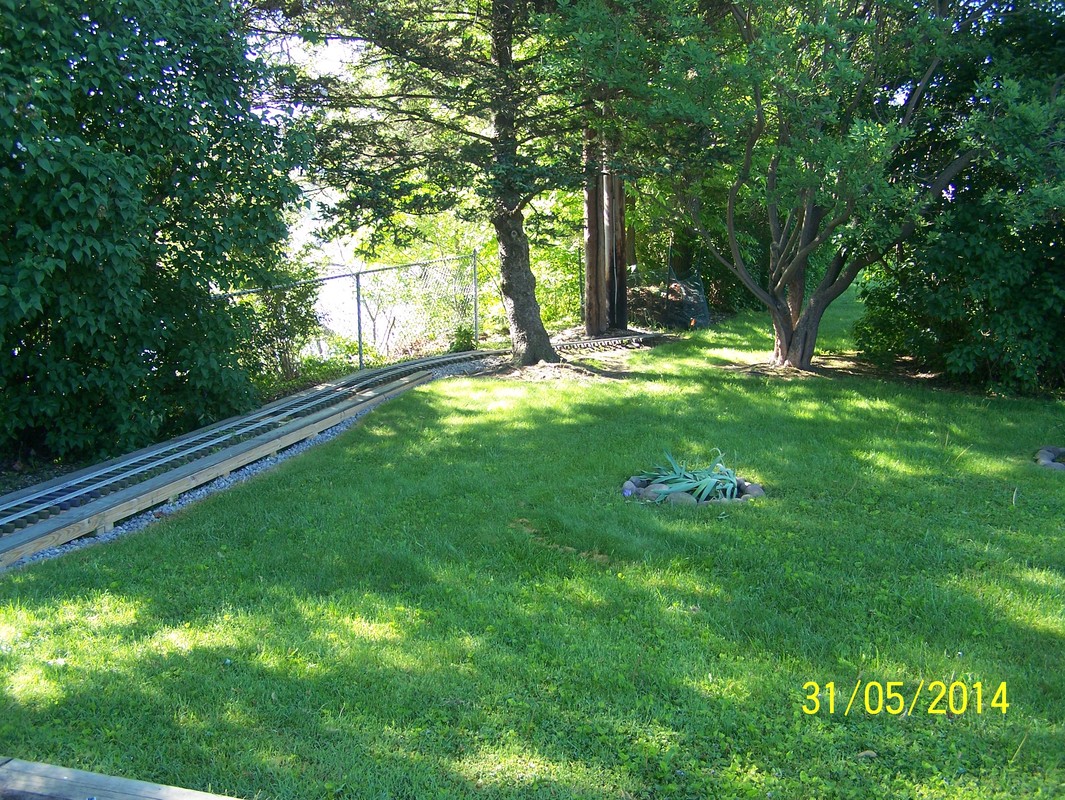
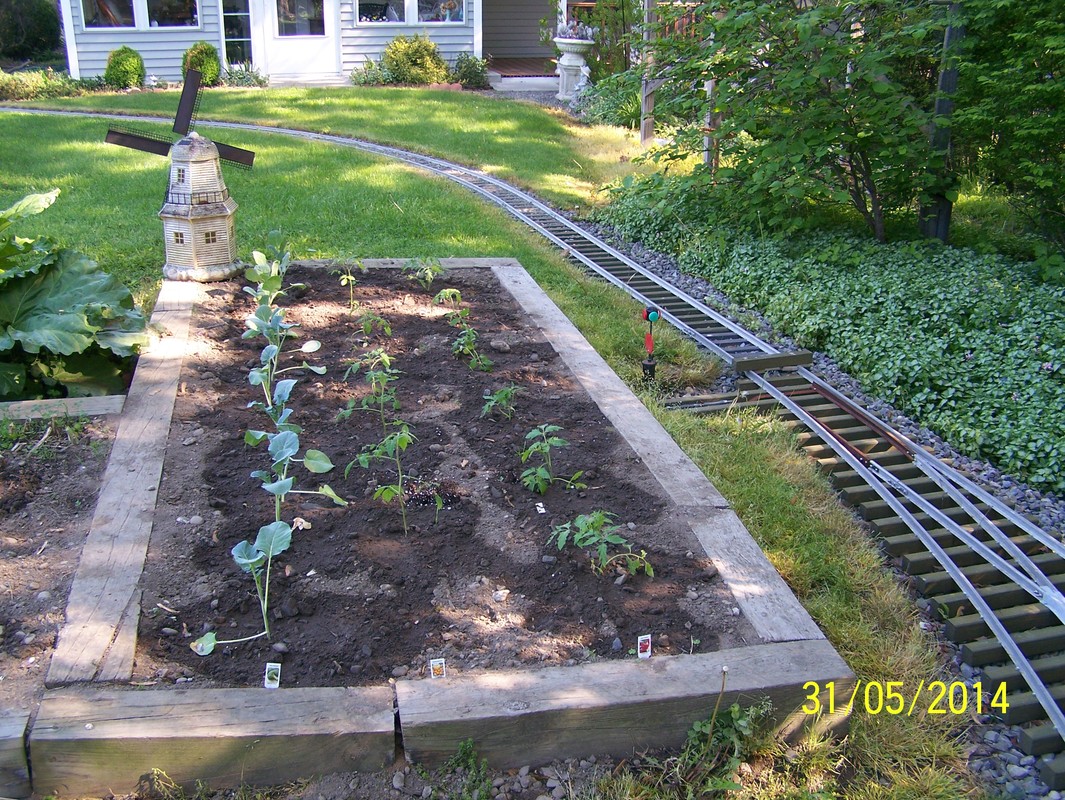
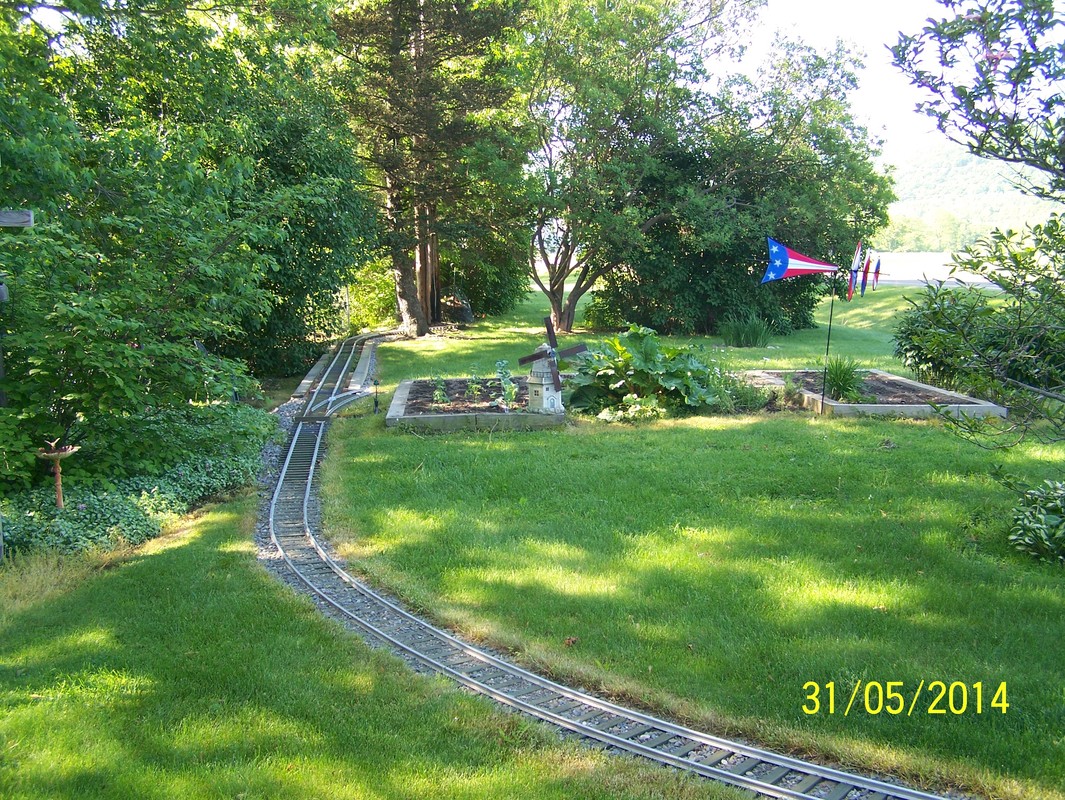
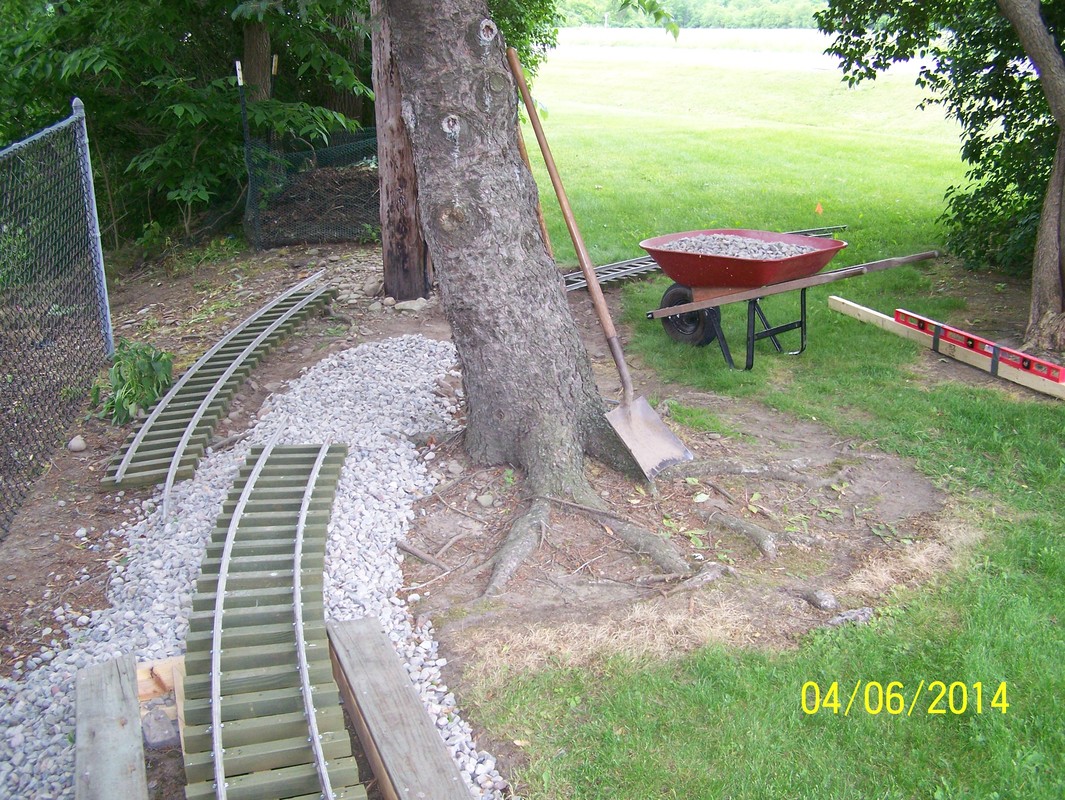
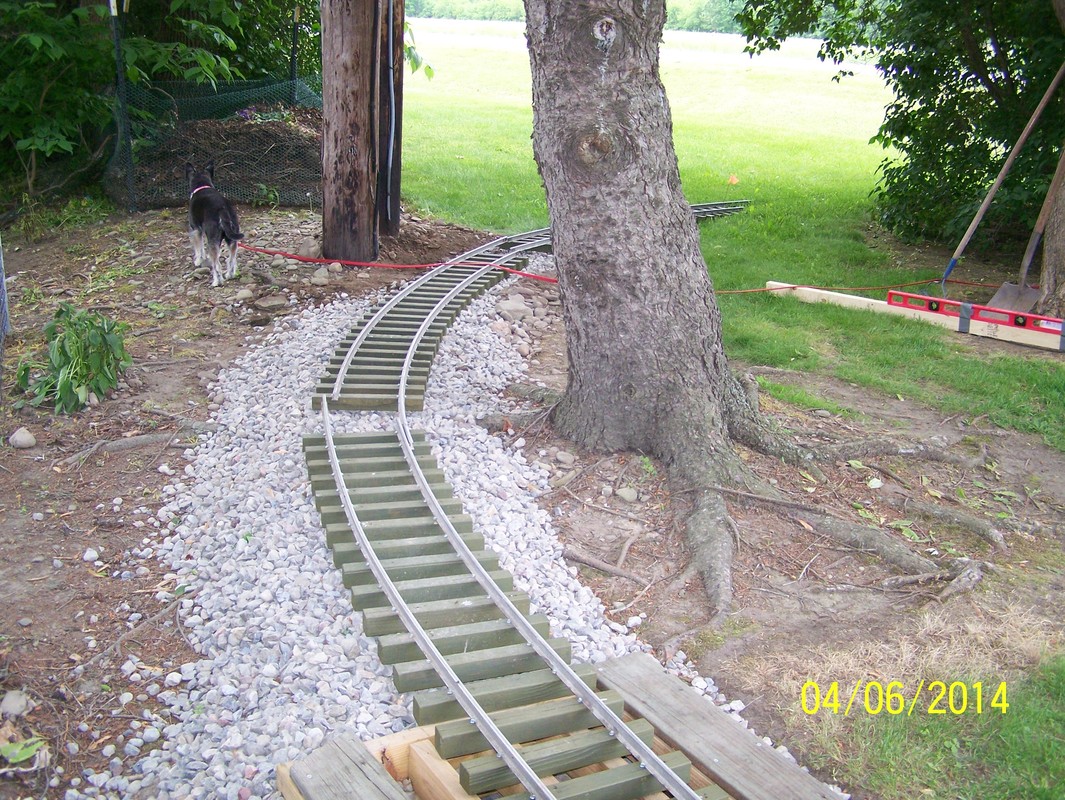
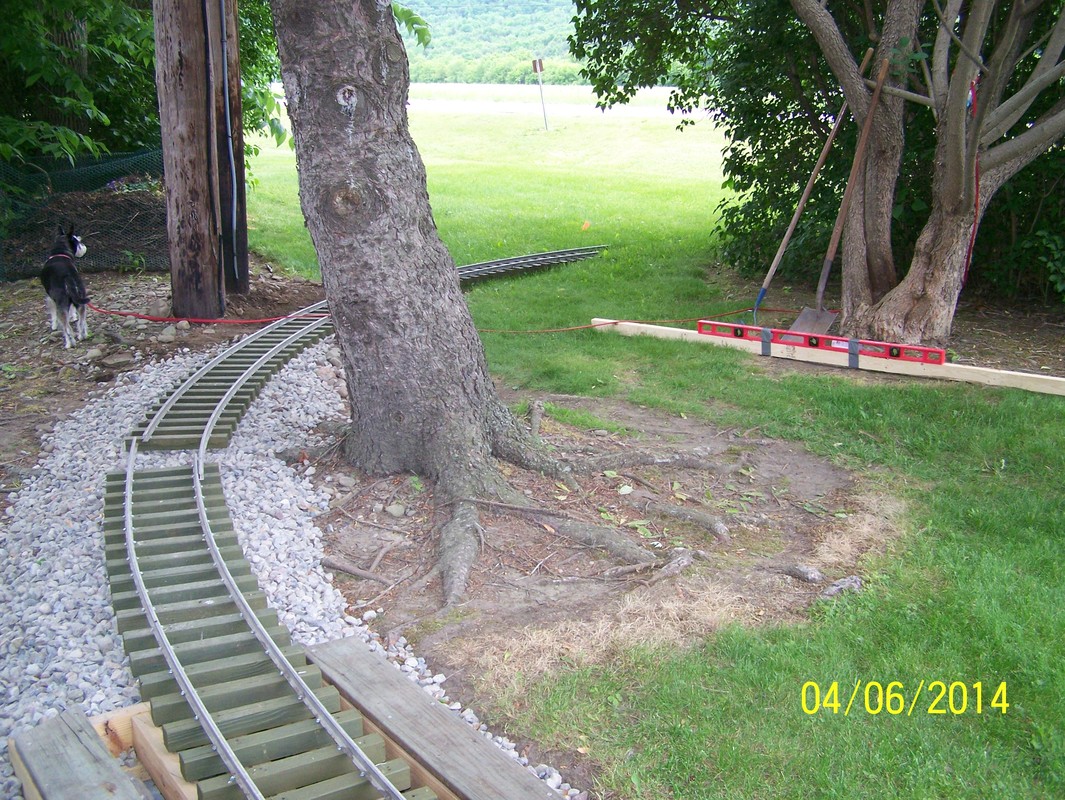
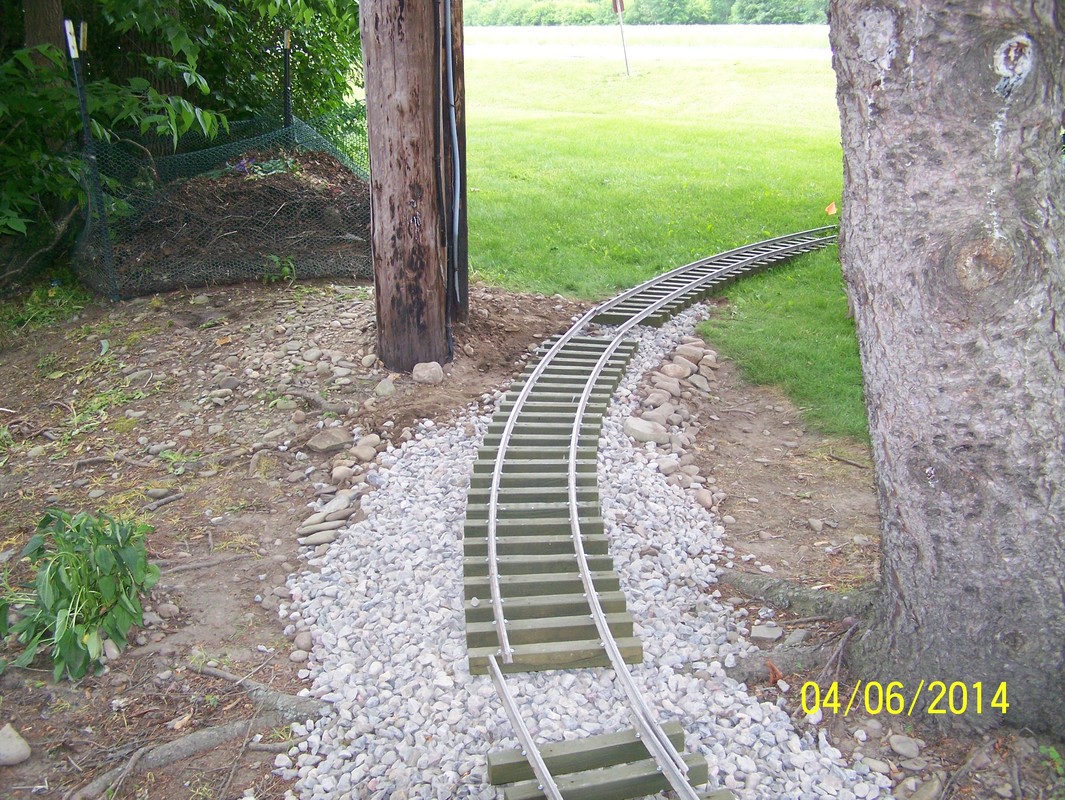
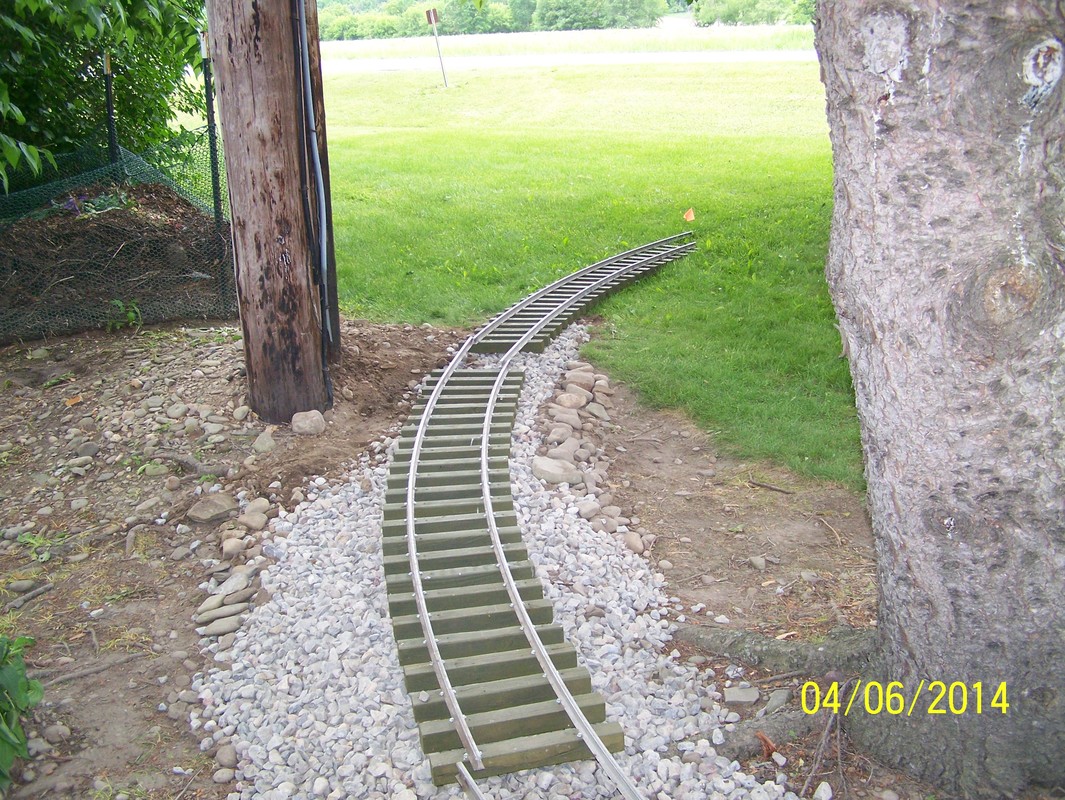
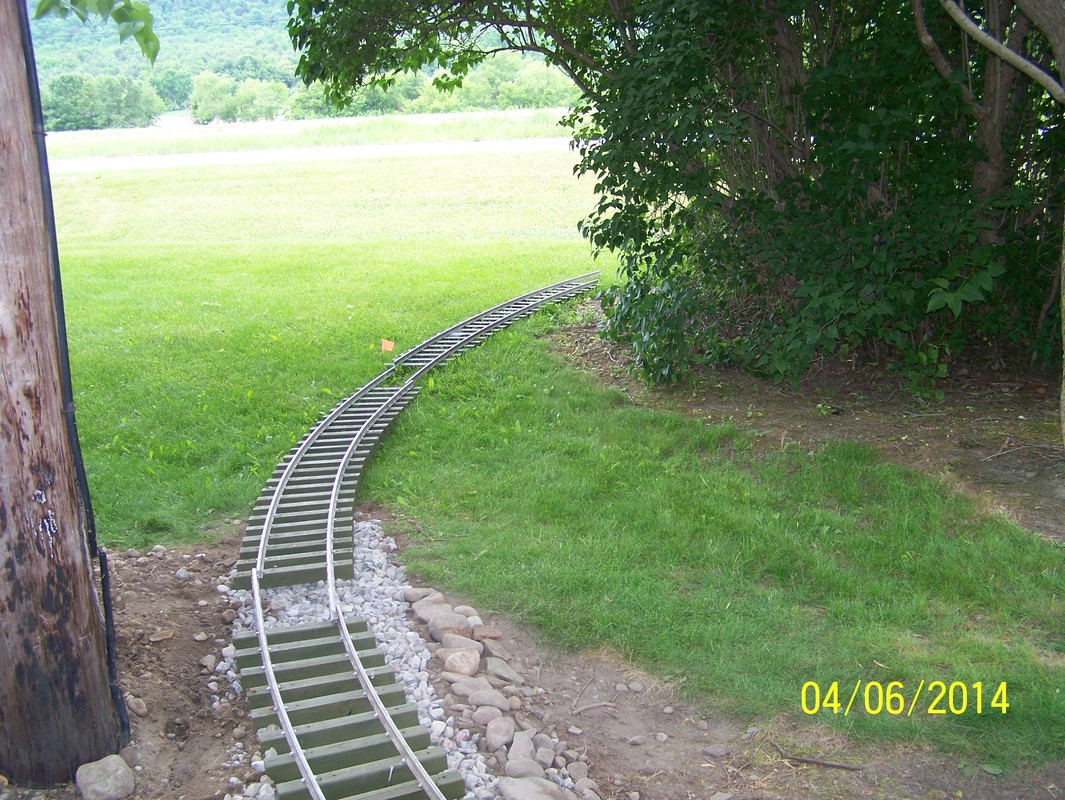
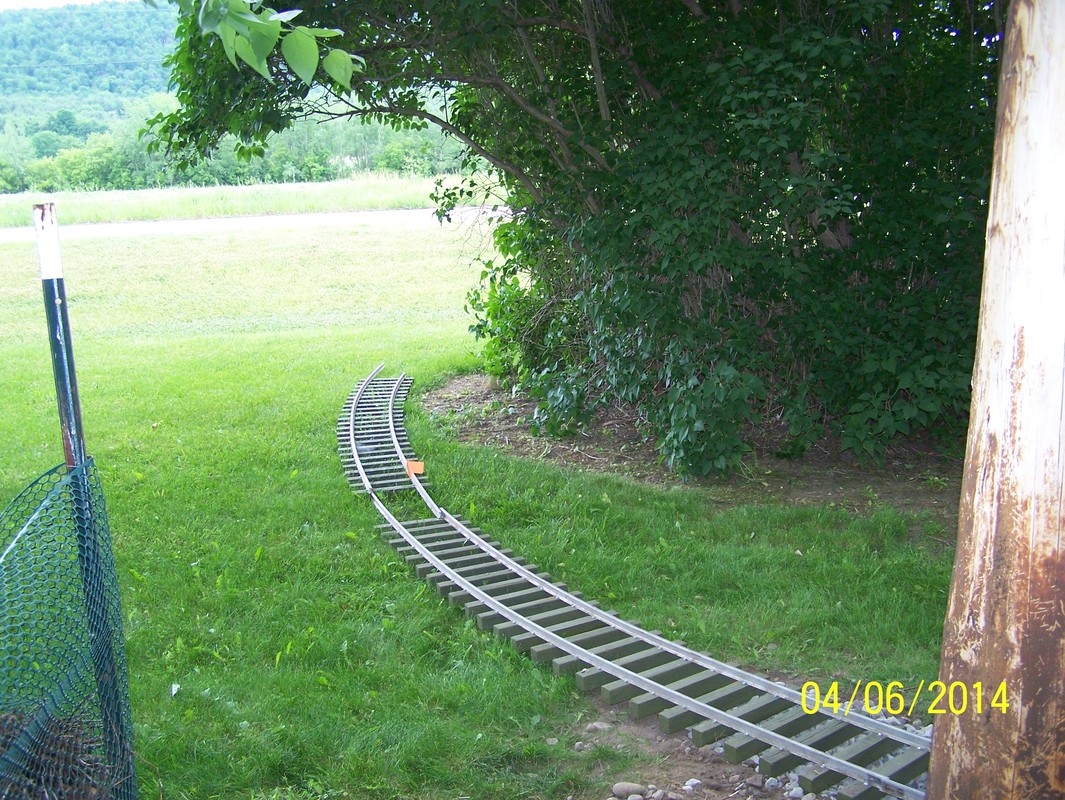
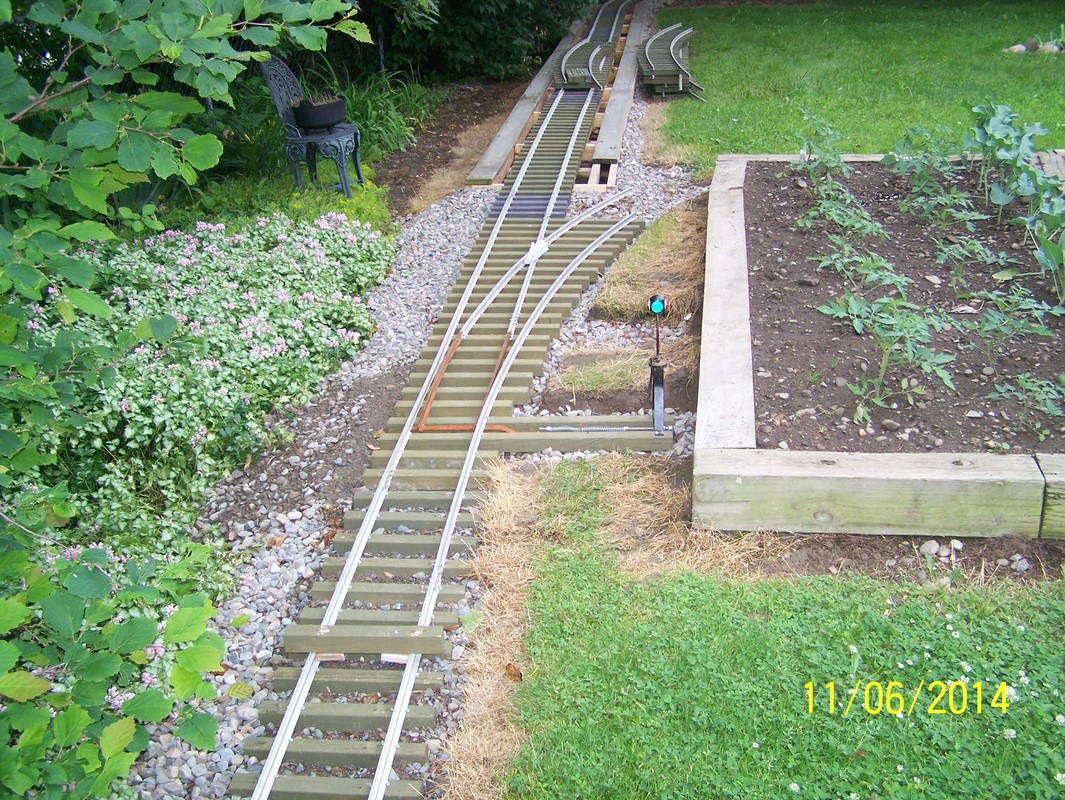
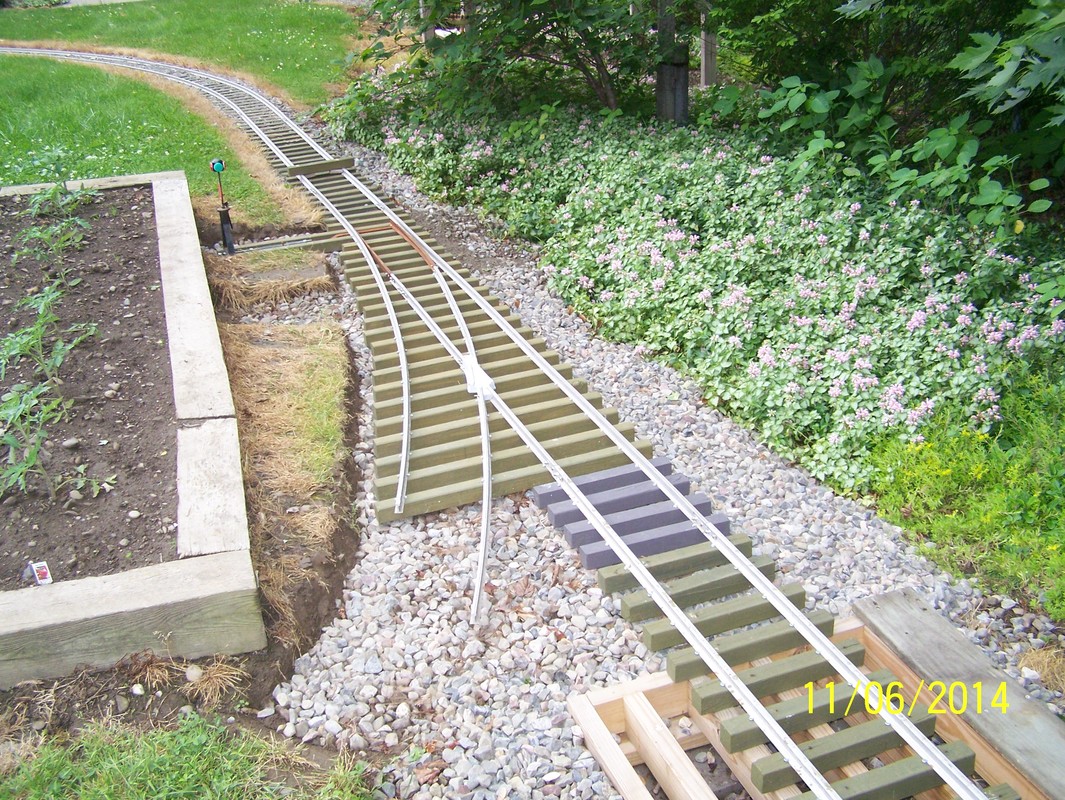
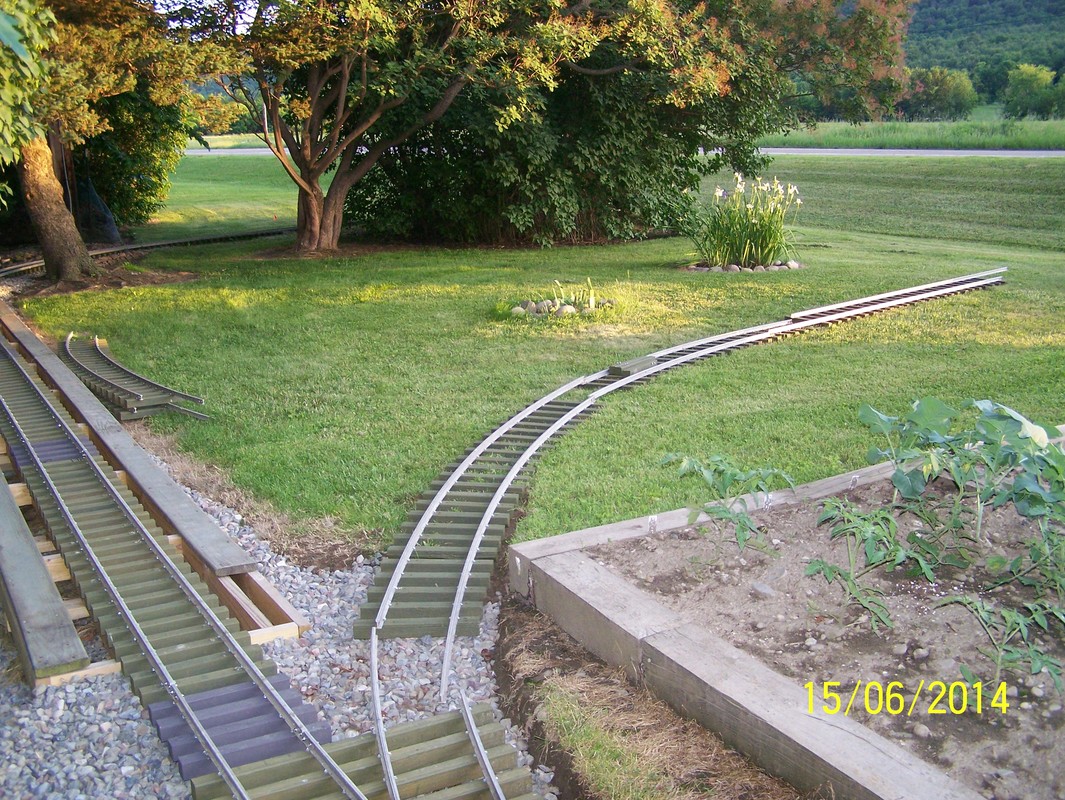
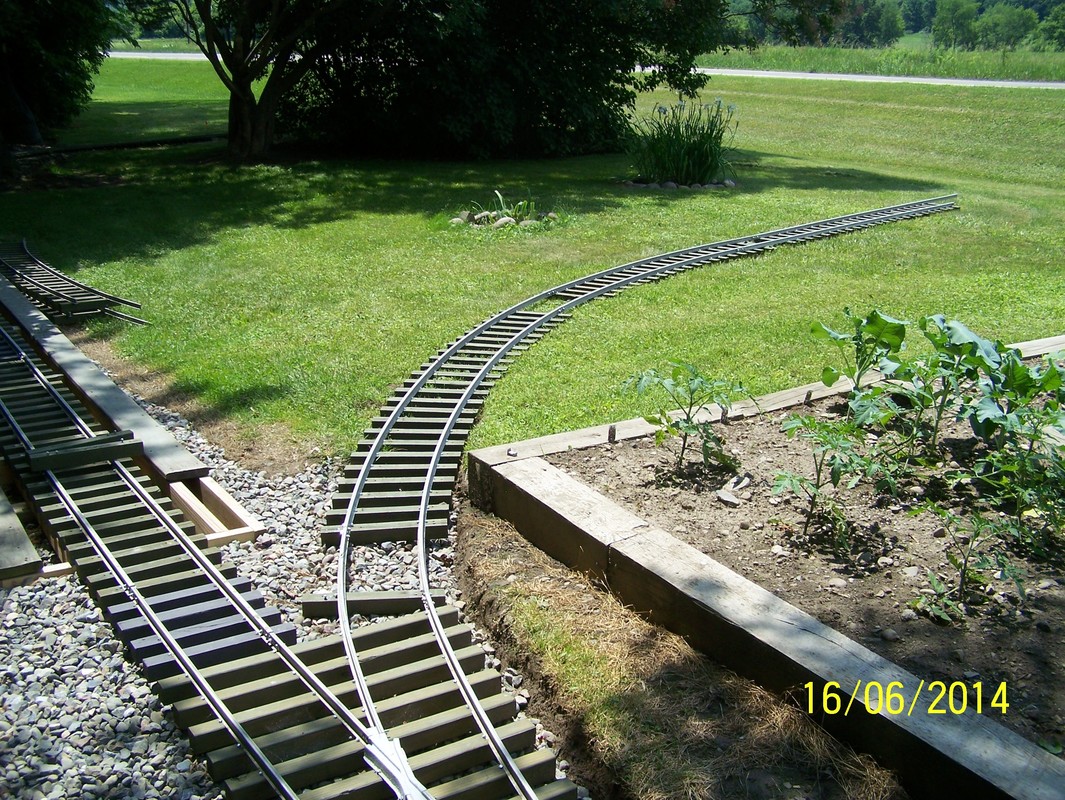
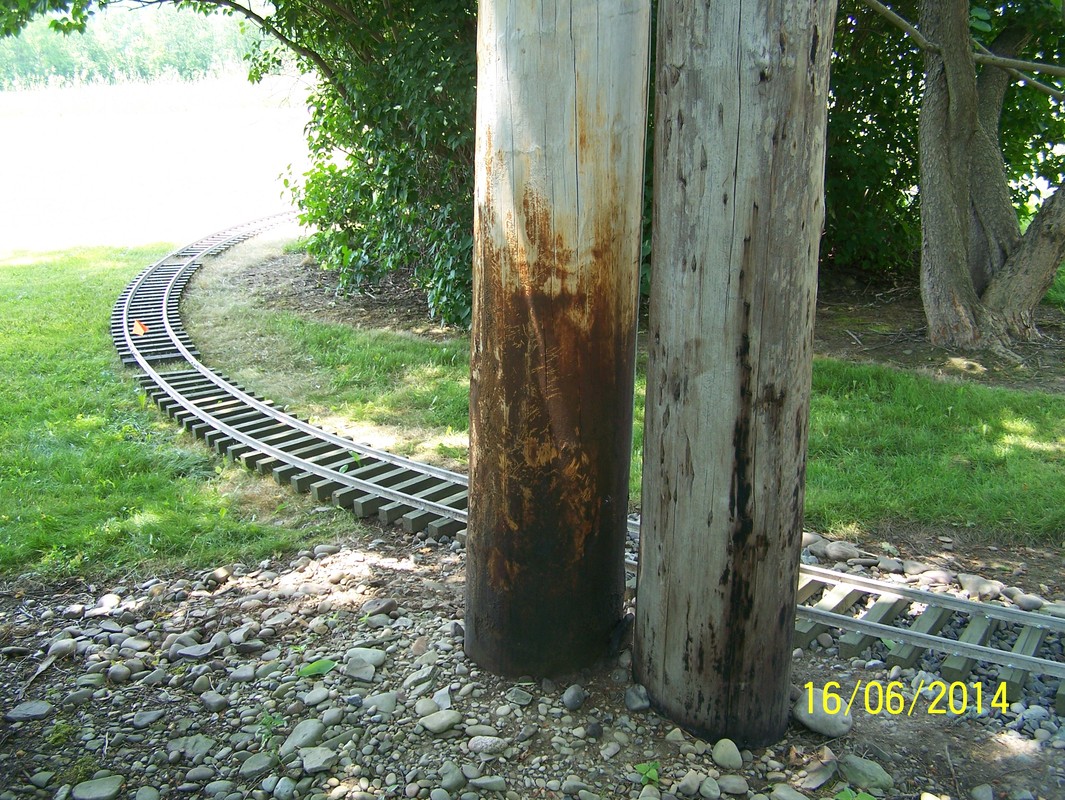
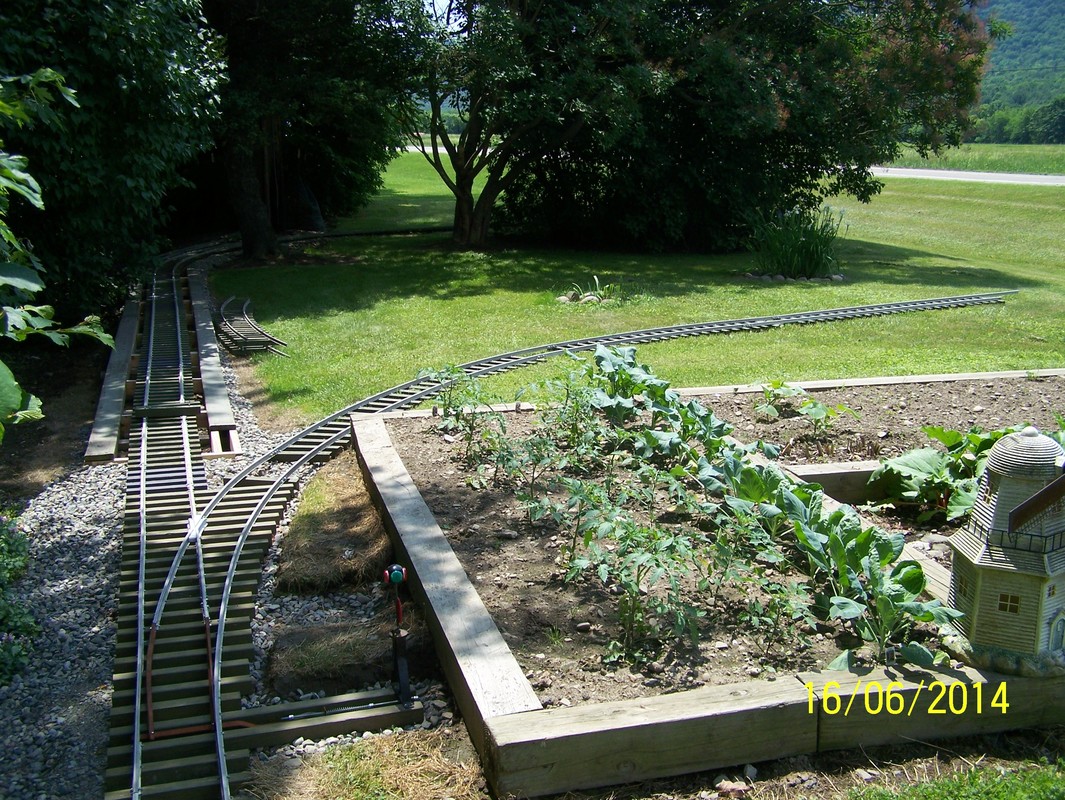
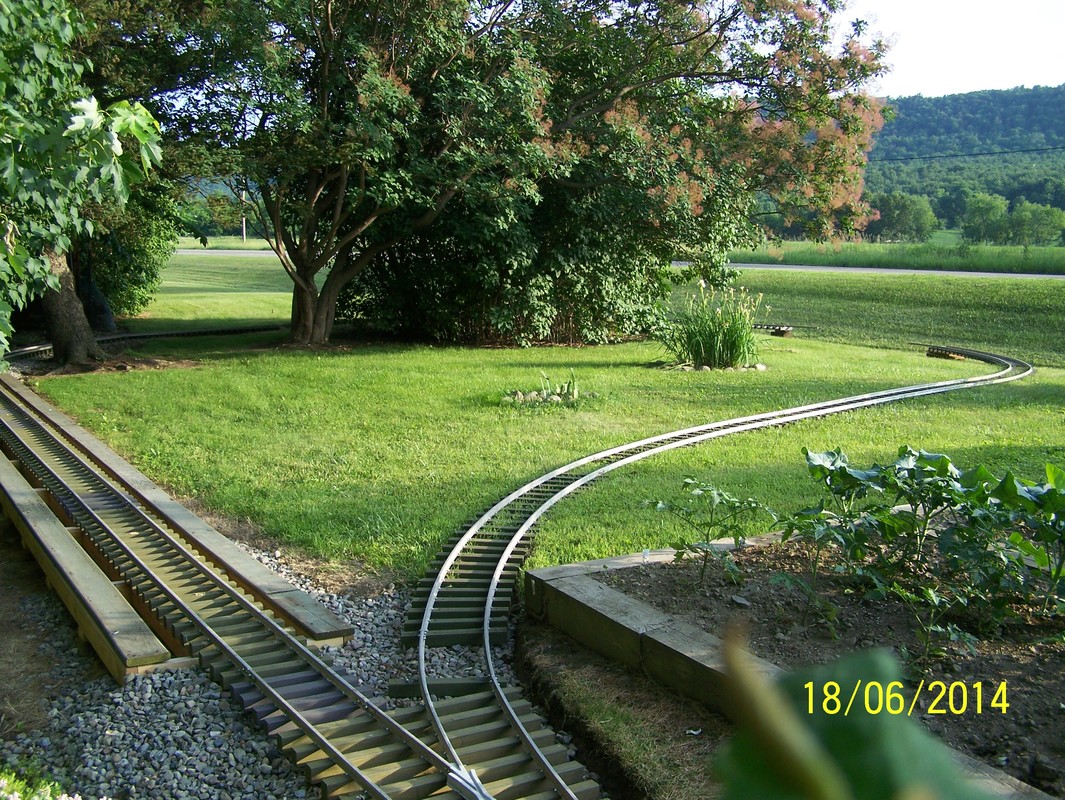
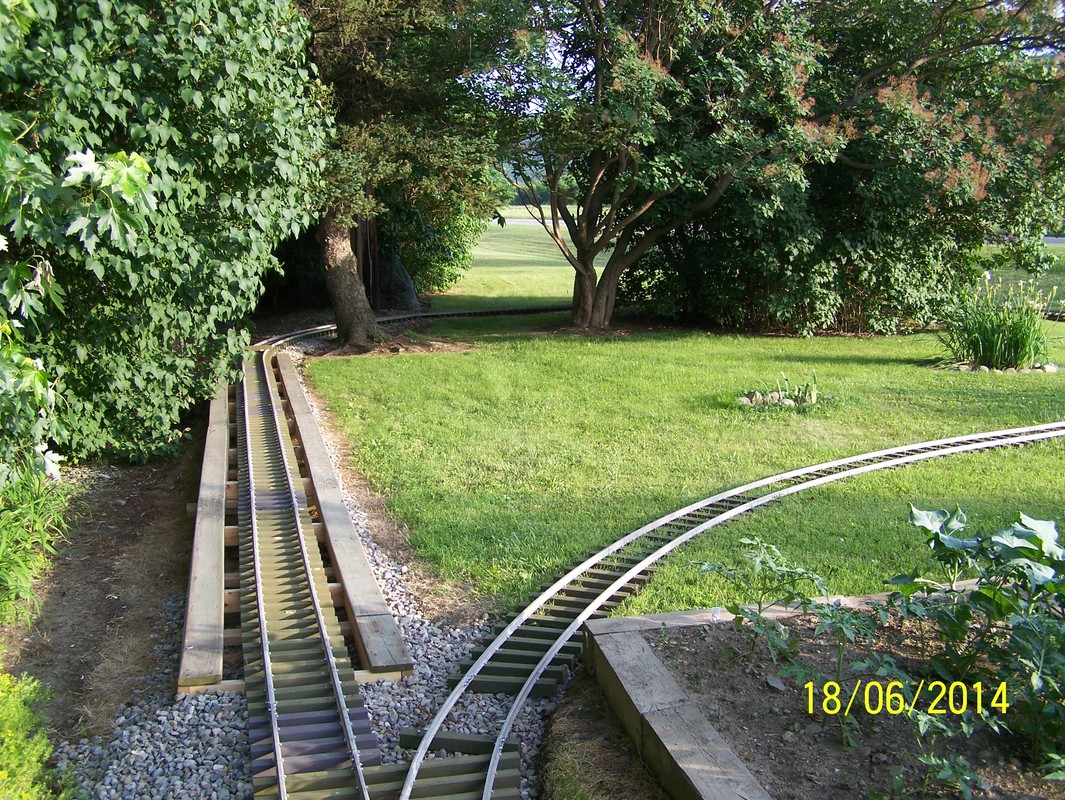
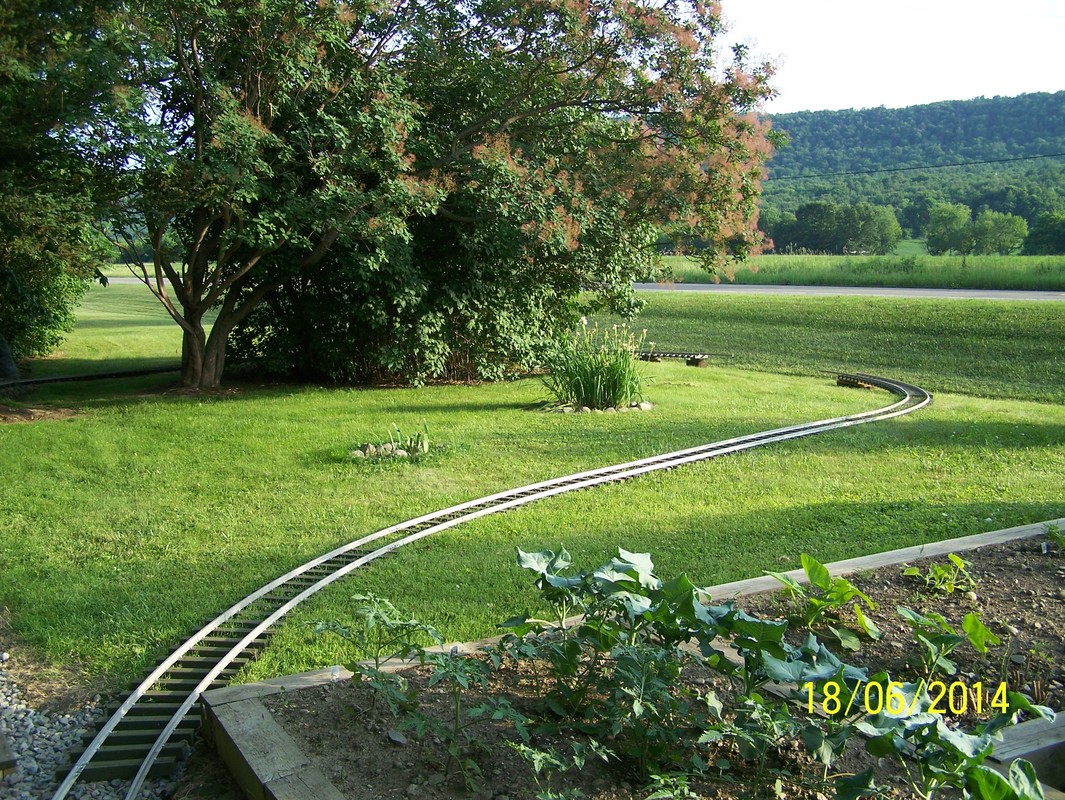
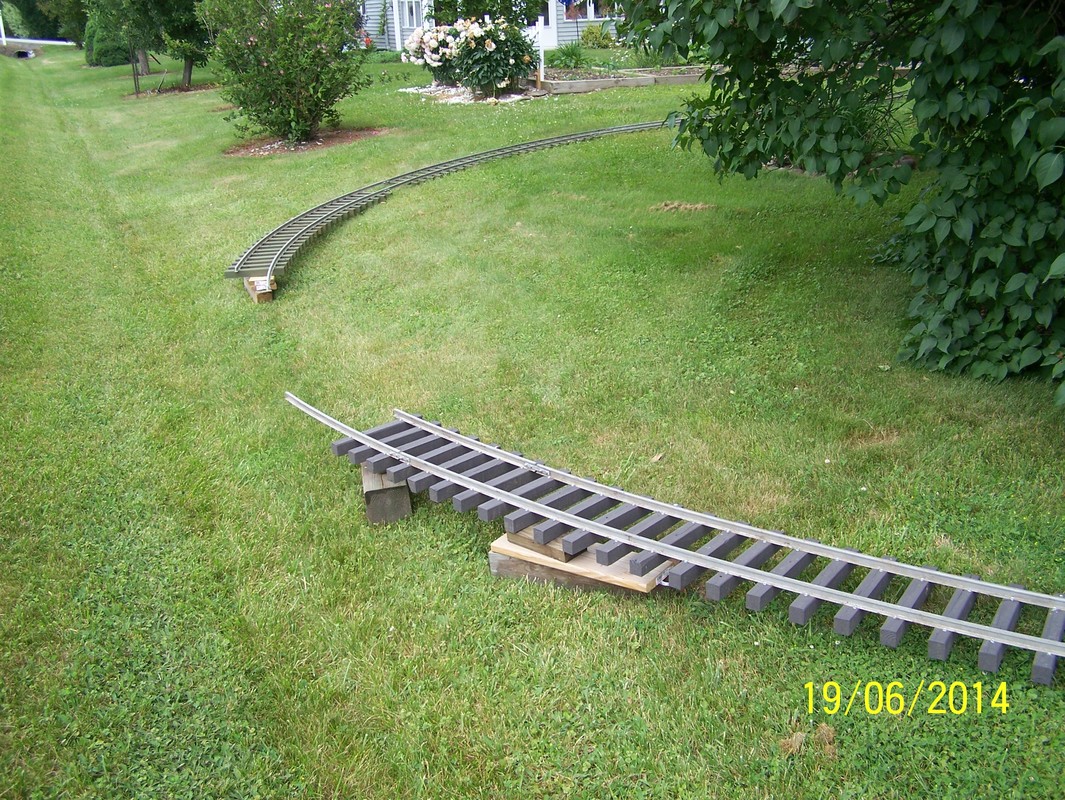
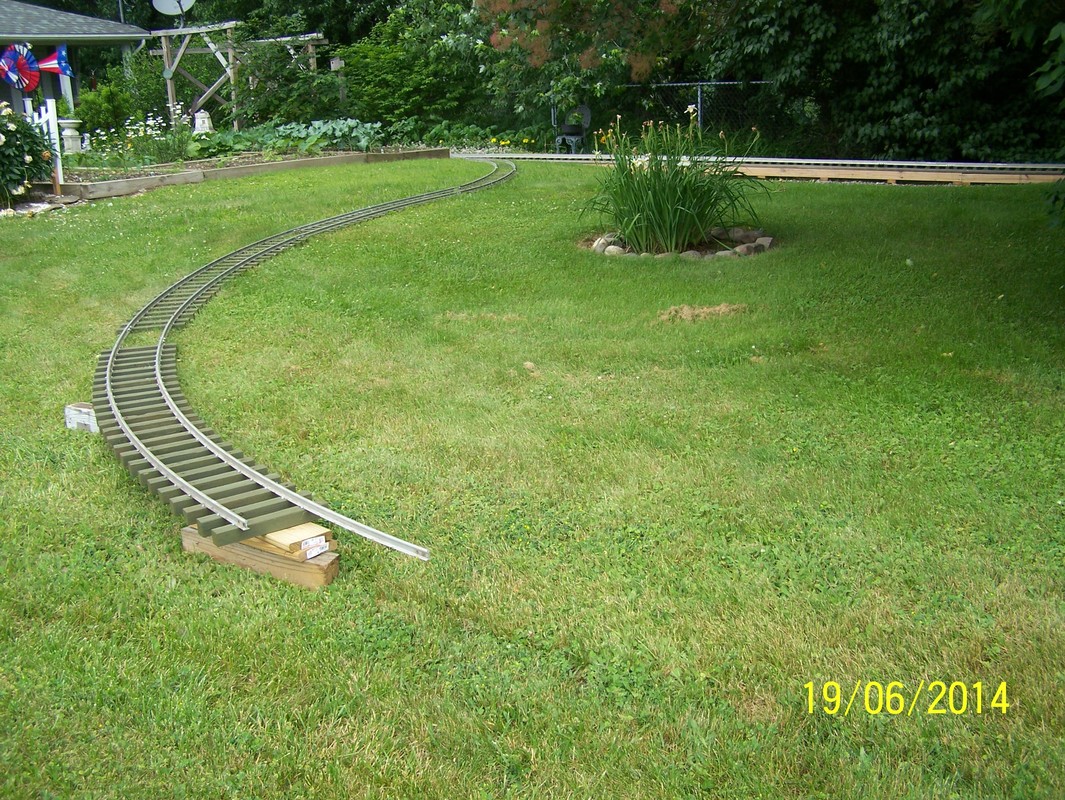
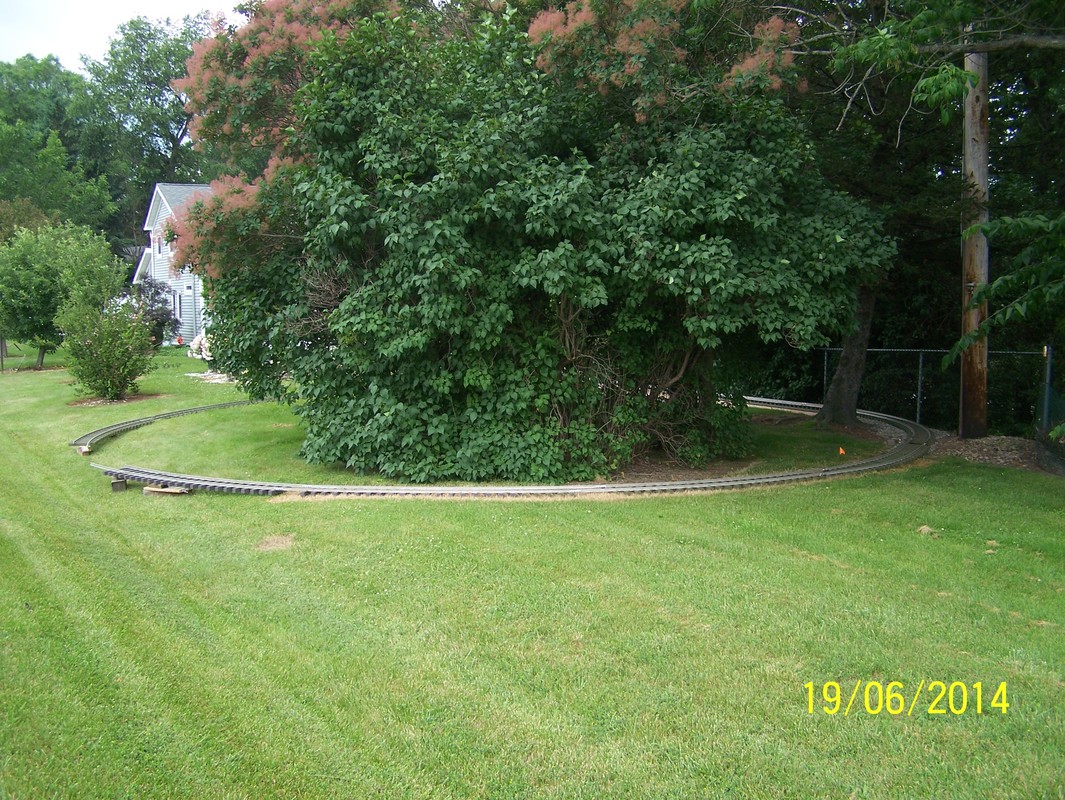
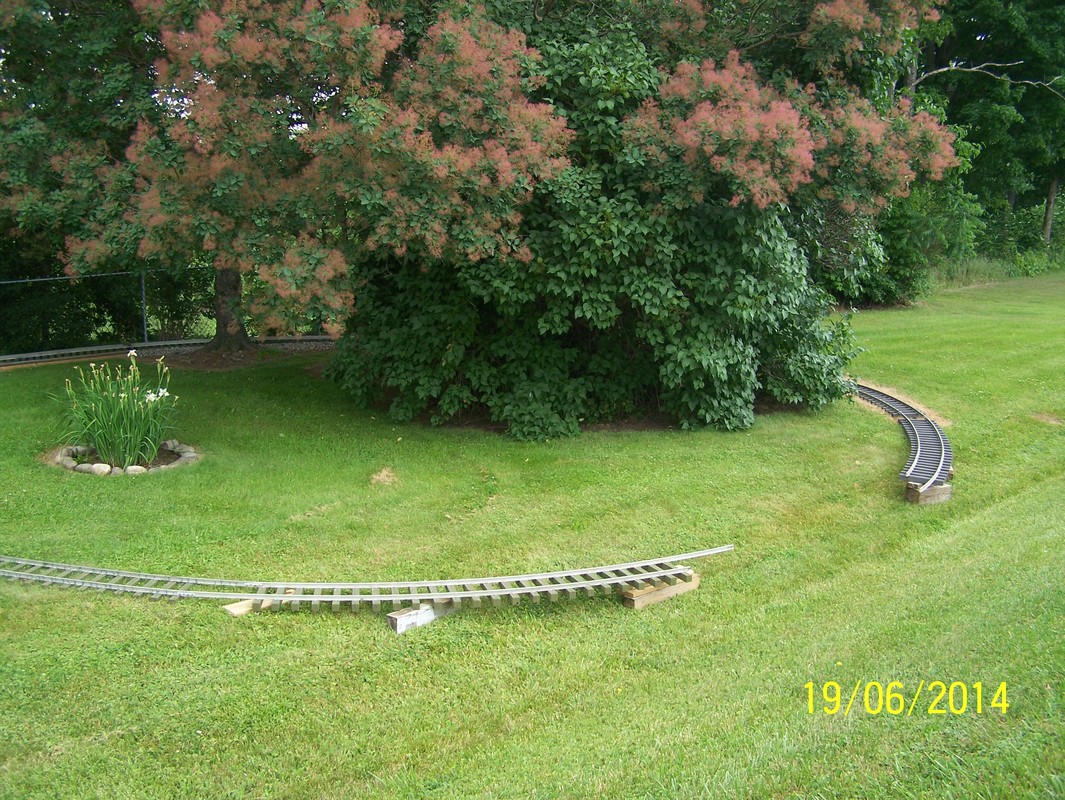
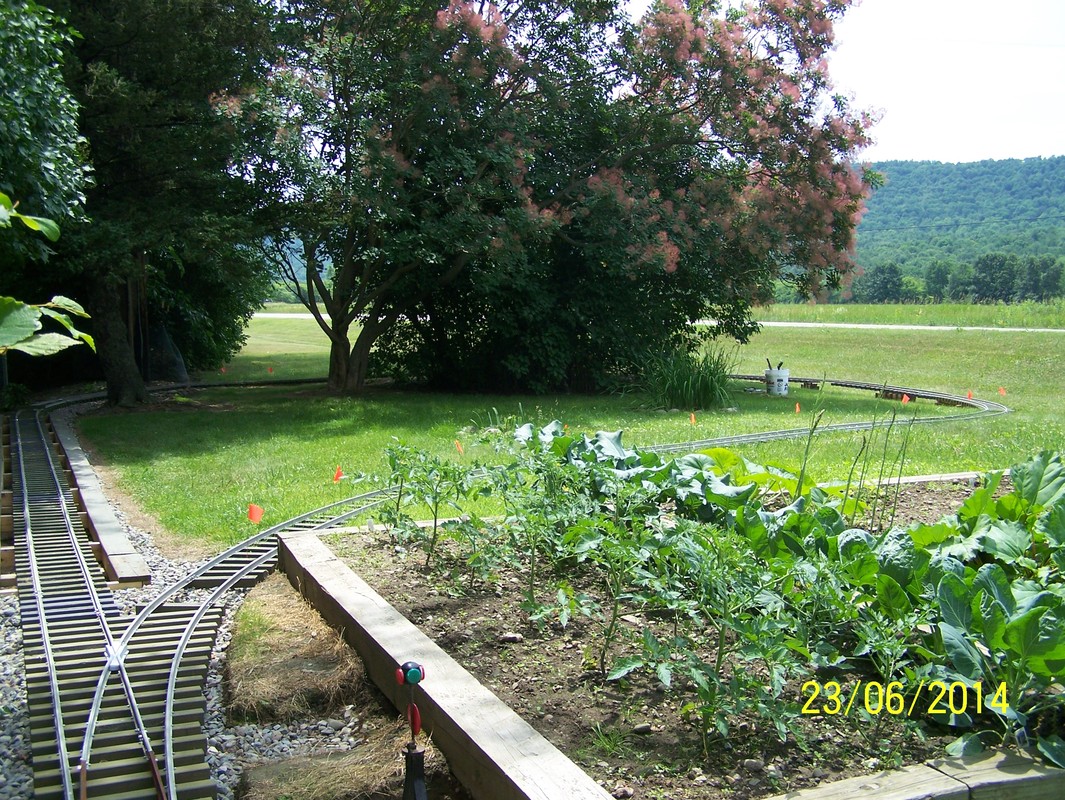
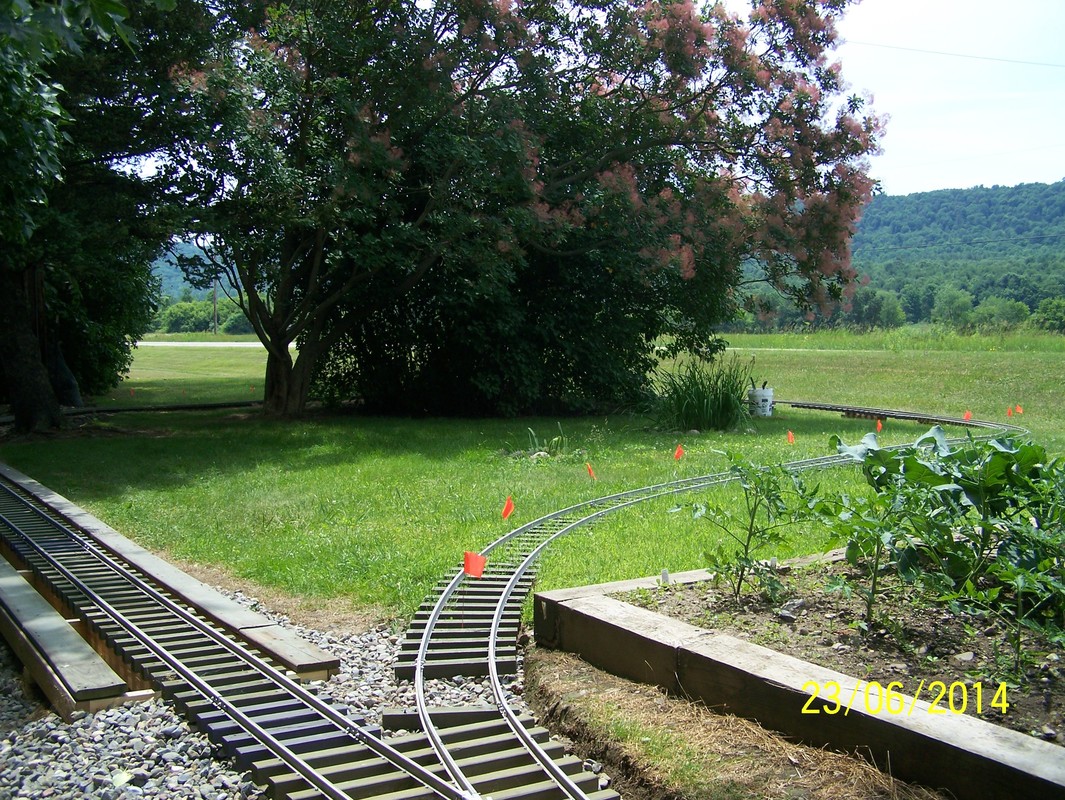
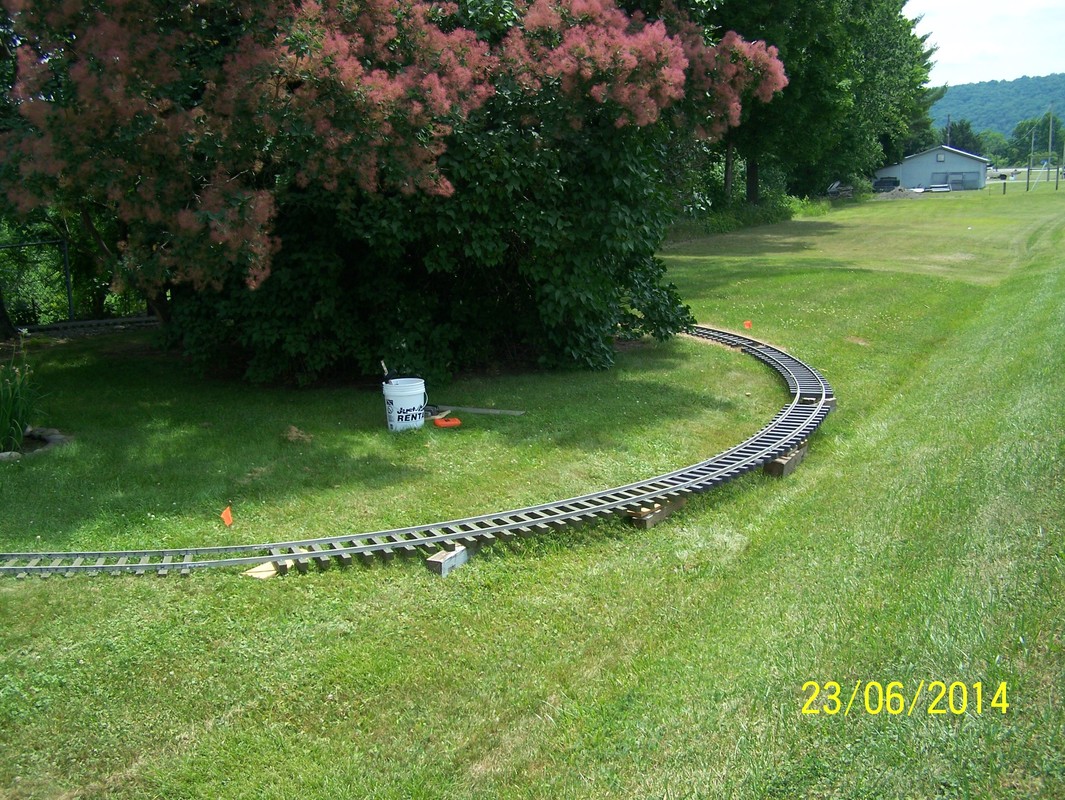
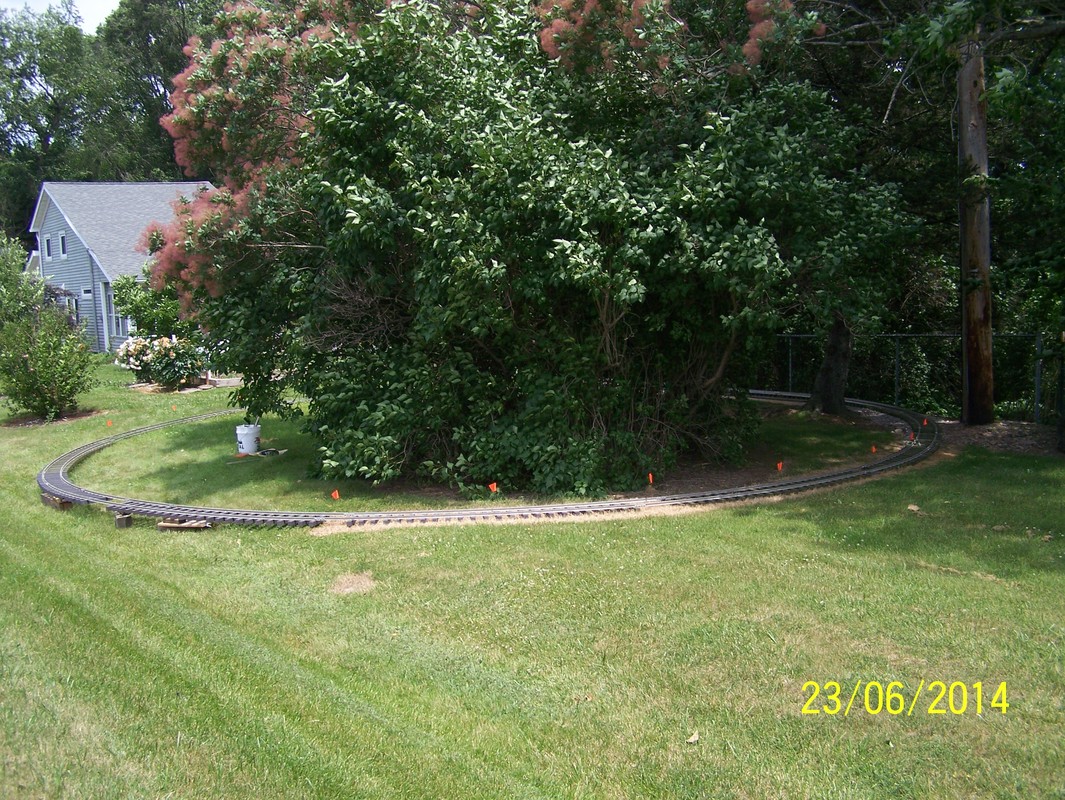
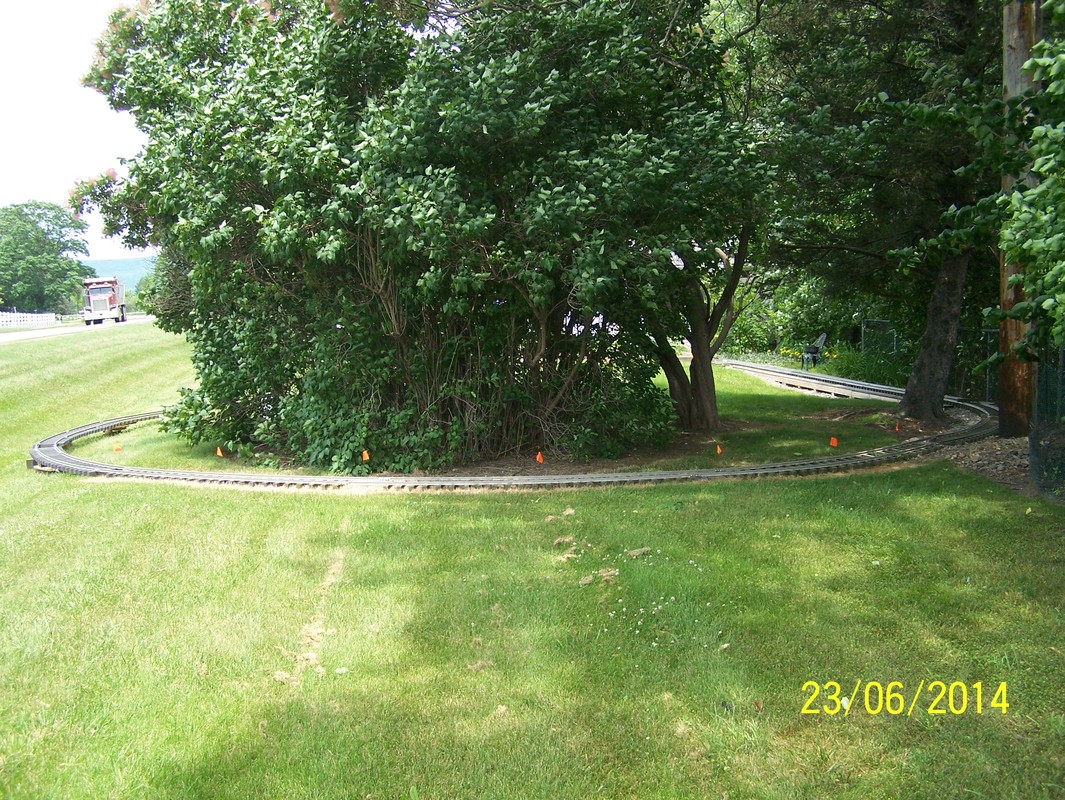
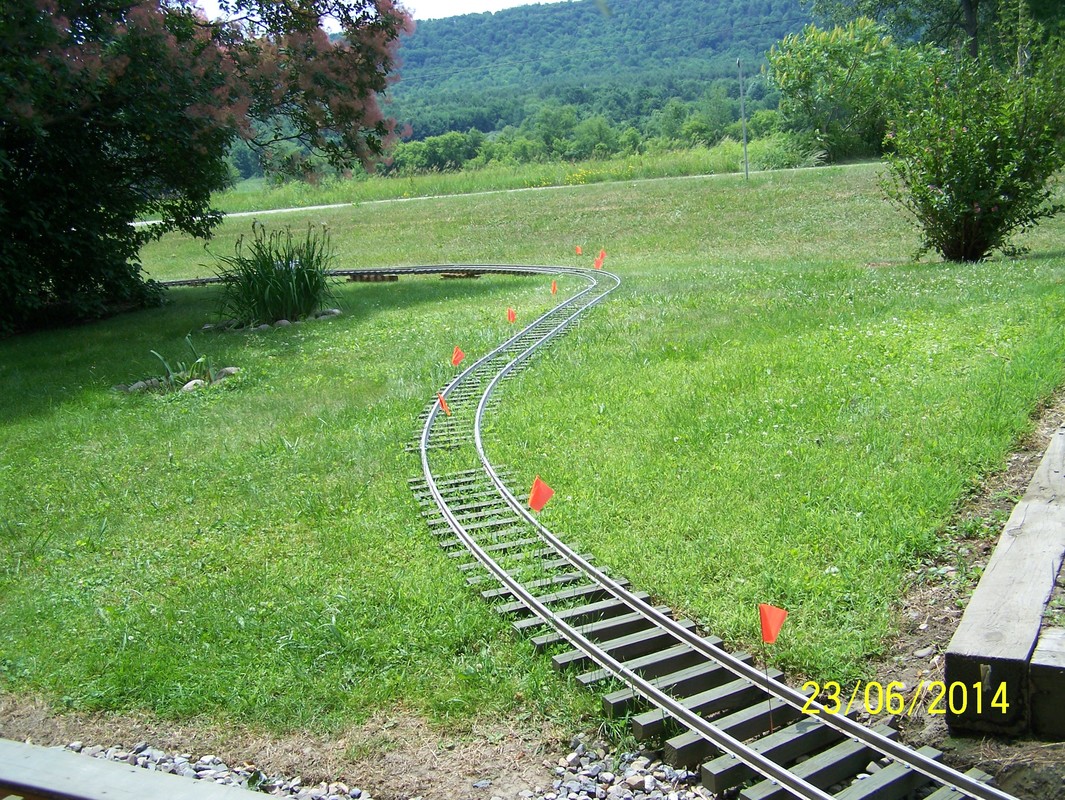
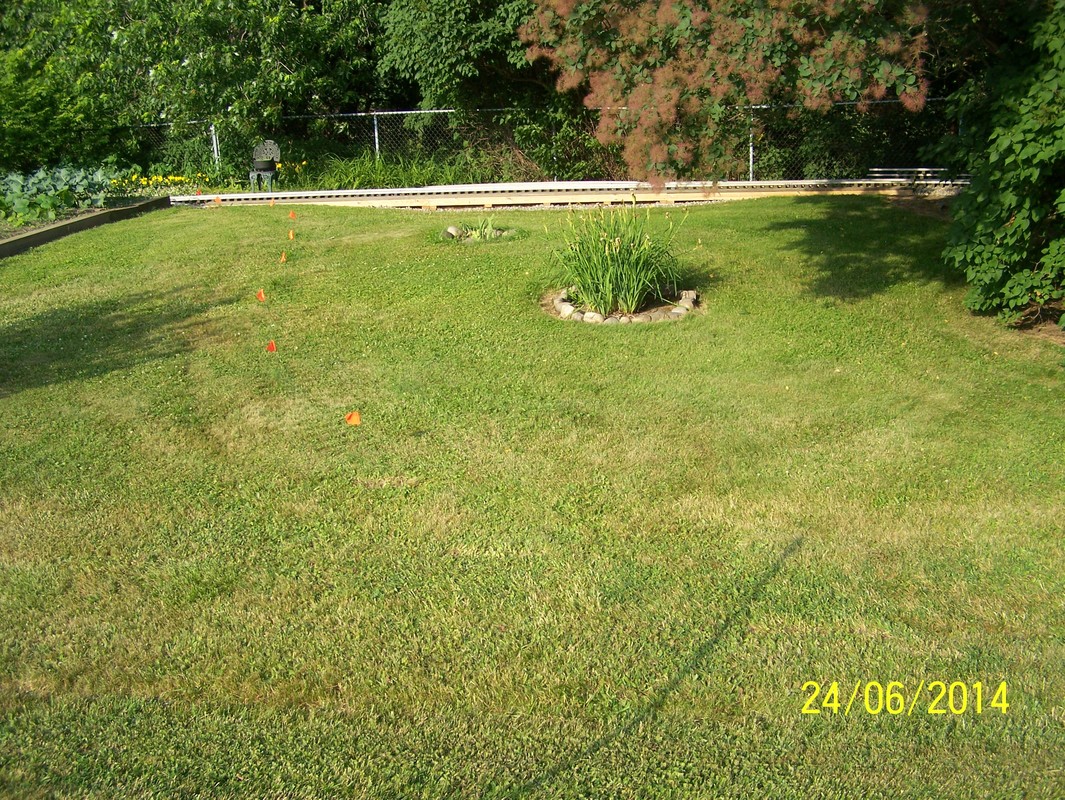
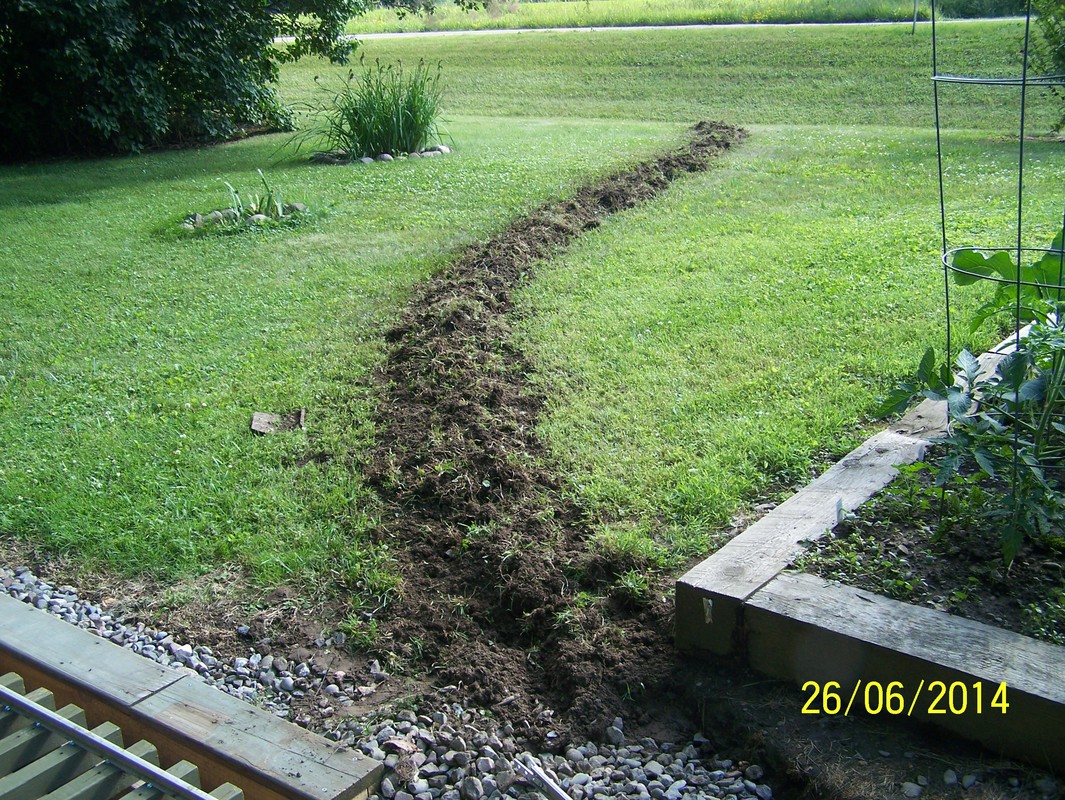
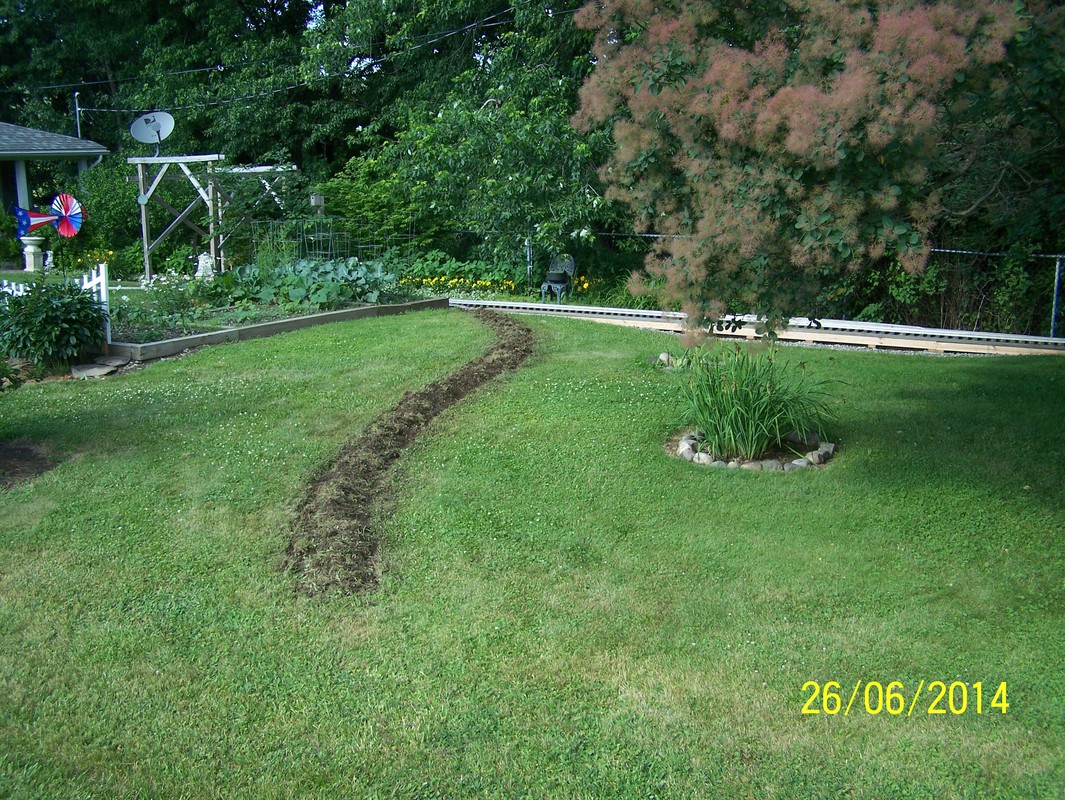
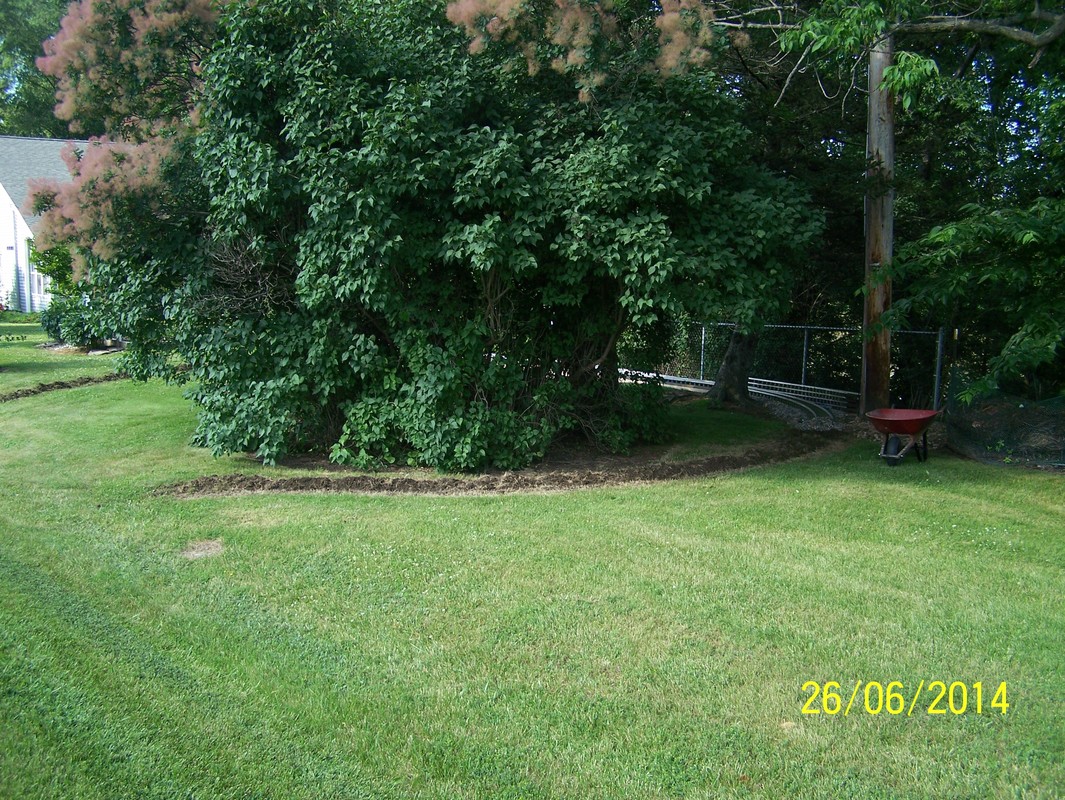
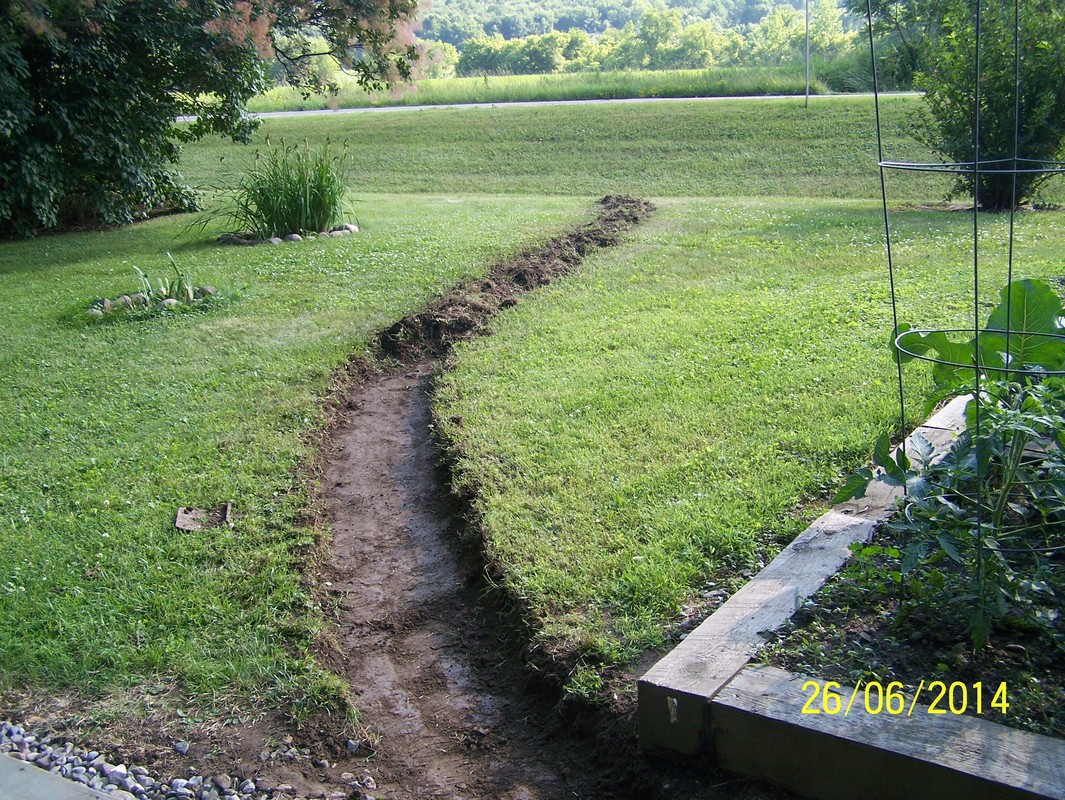
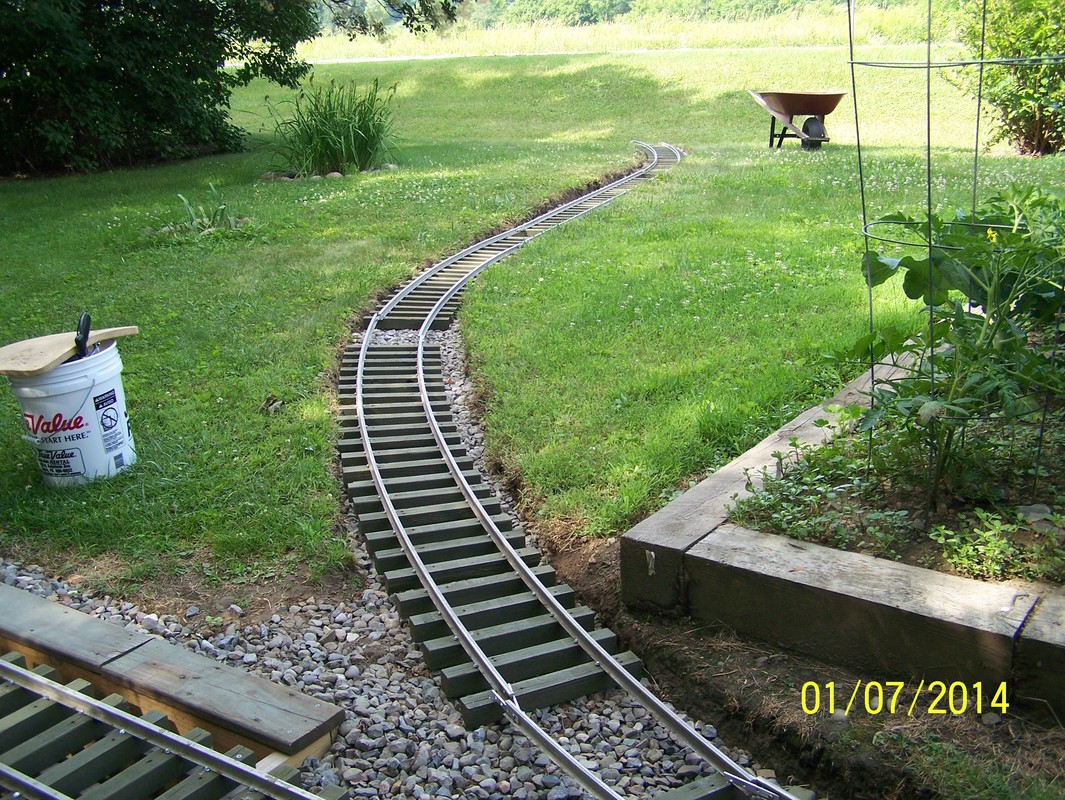
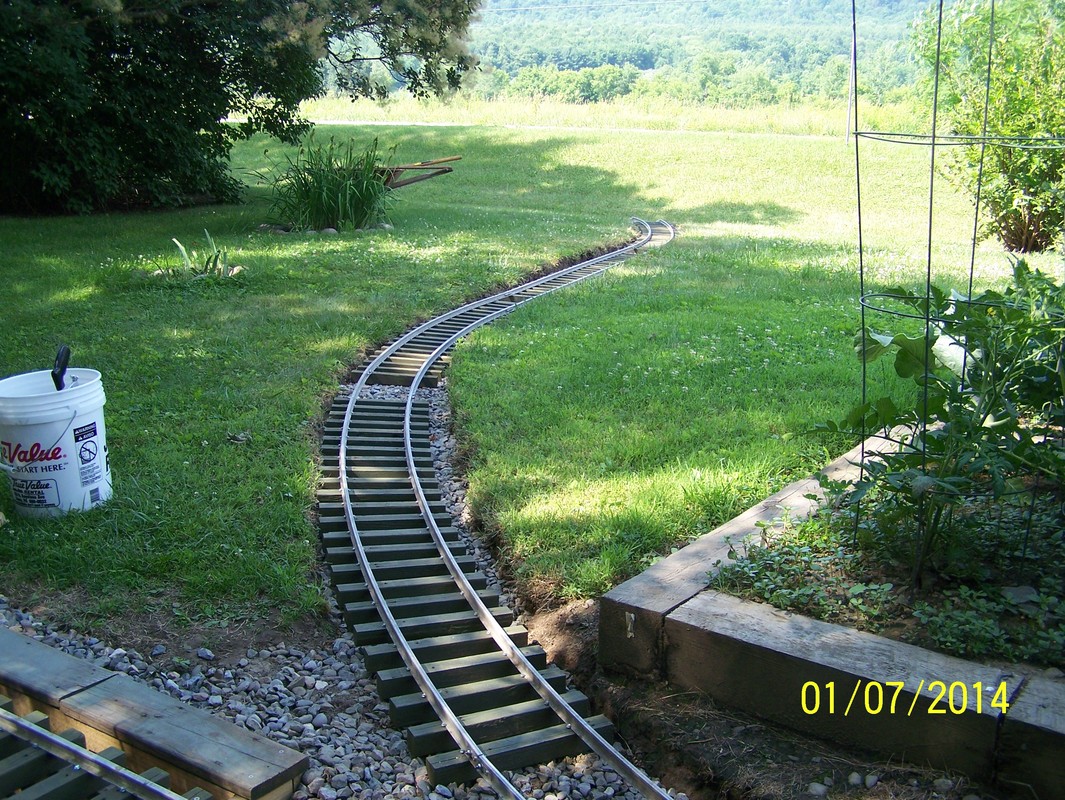
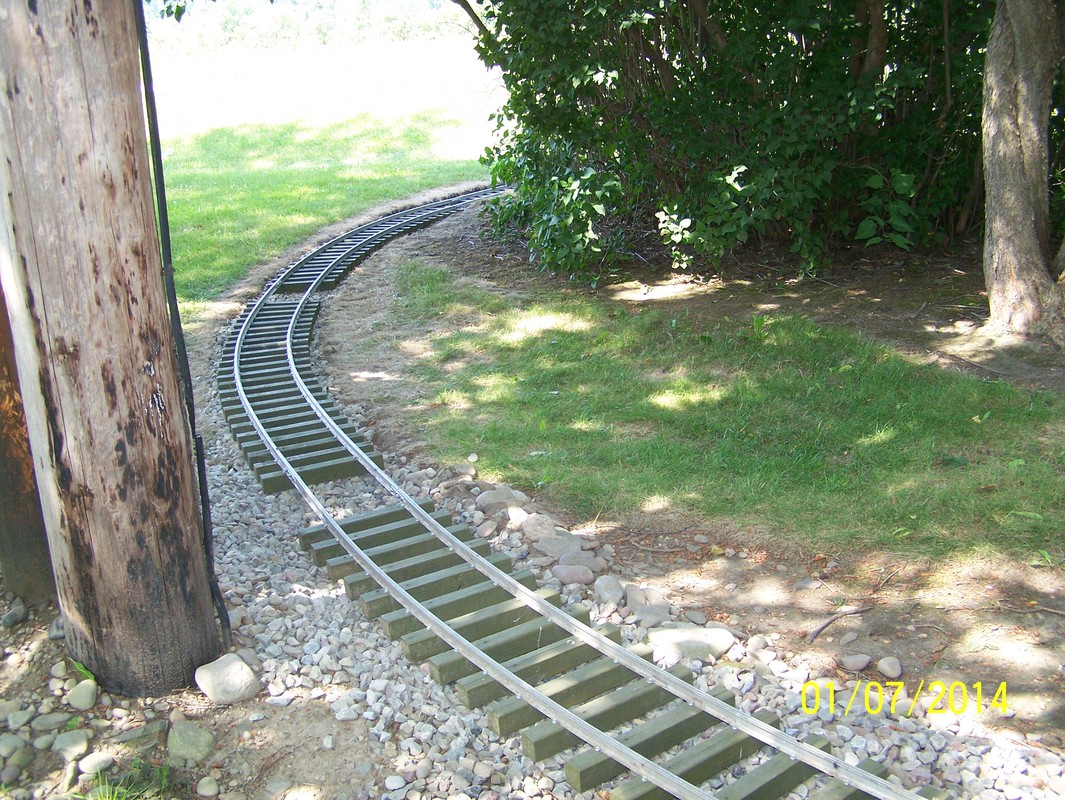
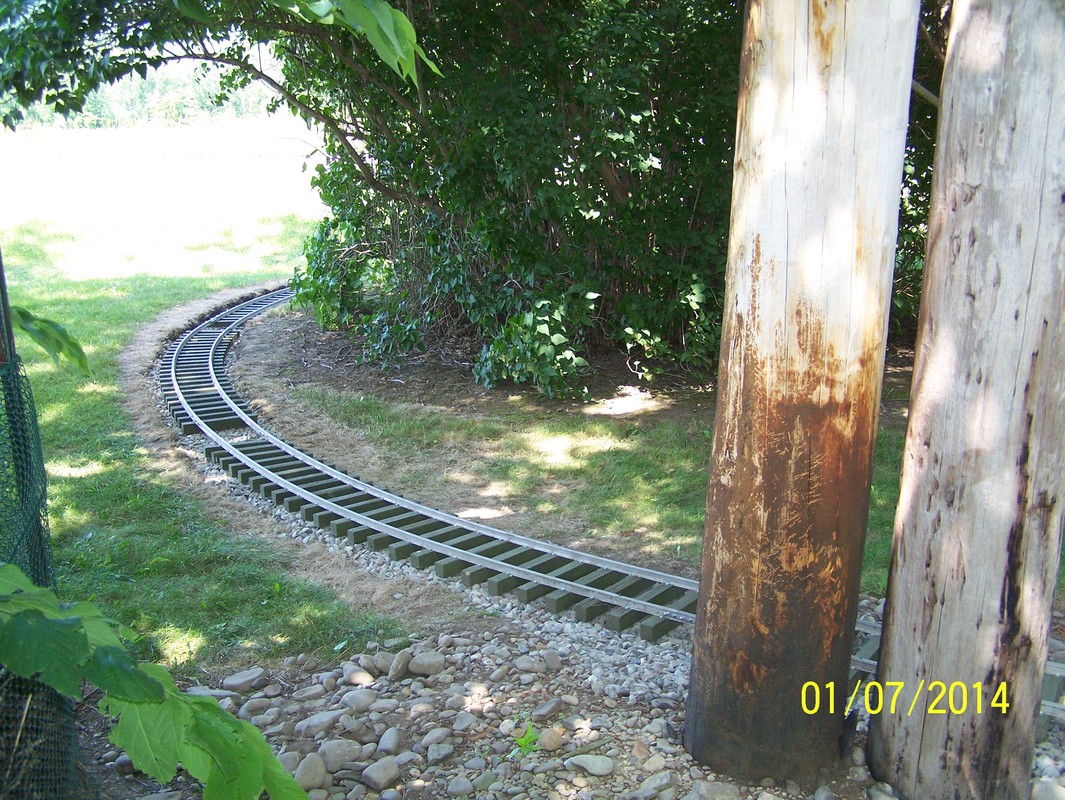
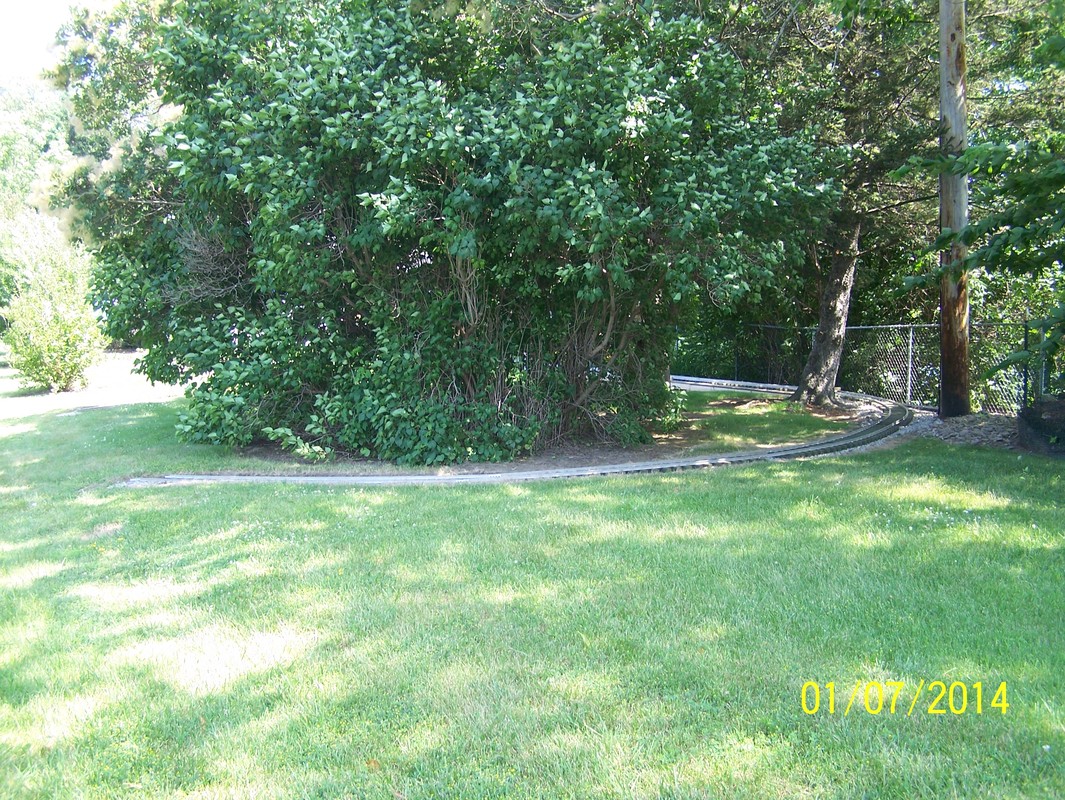
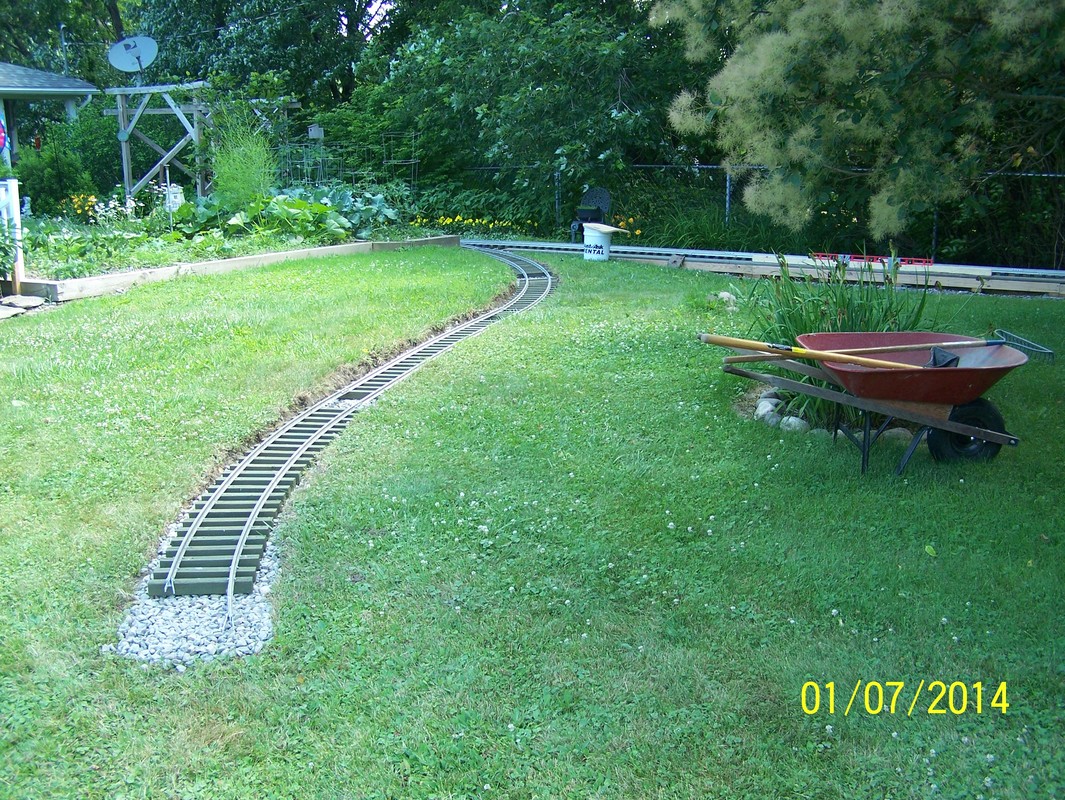
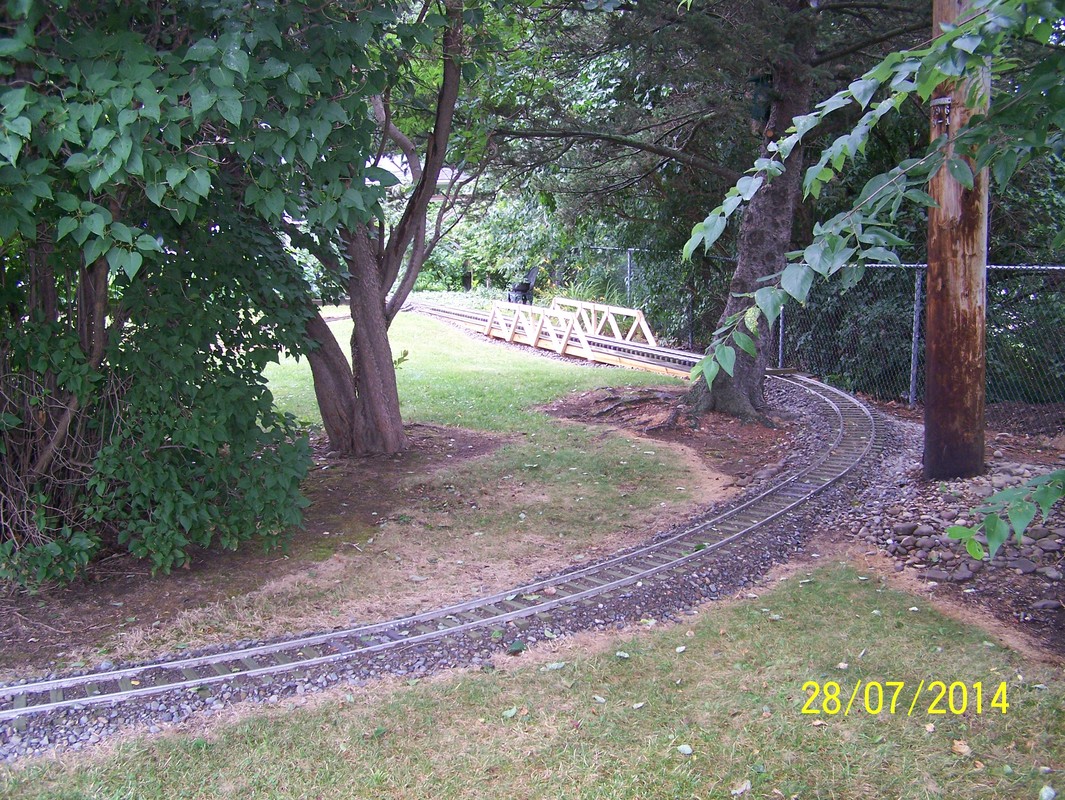
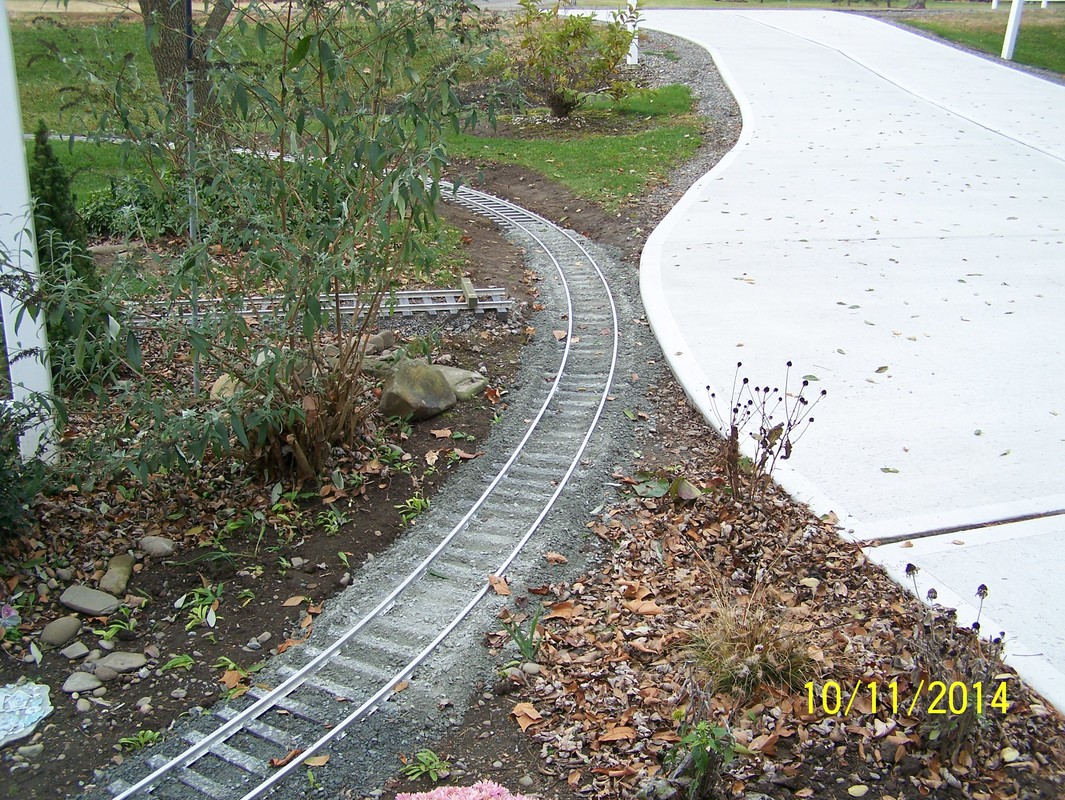
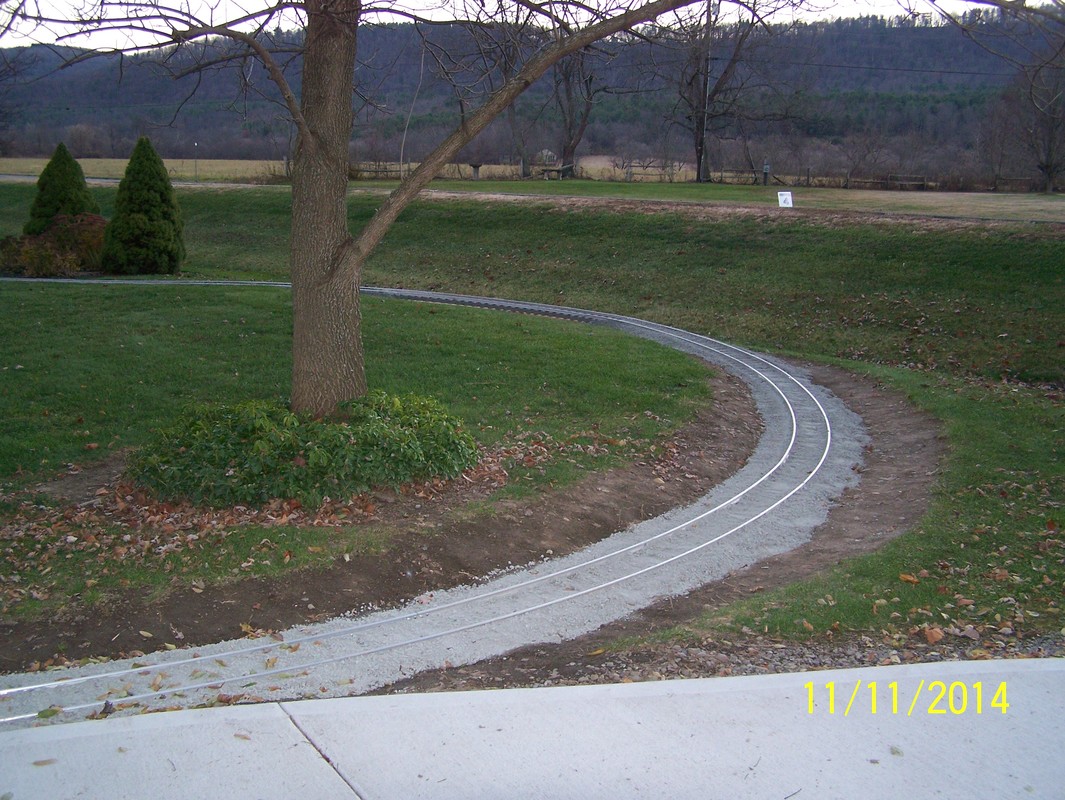
June, 2014. Now working on the south loop. Did not have to rototill out the area past the trestle because it was a little low so filled in with sub-ballast and tamped. Then laid the track on it and put the ballast on top and tamped. Plus worked on installing the south culvert bridge.

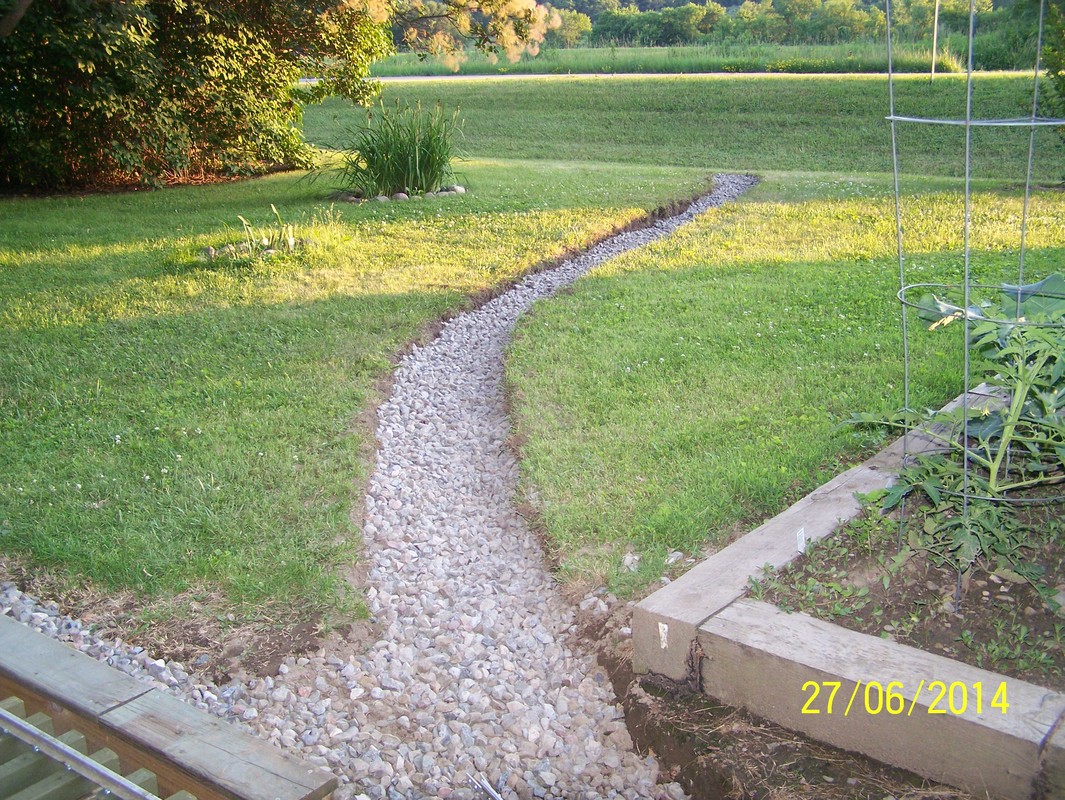
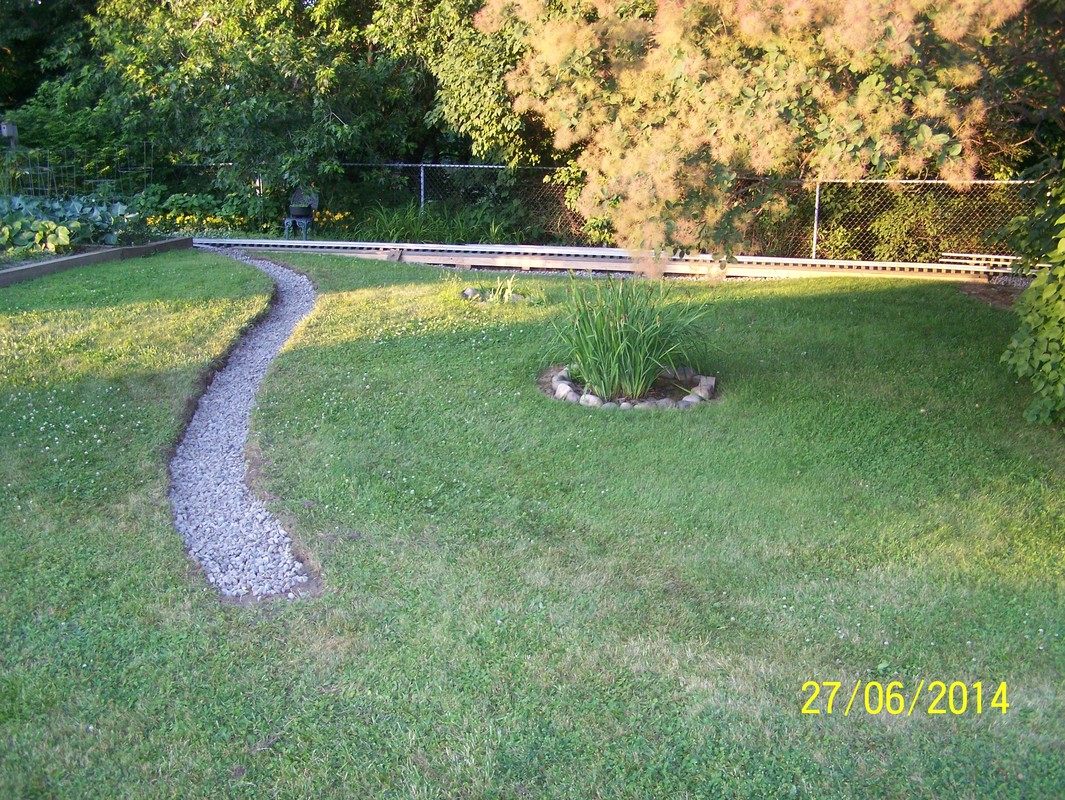
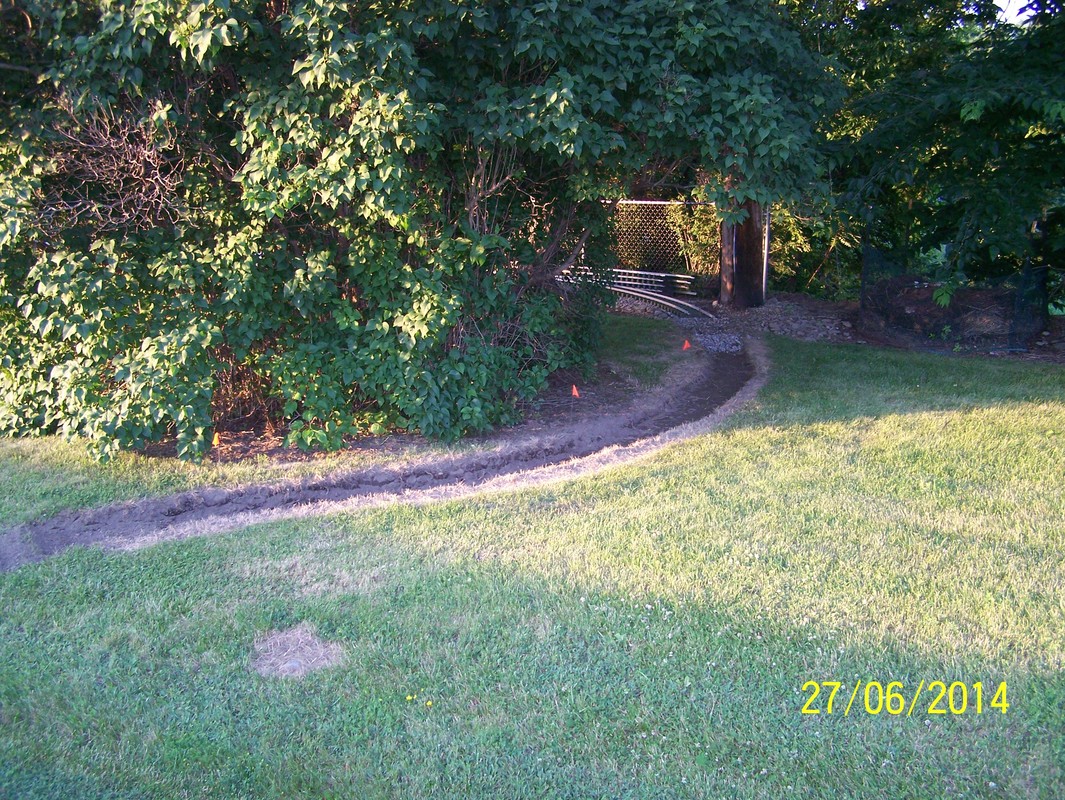
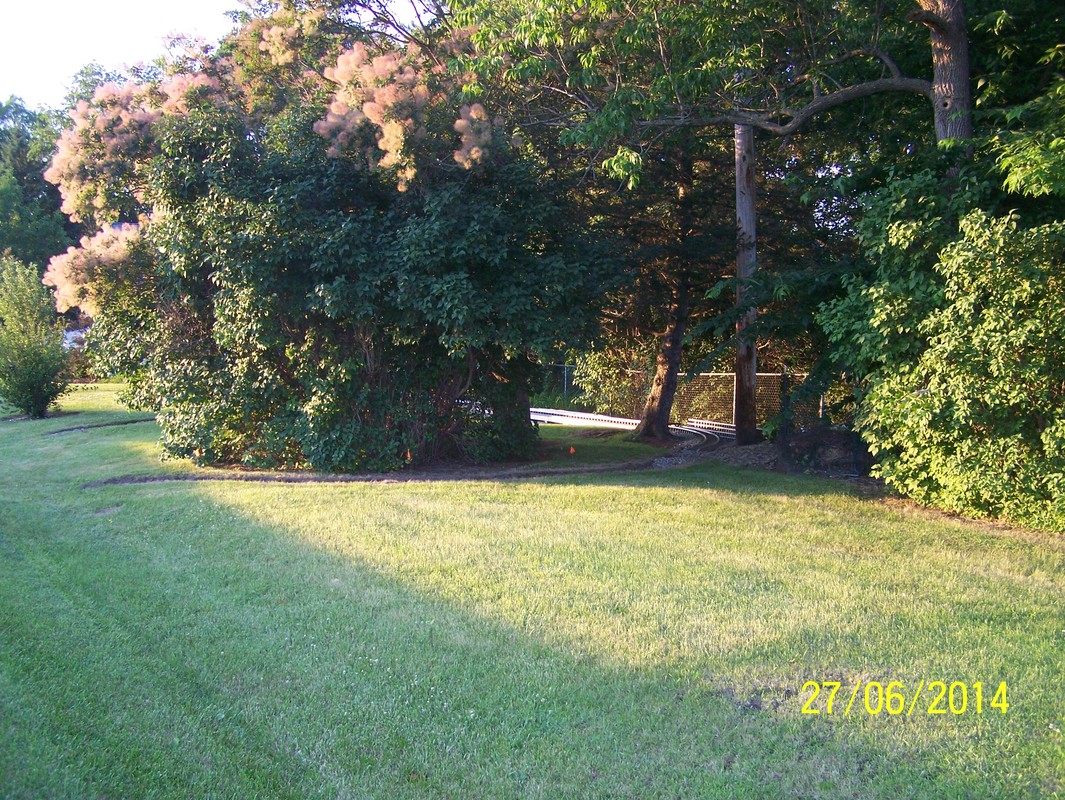
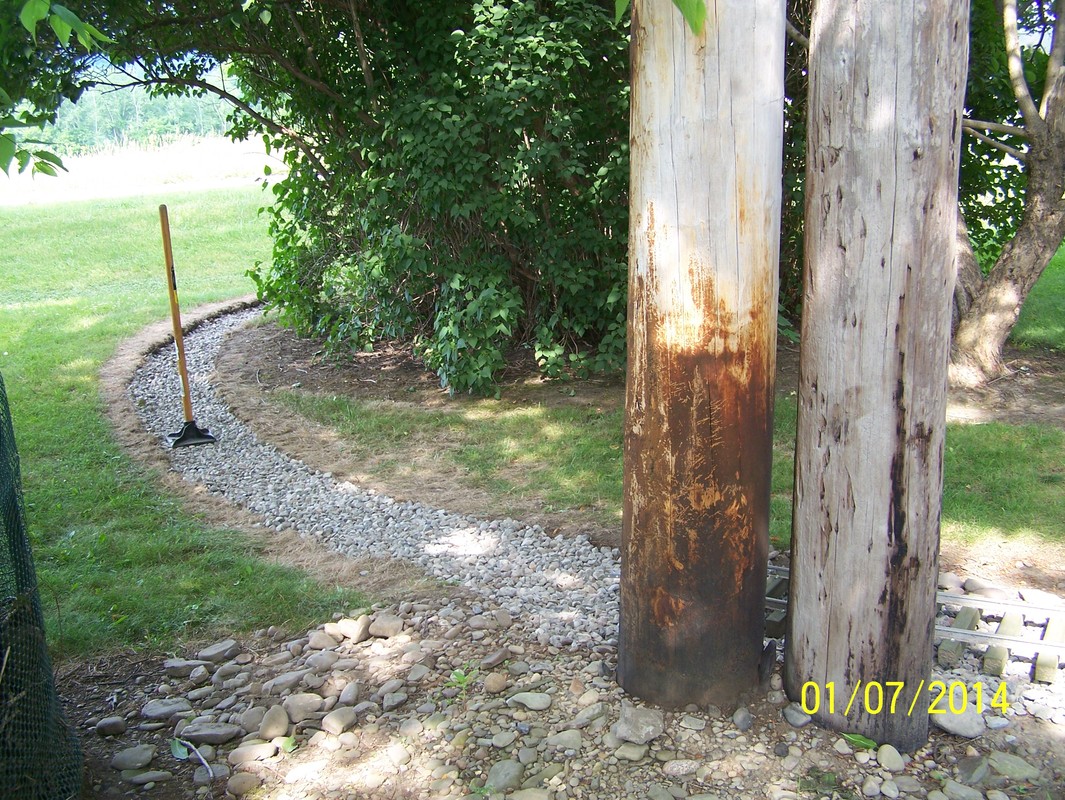
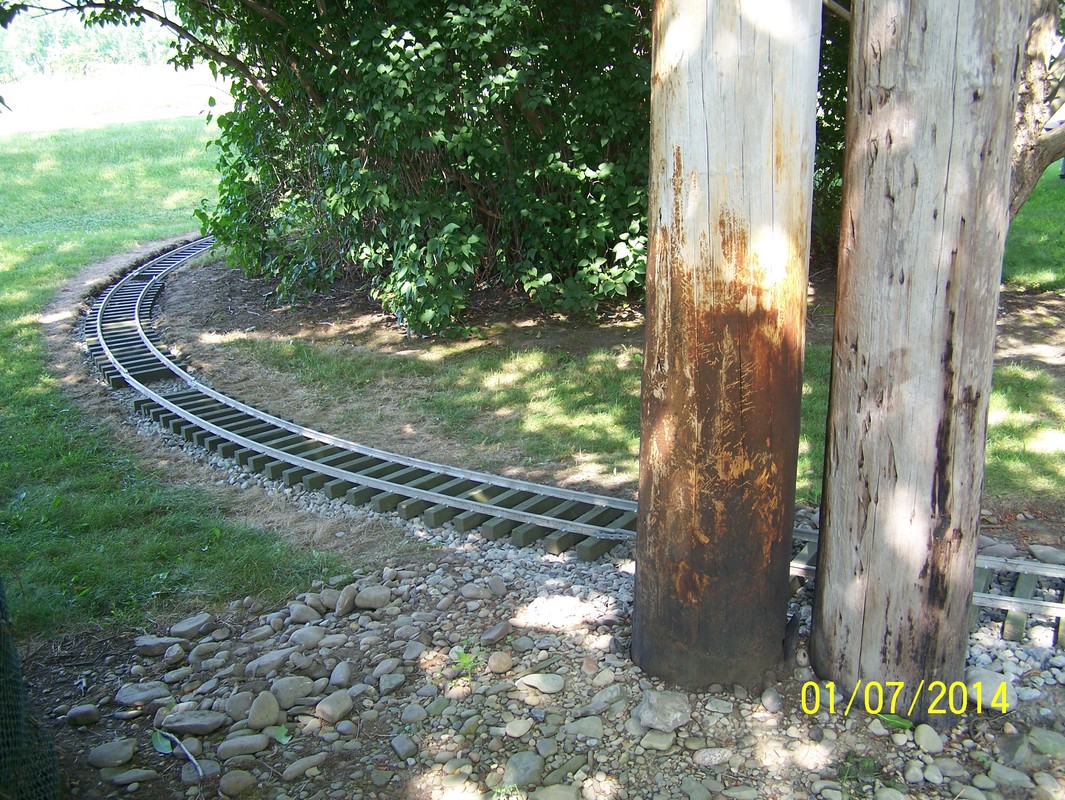
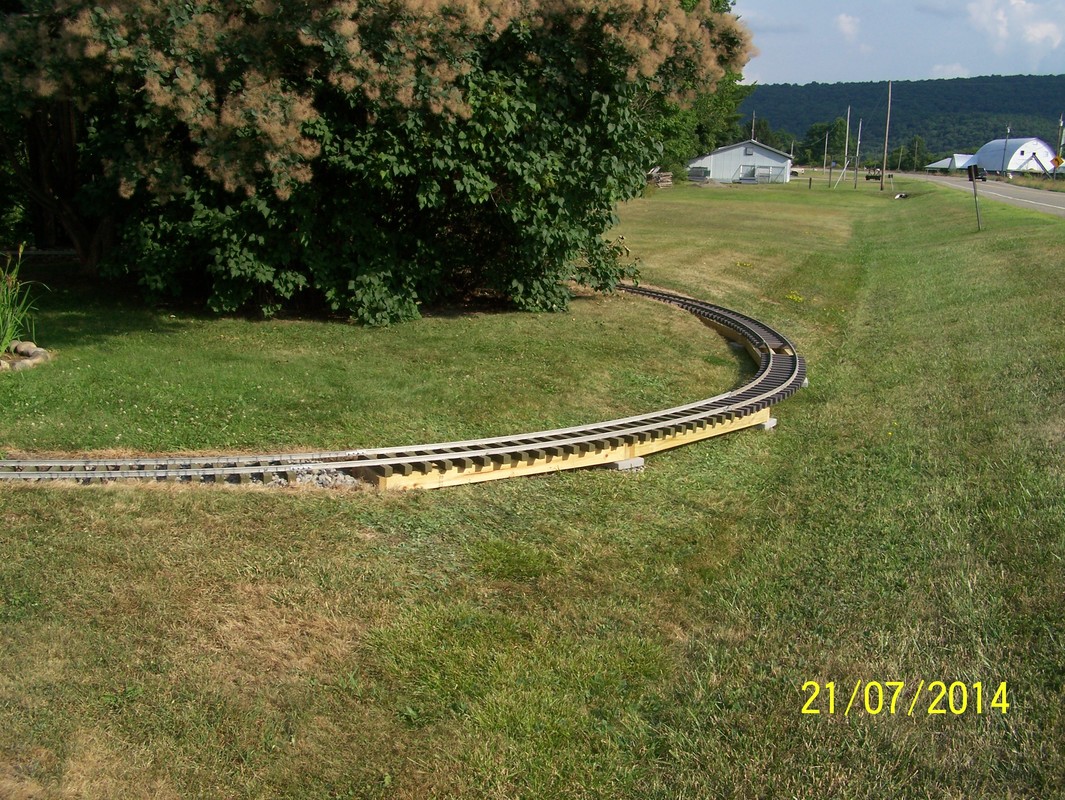
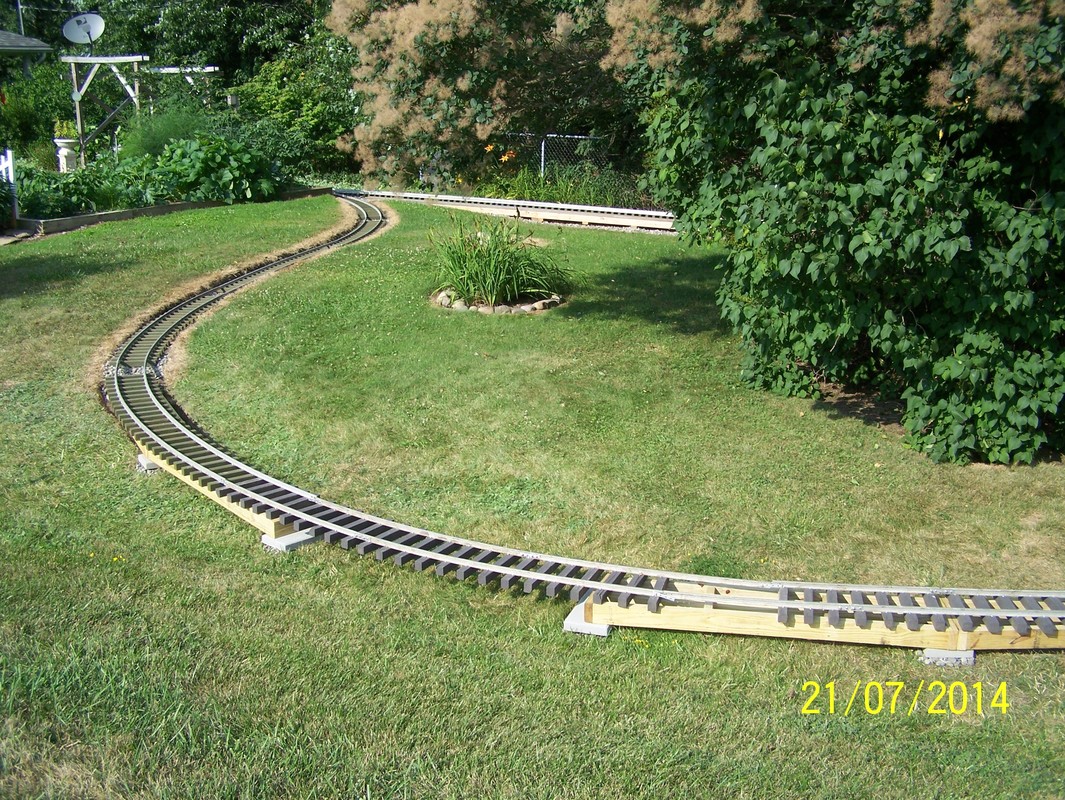
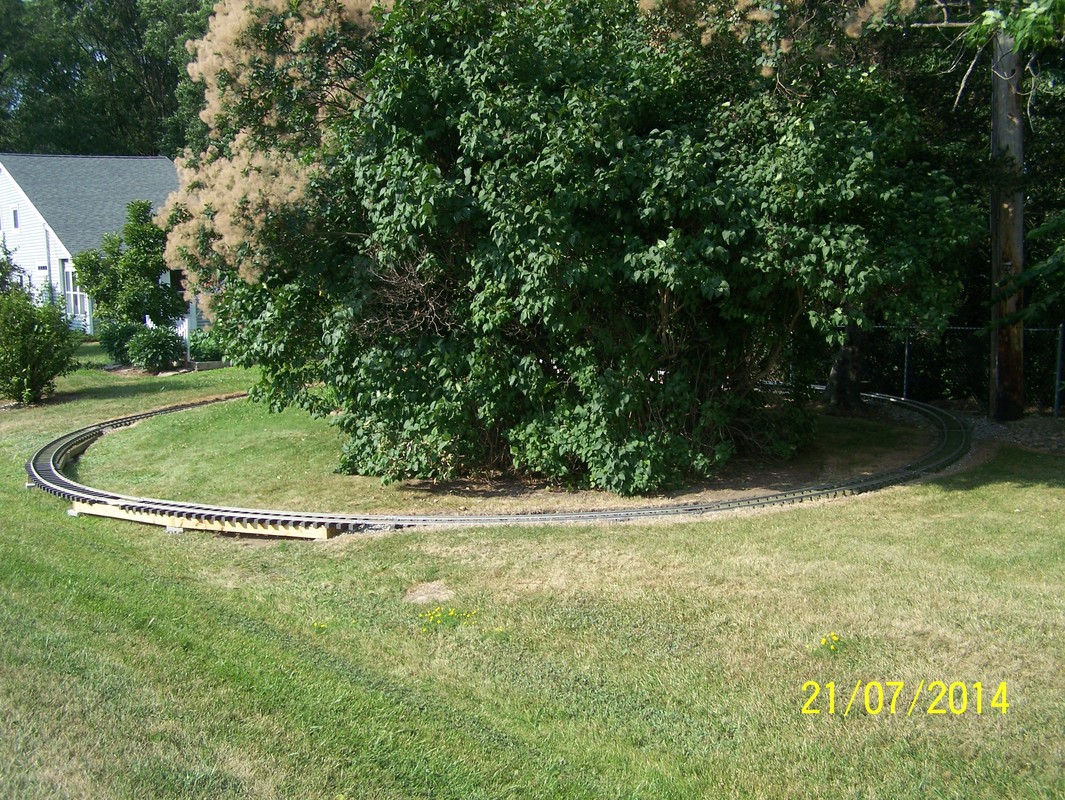
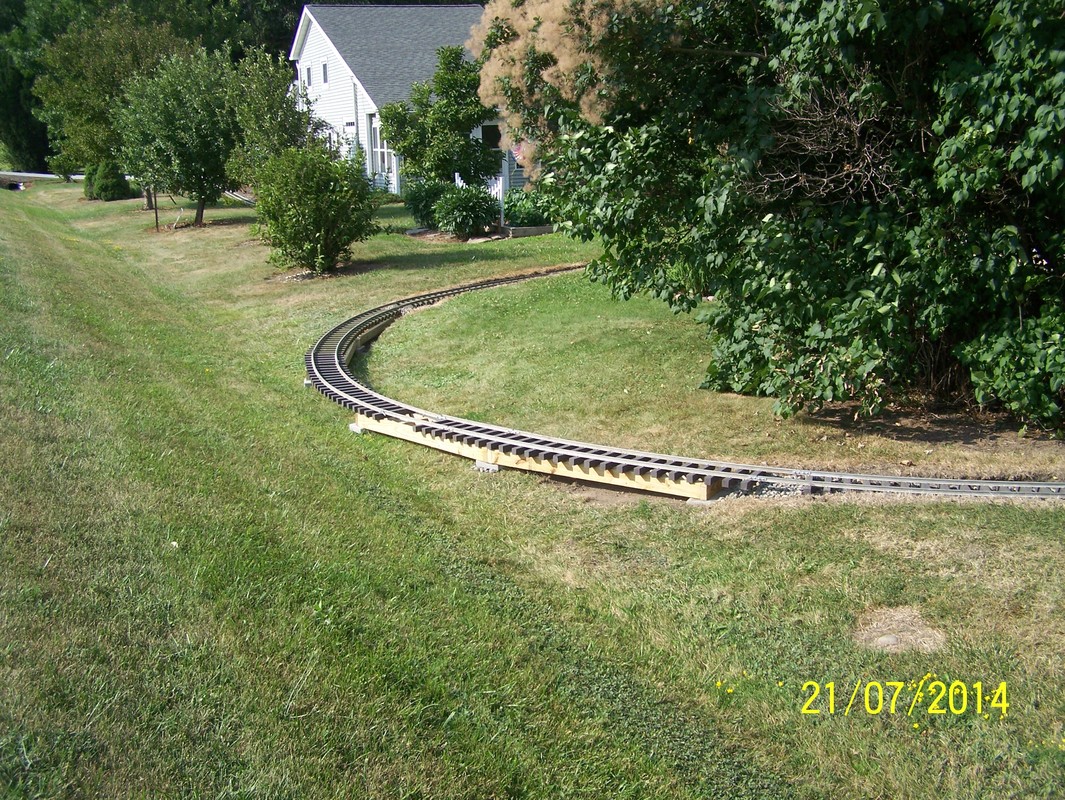
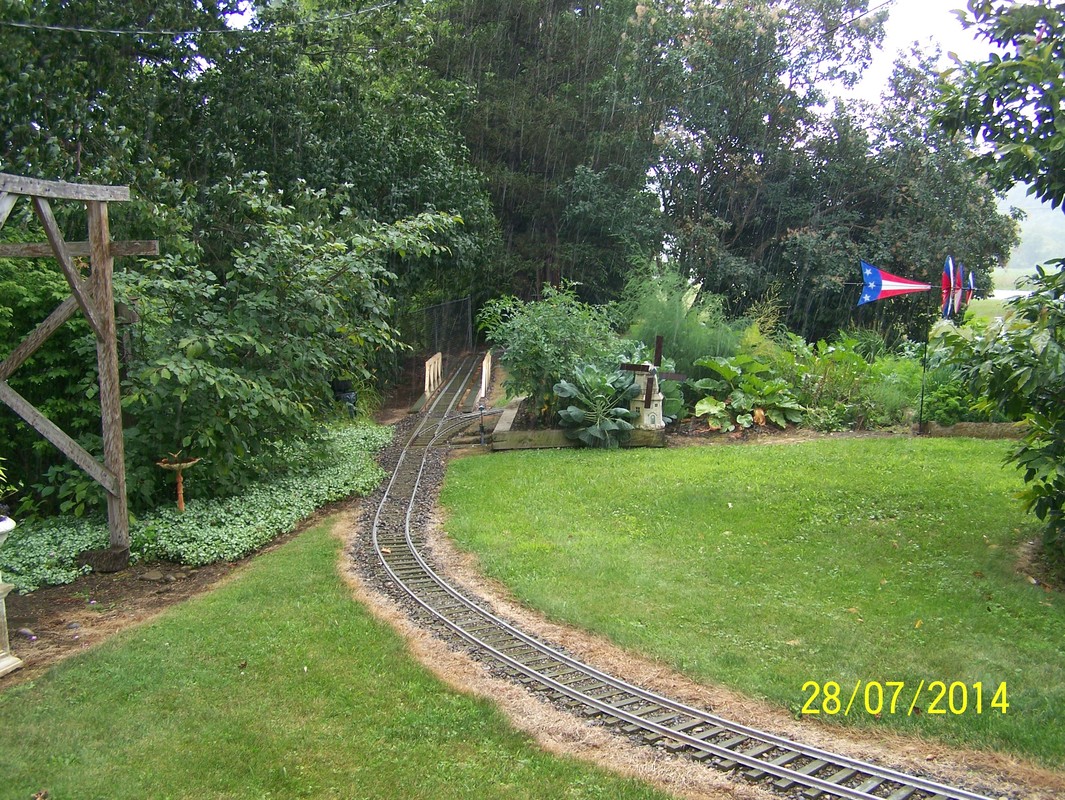
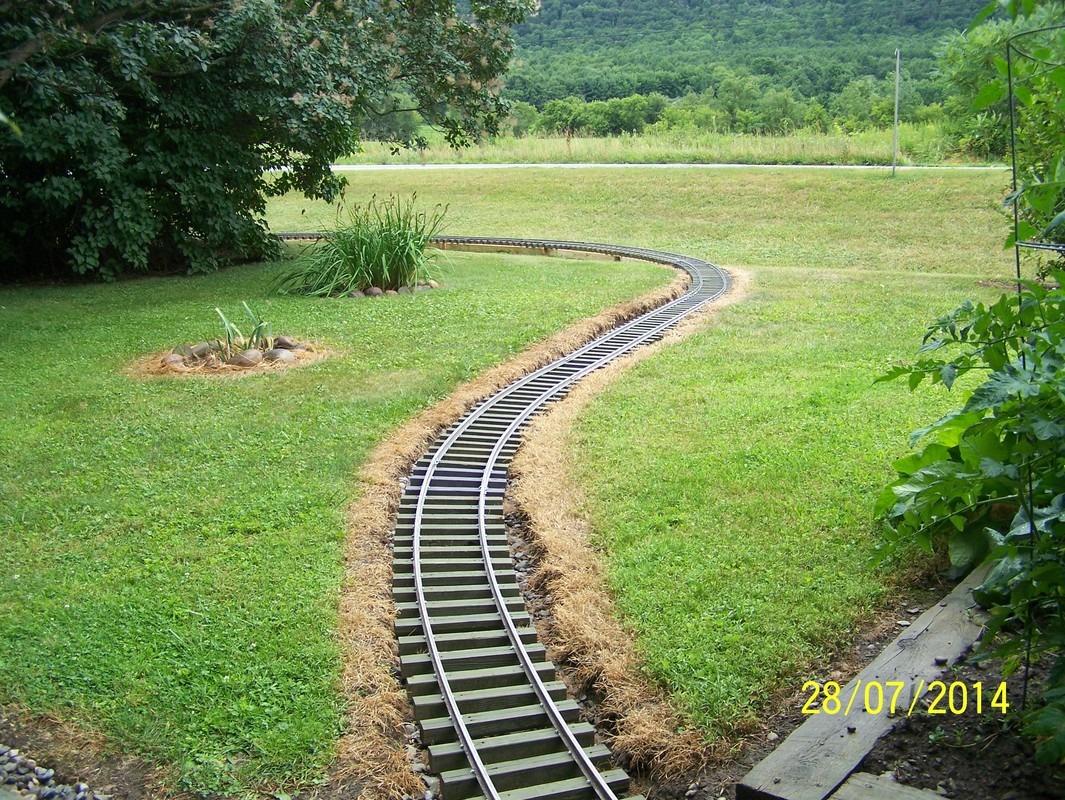
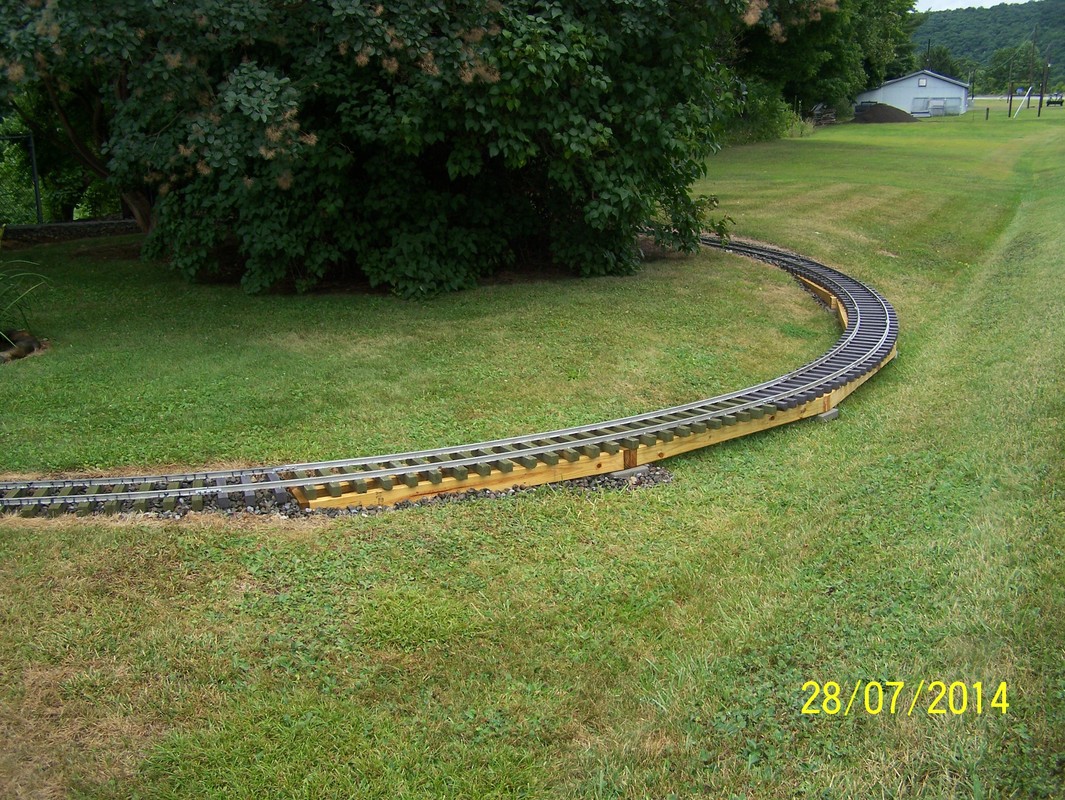
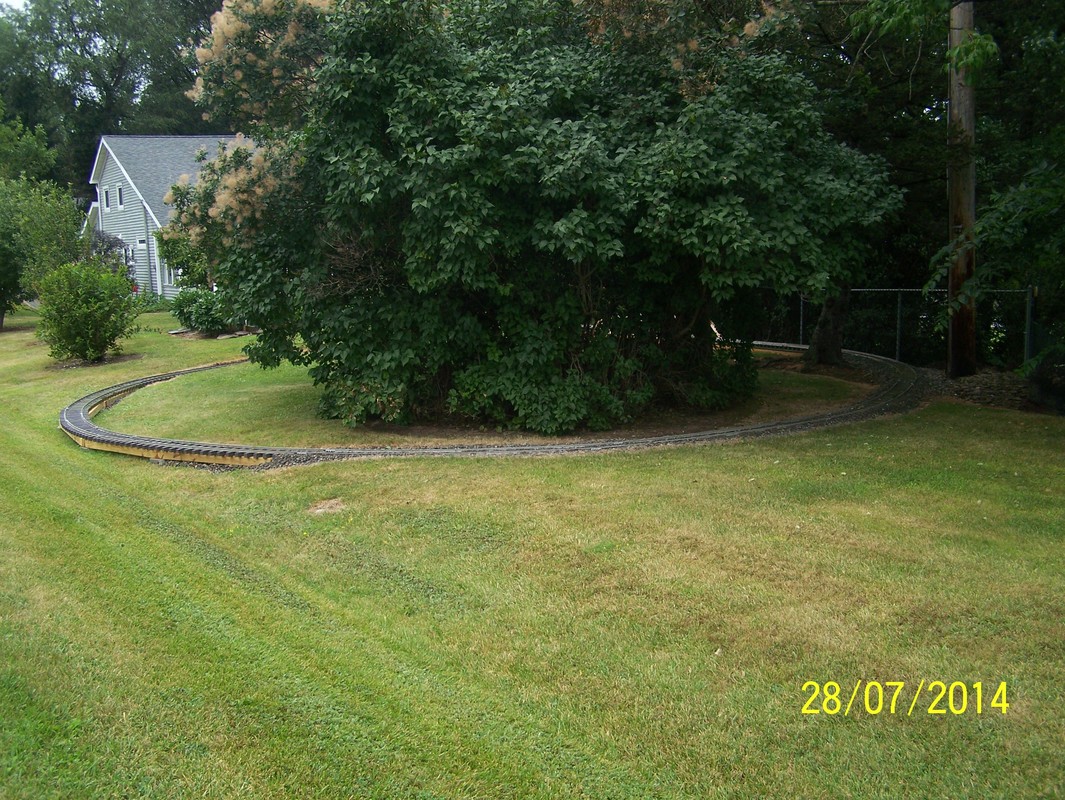
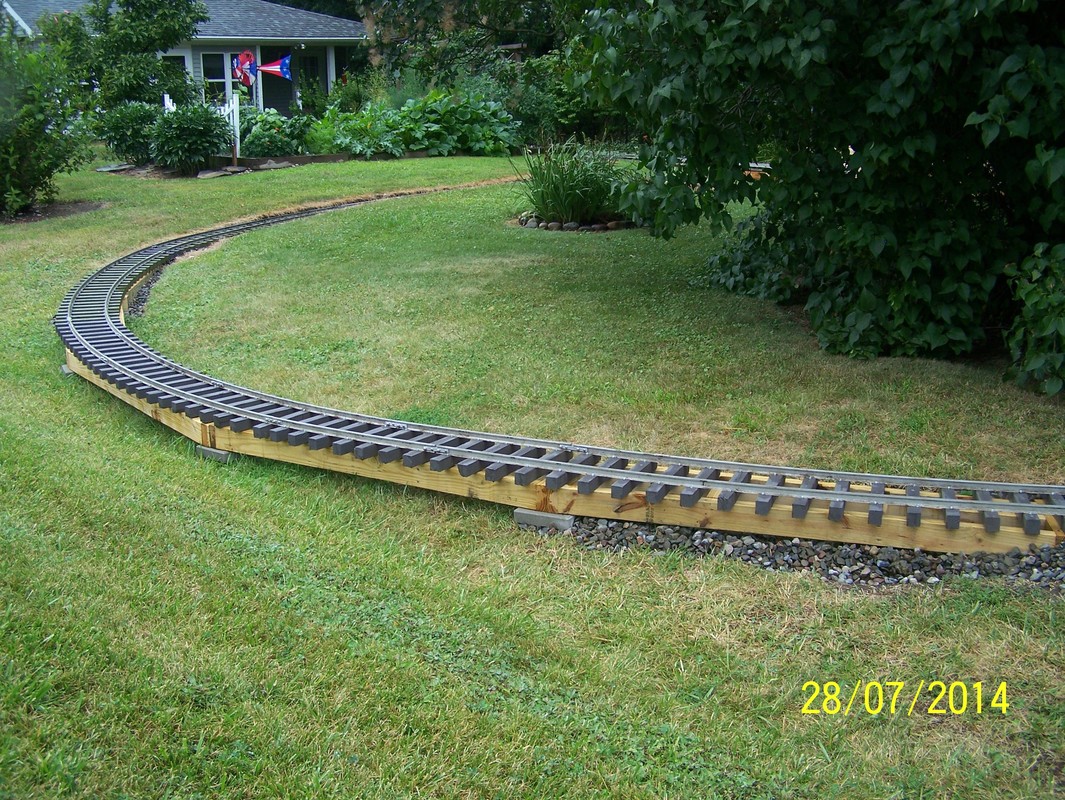
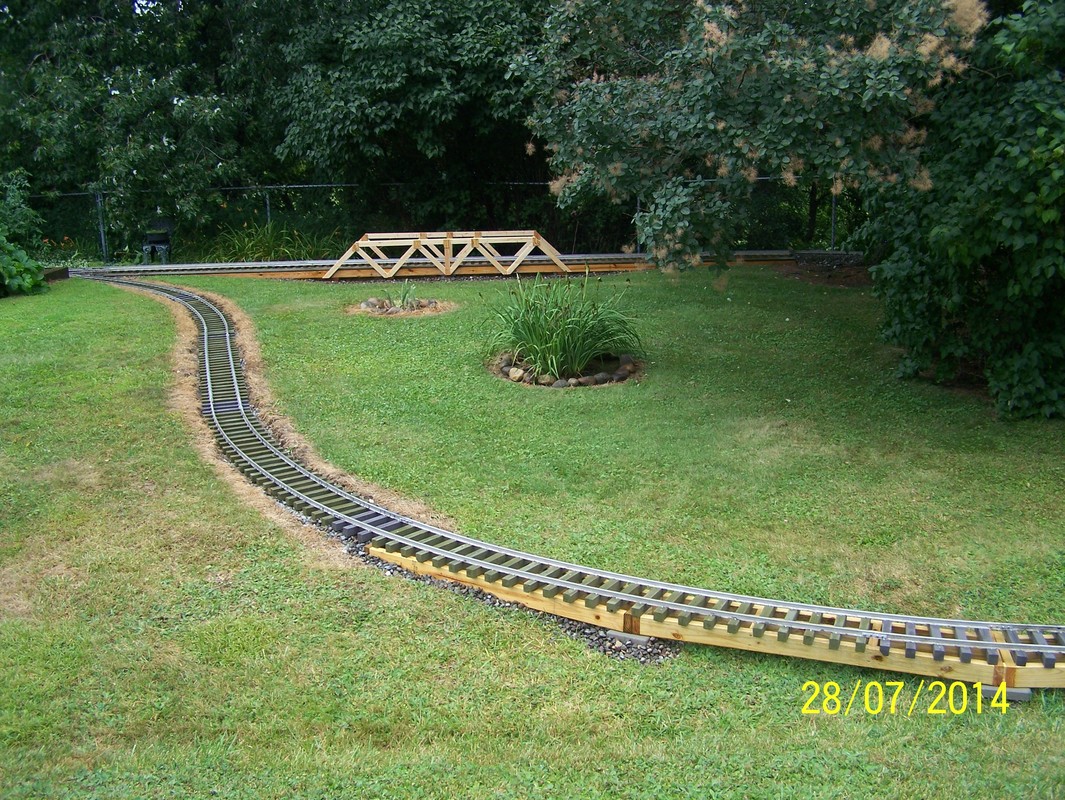
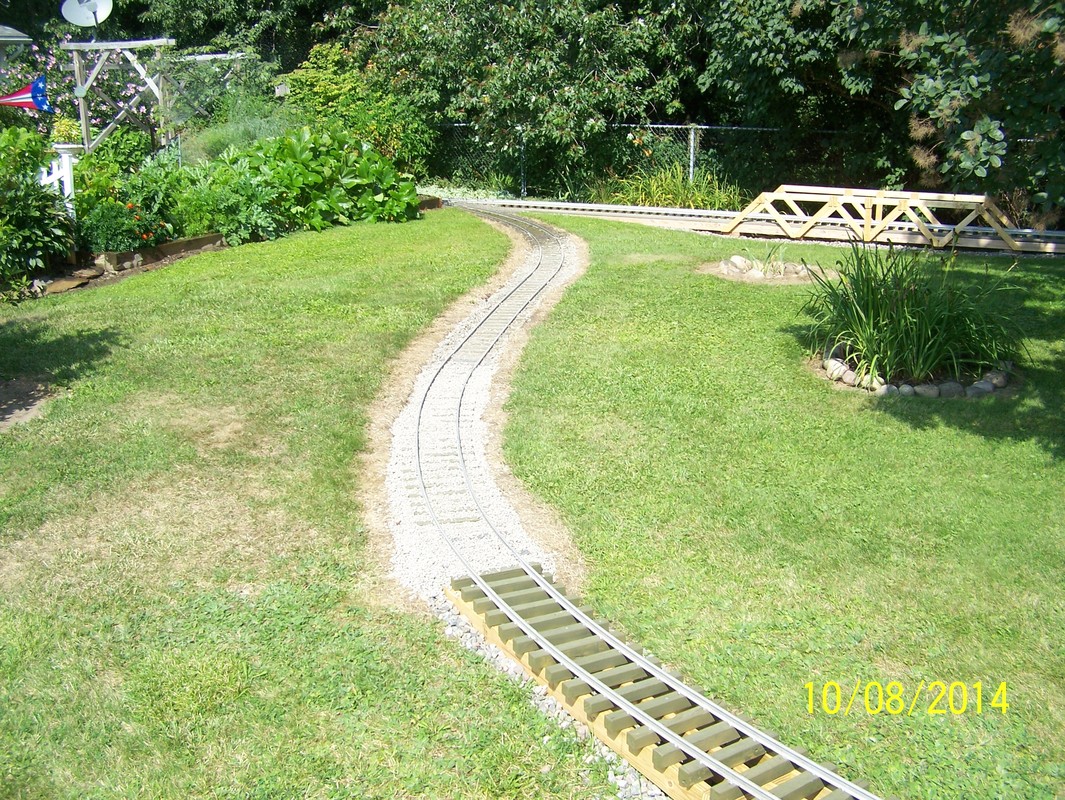
July, 2014. Finally finished up the south loop and the south culvert bridge.
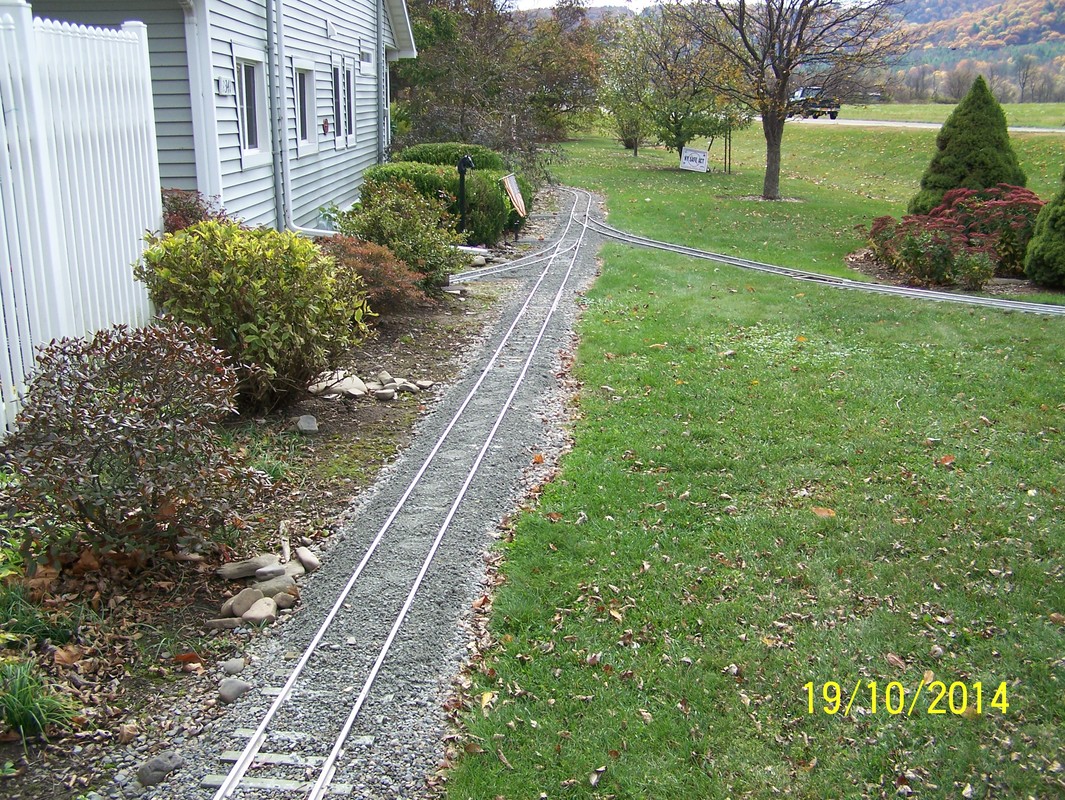
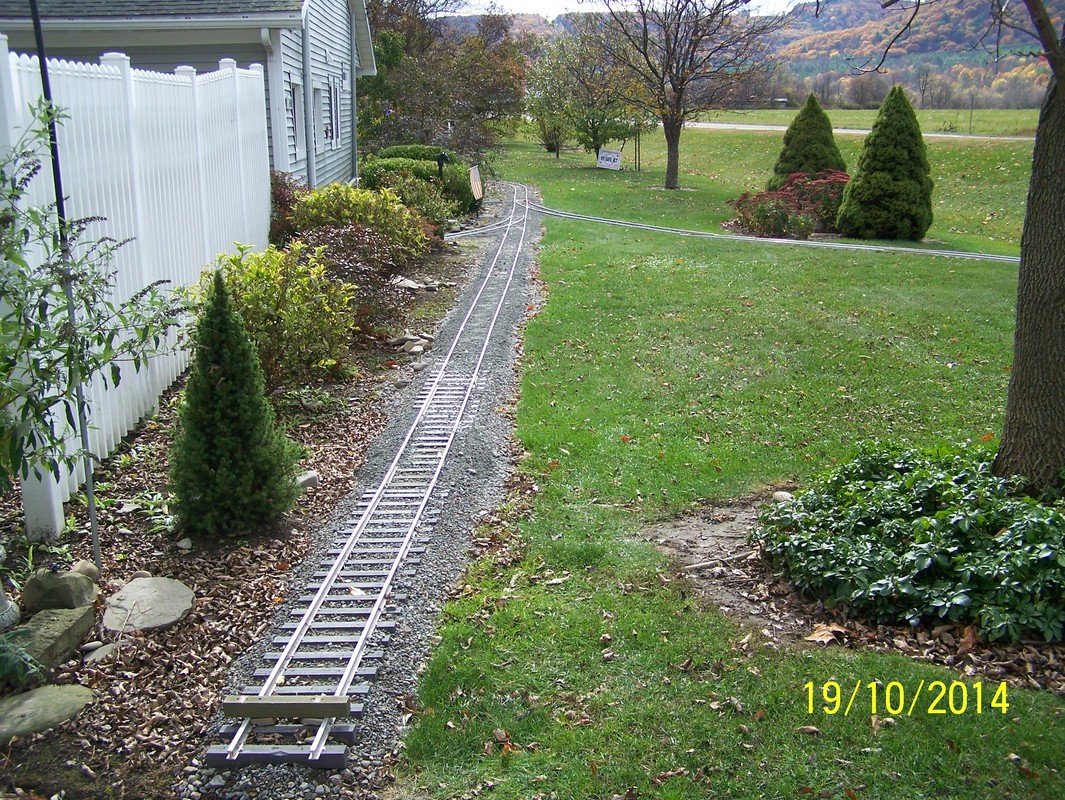
Aug, 2014. Getting the ballast installed.
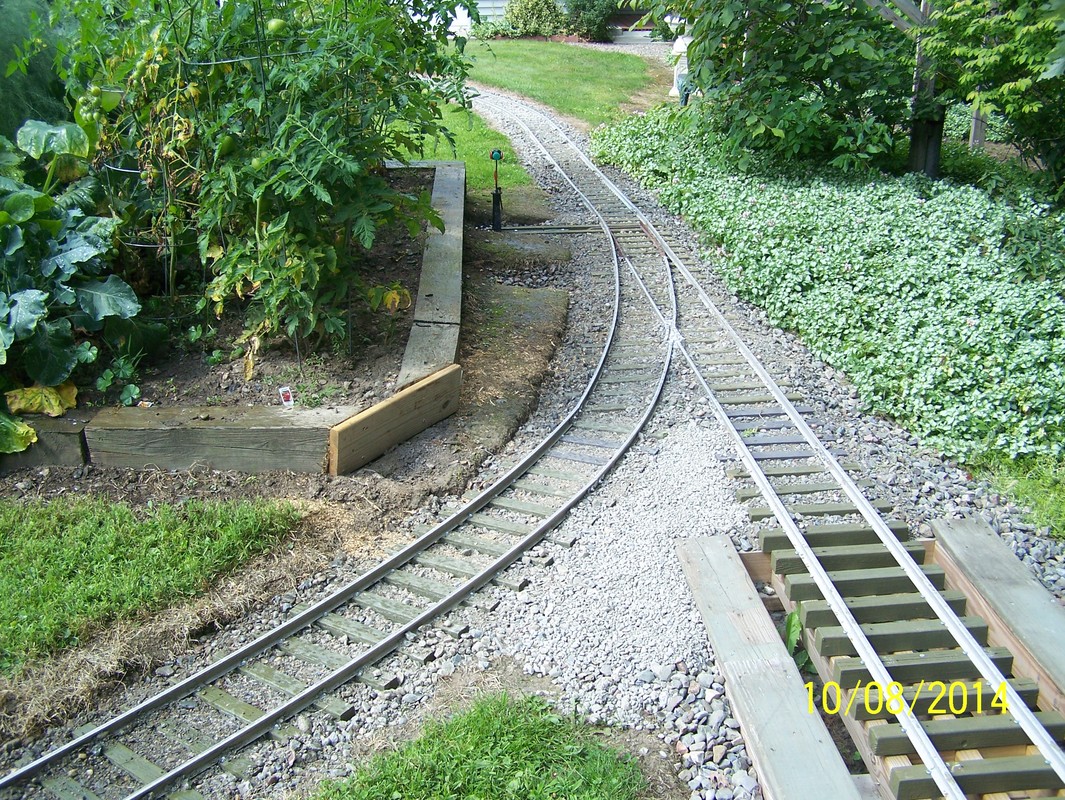
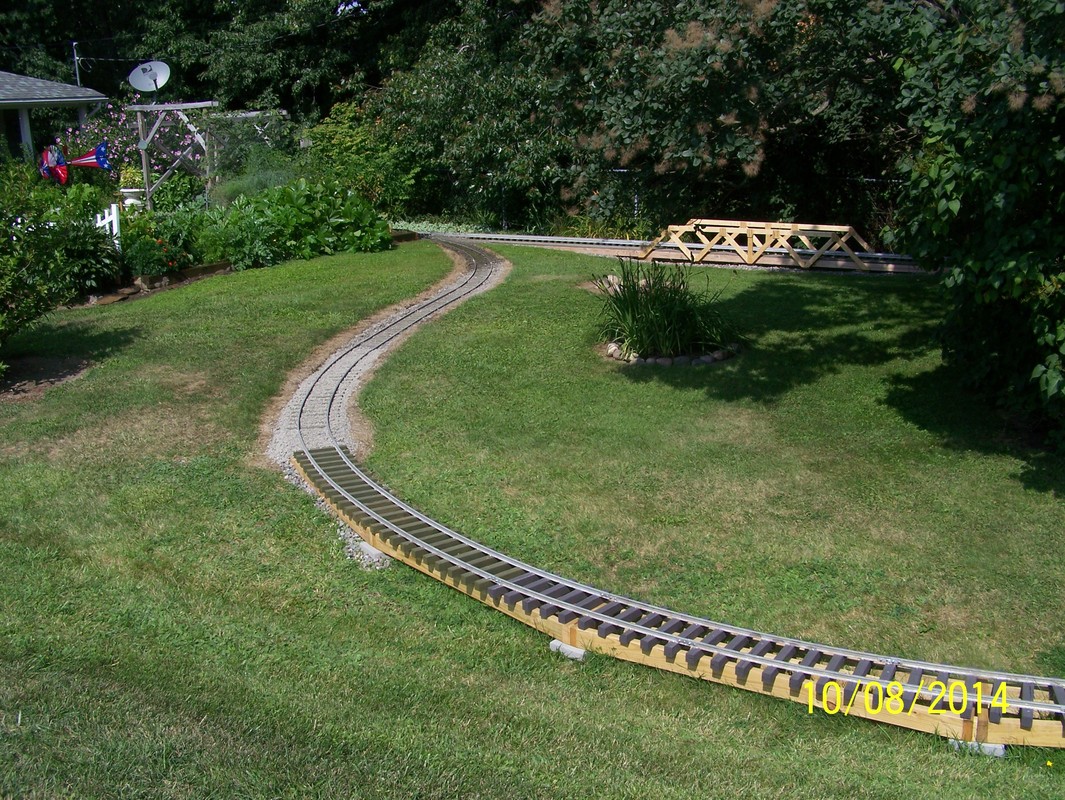
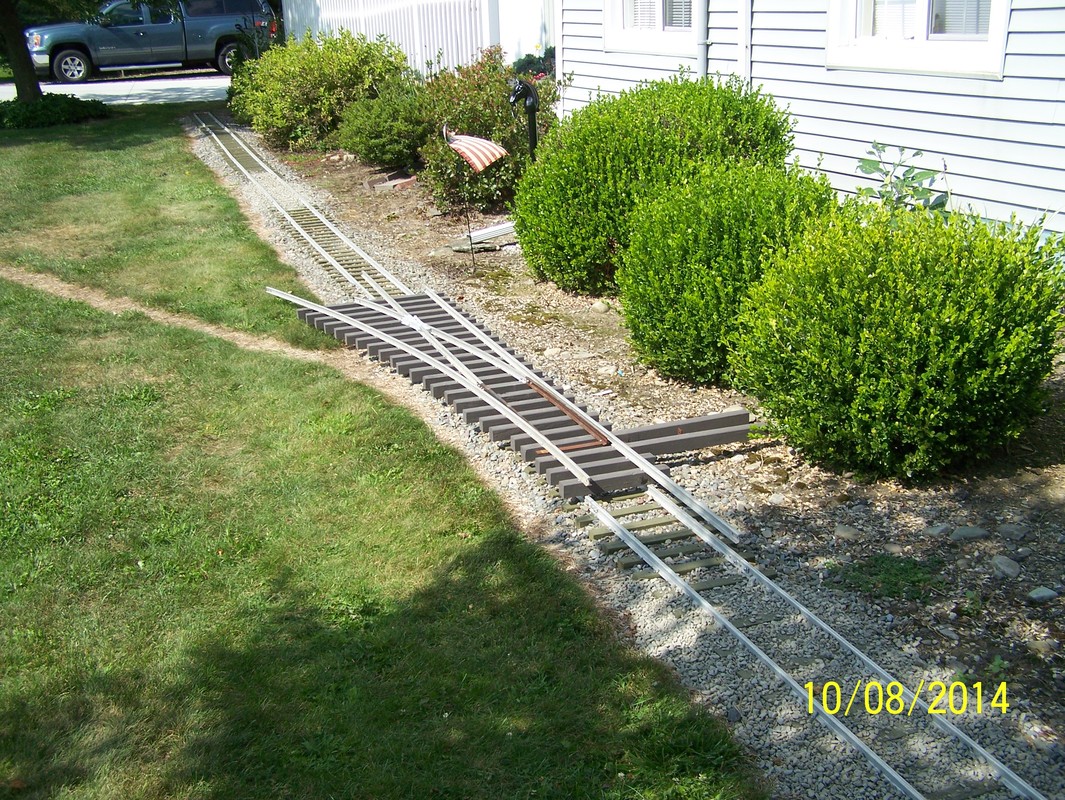
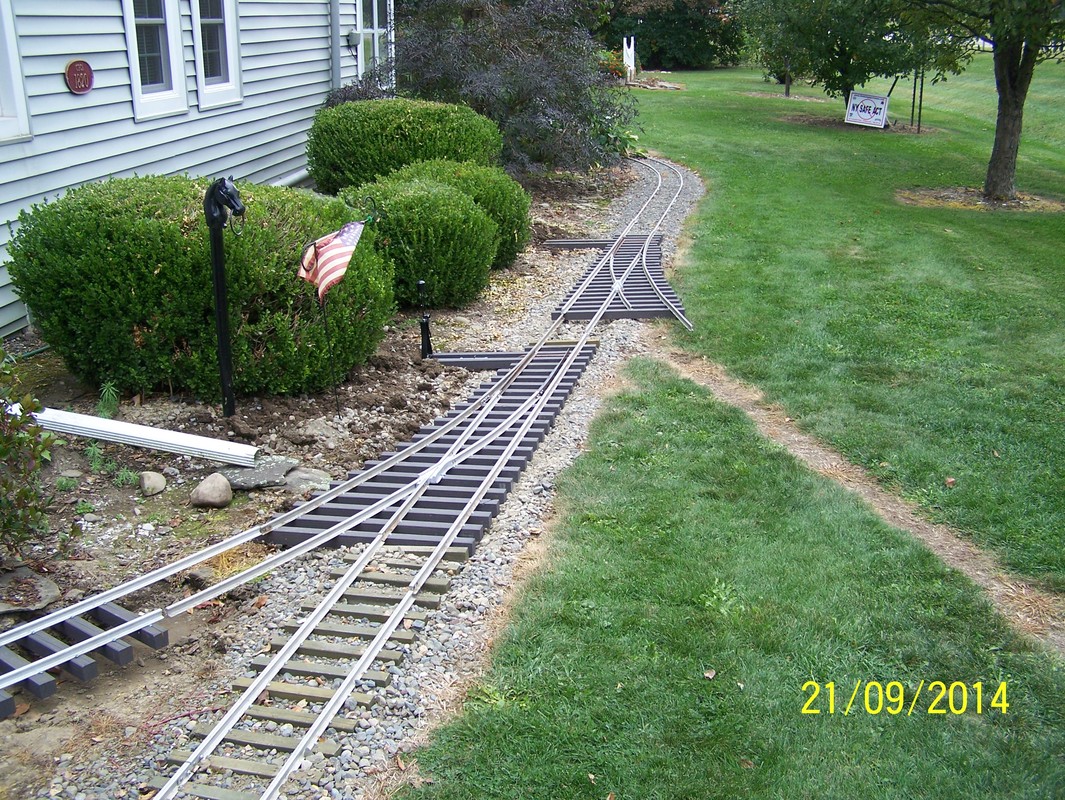
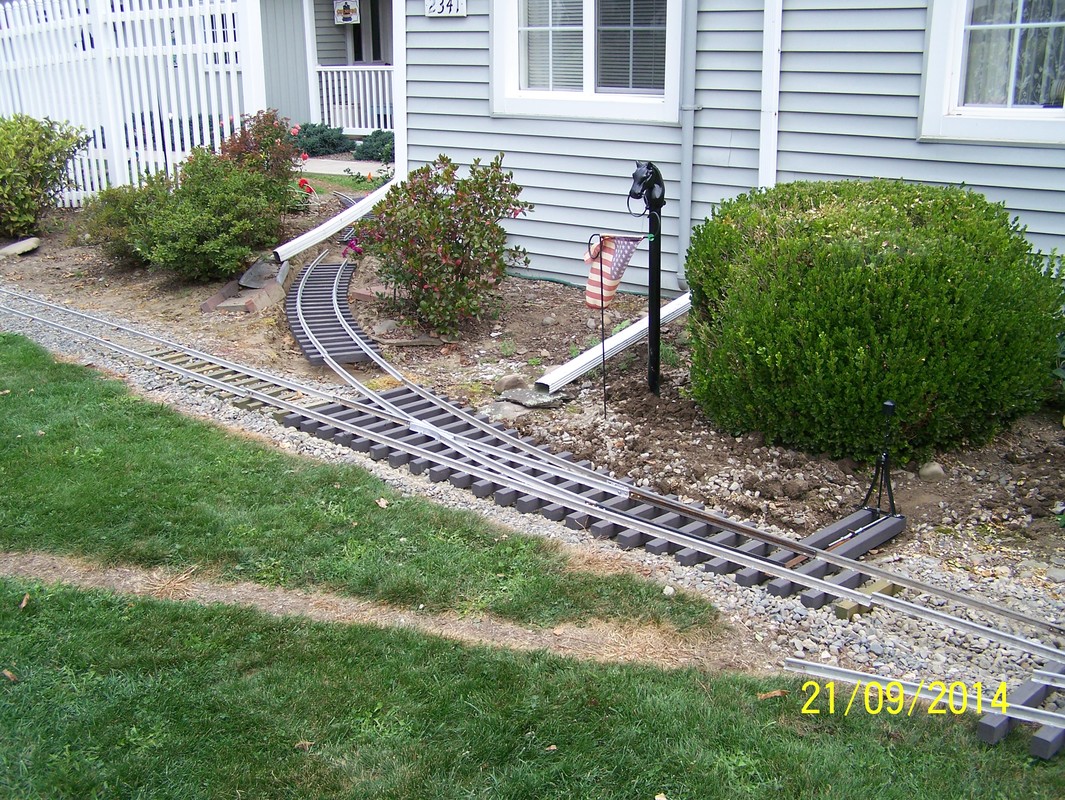
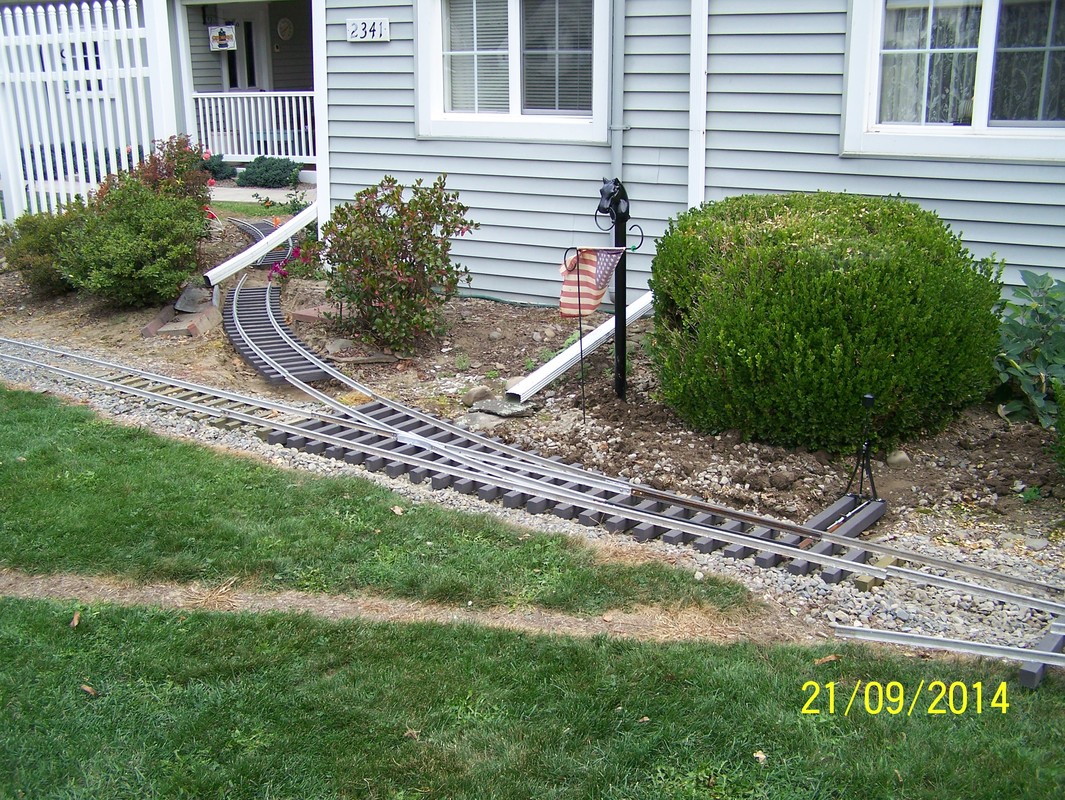
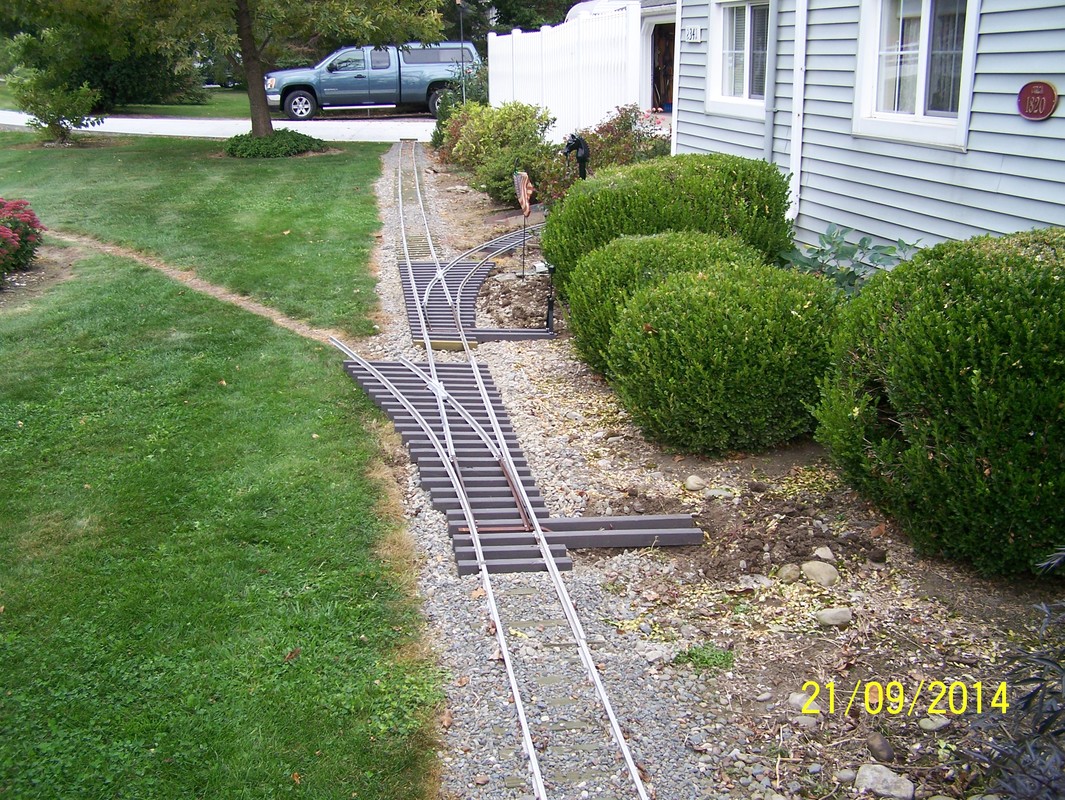
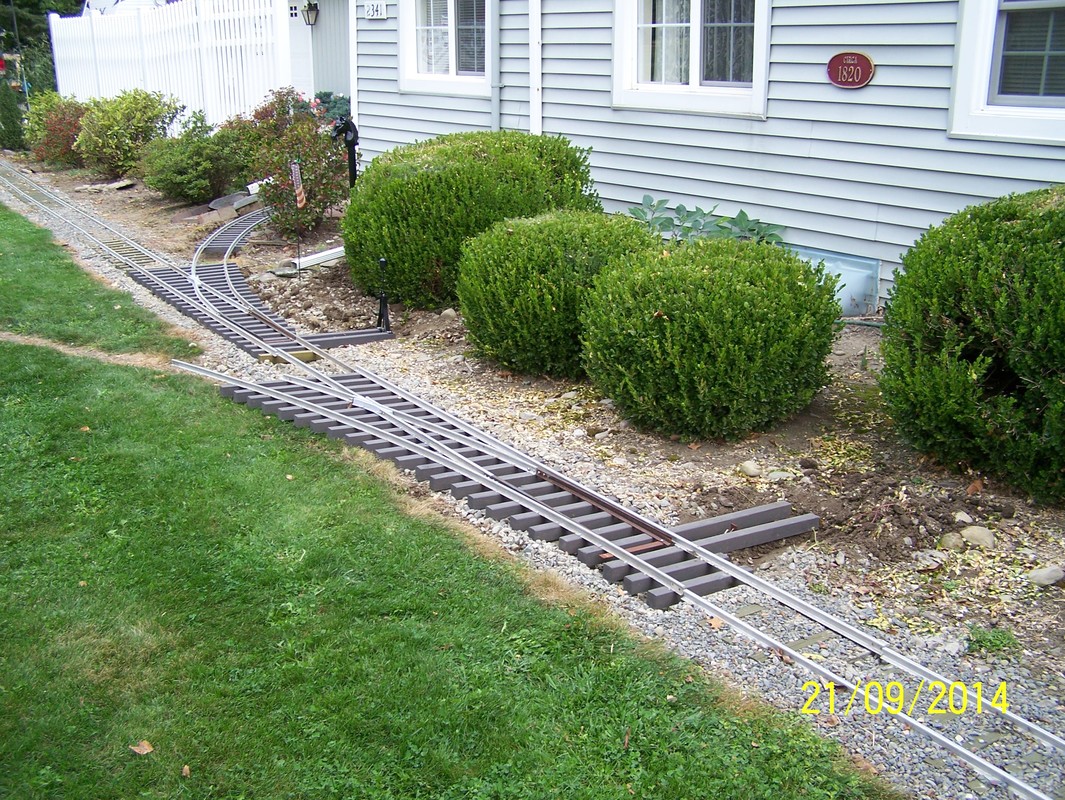
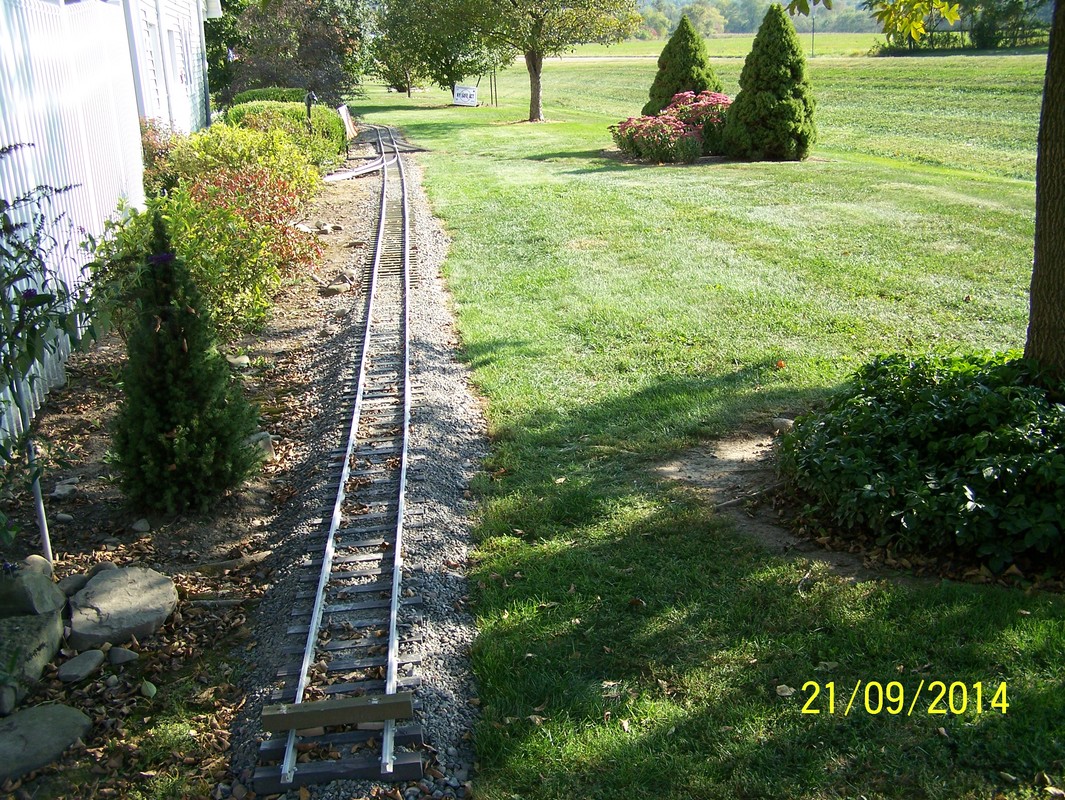
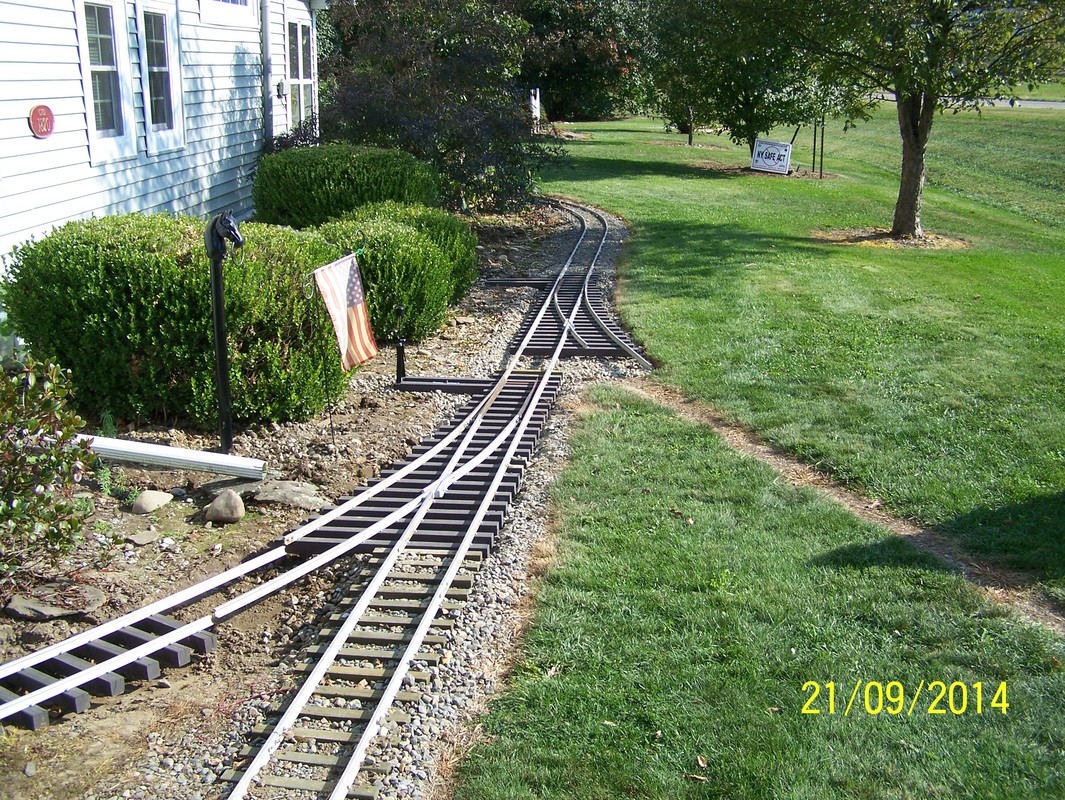
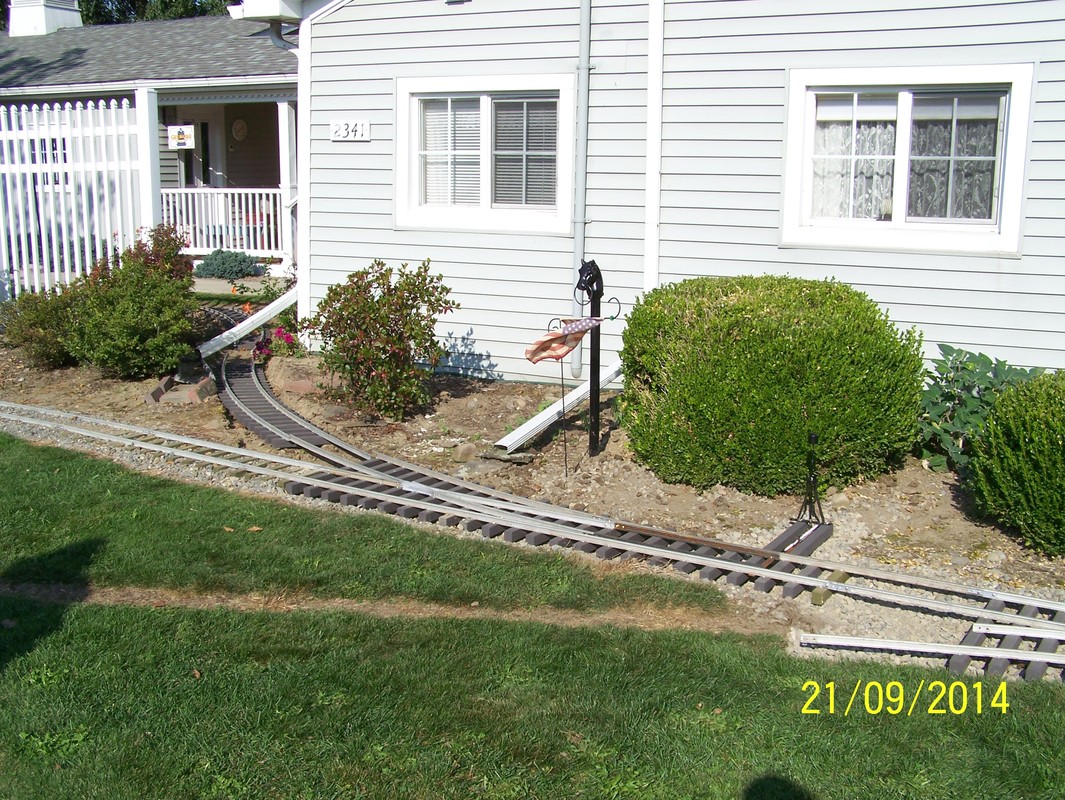
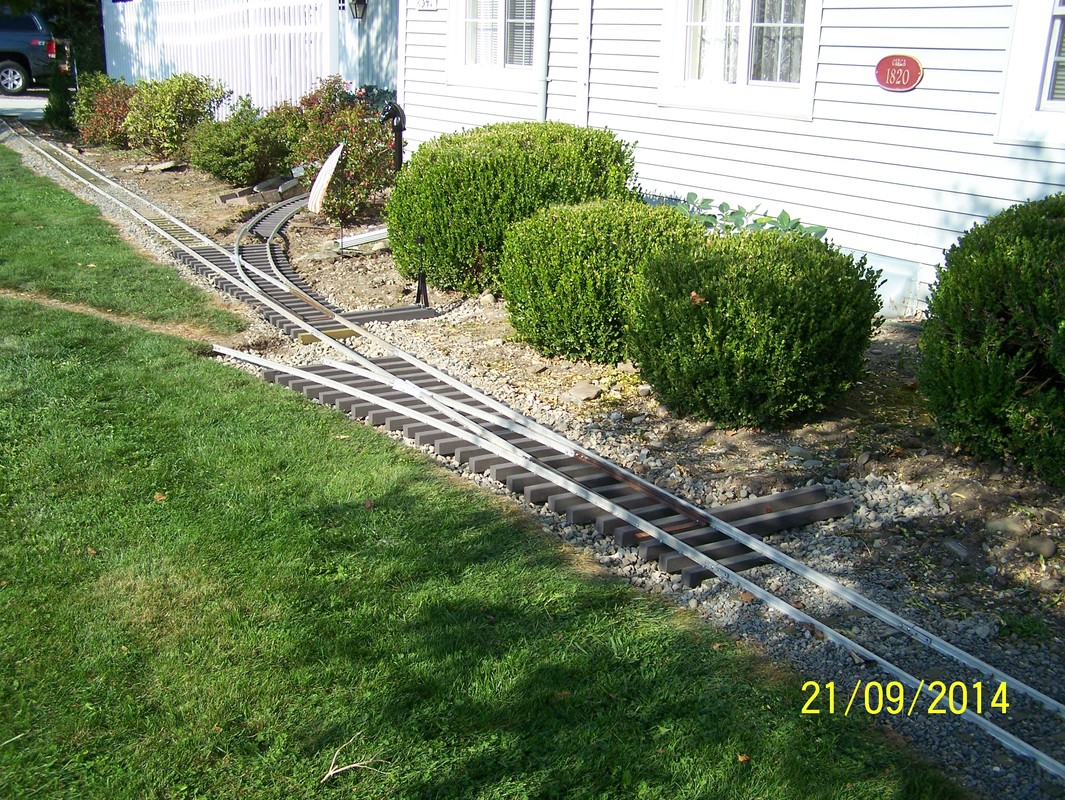
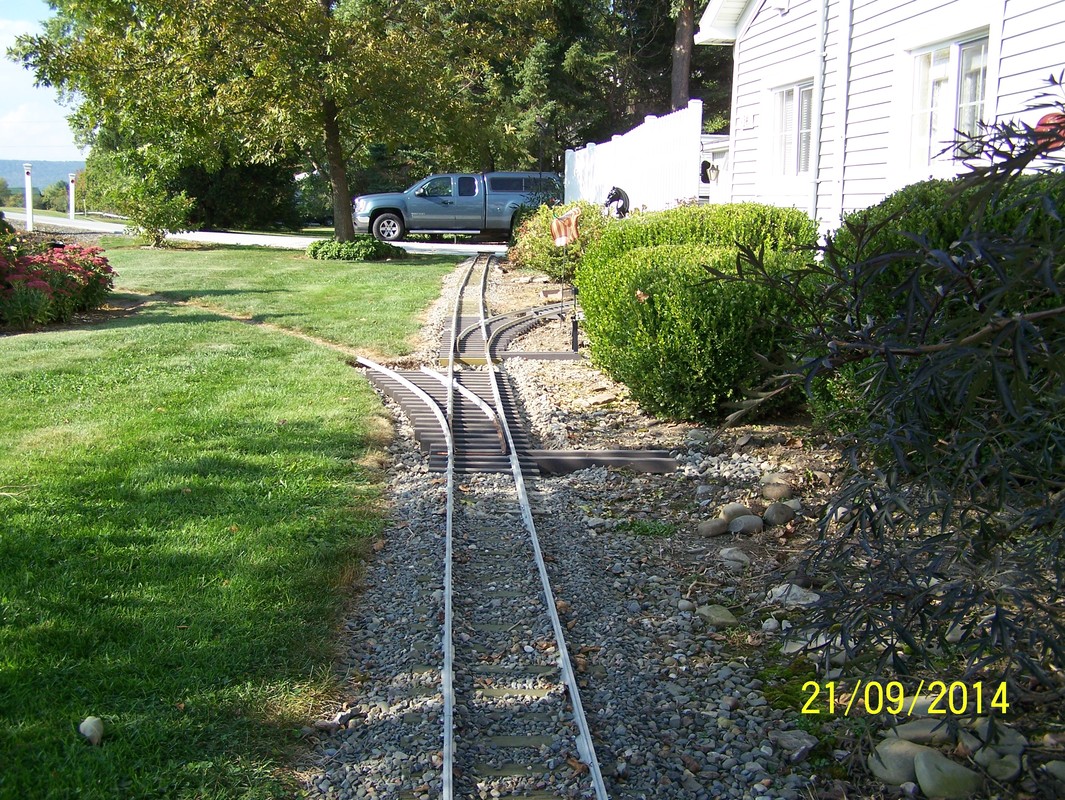
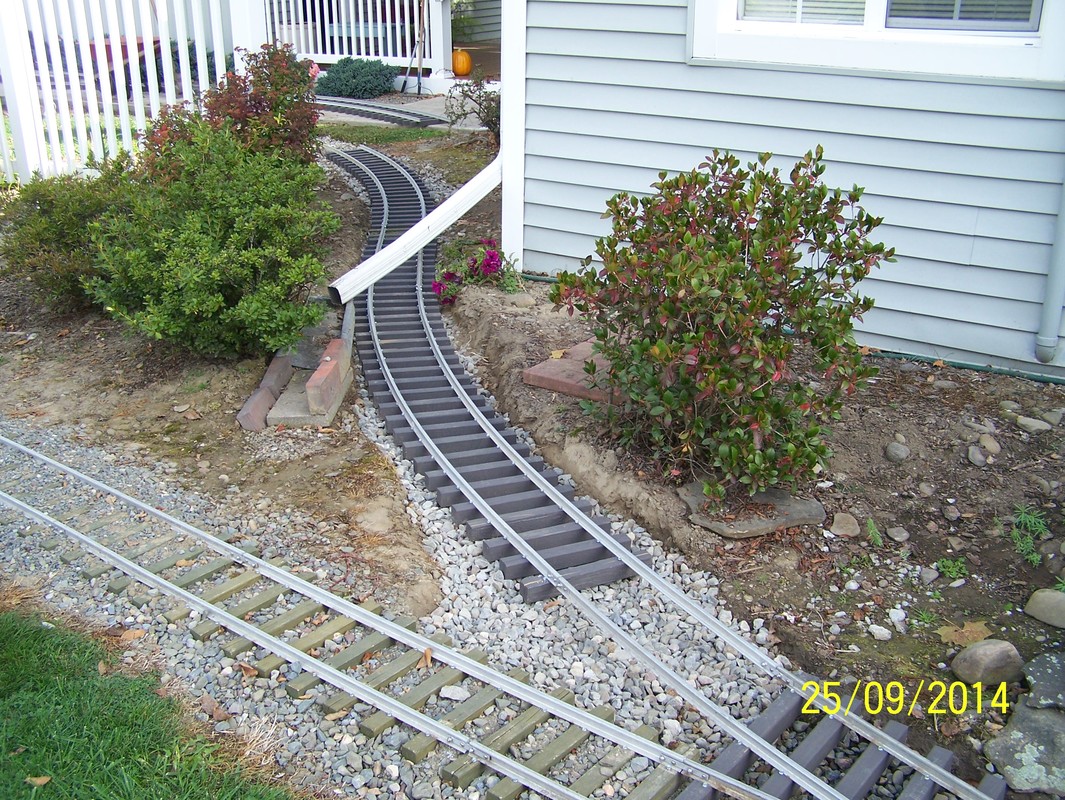
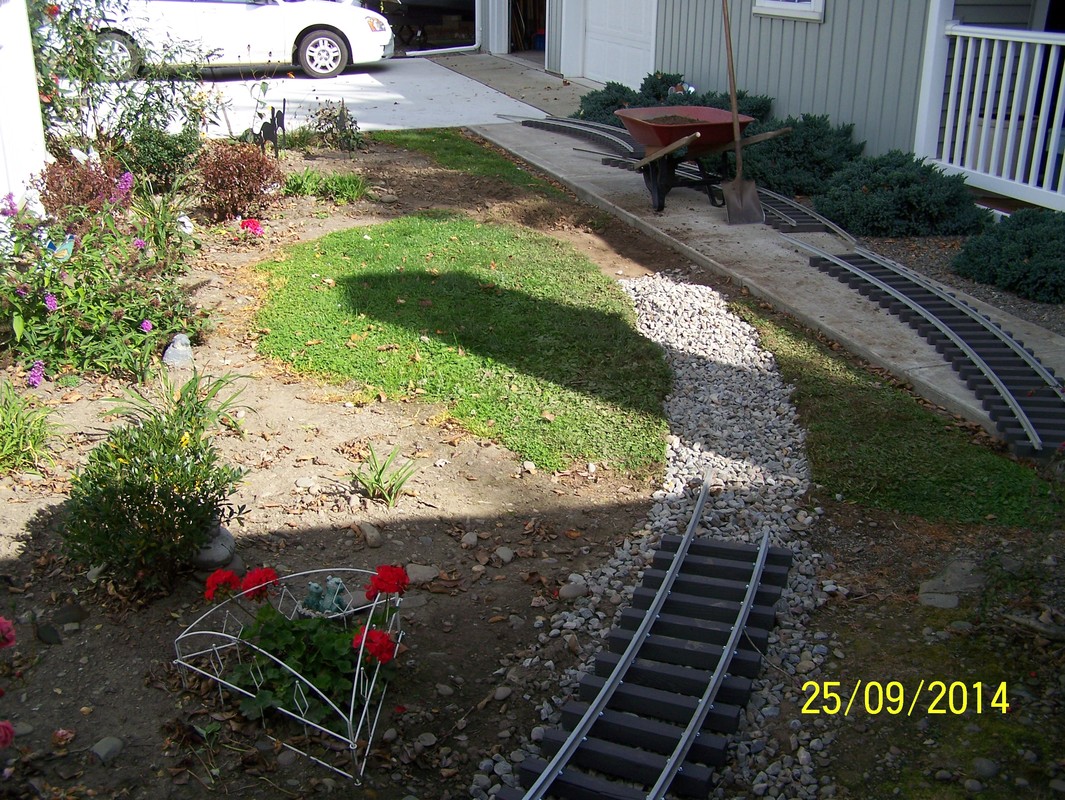
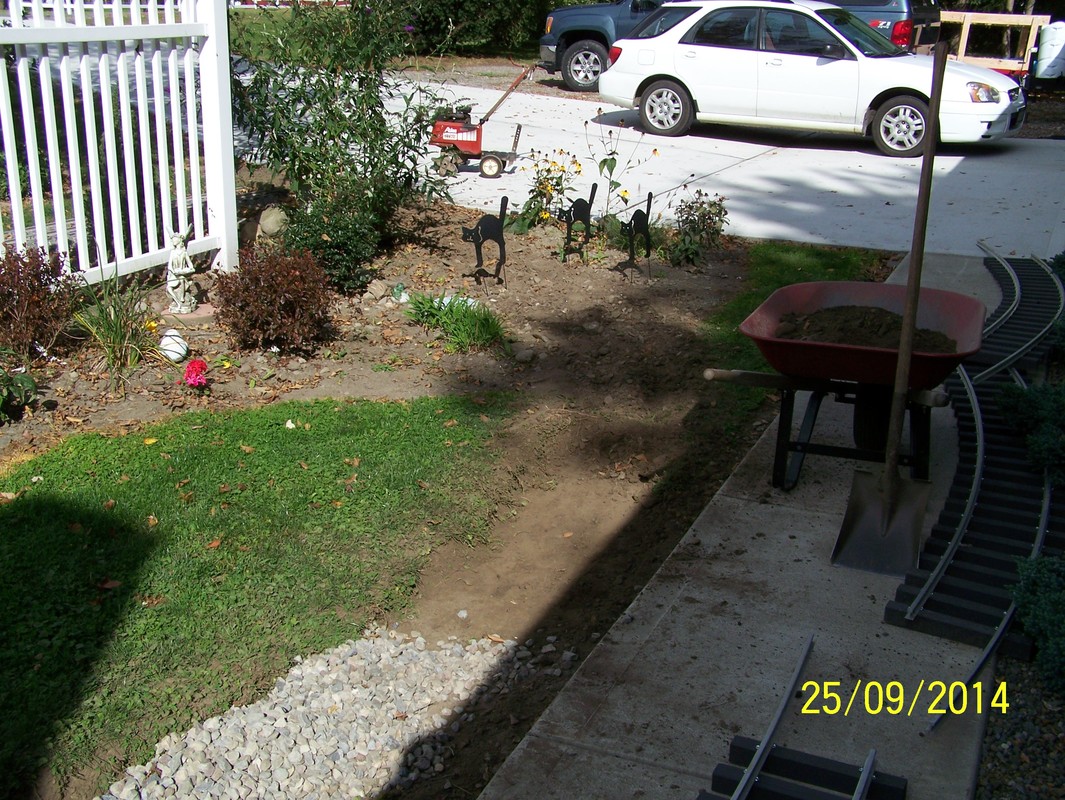
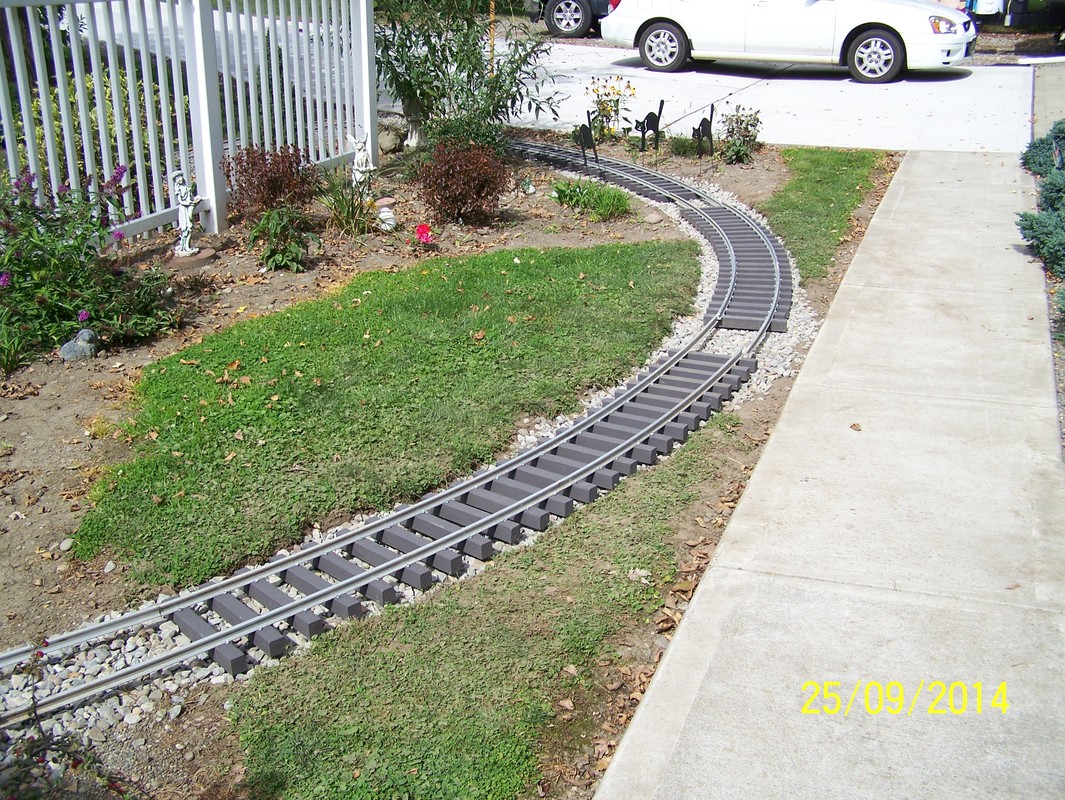
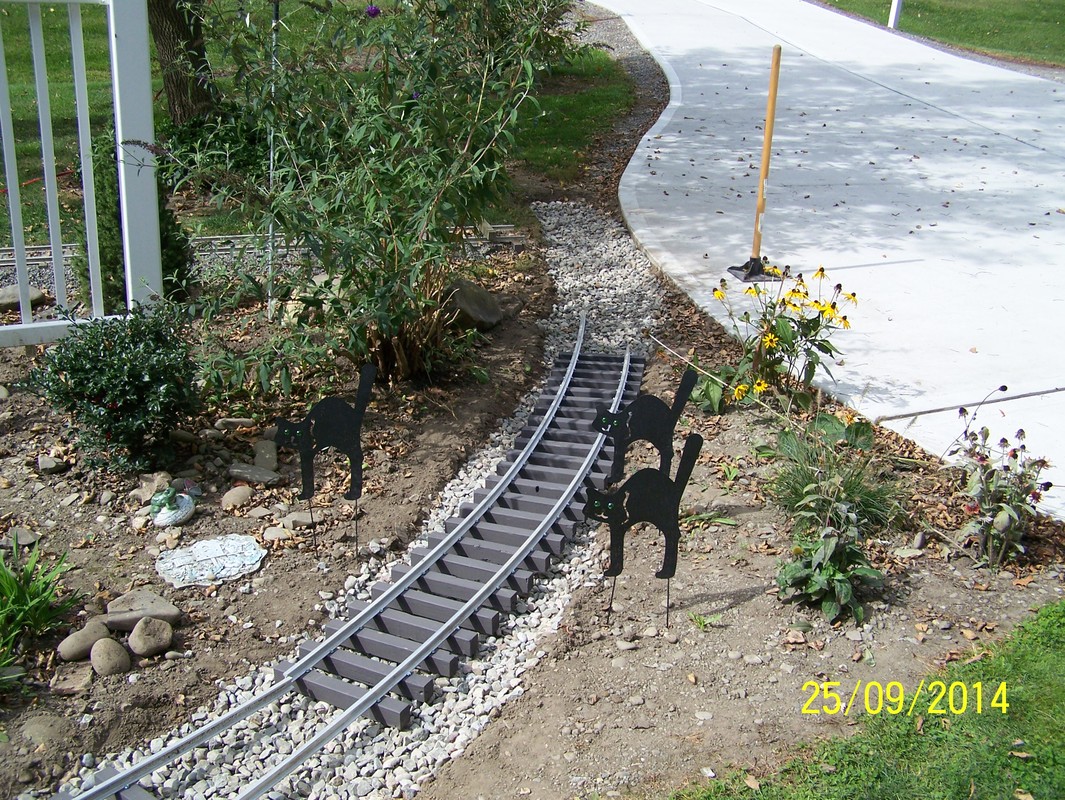
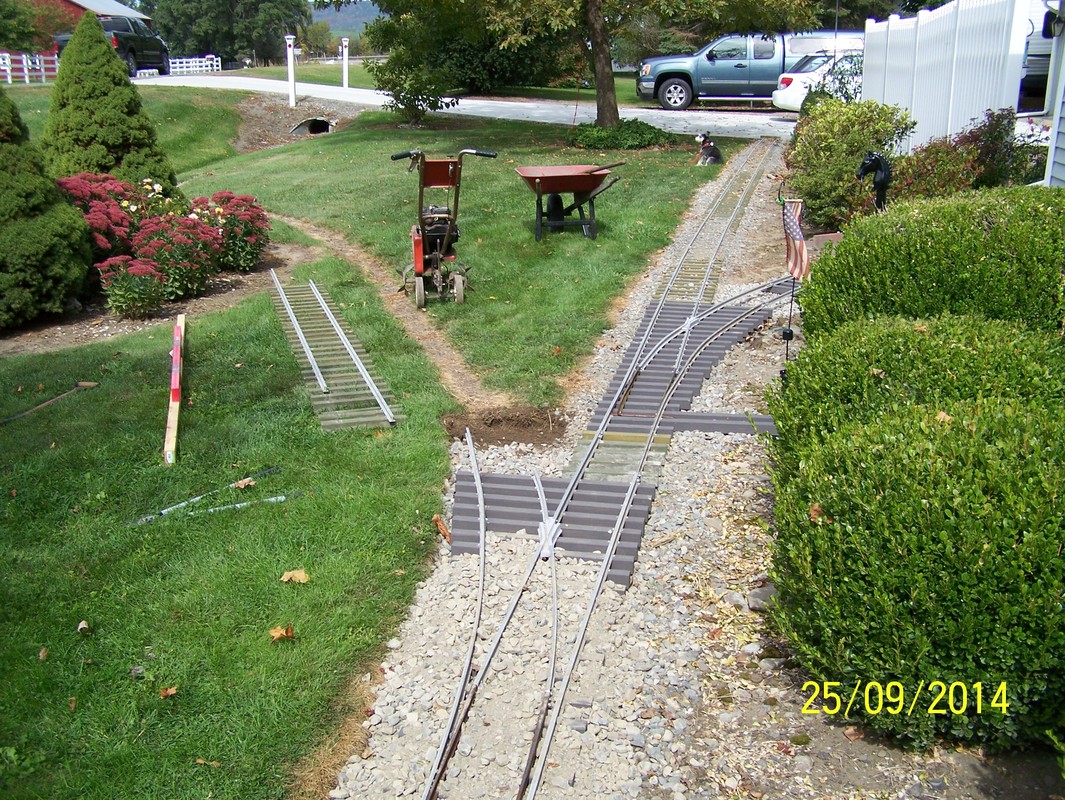
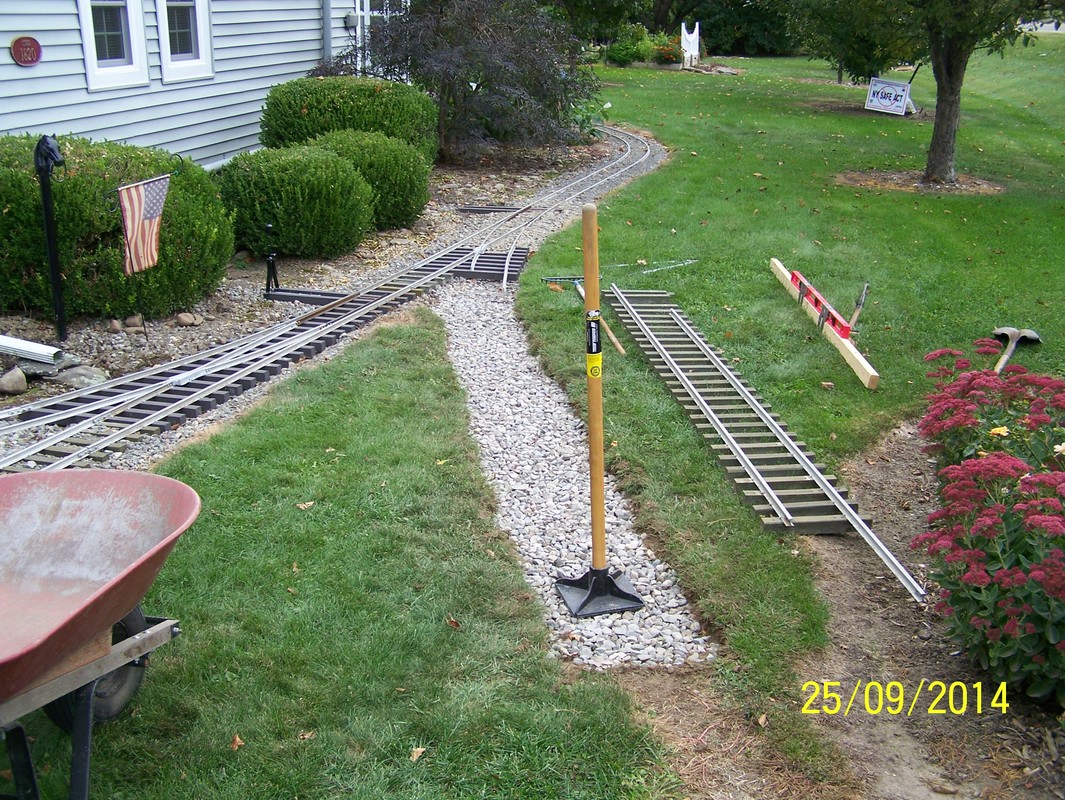
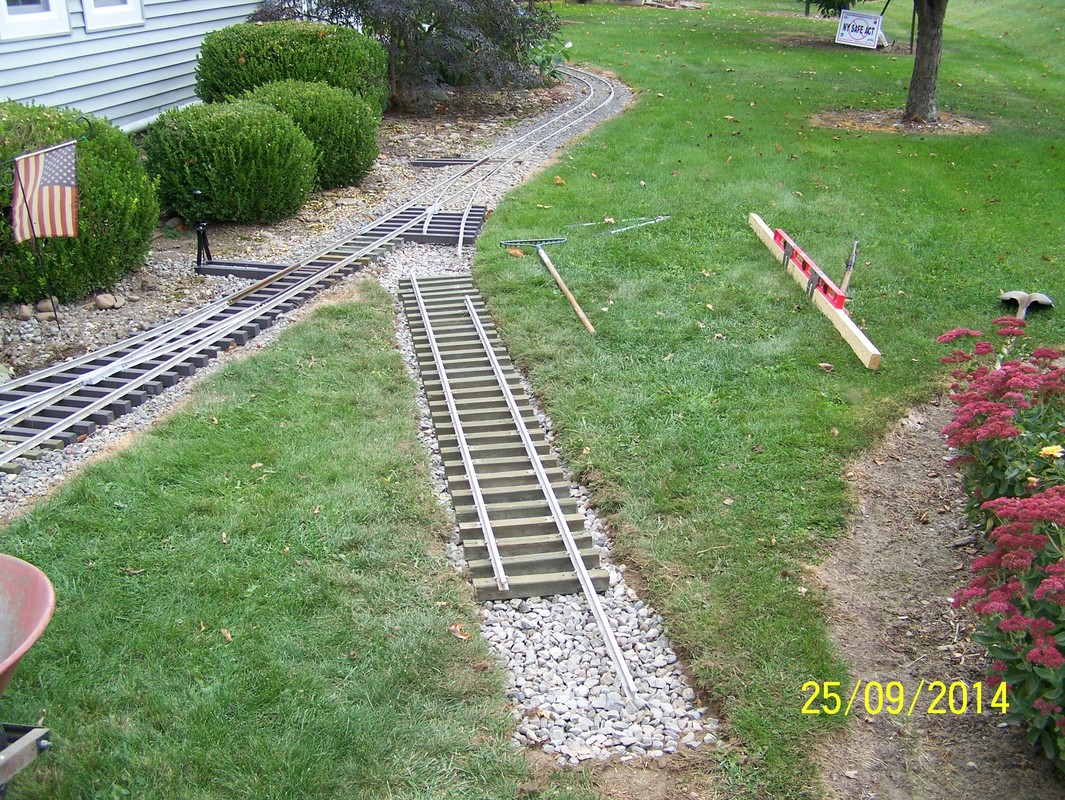
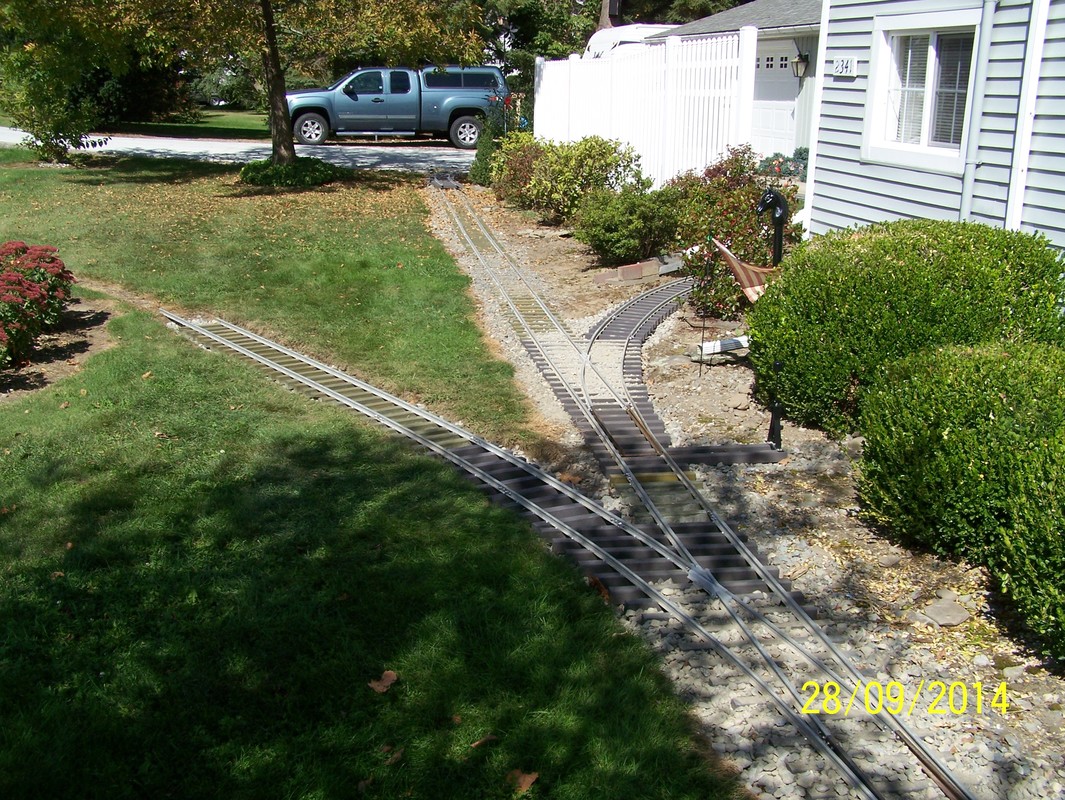
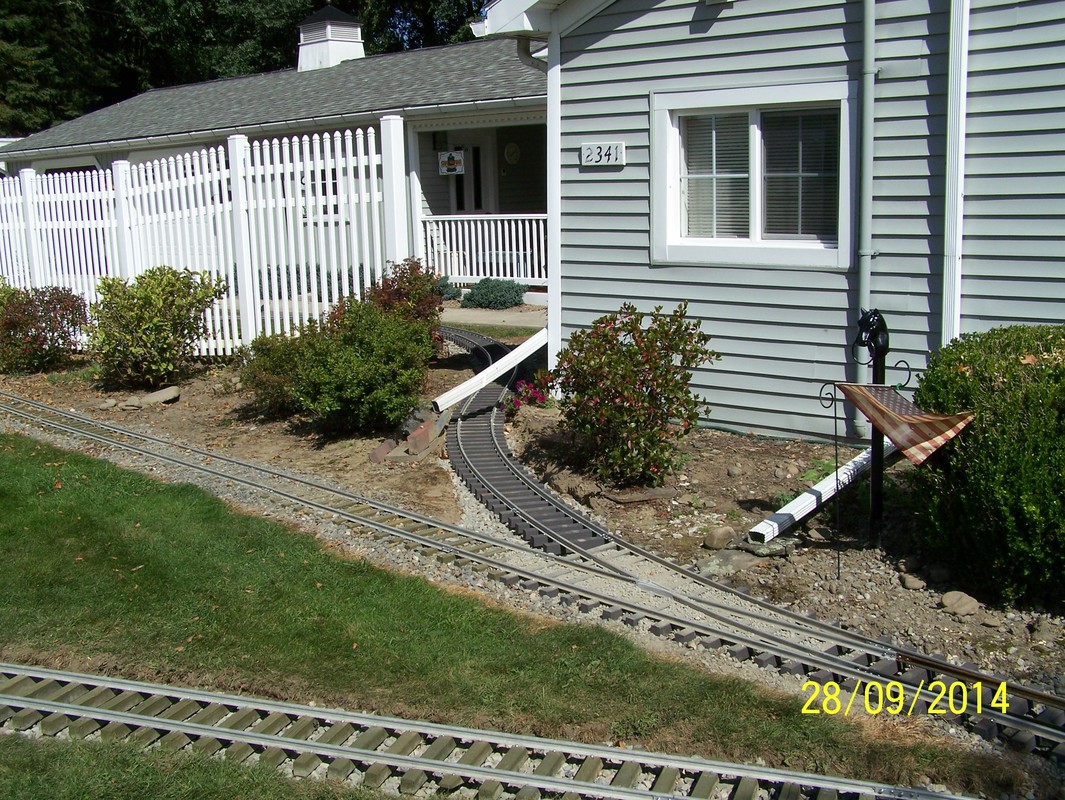
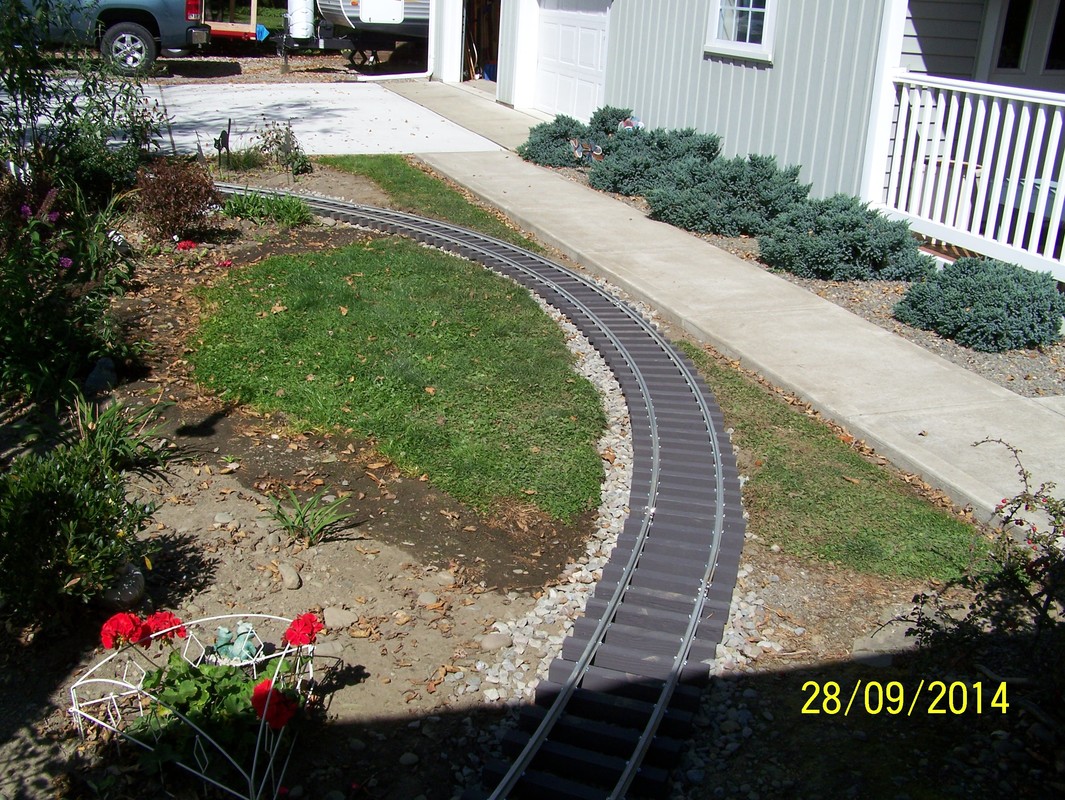
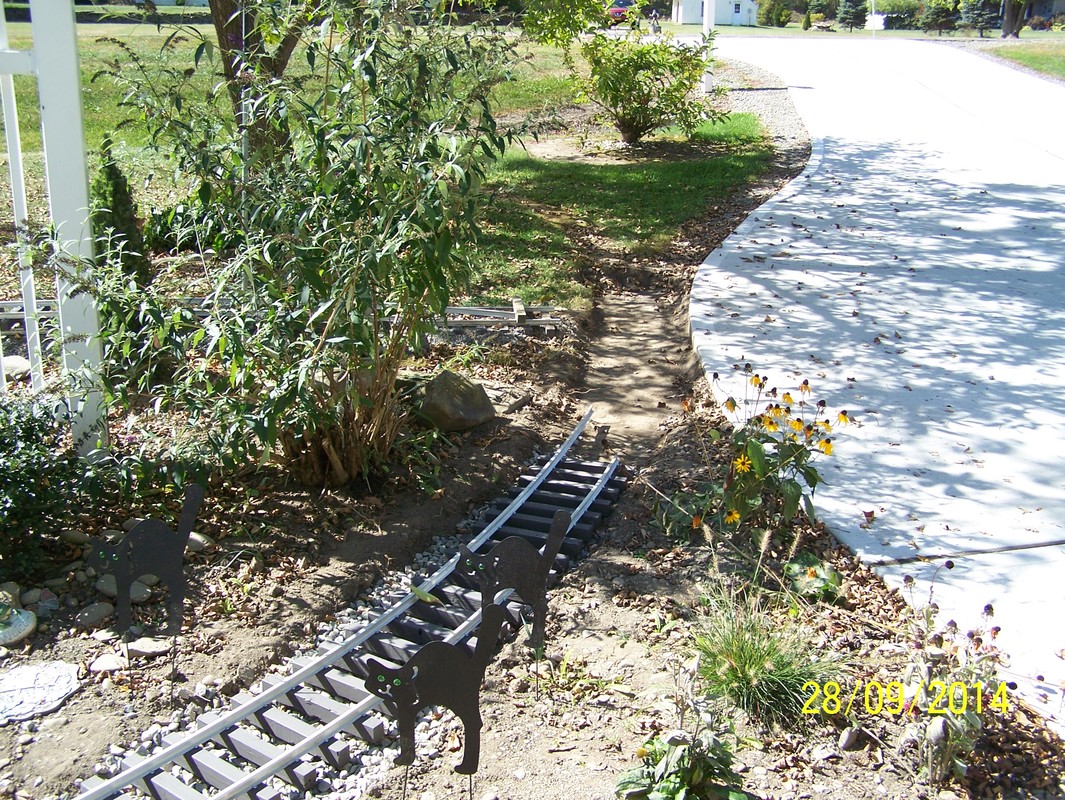
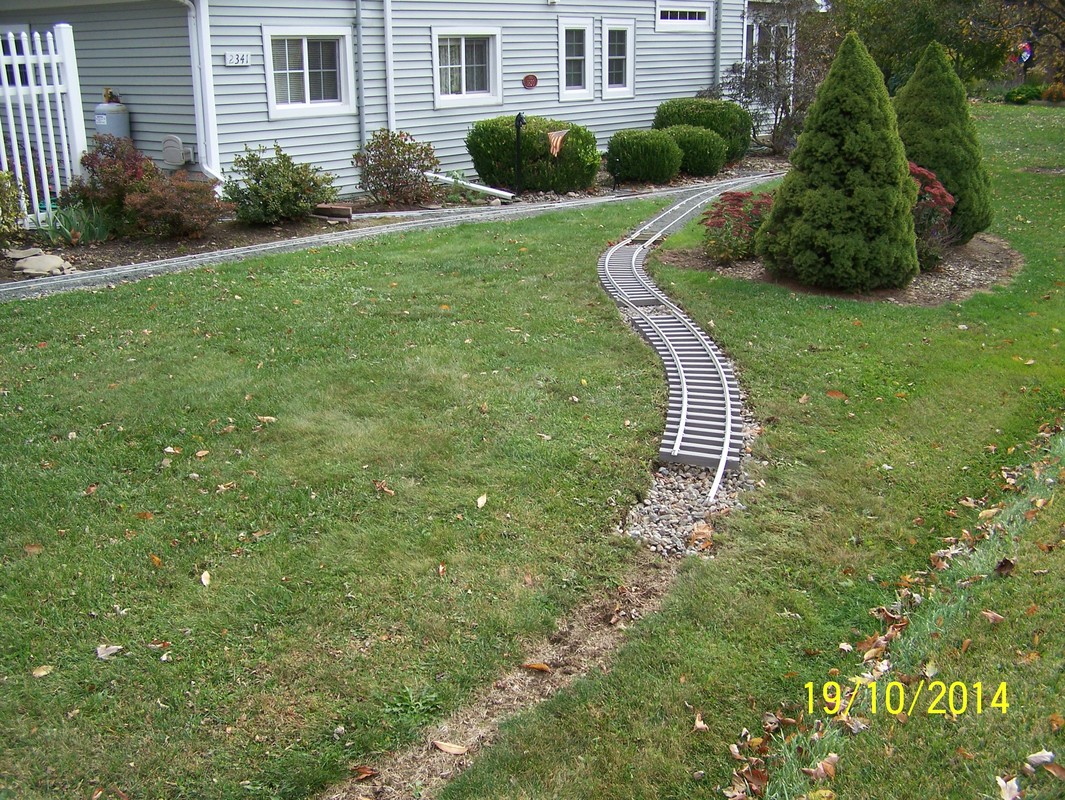
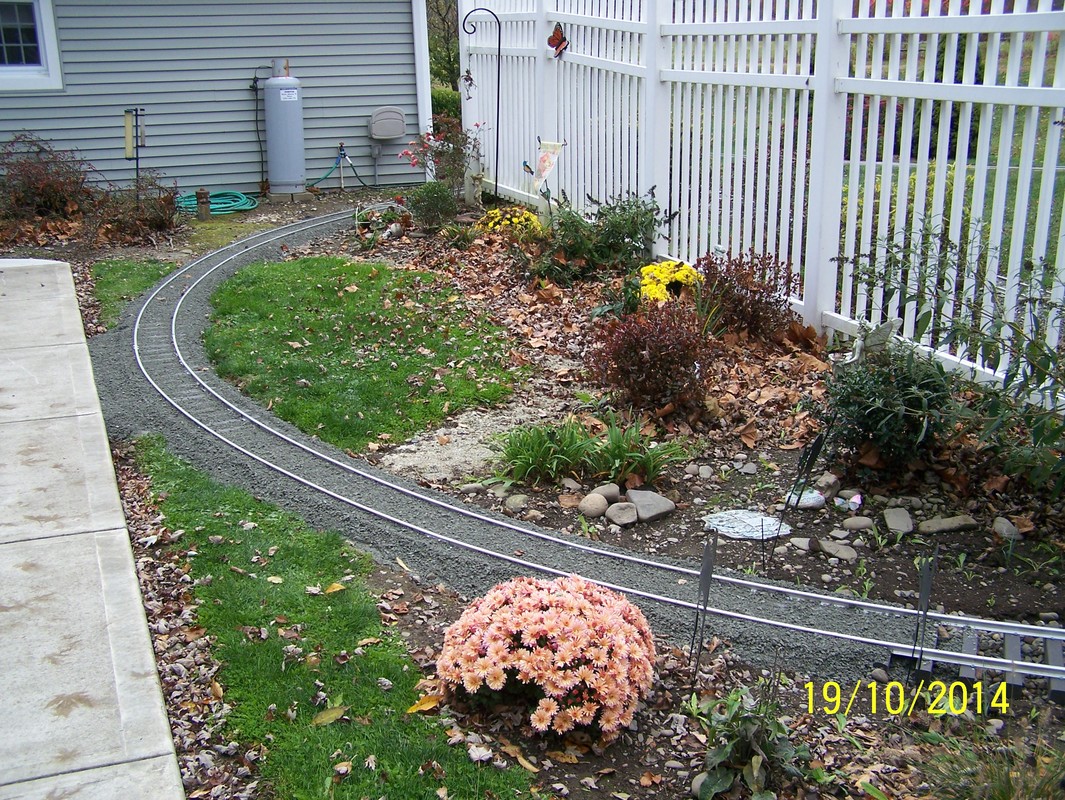
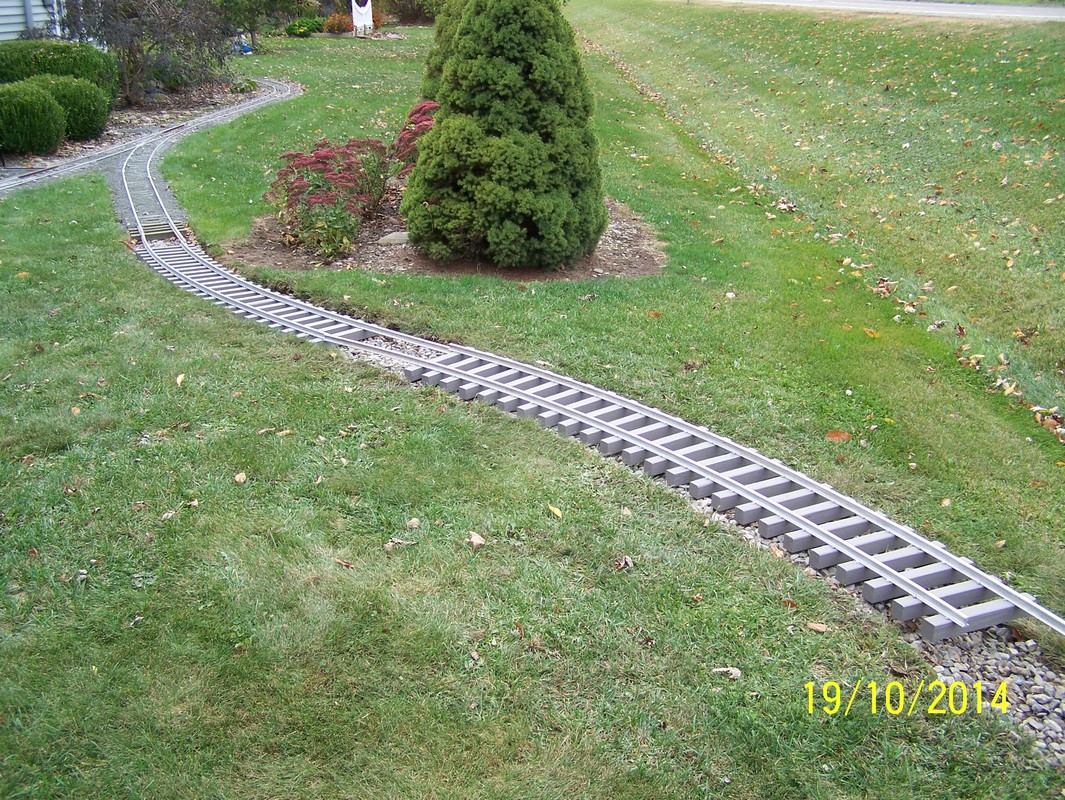
Sept, 2014. Finished the trestle railings with staining. Built two switches and cut them into the mainline. Then started on installing the north loop.


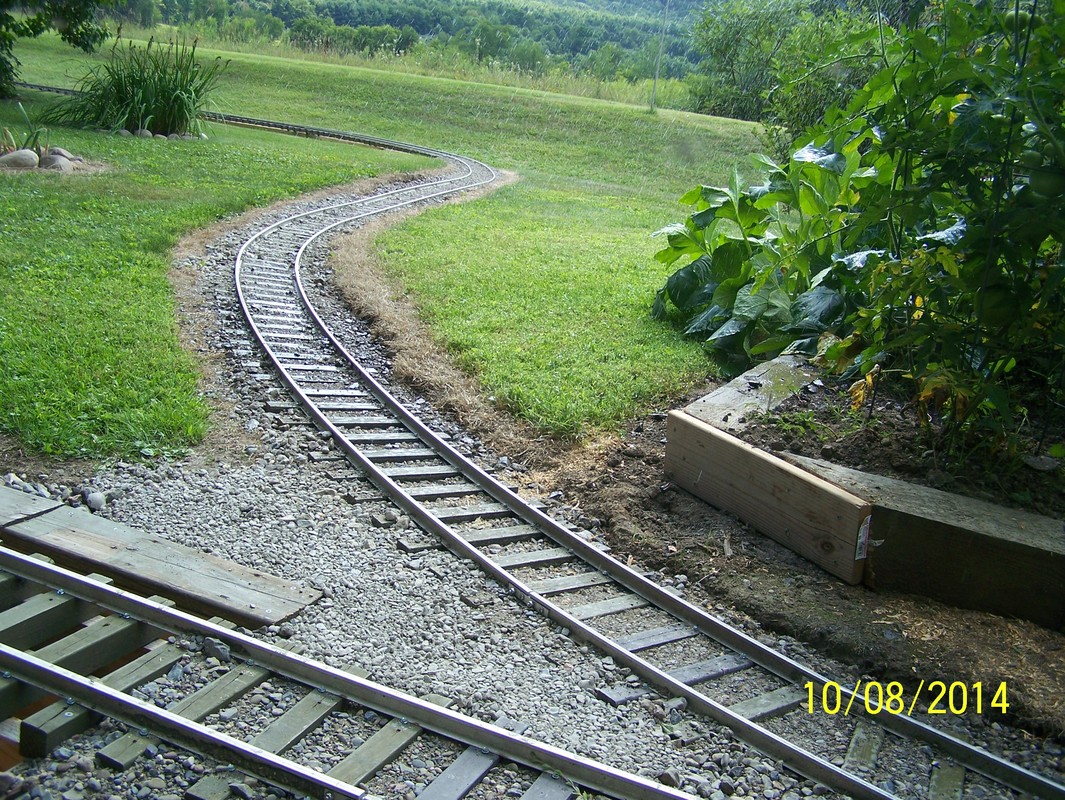
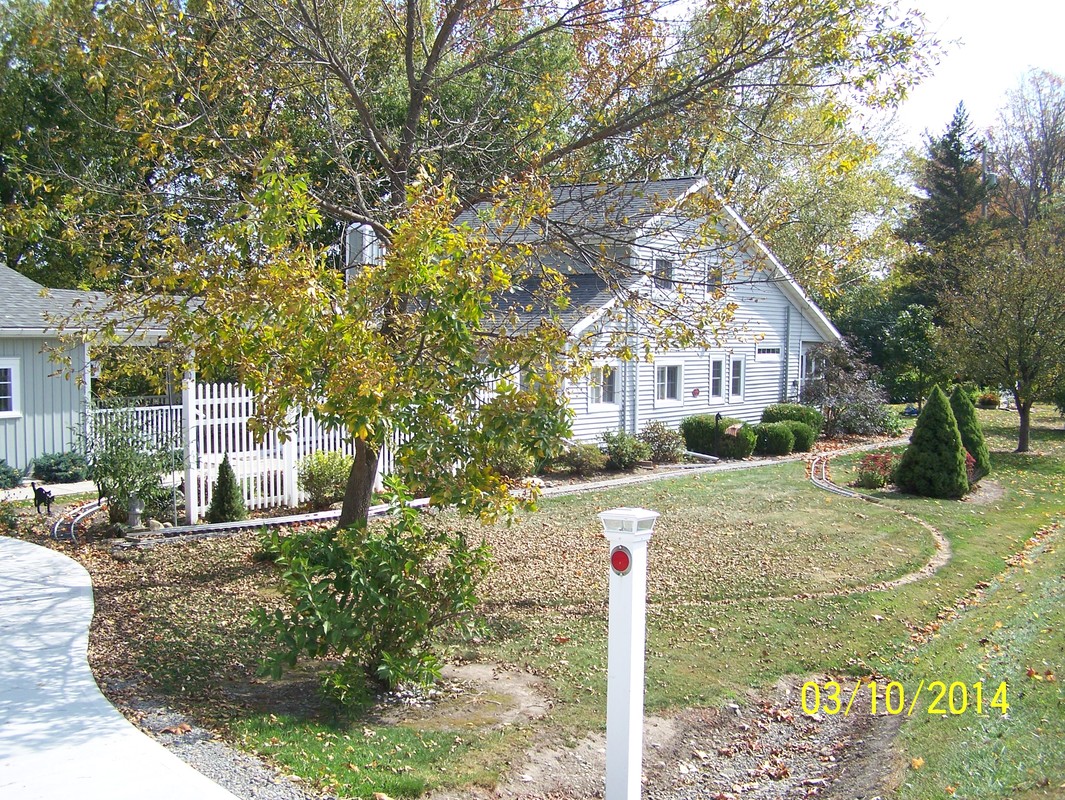
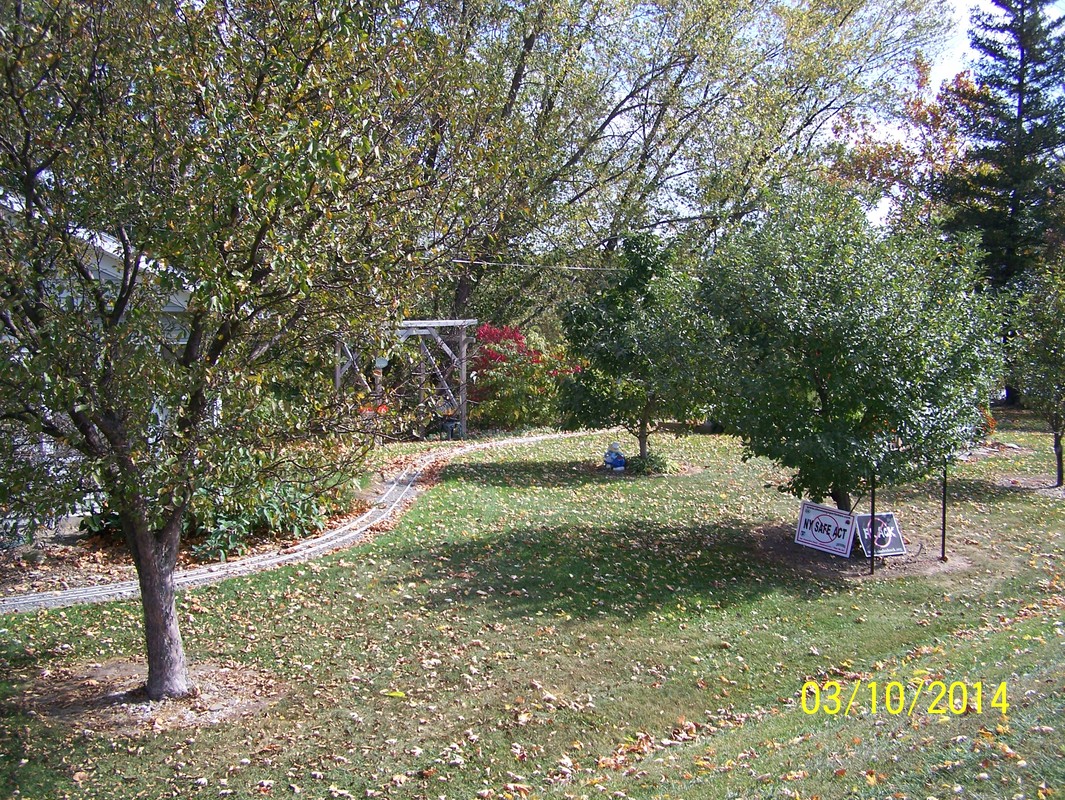
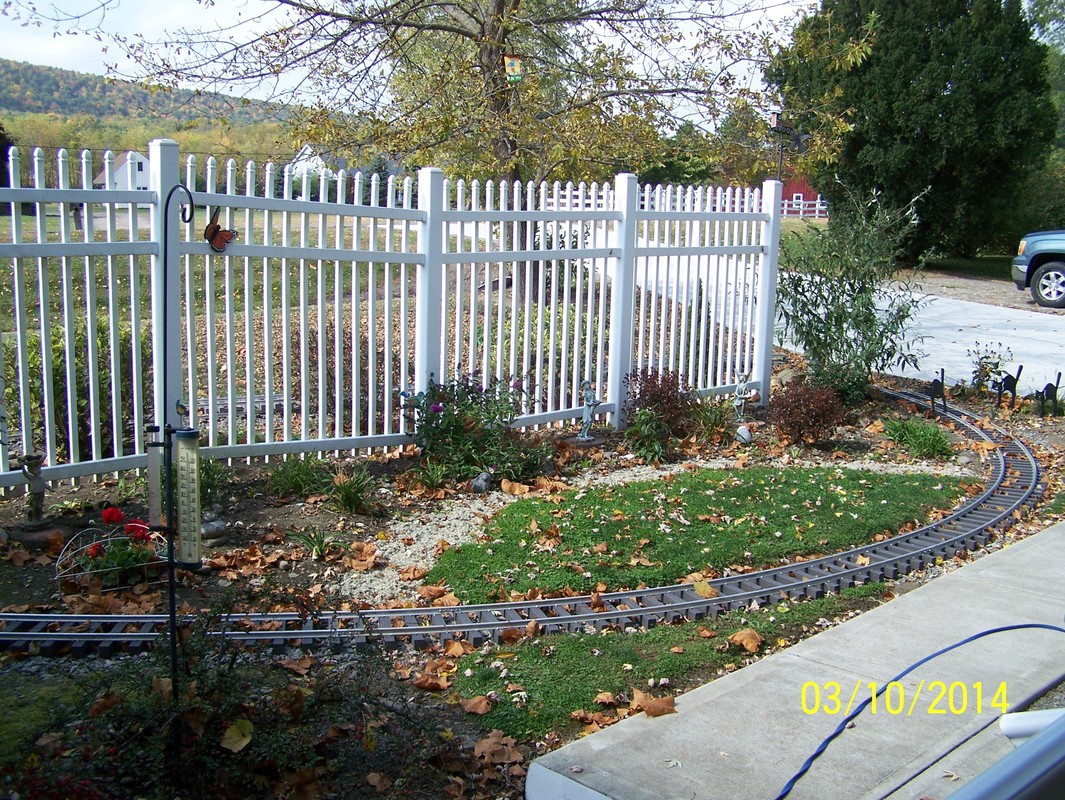
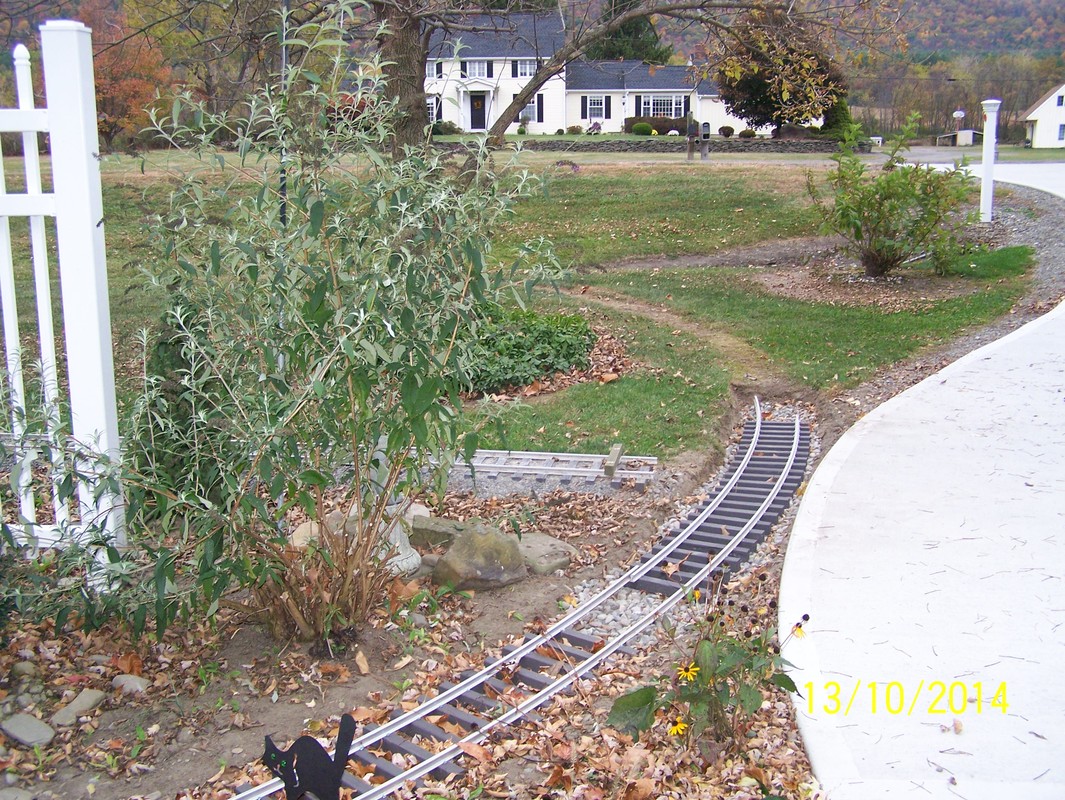
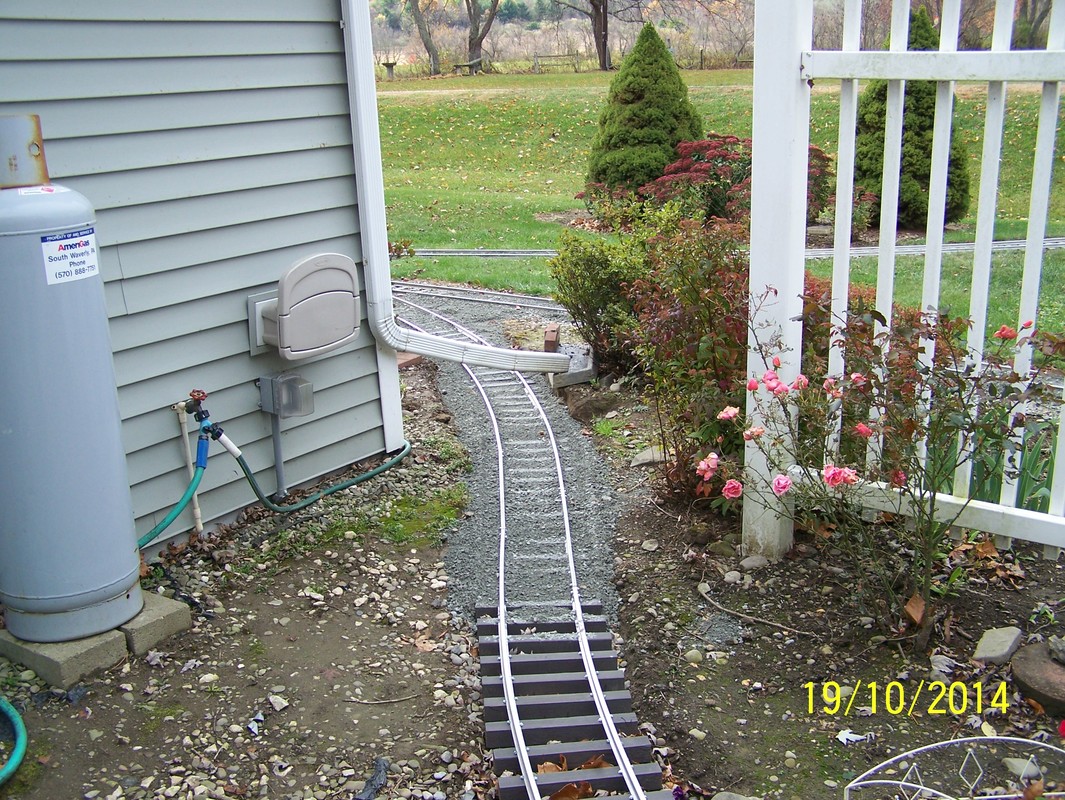
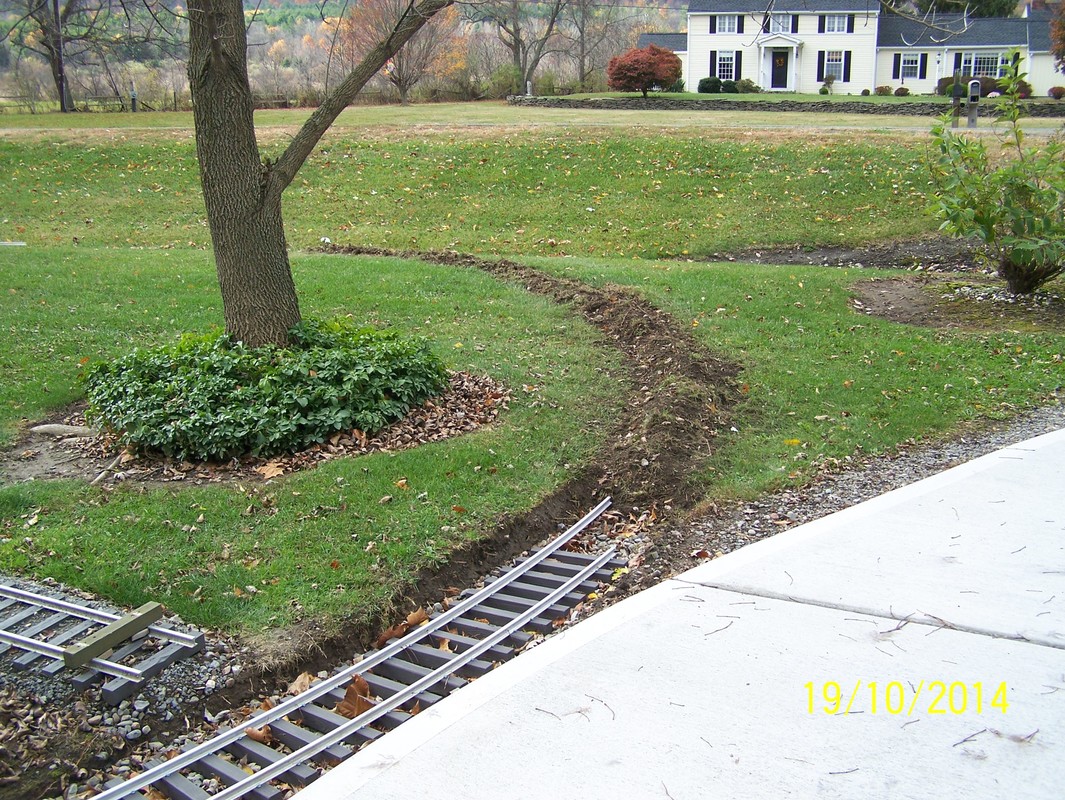
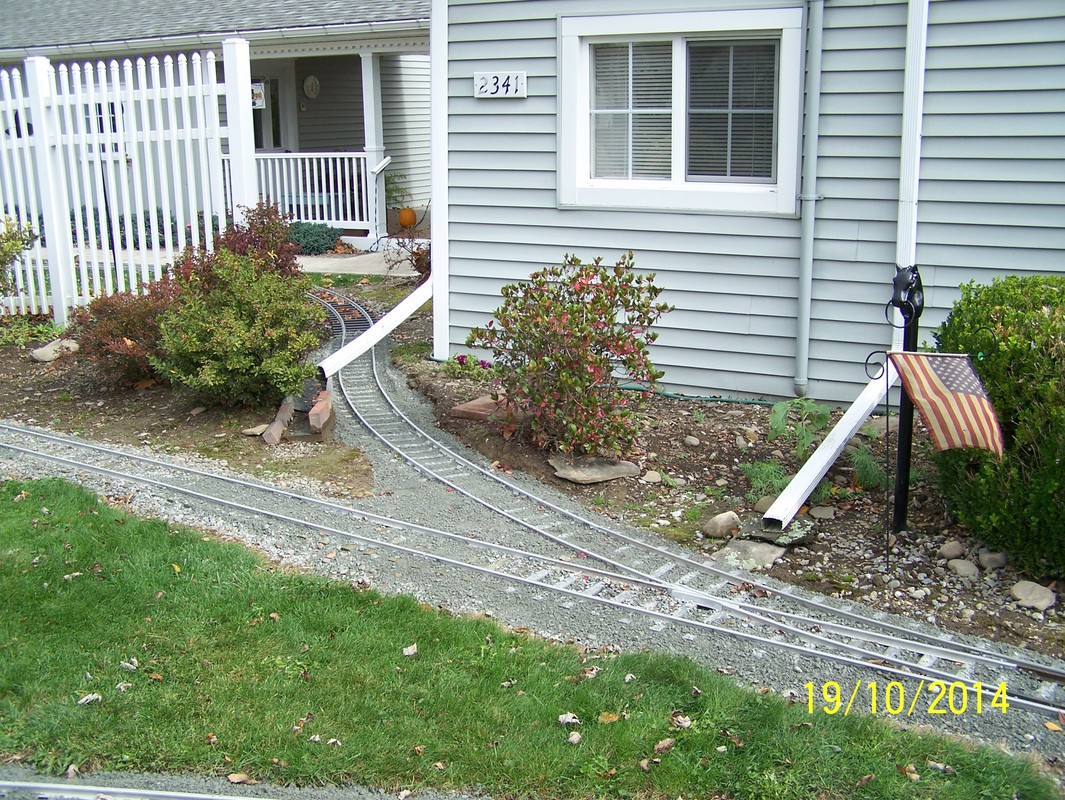
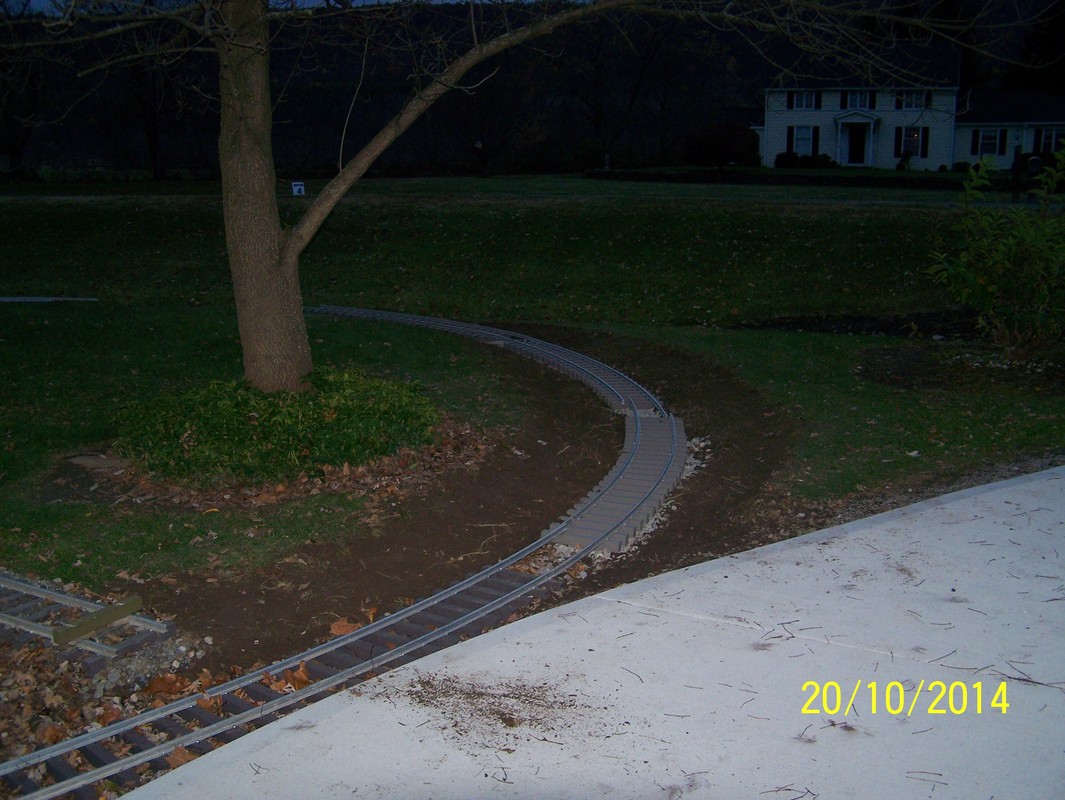
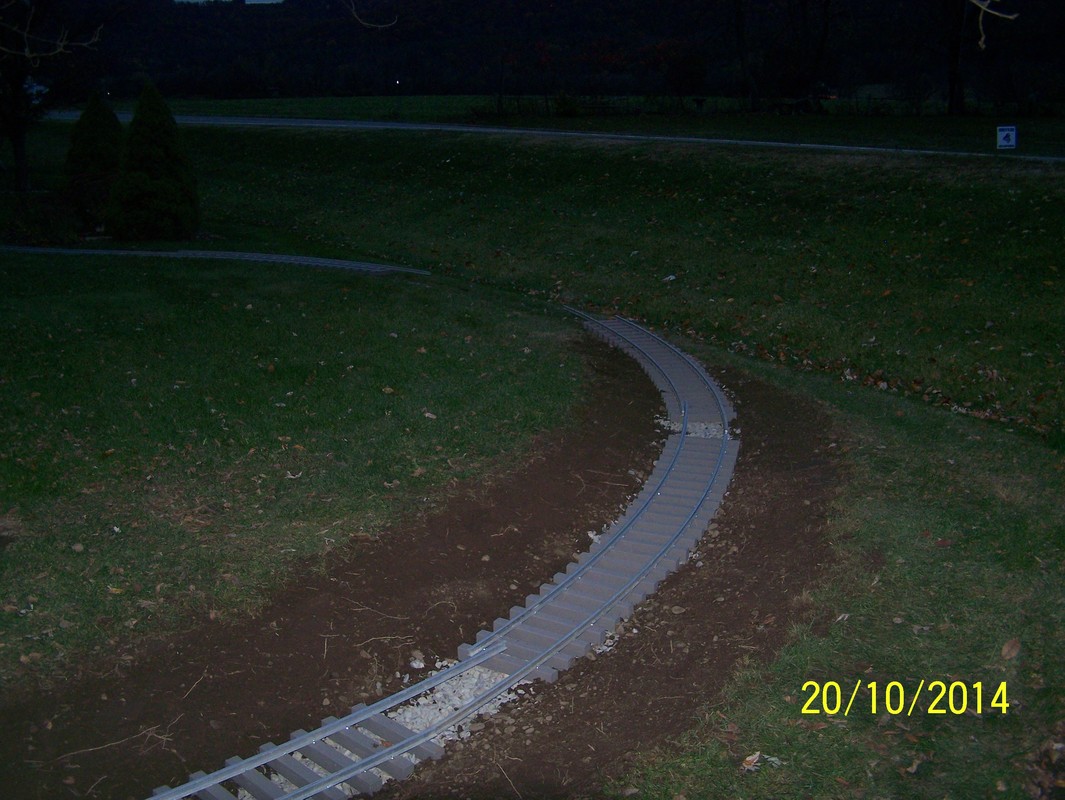
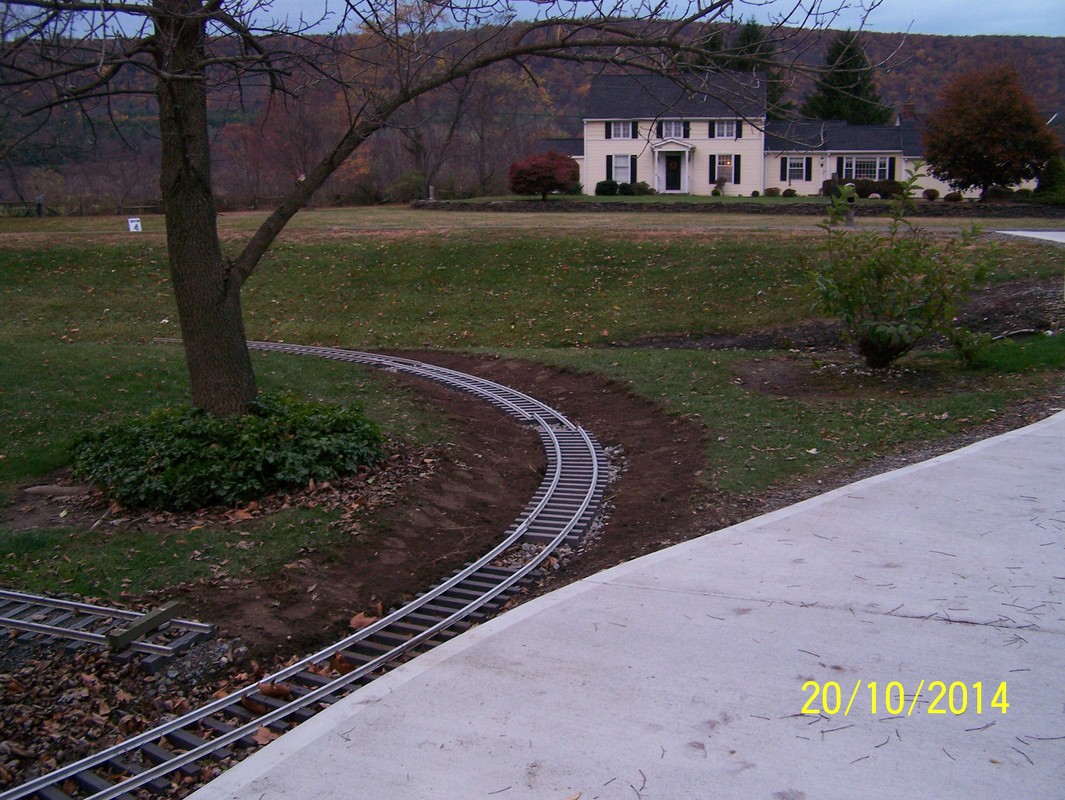
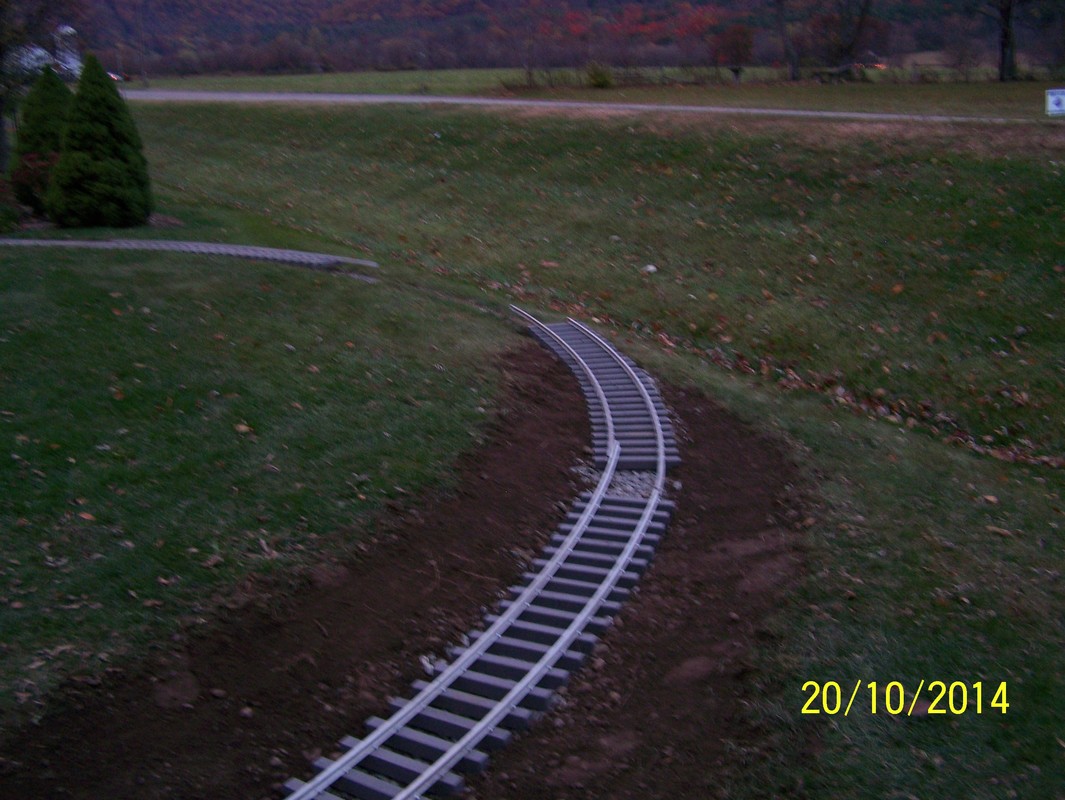
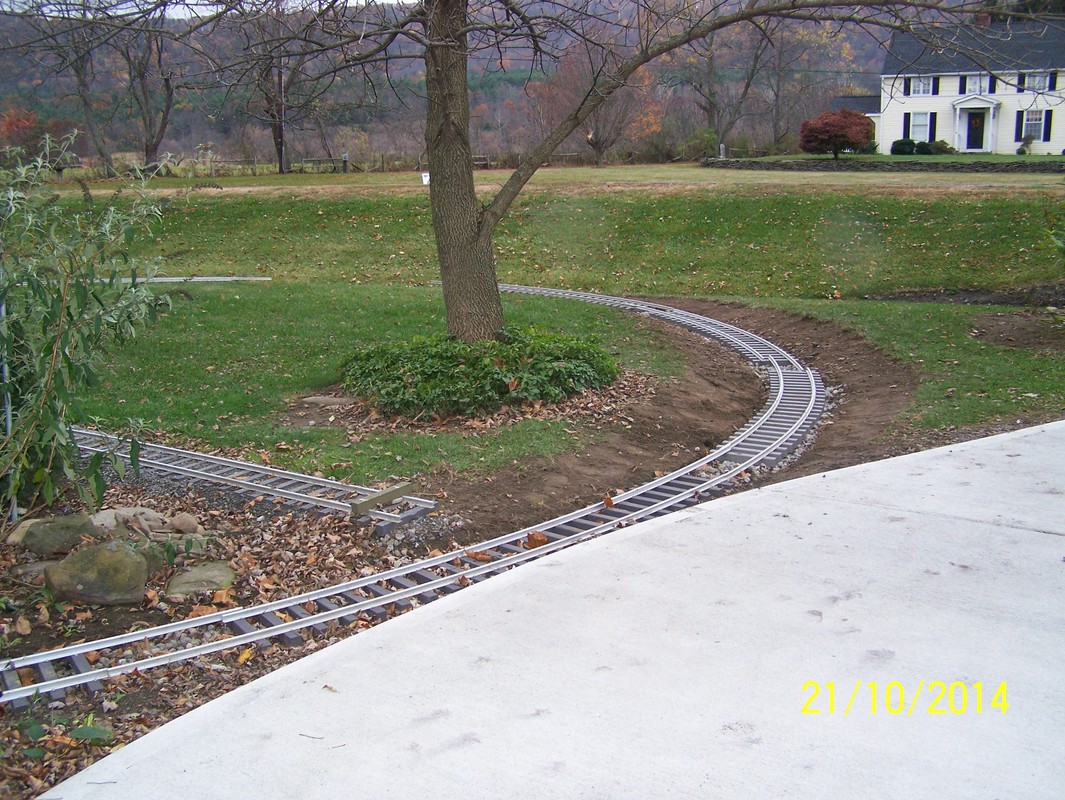
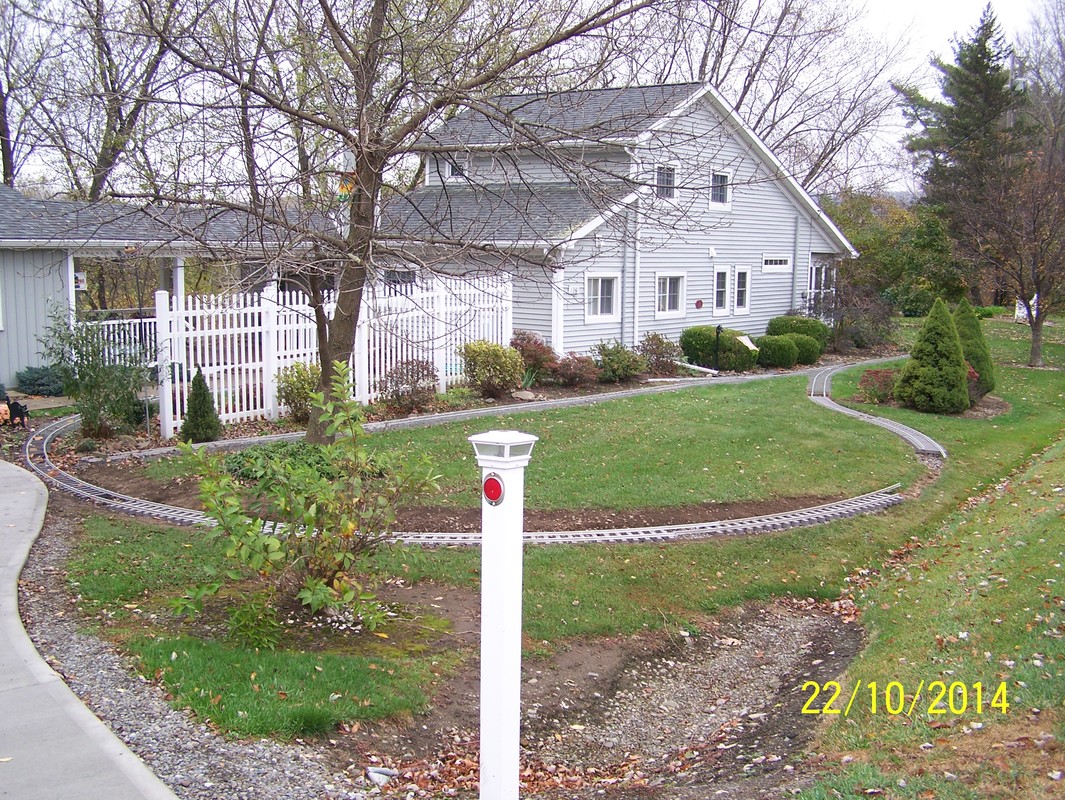
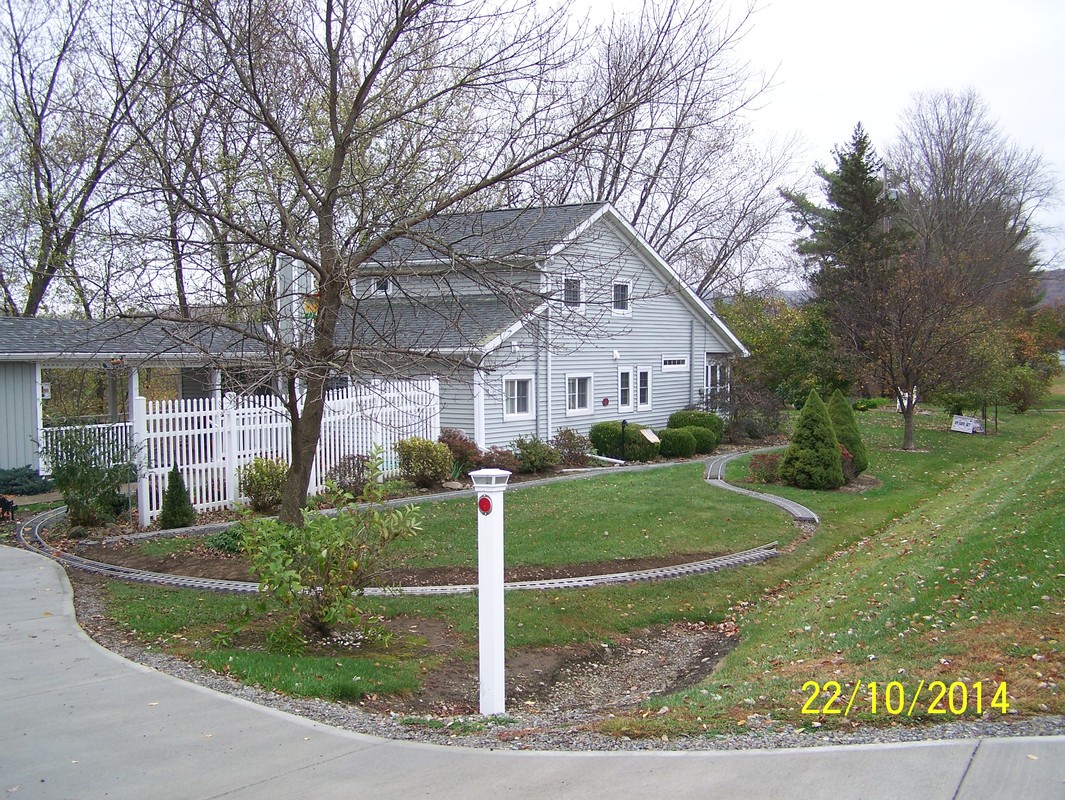
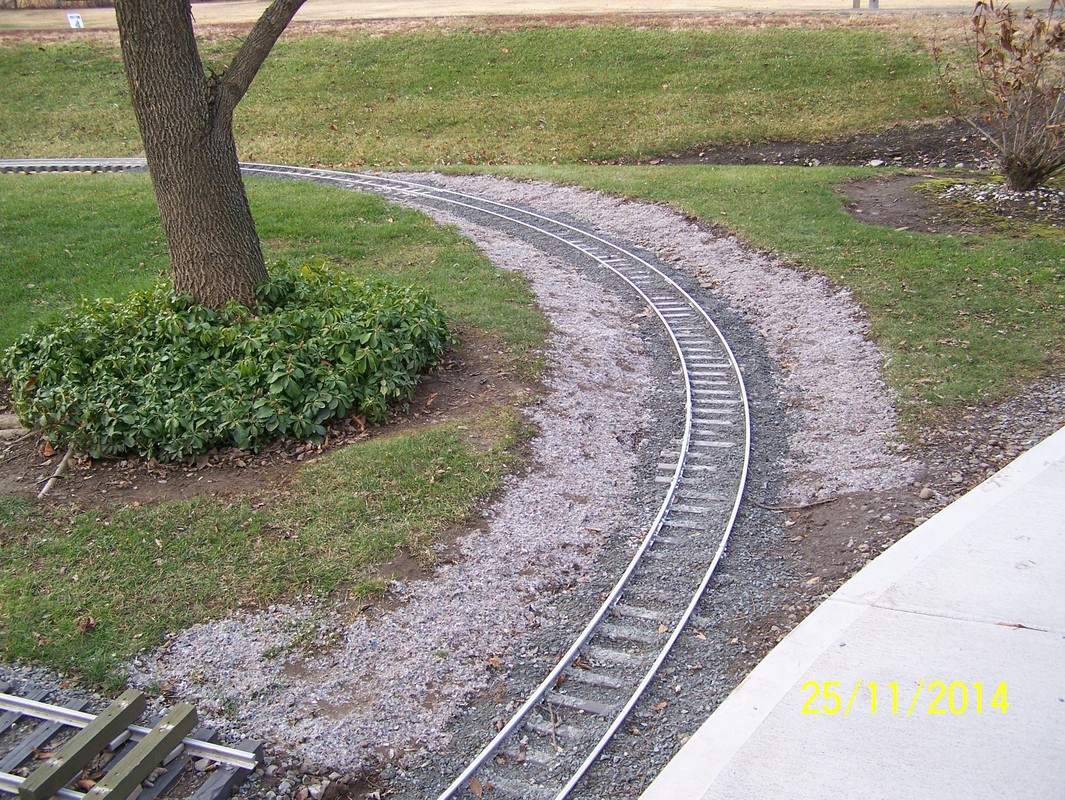
Oct, 2014. Continued on with the north loop. Finally got it all installed but ran out of ballast. Found a product at Eastern Penn Aggregate. I was looking for some Crusher Run and found this being what was called "Clifford 1/2" minus fines".
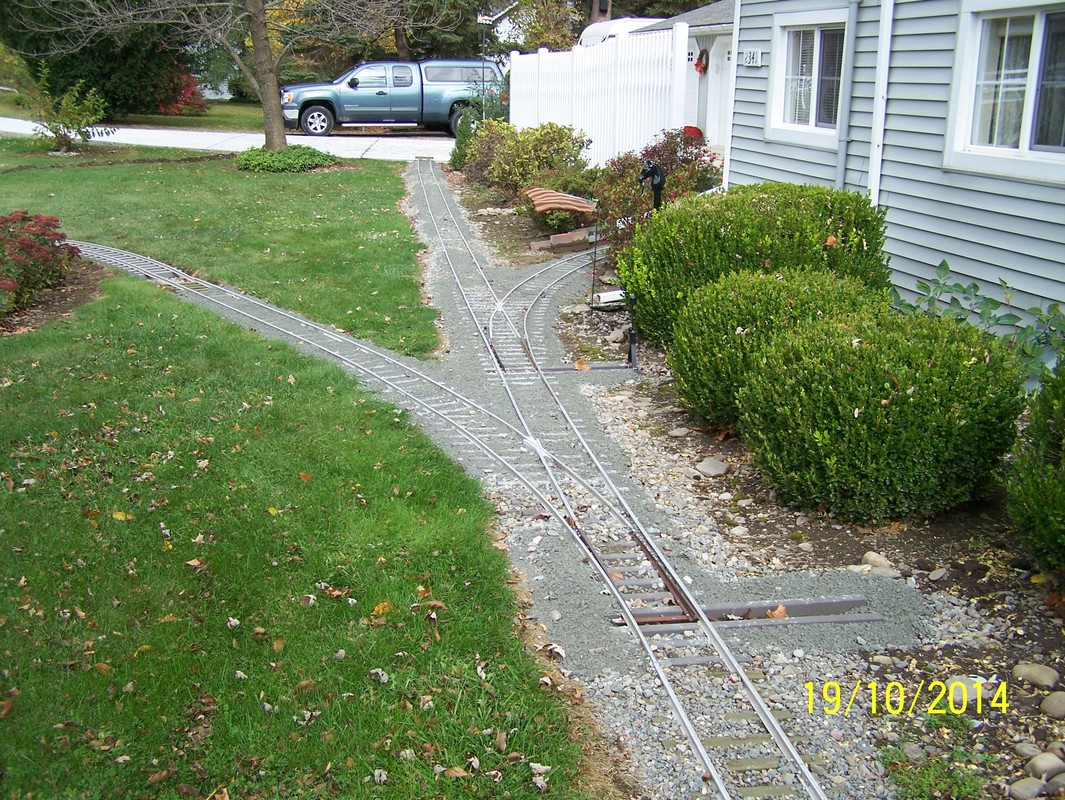


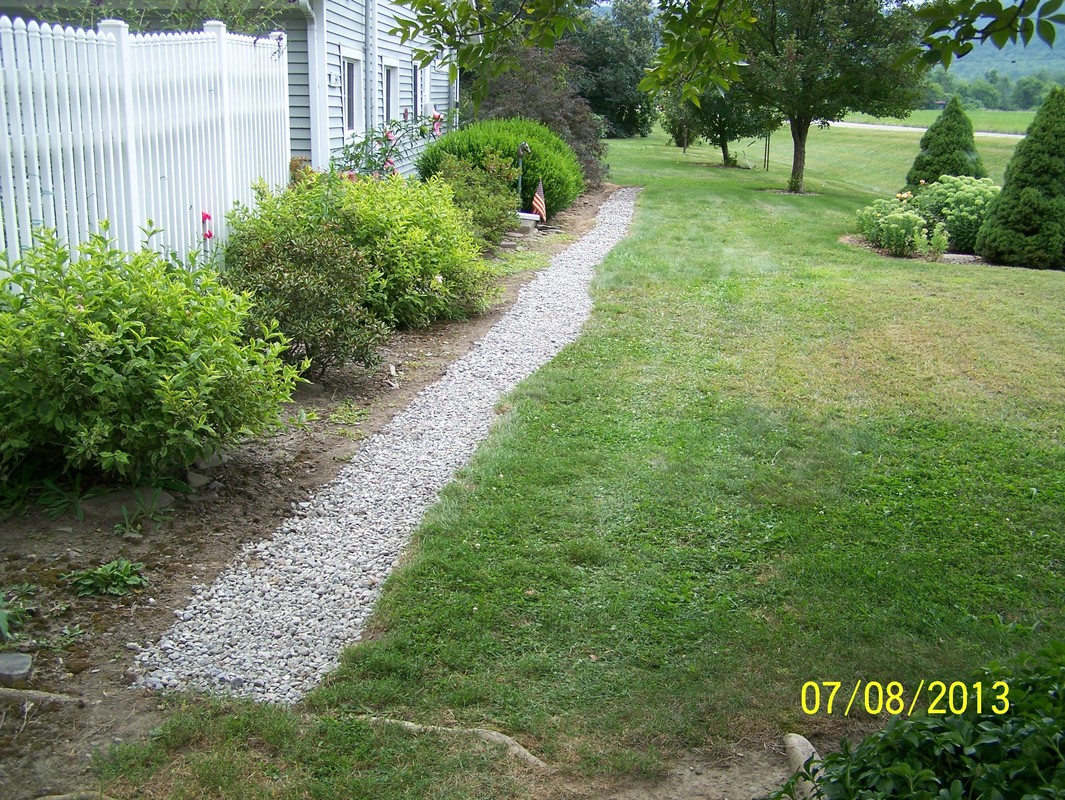
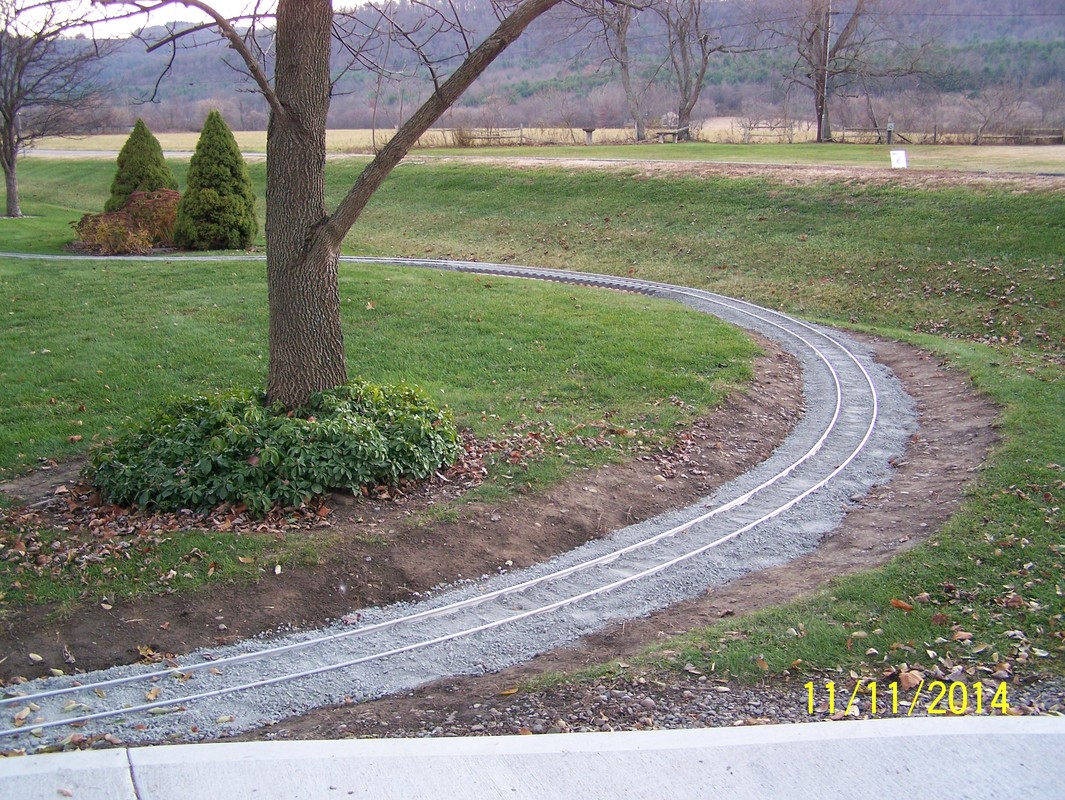
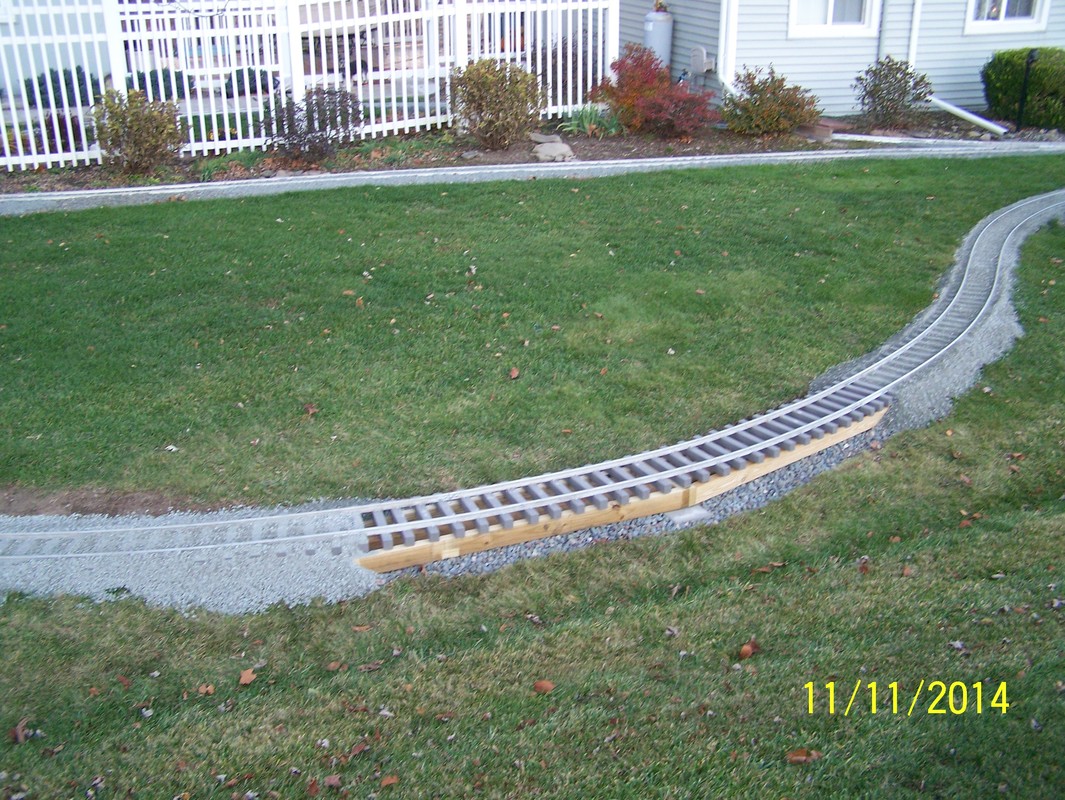
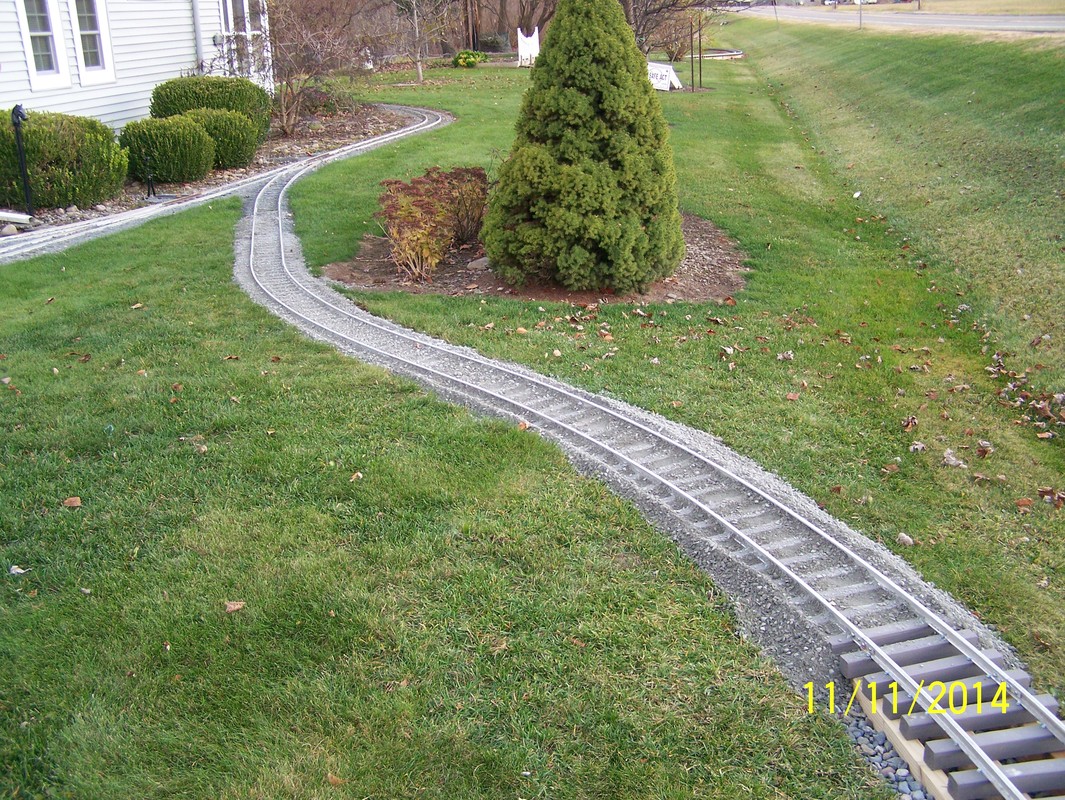
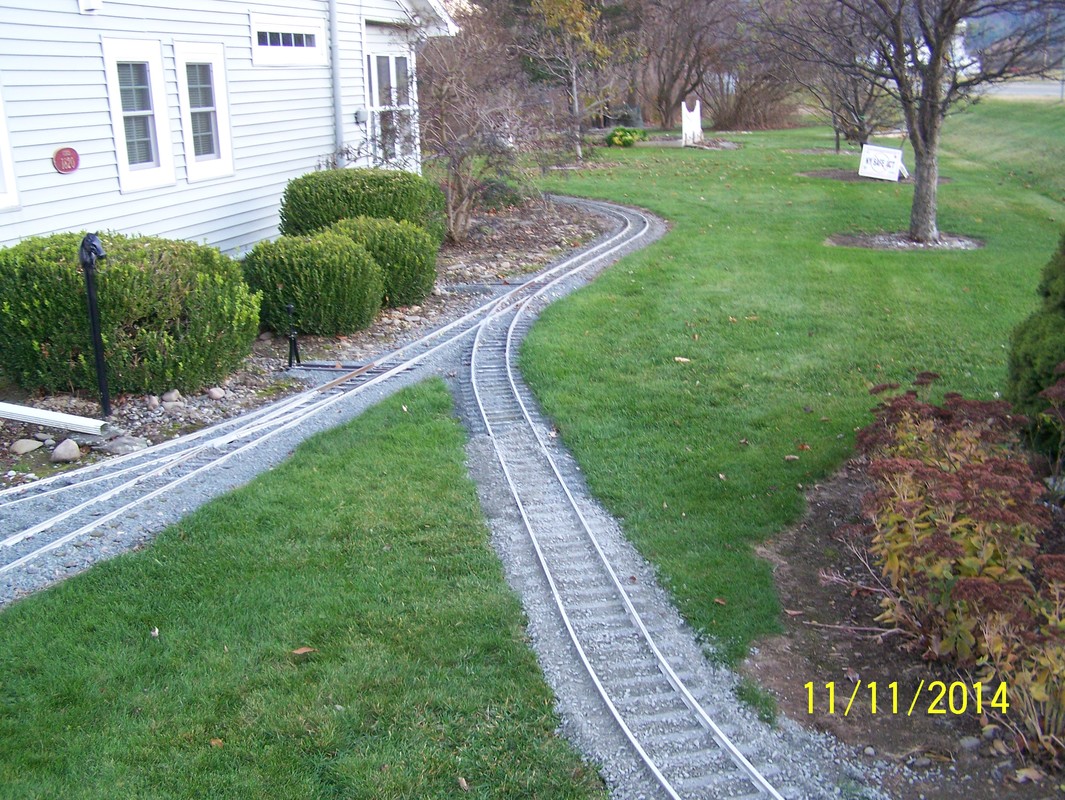
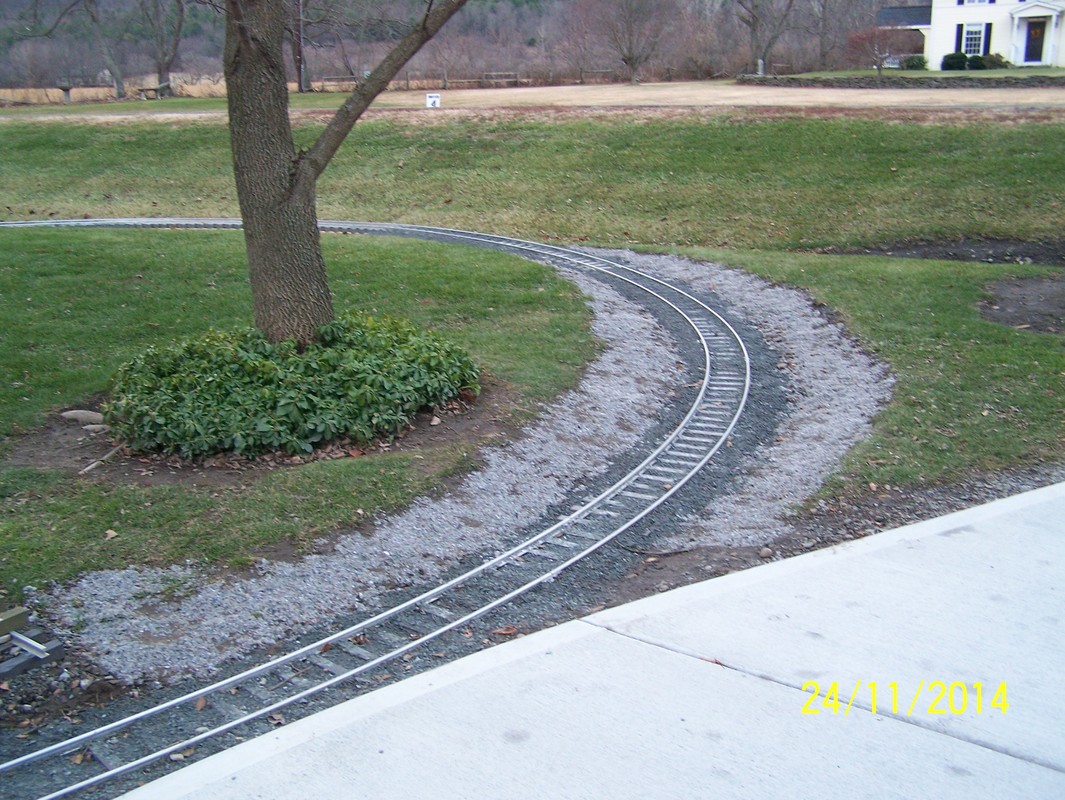
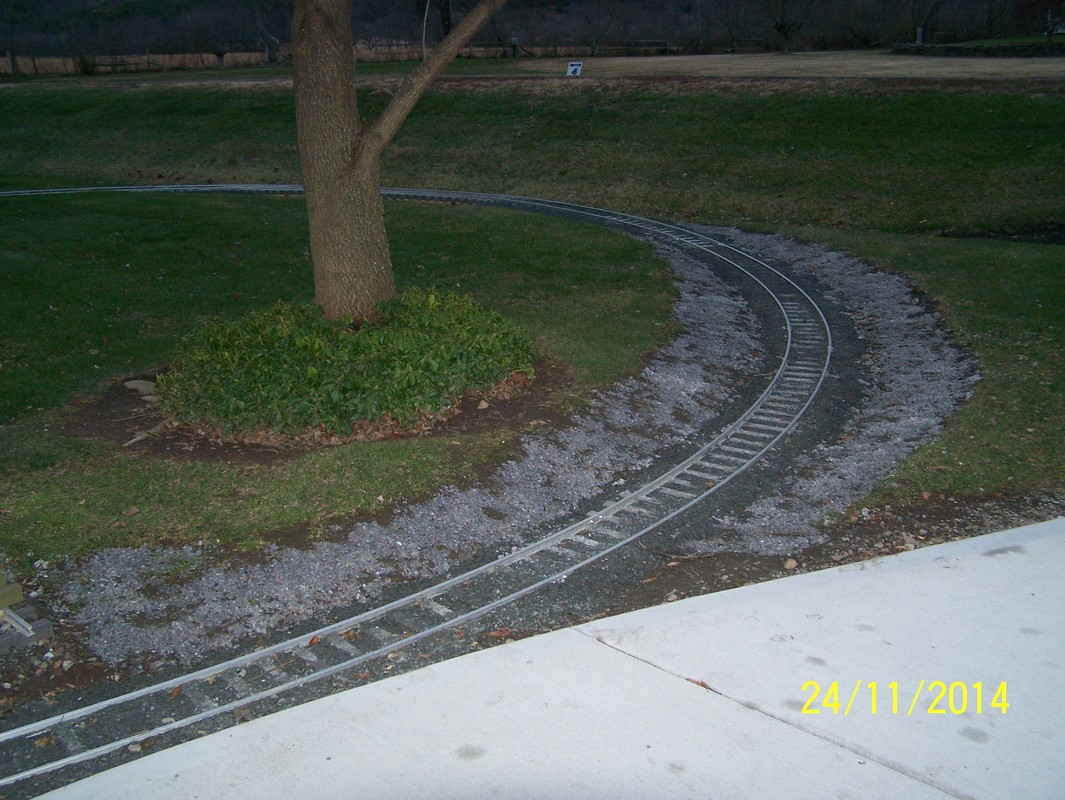
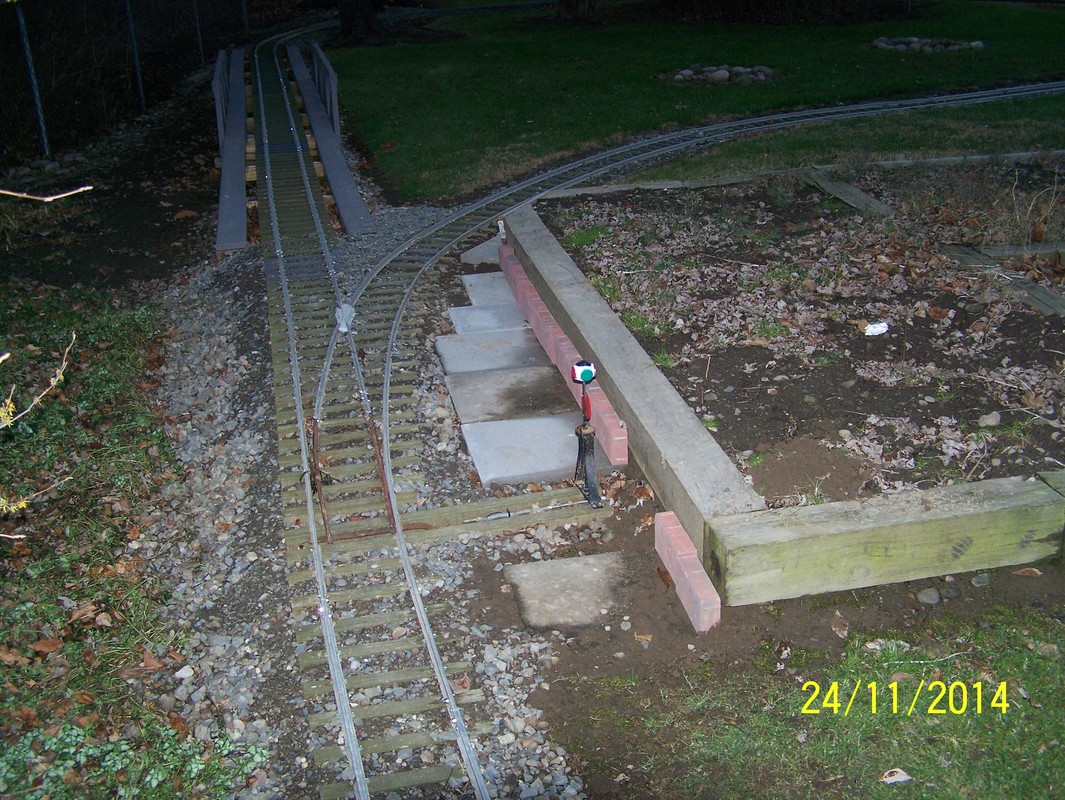
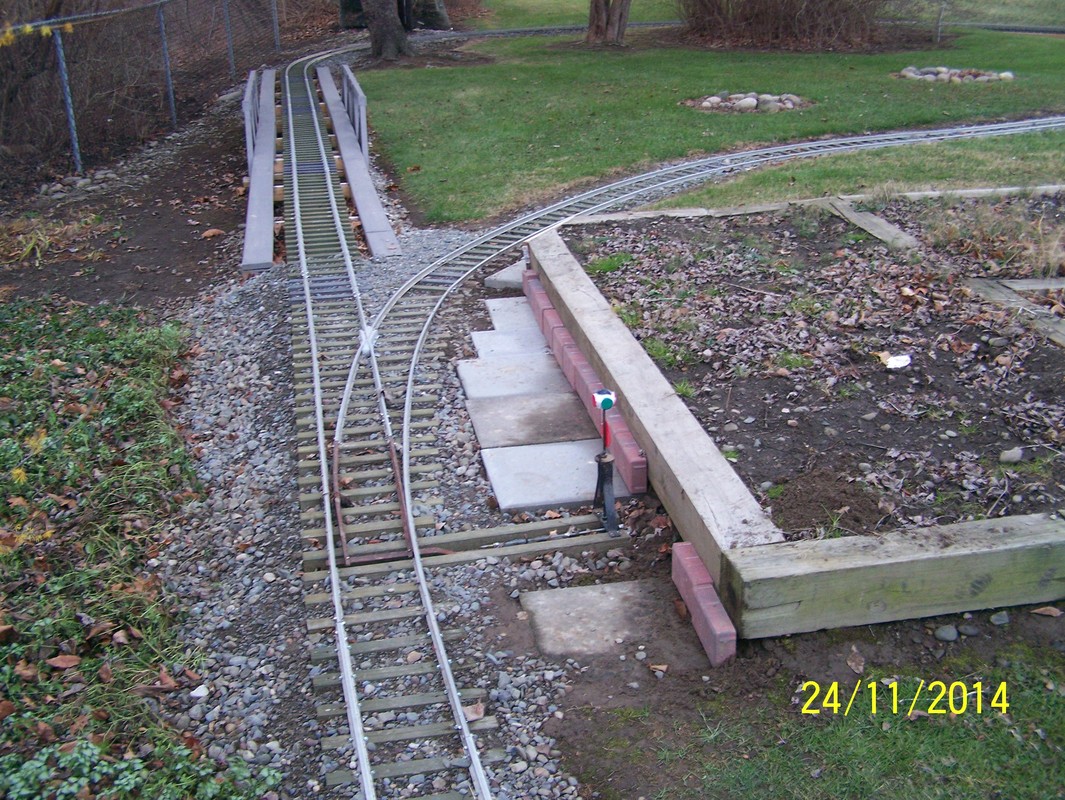
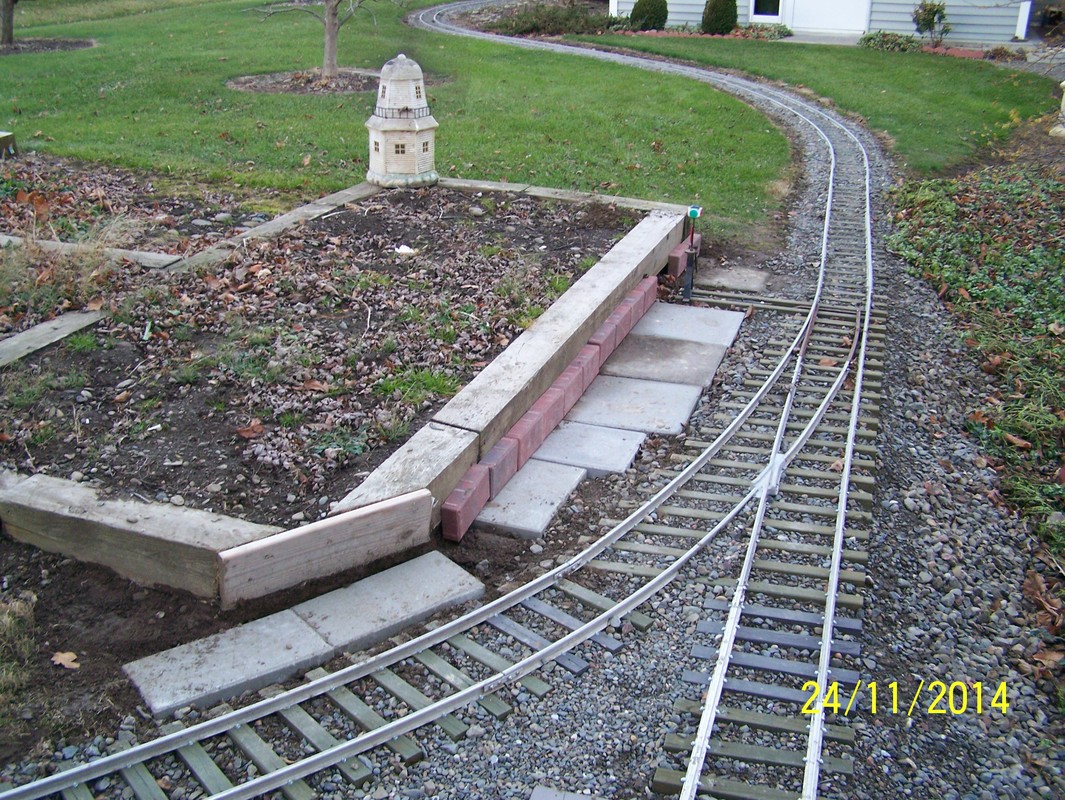
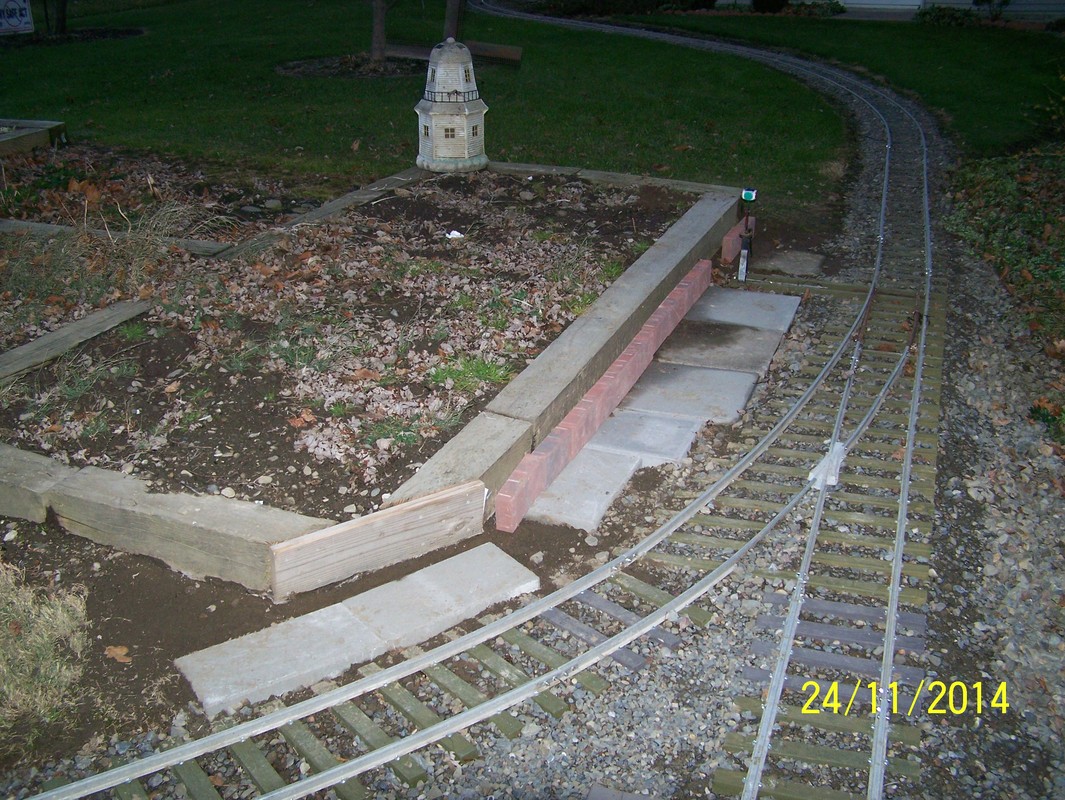
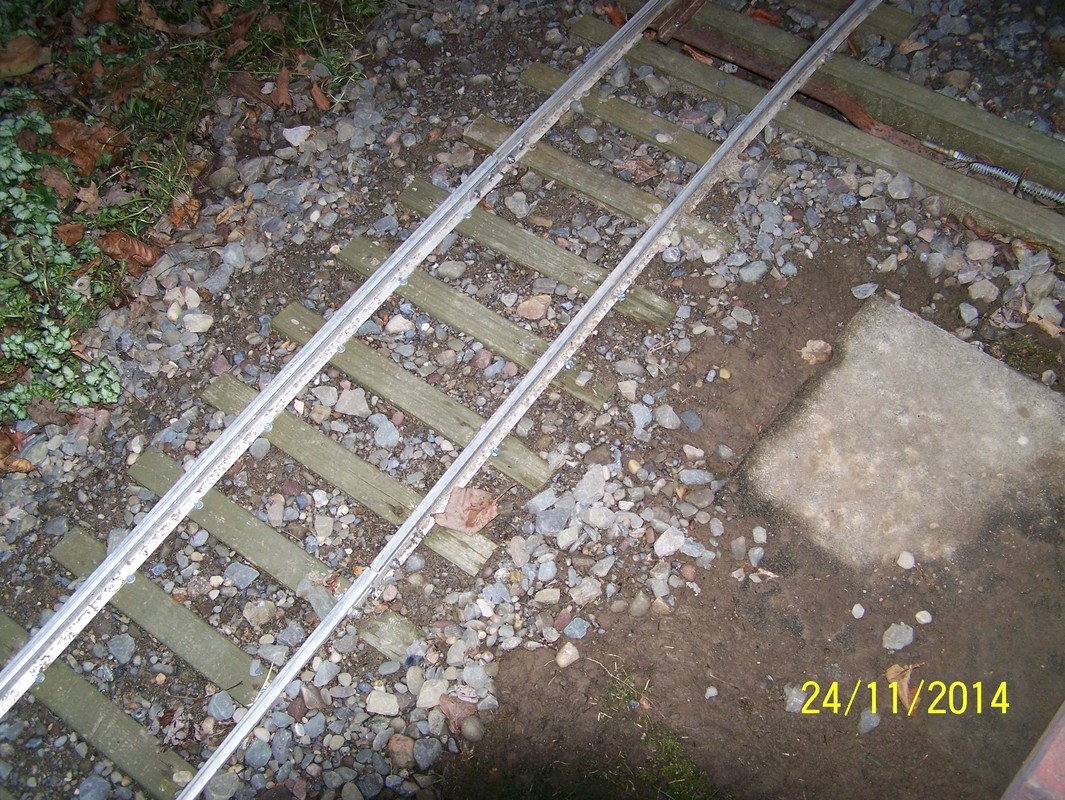
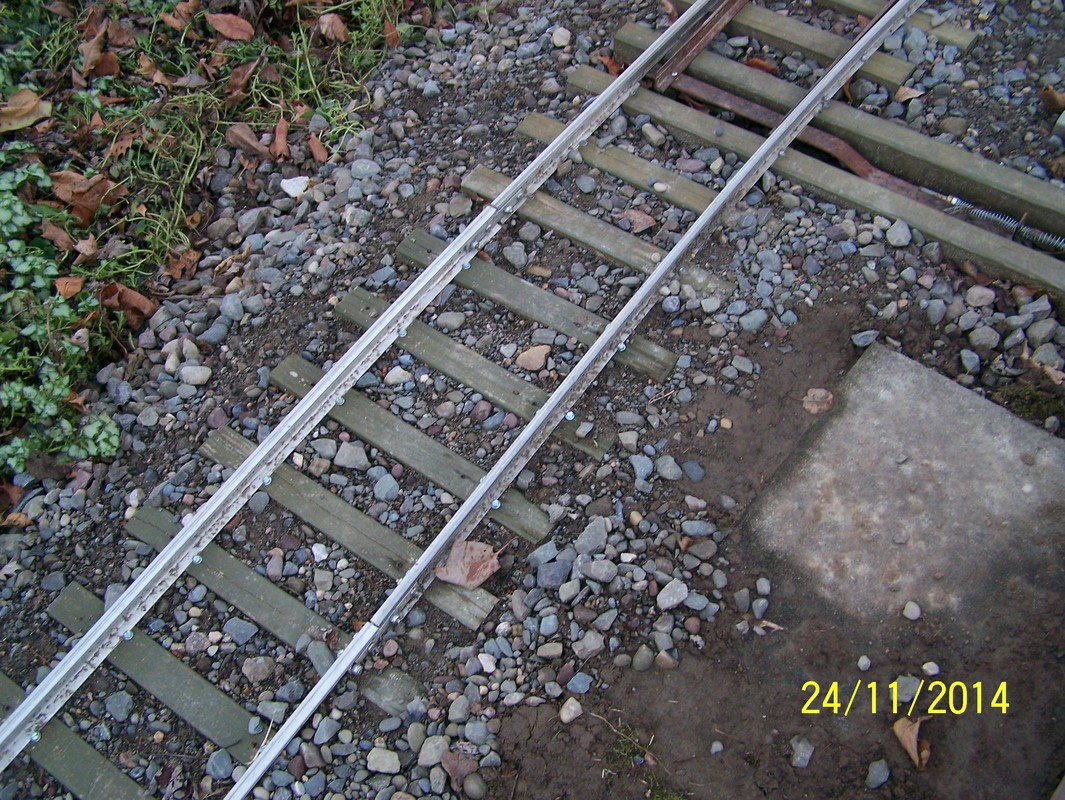
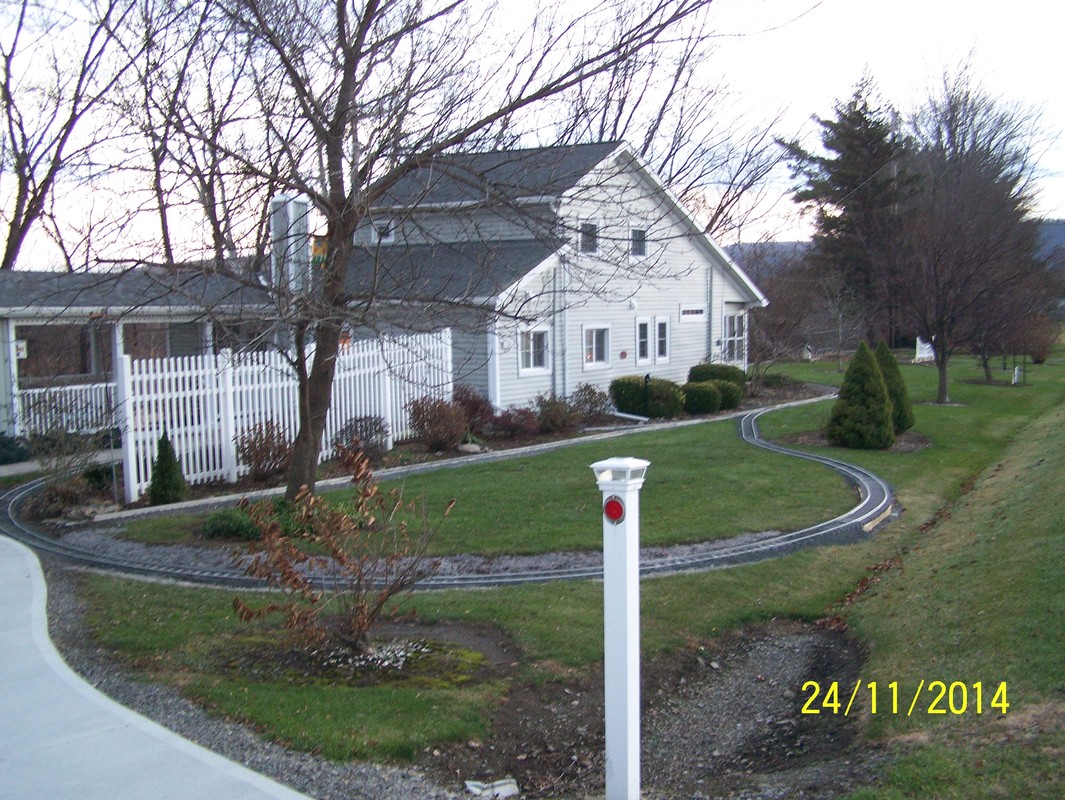
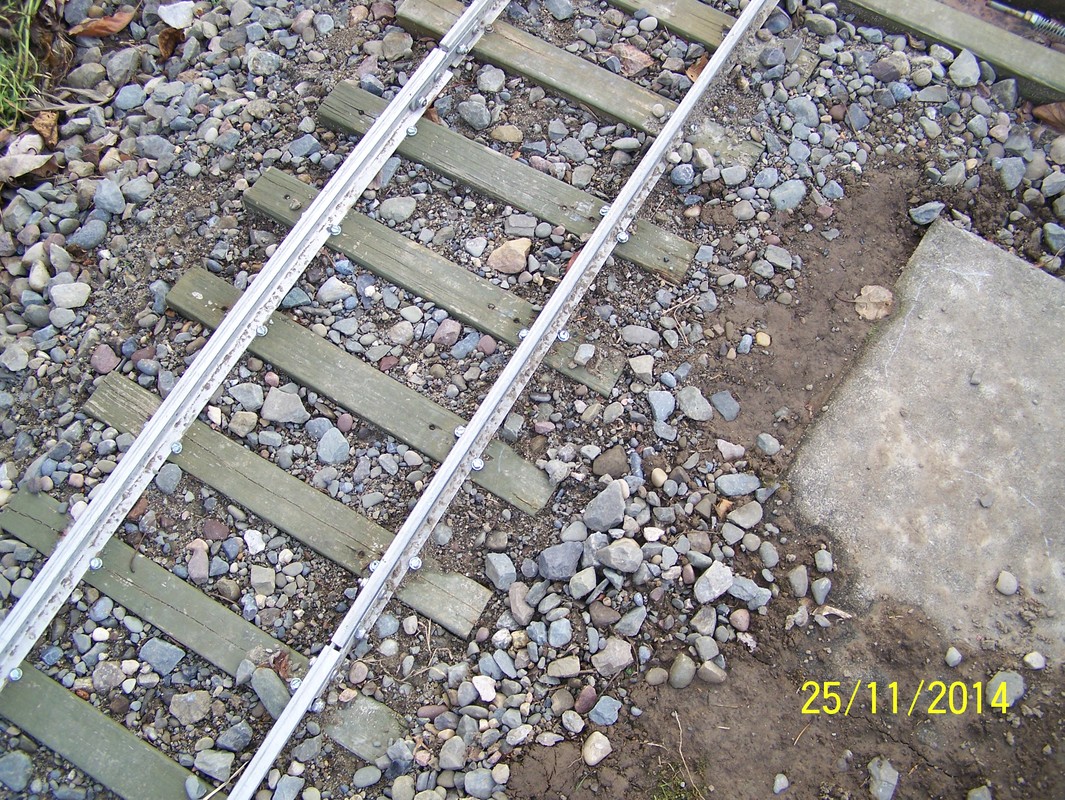
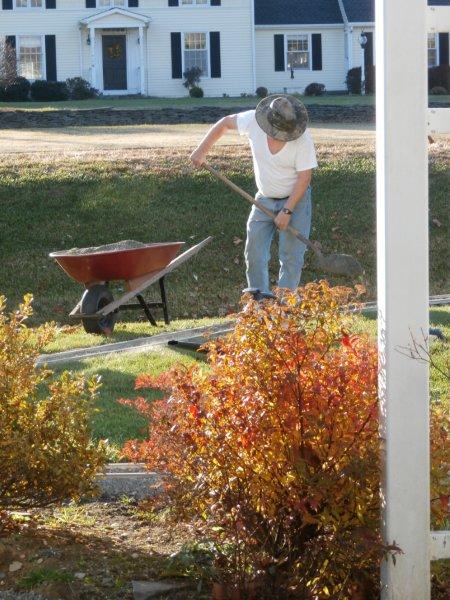
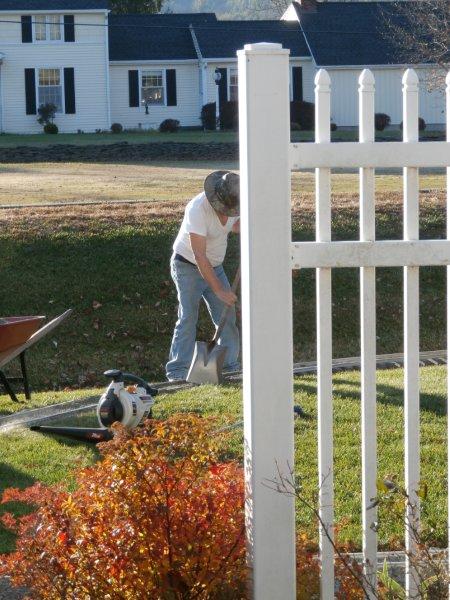
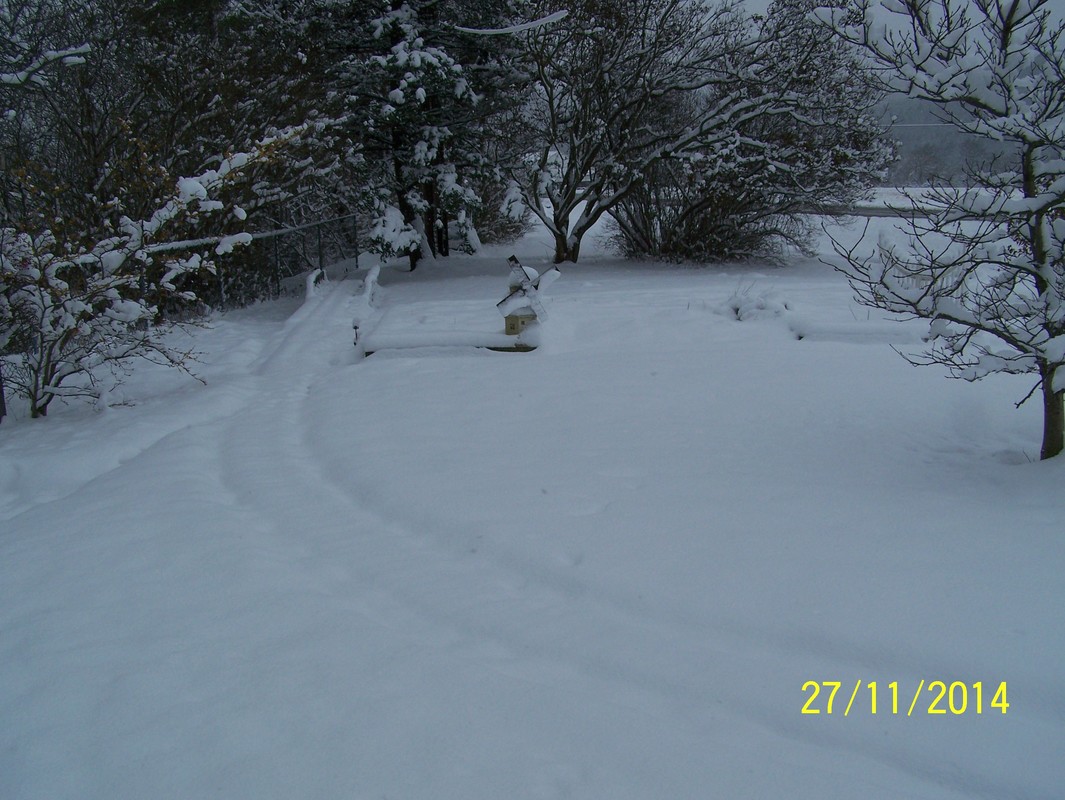
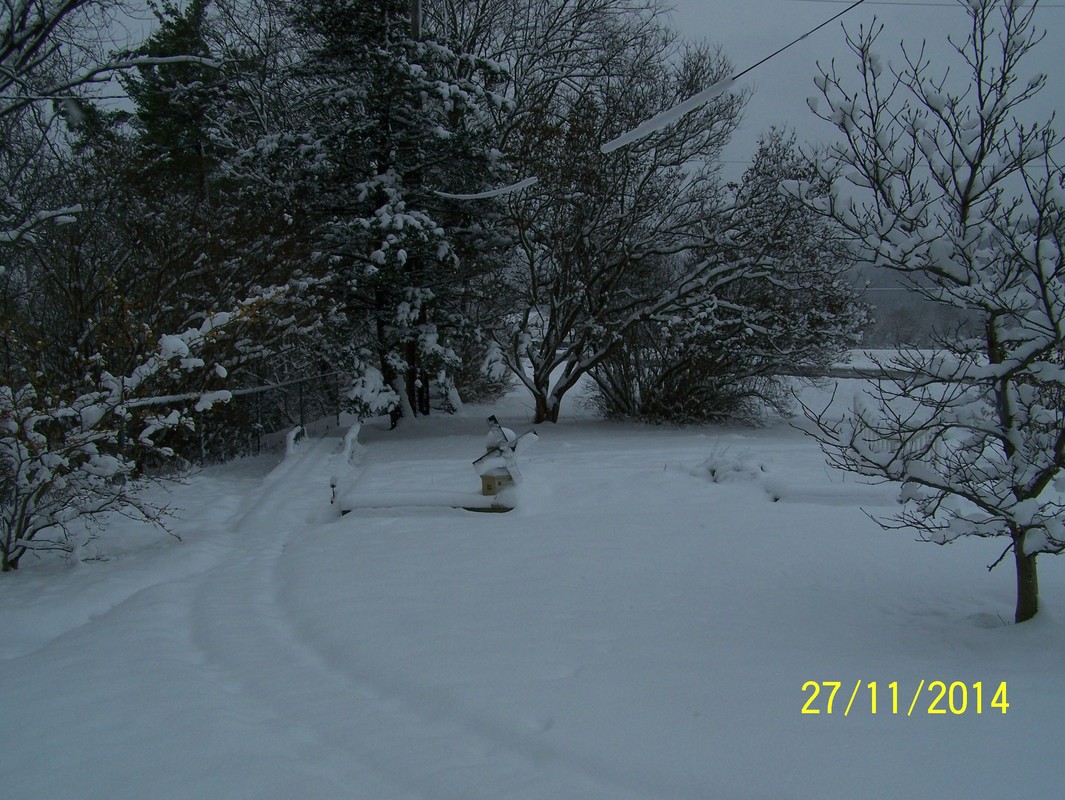
Nov, 2014. Installed the north culvert bridge and installed the ballast. Then put some pavers and bricks out by the garden. Finished up right before the snow came.


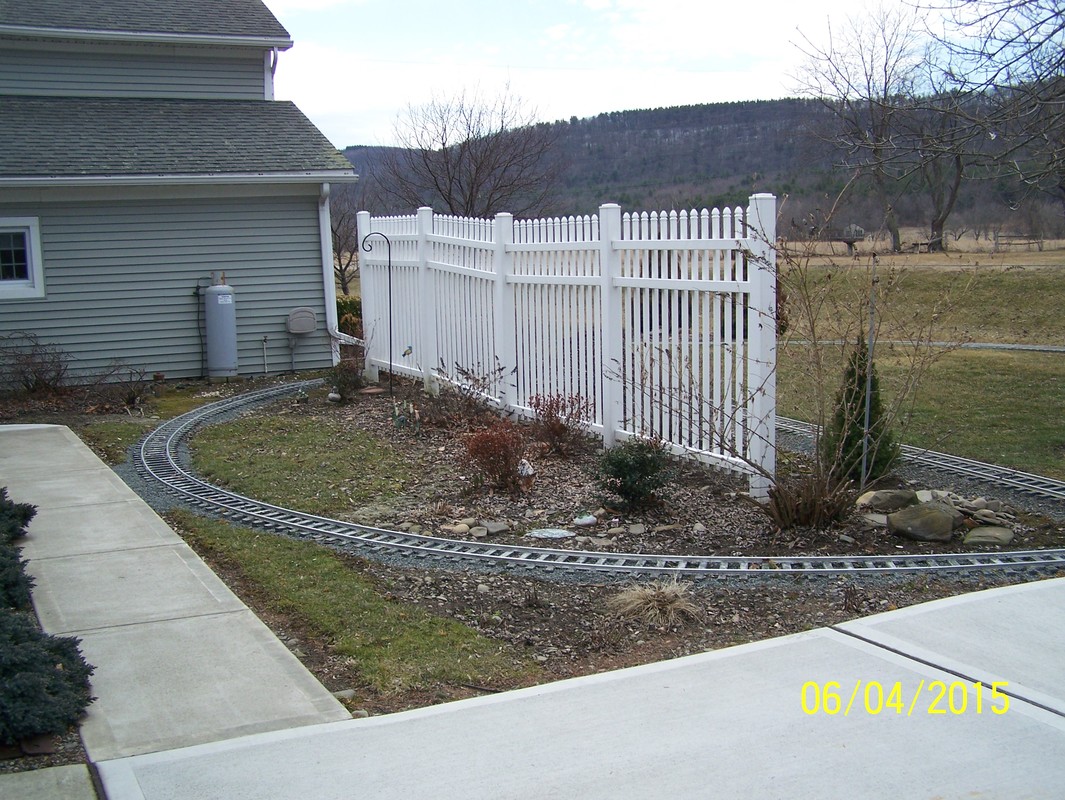
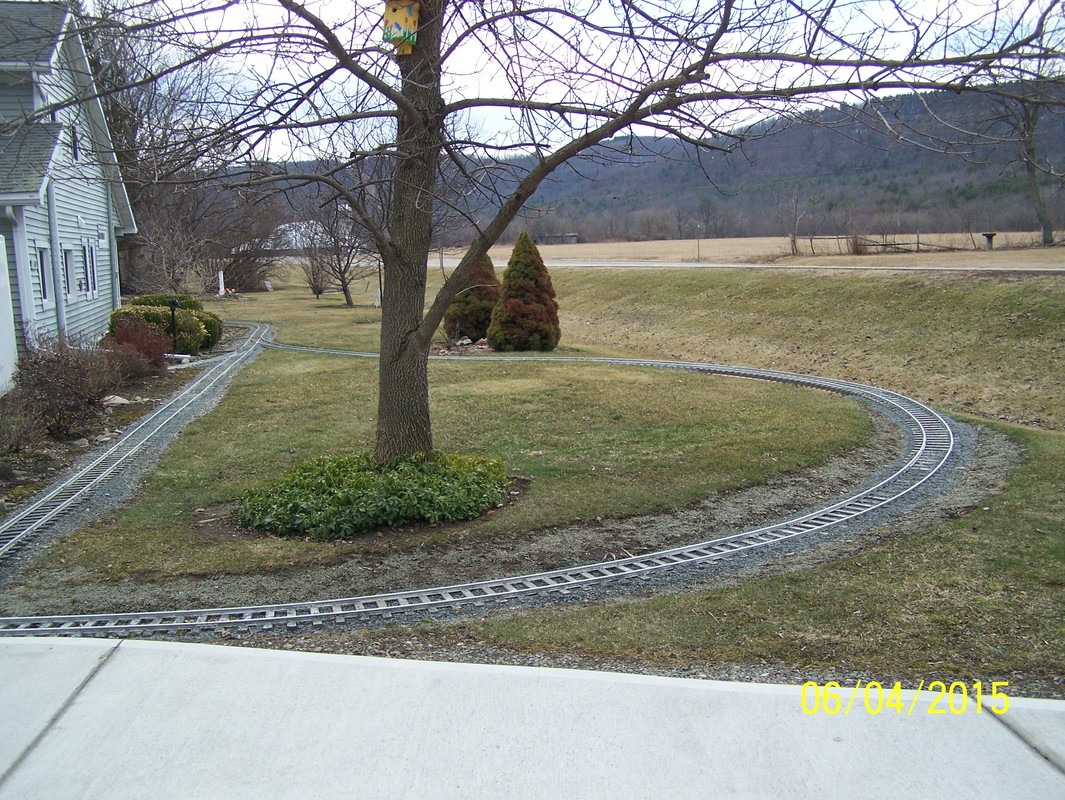
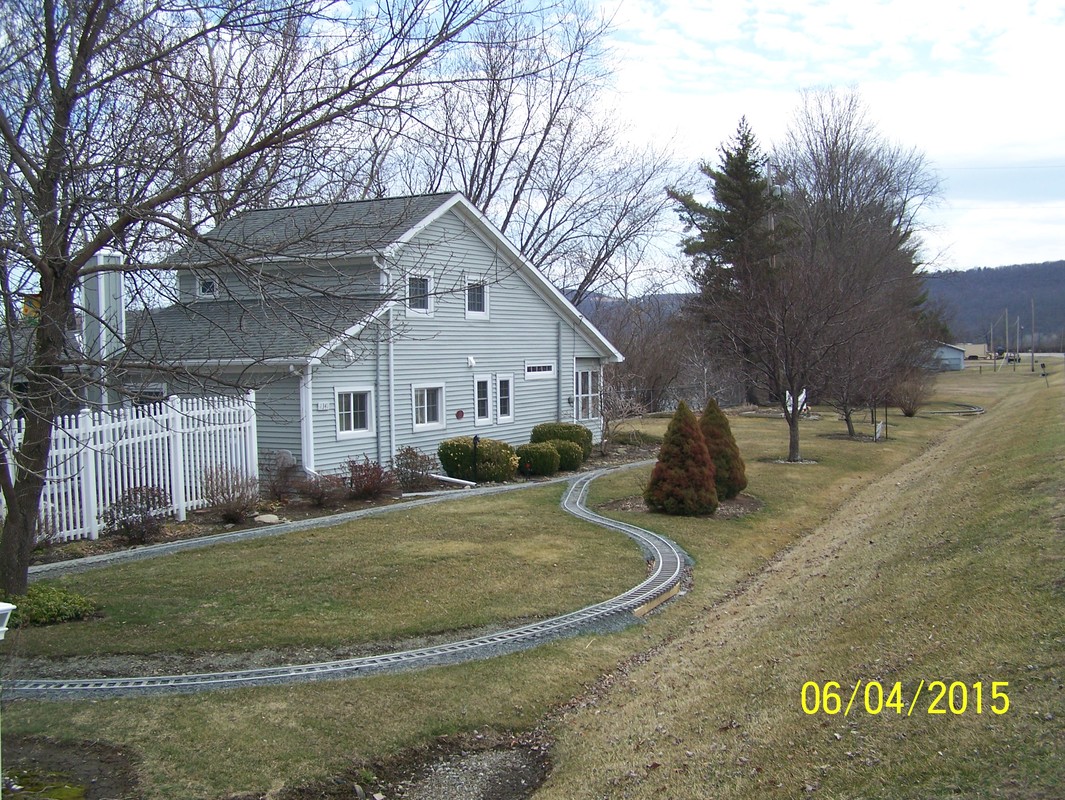
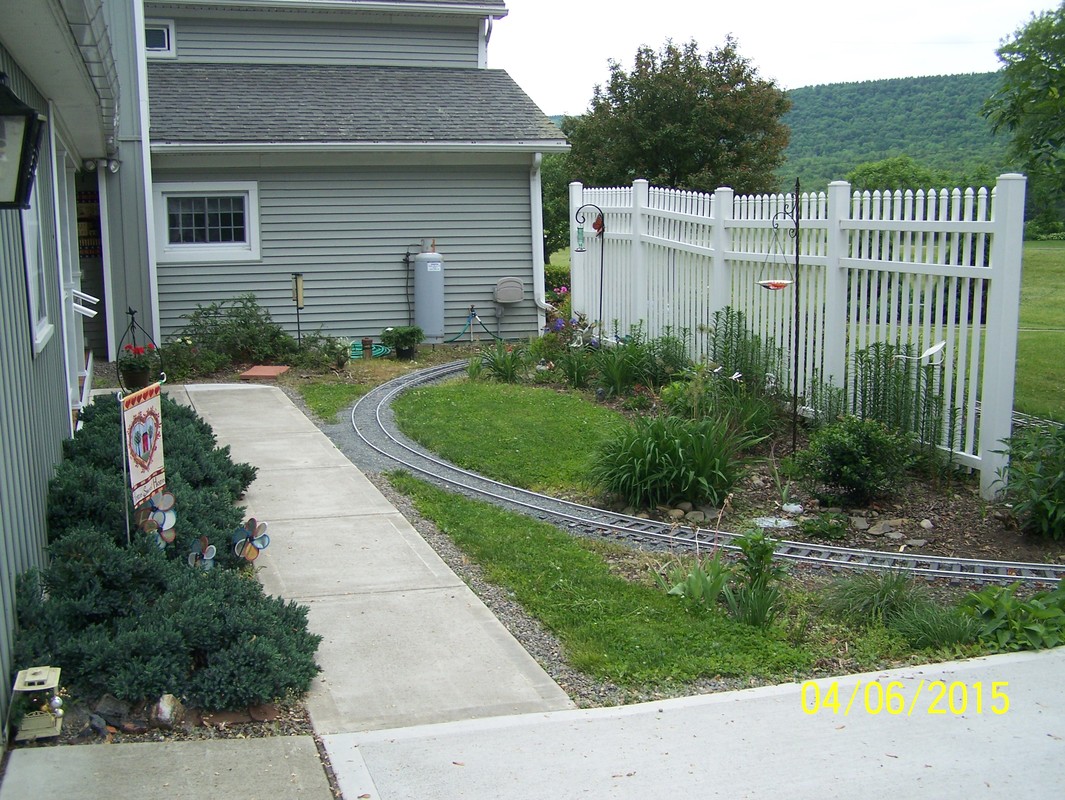
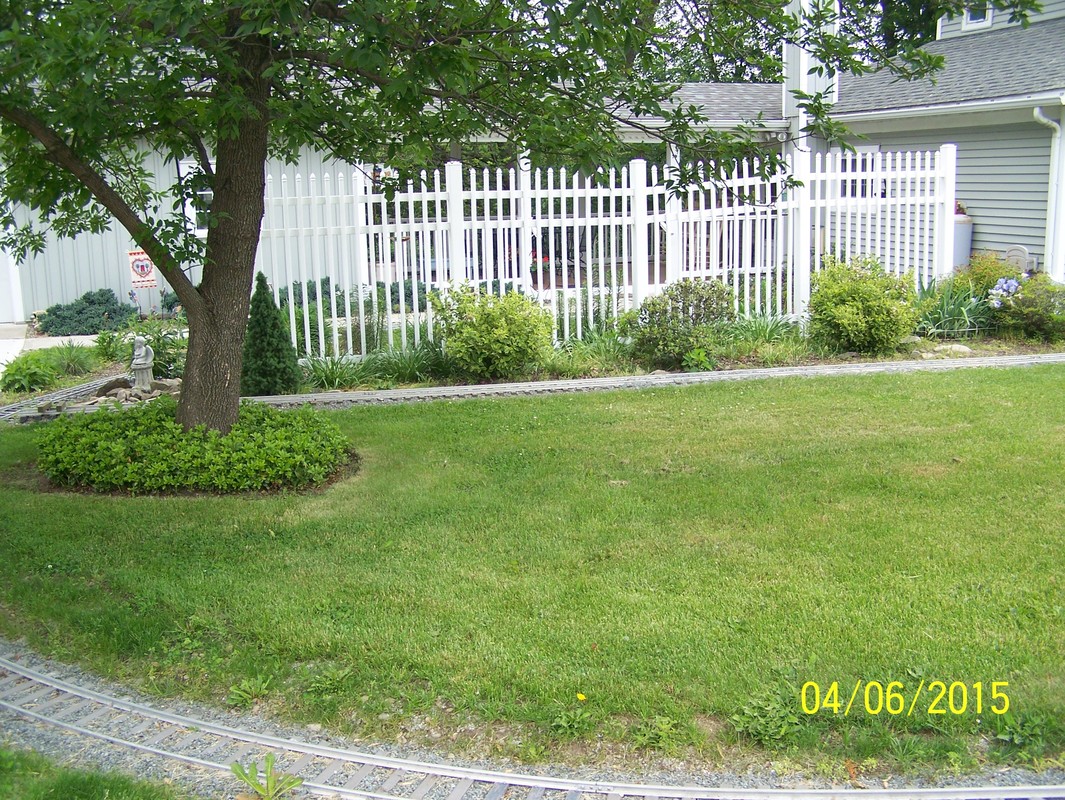
April, 2015. put some more ballast on top.
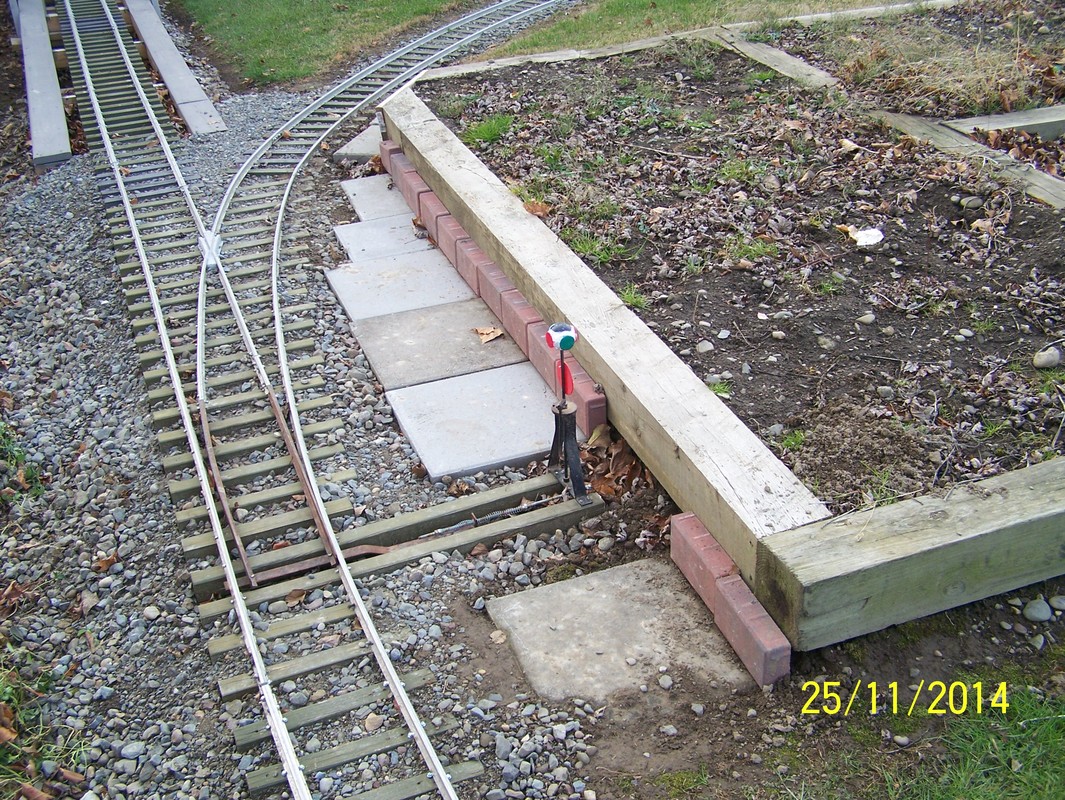
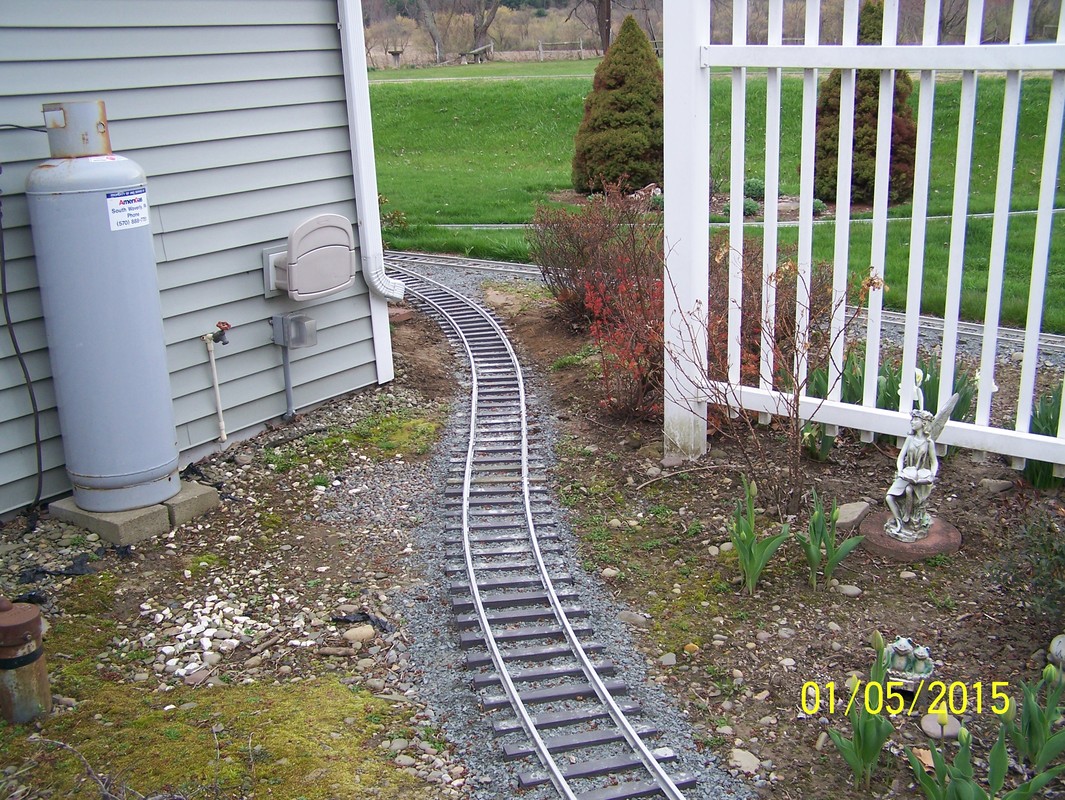
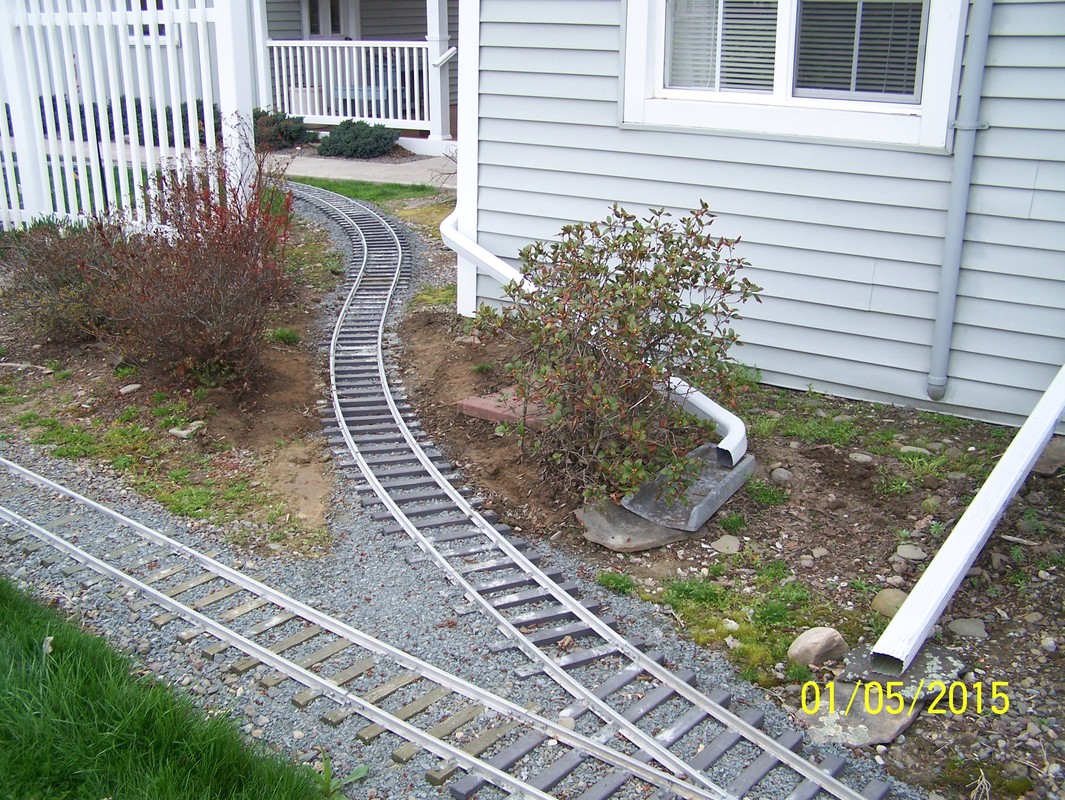
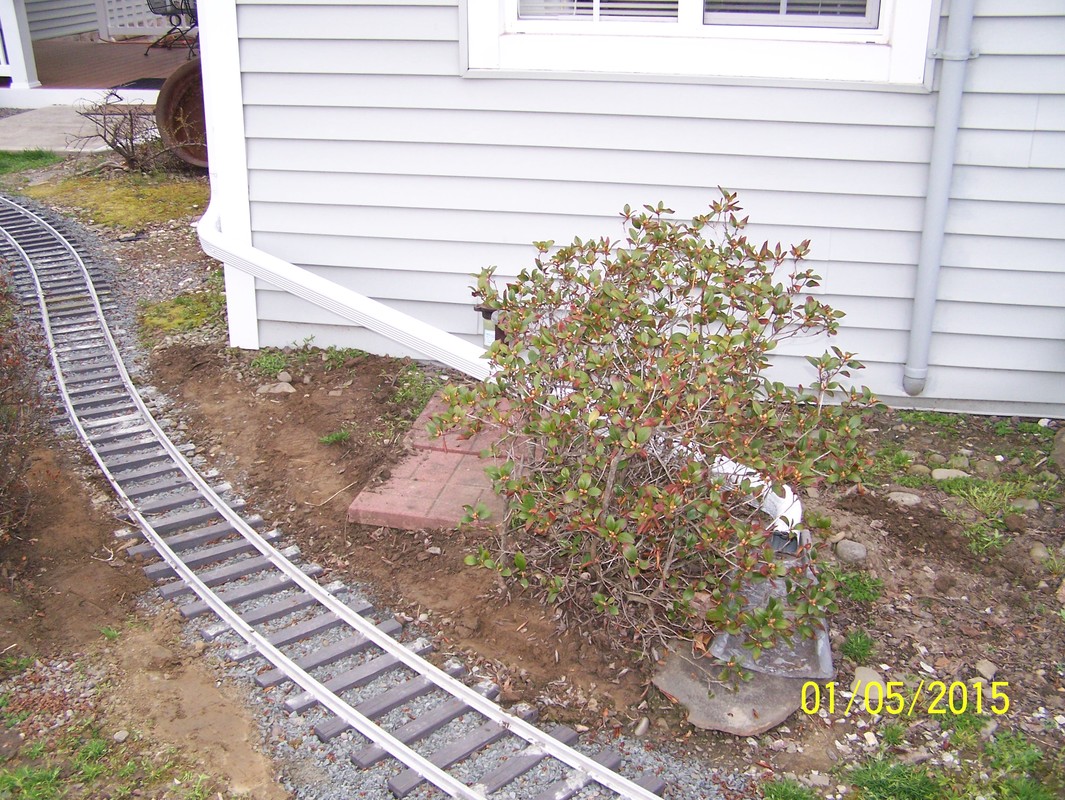
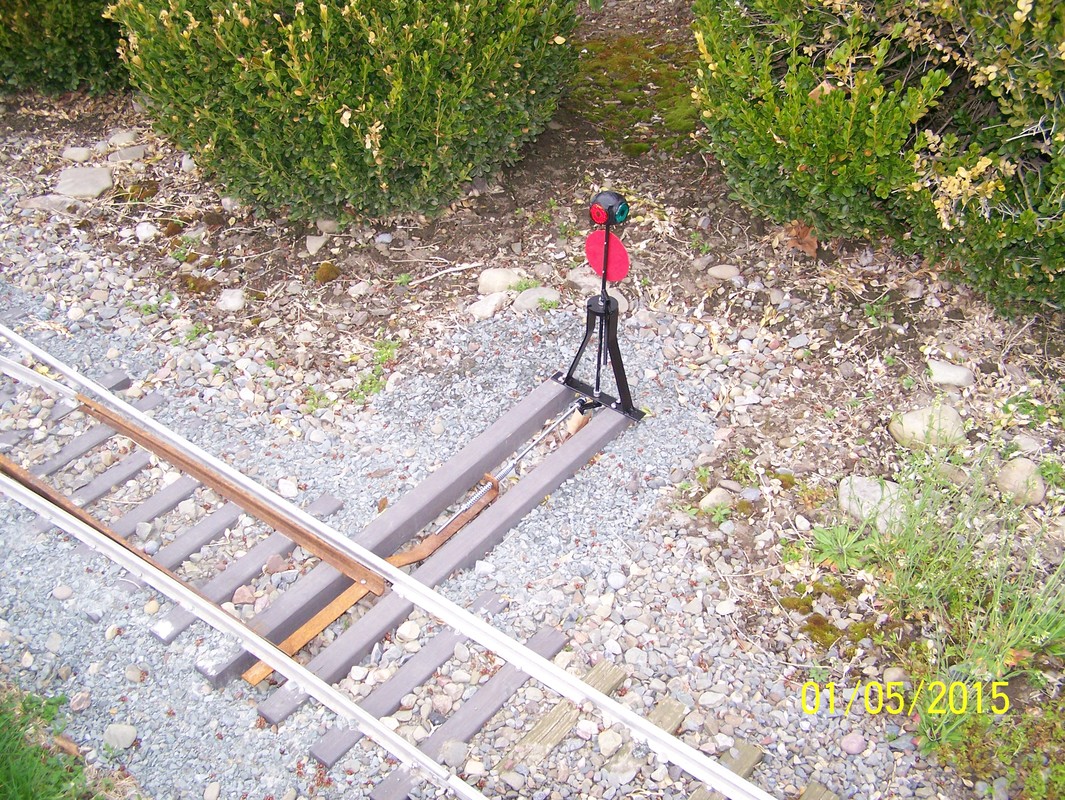
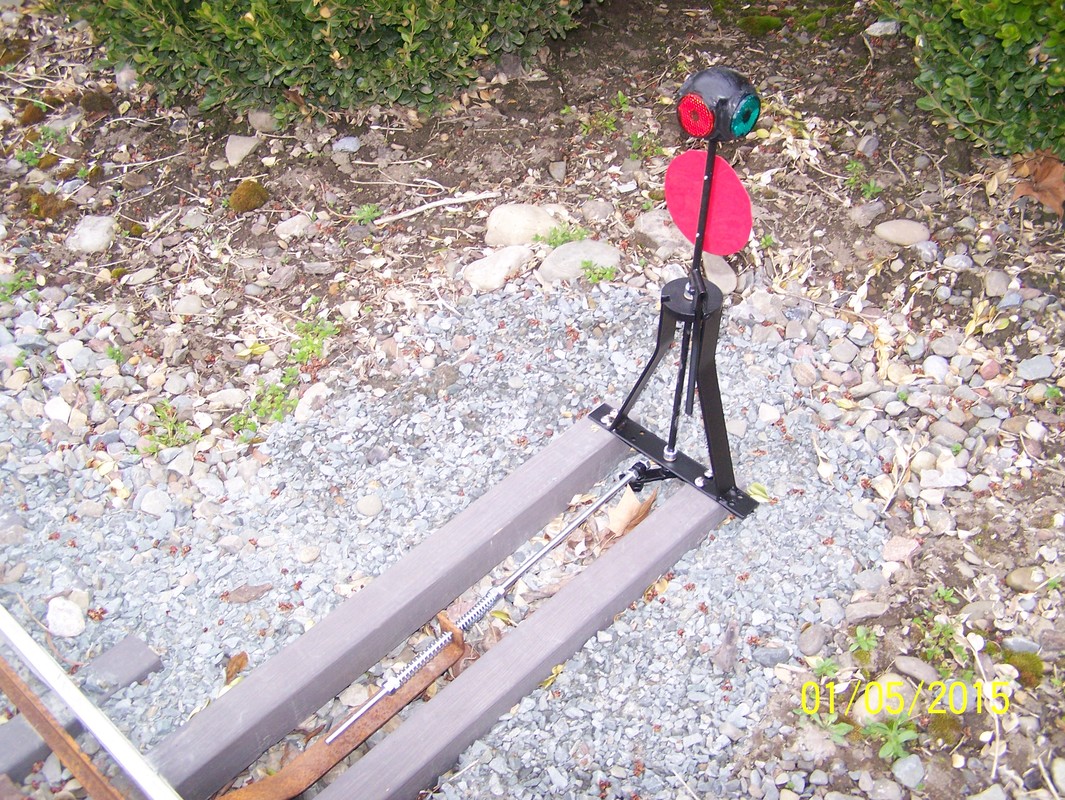
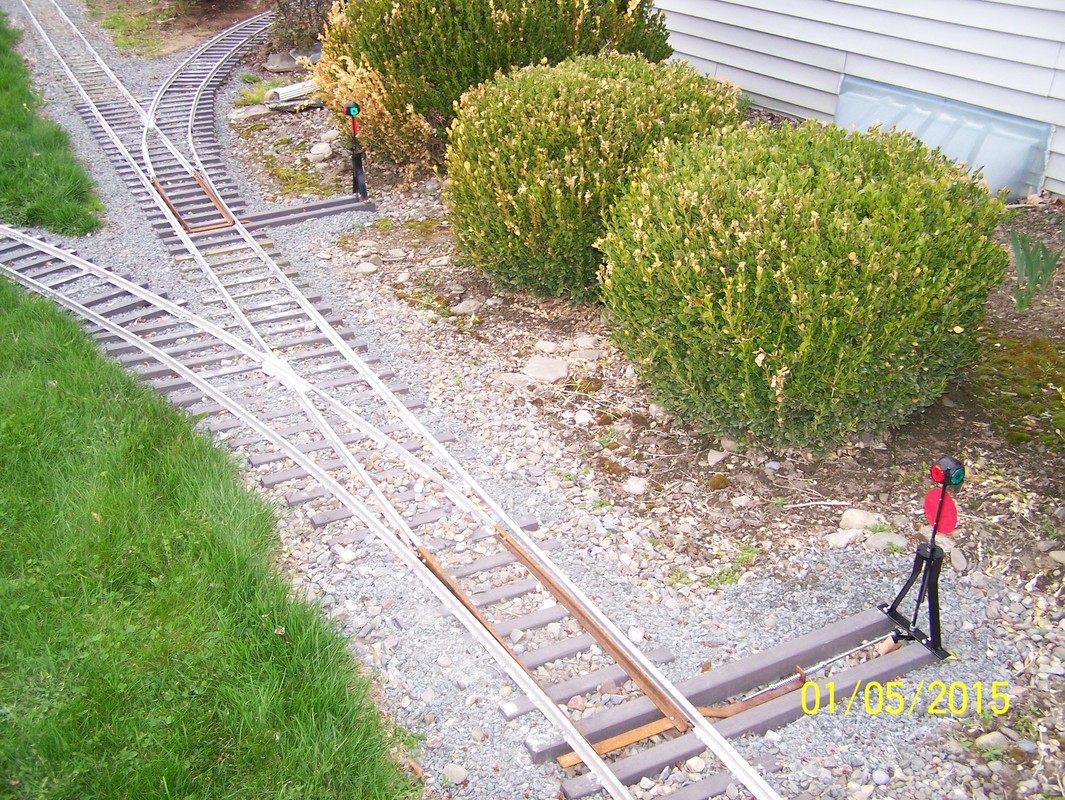
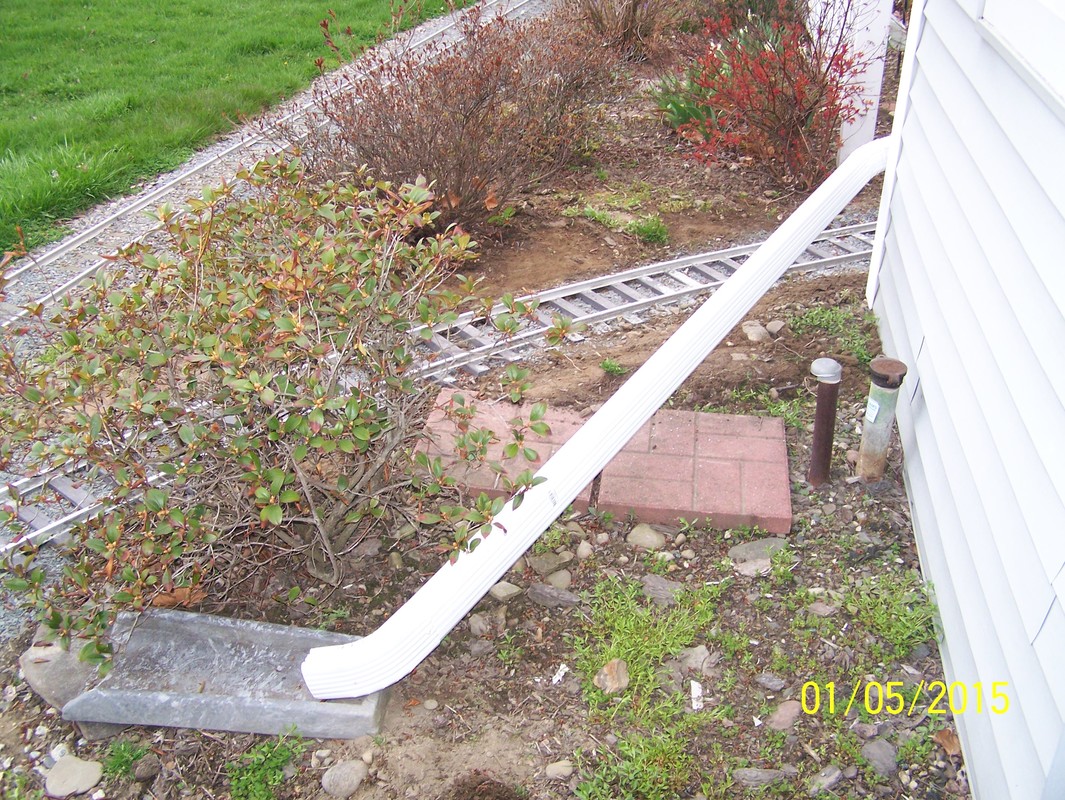
May, 2015. moved the down spout and install the two switch stands.

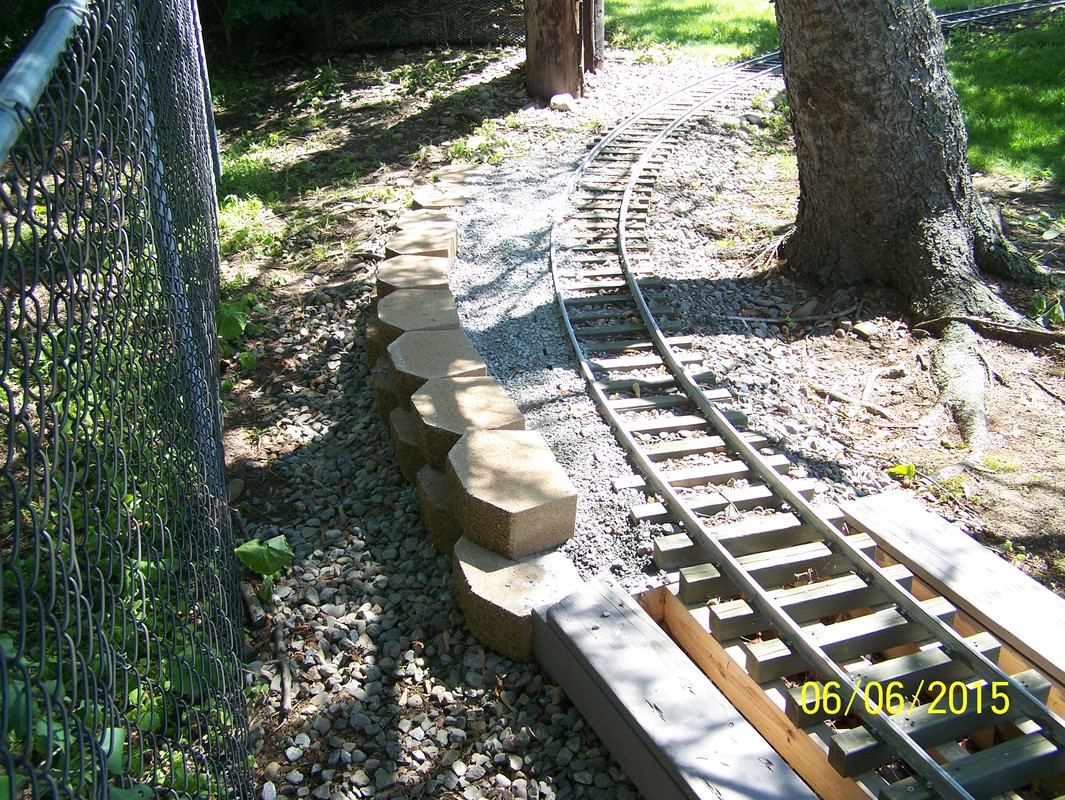
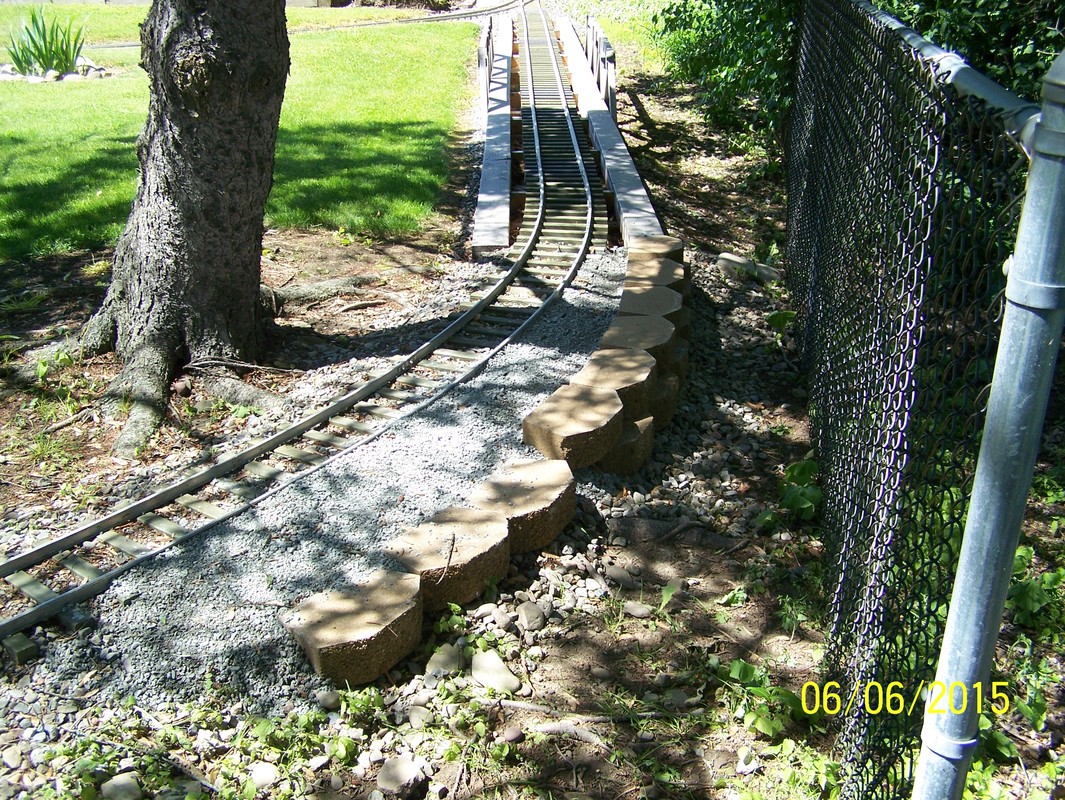
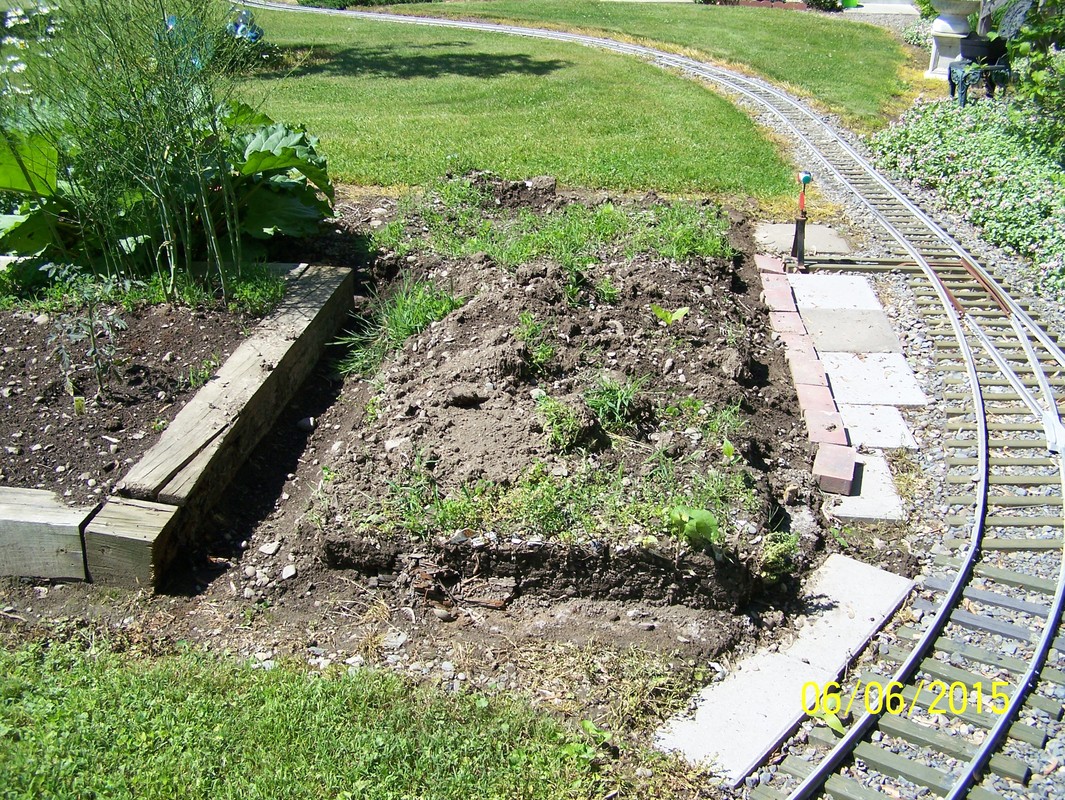
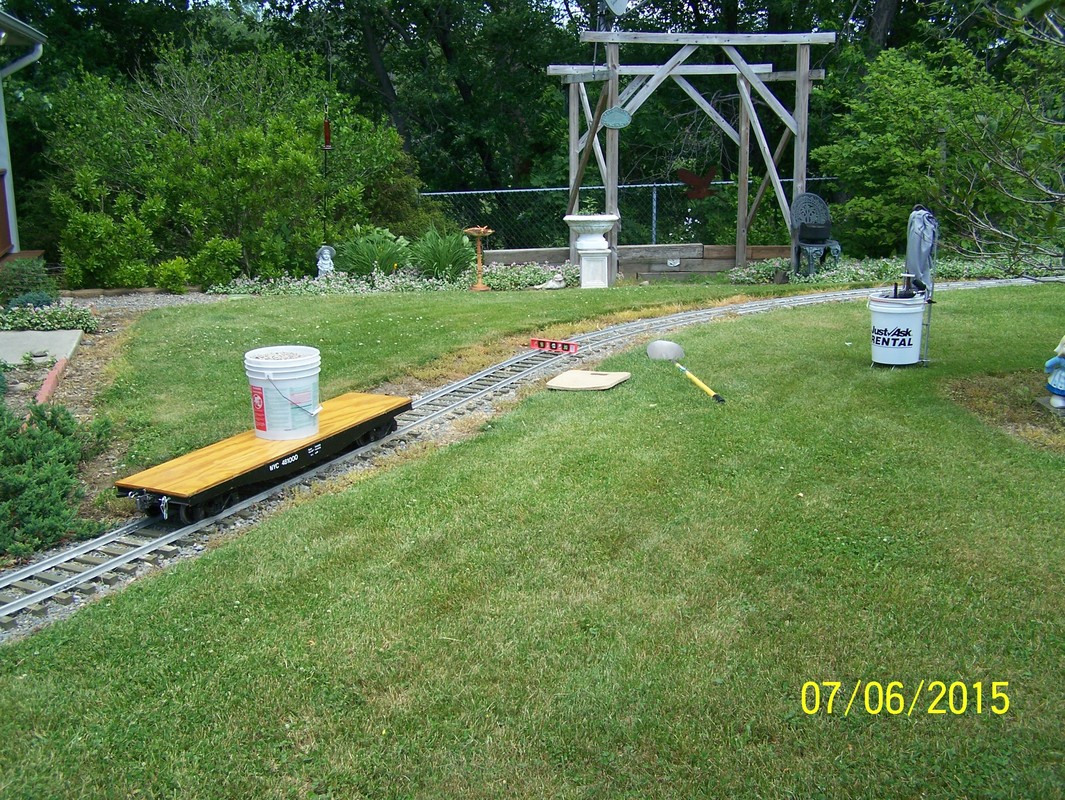
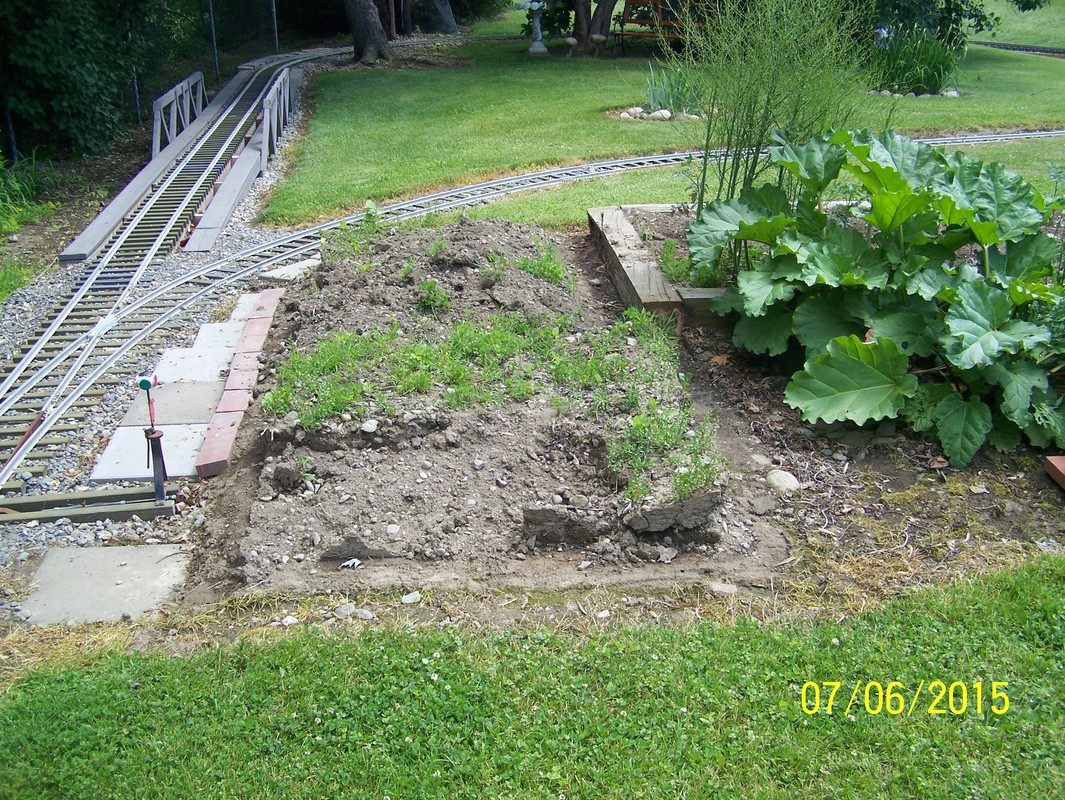
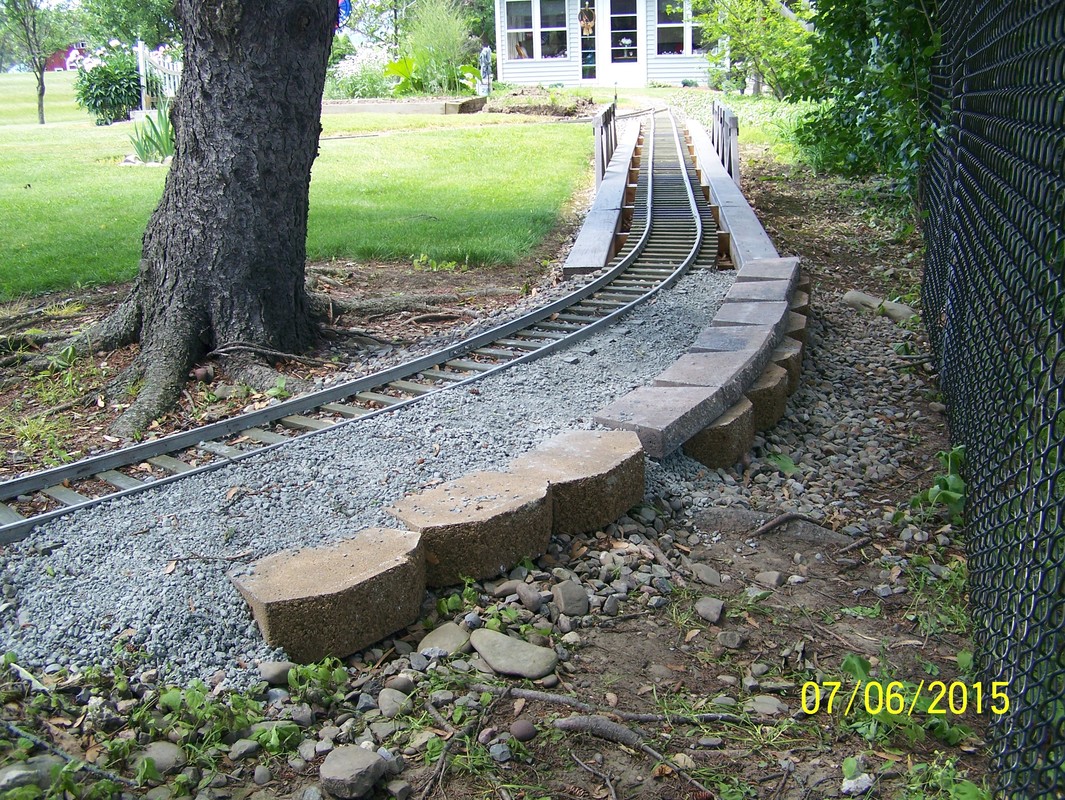
June, 2015. The work here is putting in a retaining wall out at the end of the trestle and remove one of the raised gardens.
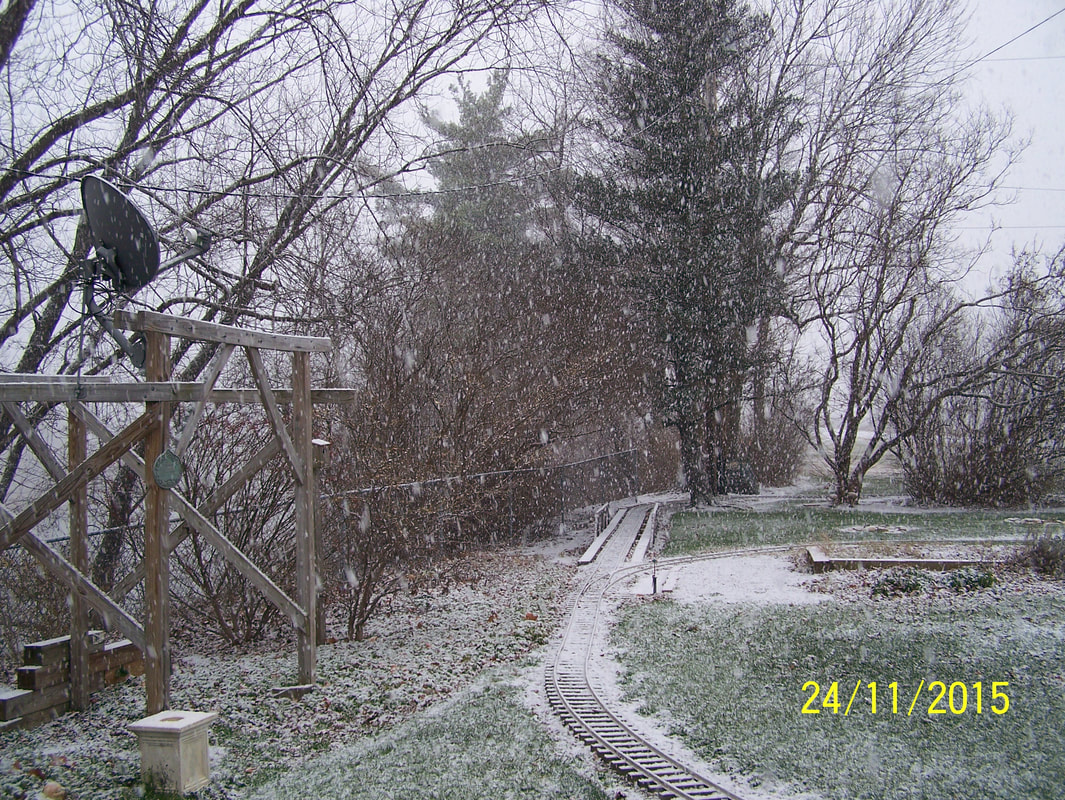
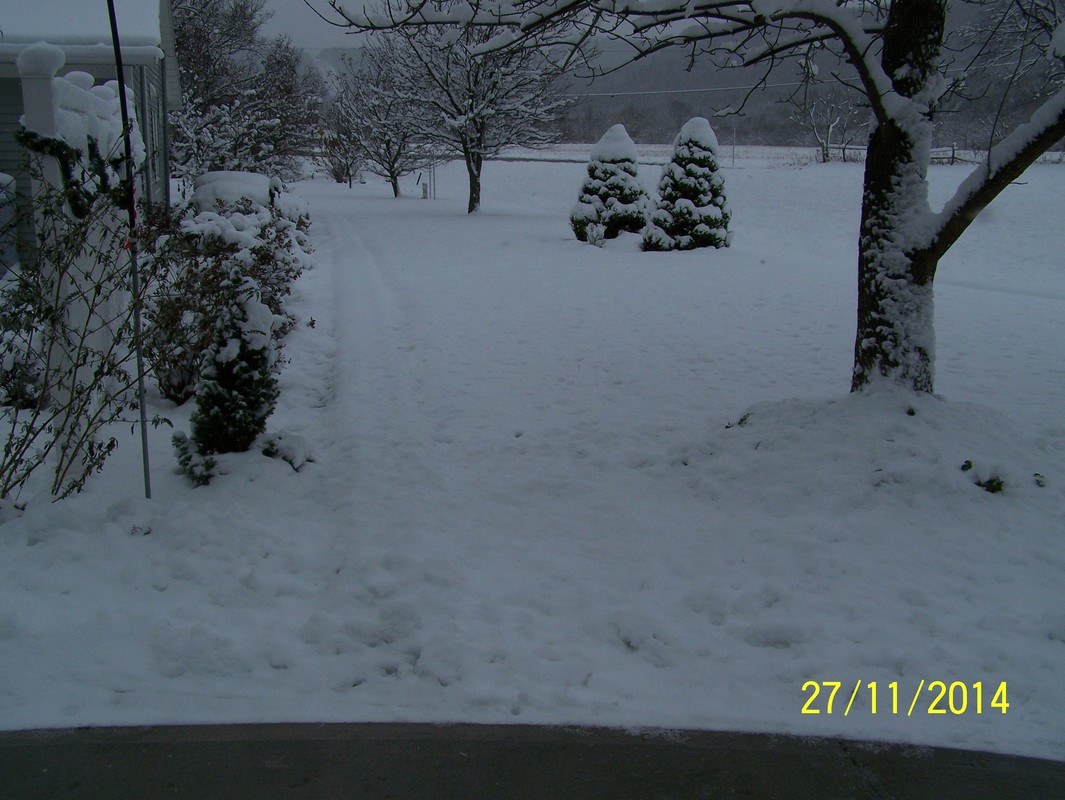
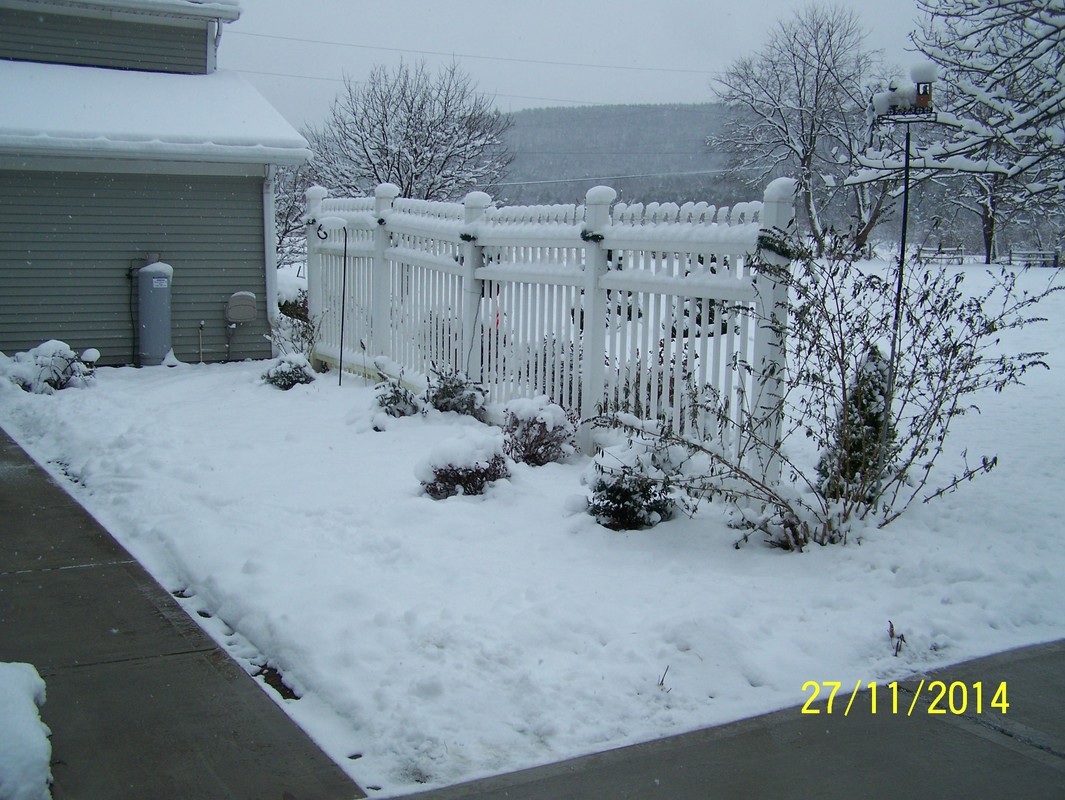
Nov, 2015. And the snow comes again.