Rail Roller Bender.
Jan, 2013. Had a rail roller bender from a friend, that I had used to make the curved track panels for the track at Eldridge Park. Took it apart and modified the rollers to bend my rail. I have three kinds, east coast, west coast and the rail I got from a friend. I am working with the east coast rail right now. Re-assembled the rail roller bender and bent some rail.
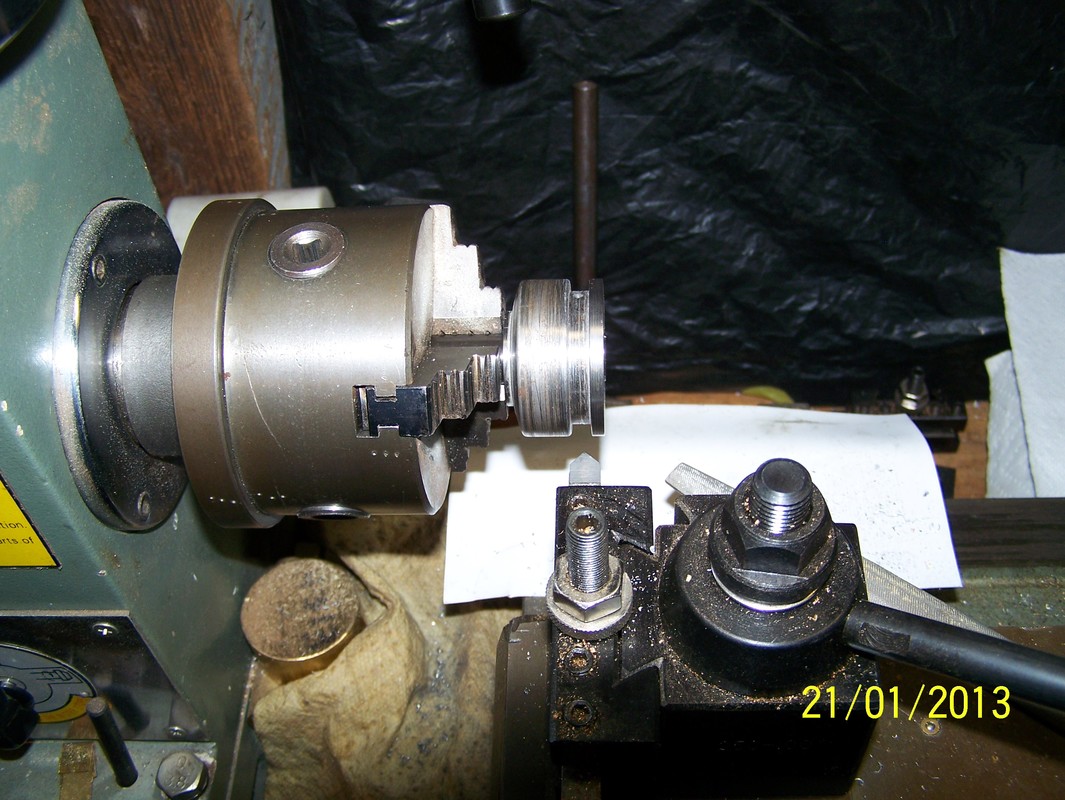
Mar, 2014. Started to make new rollers for the bender for the rail I got from a friend.
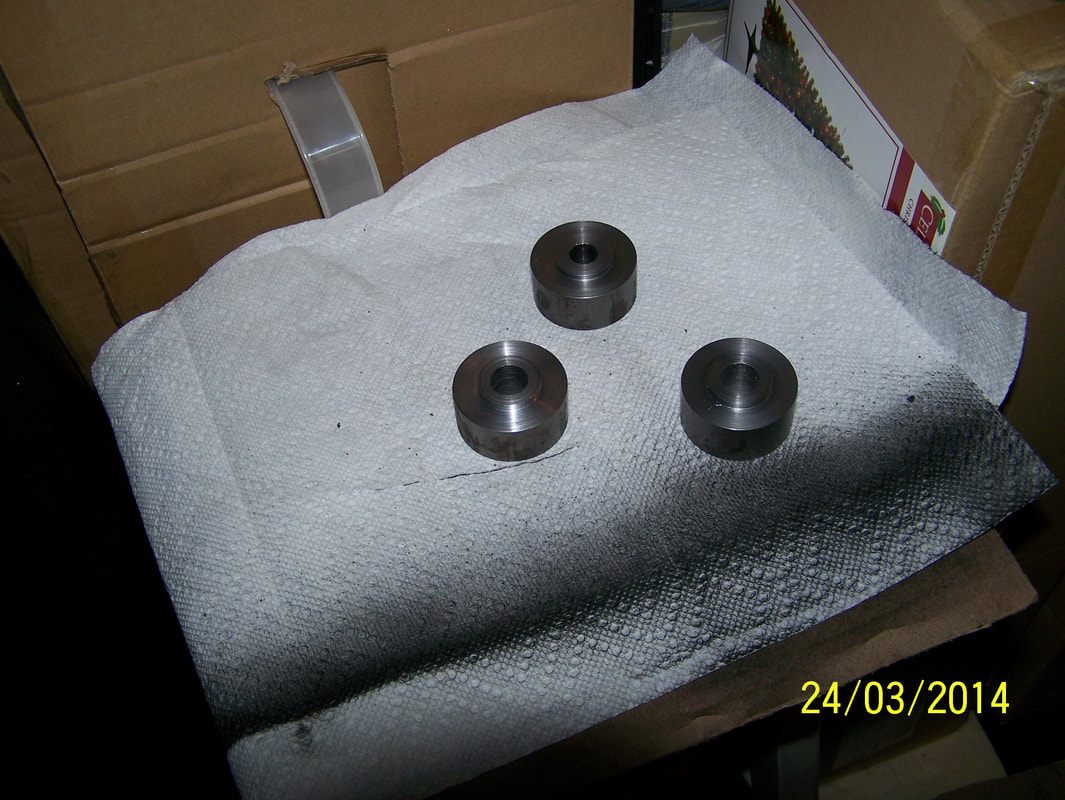
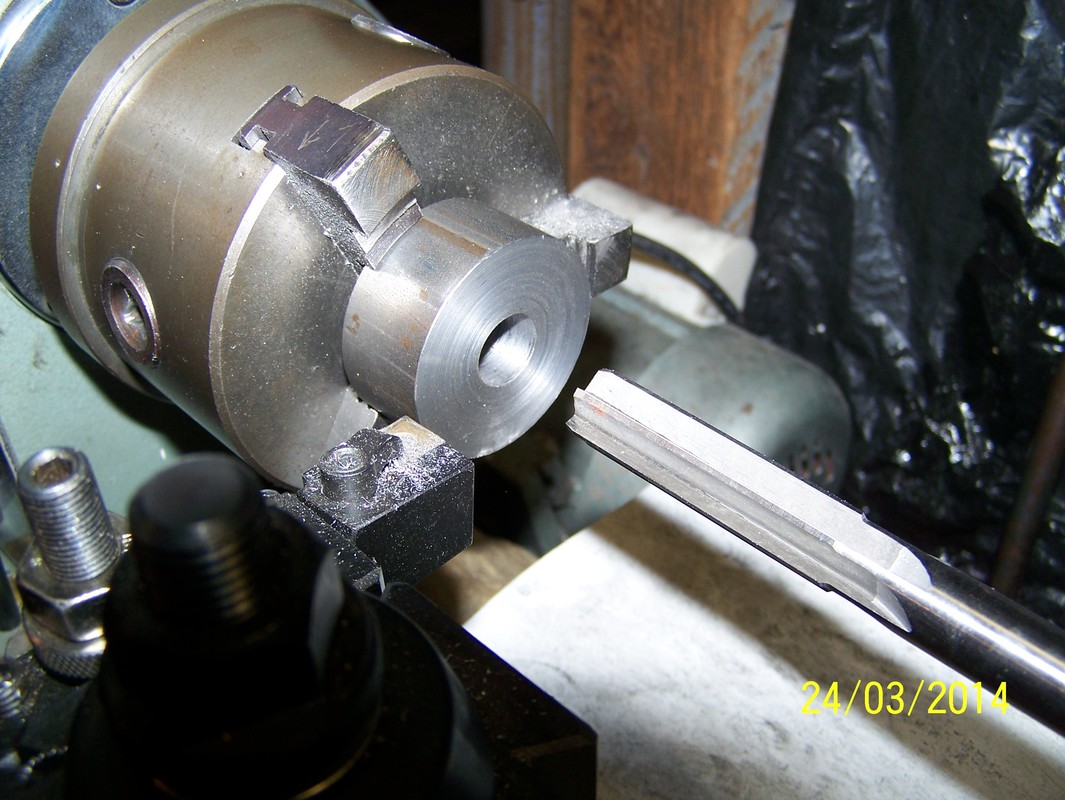
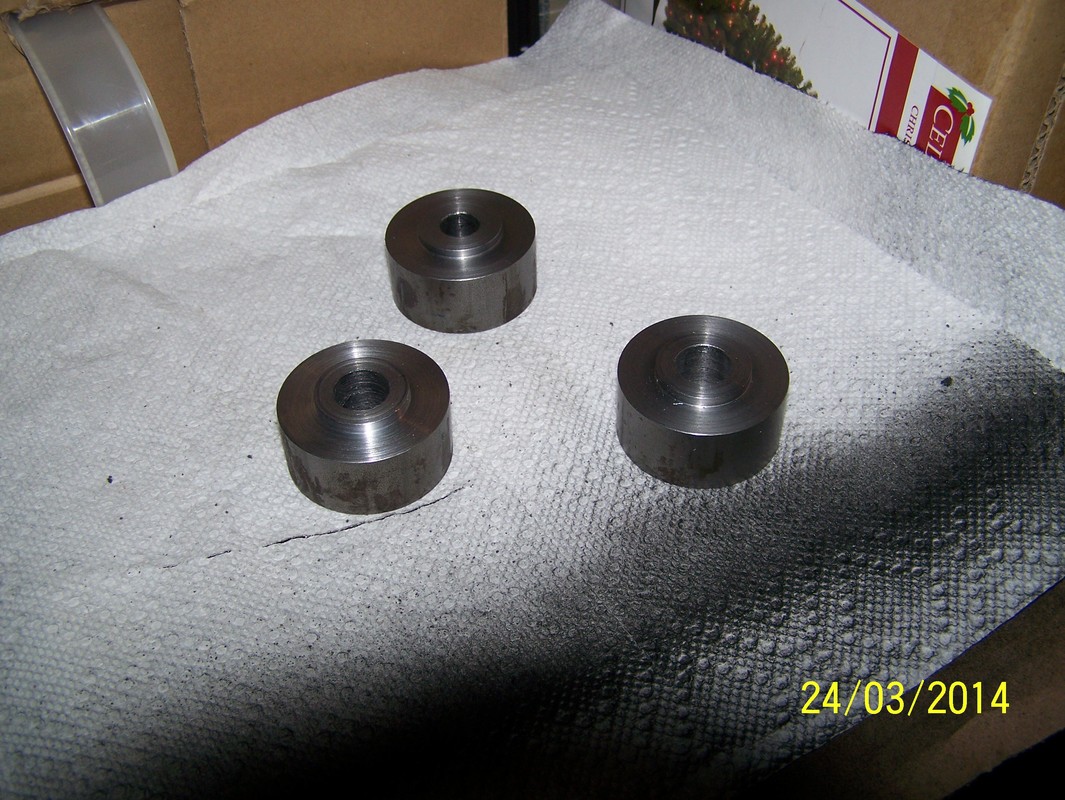
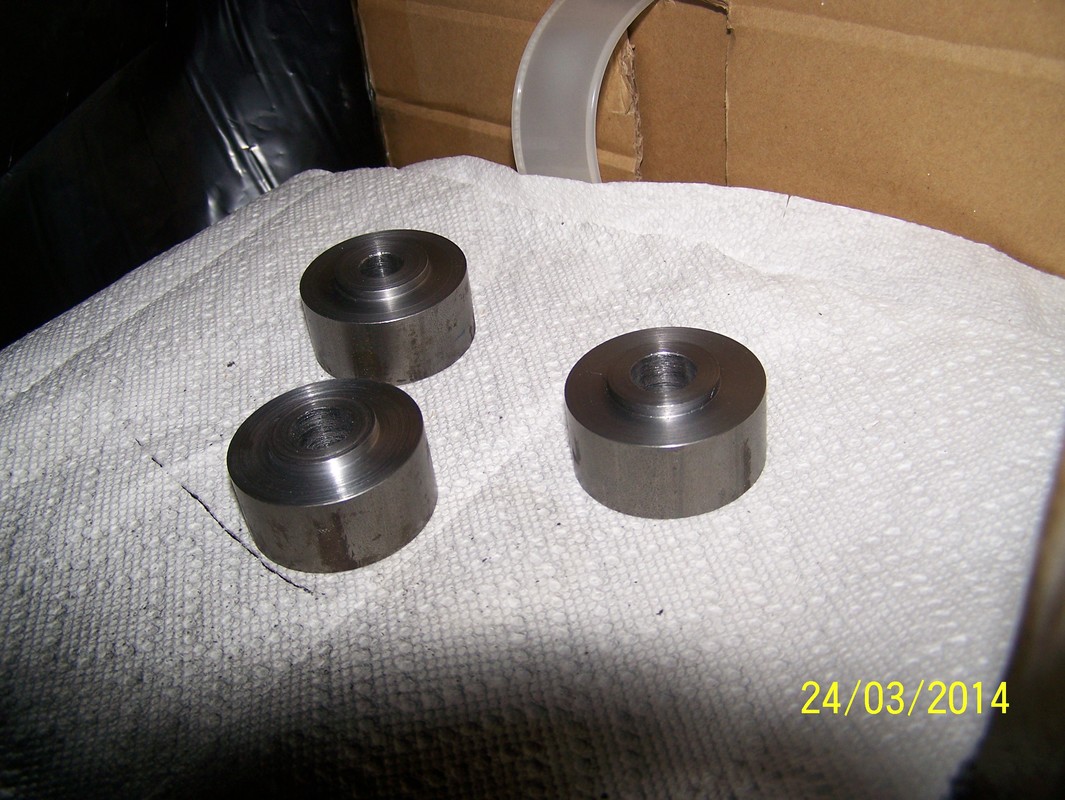
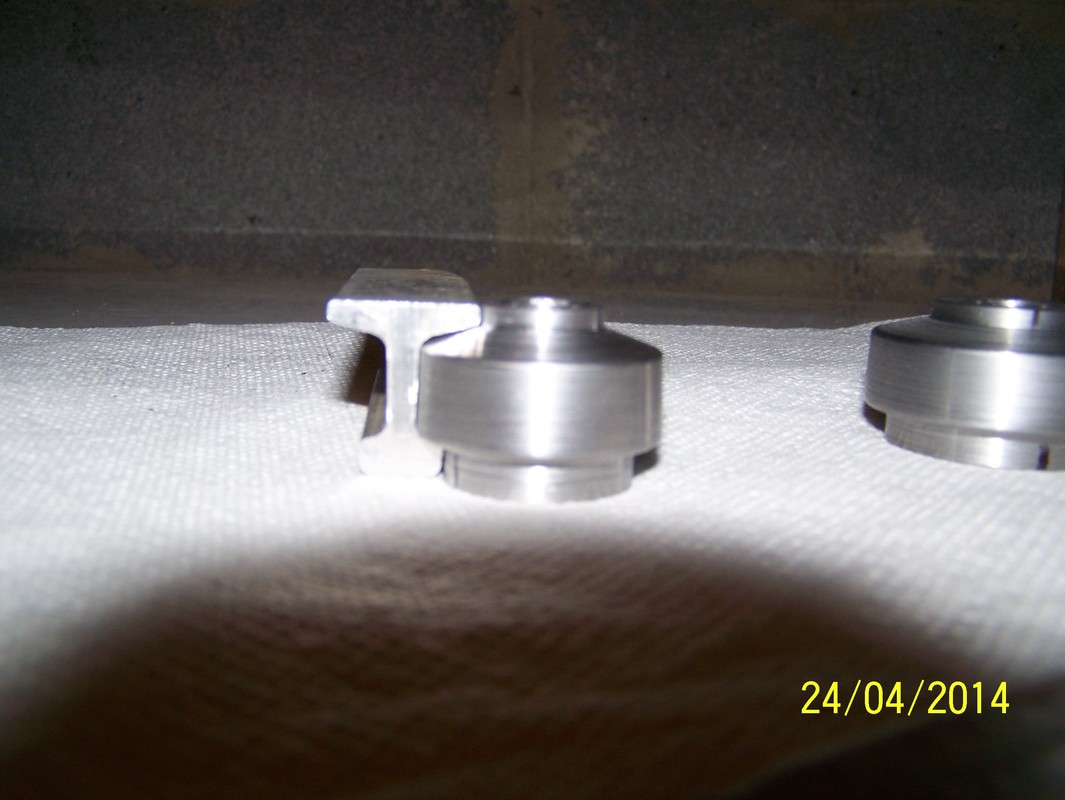
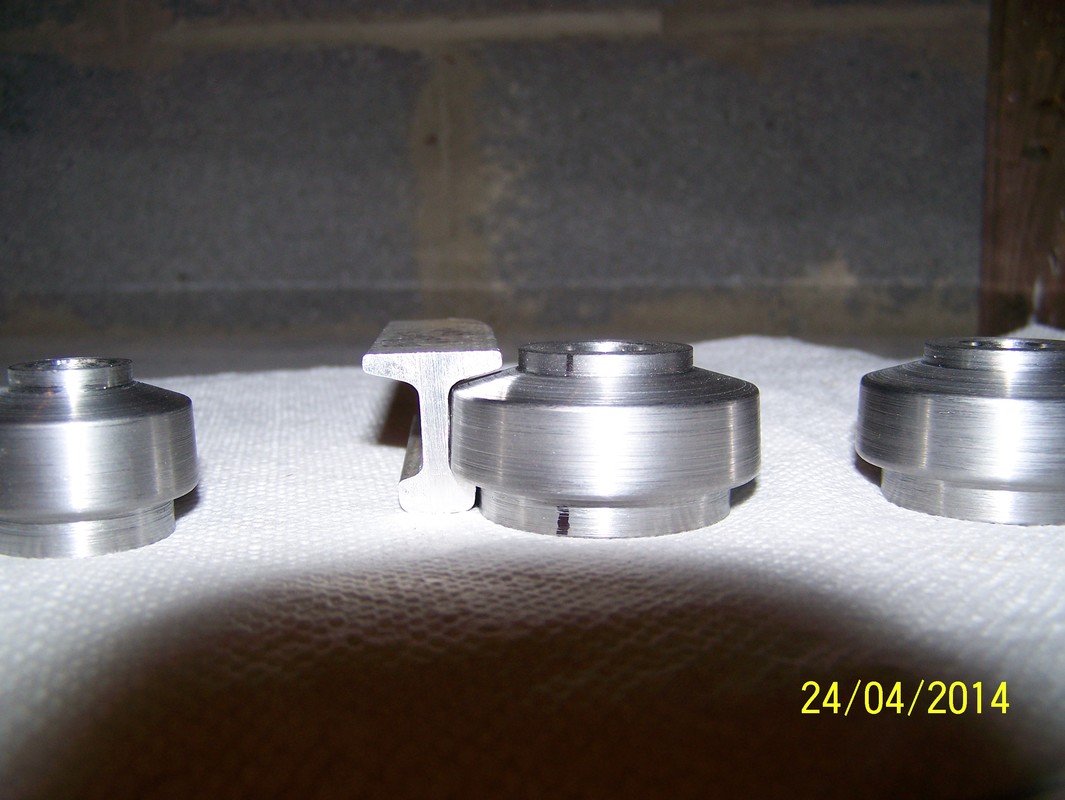
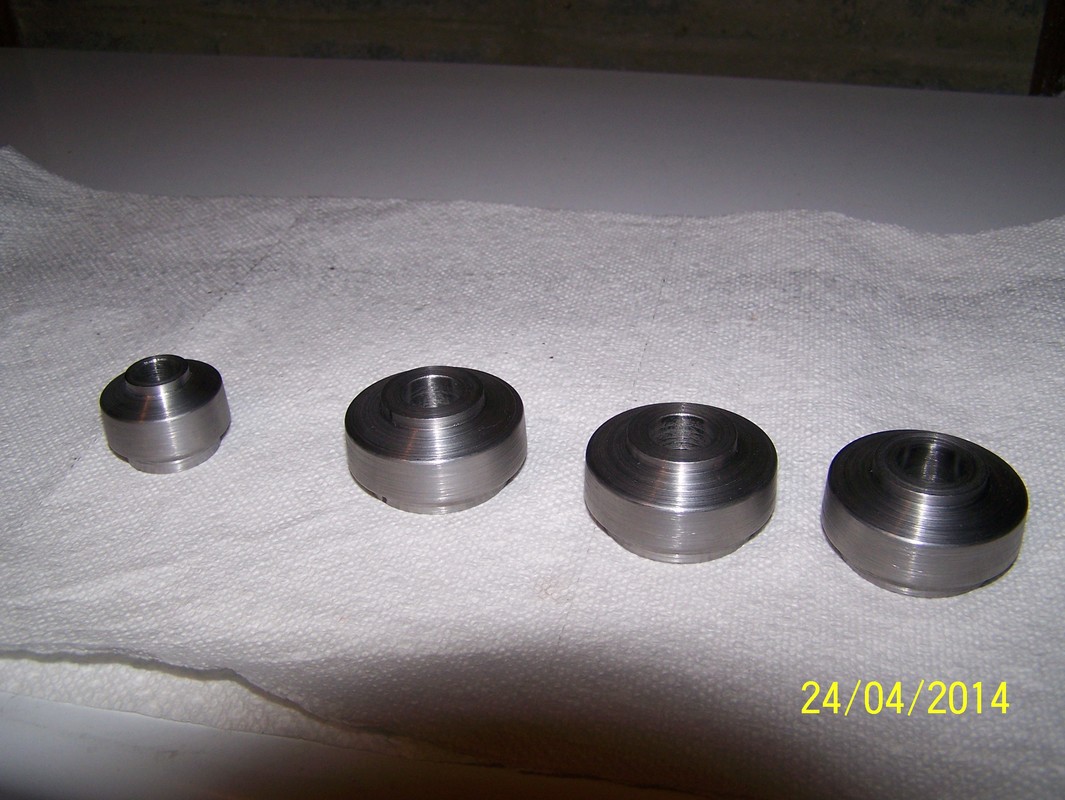
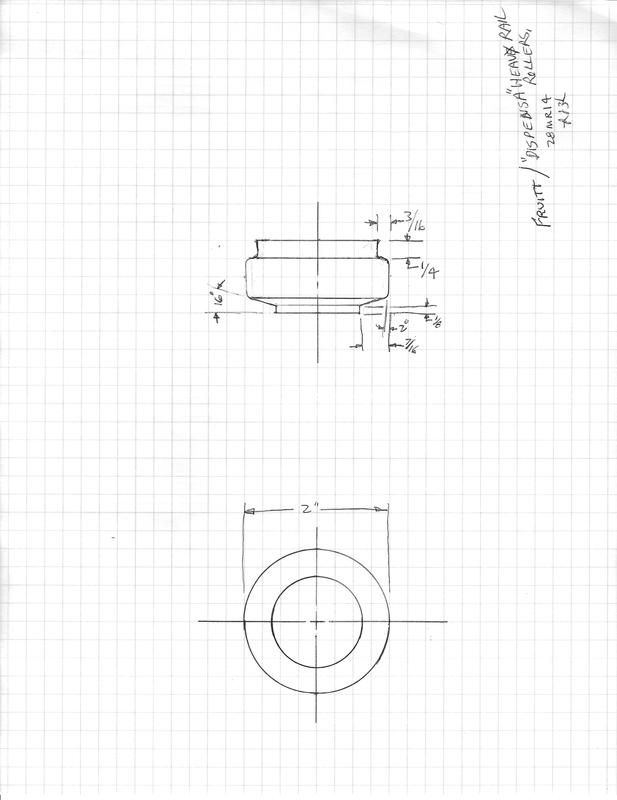
April, 2014. Continued on with machining the rollers.
| specialrailrollers1.pdf |
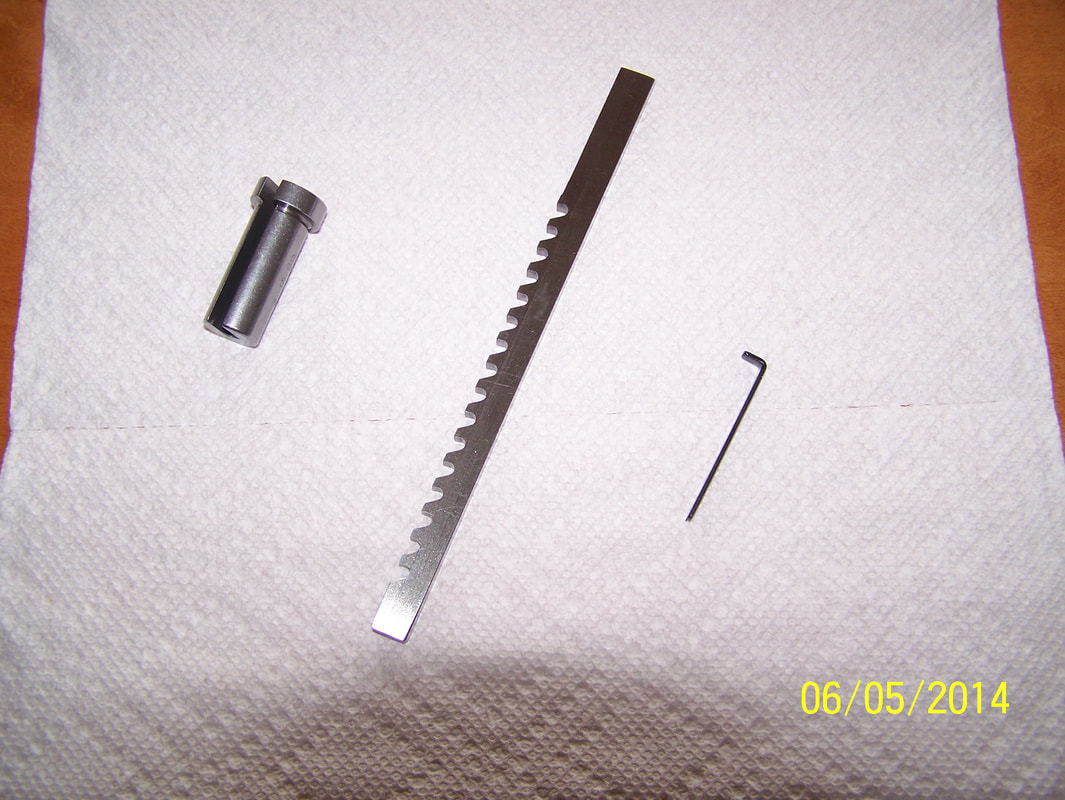
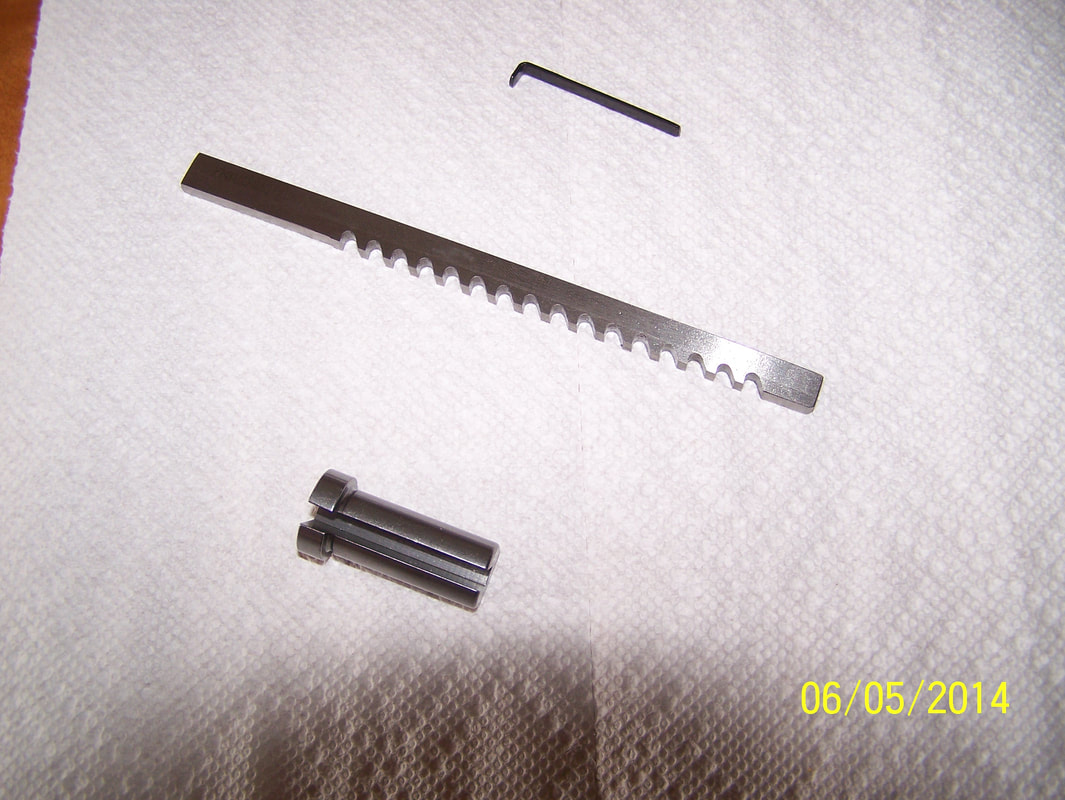
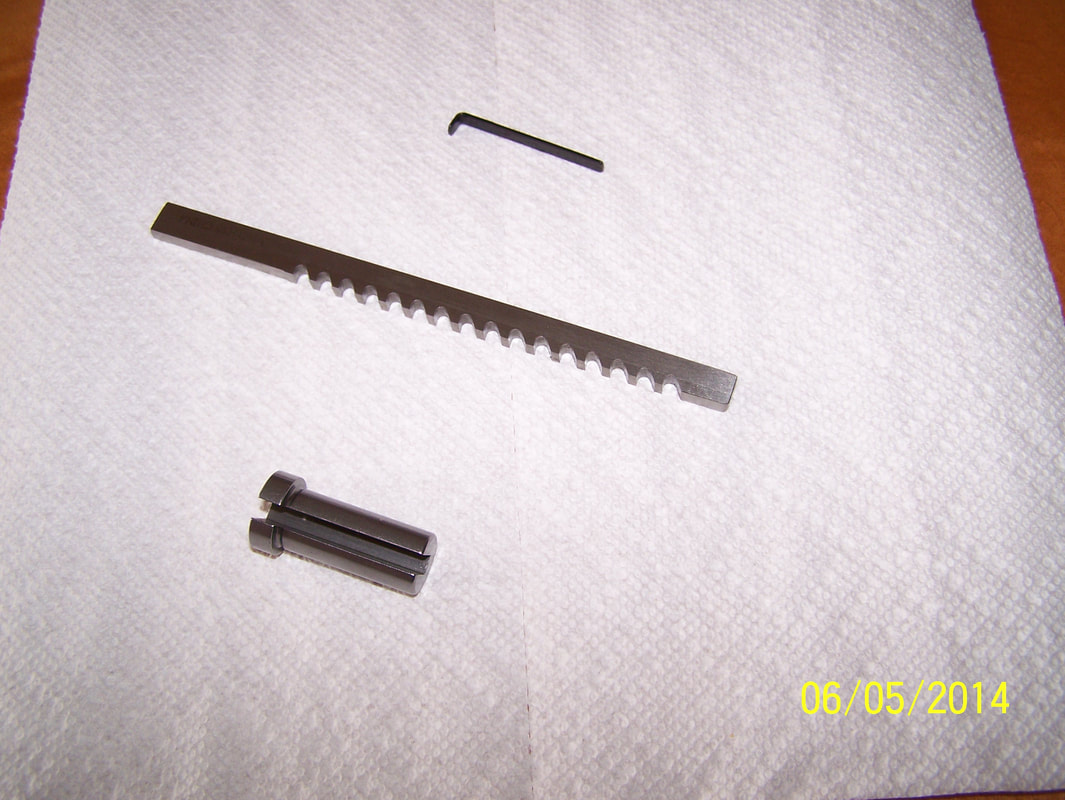
May, 2014. Got the broach's to cut the keyways inside the rollers.

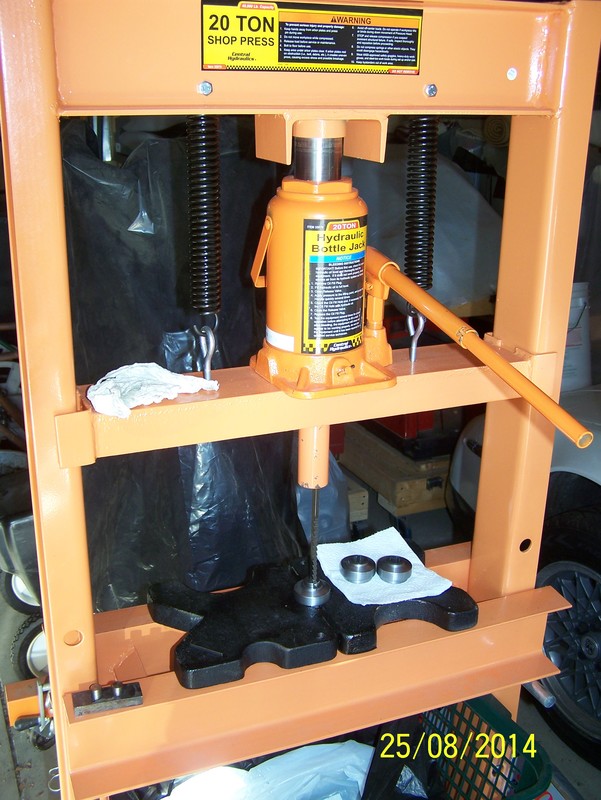
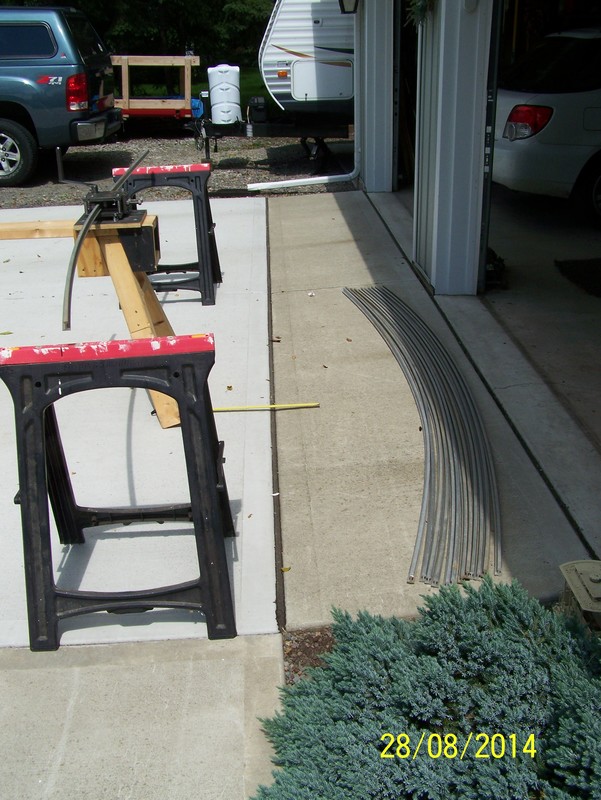
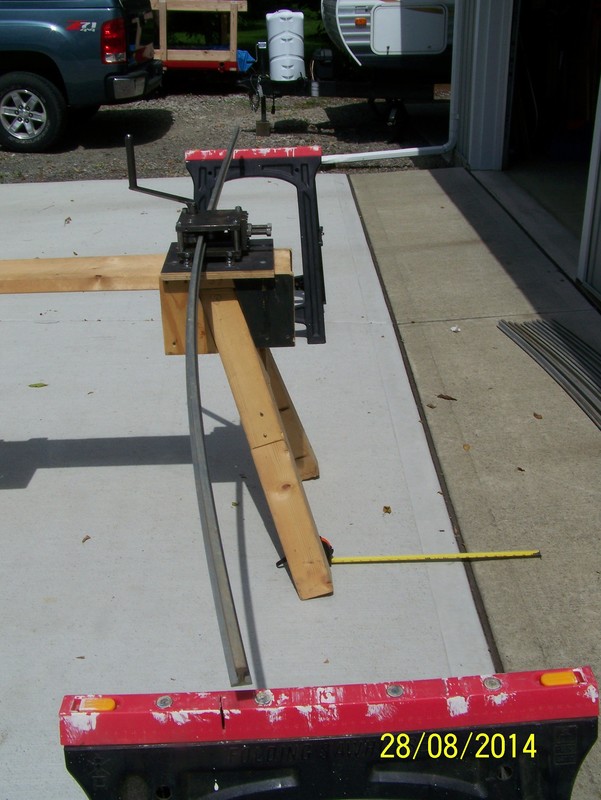
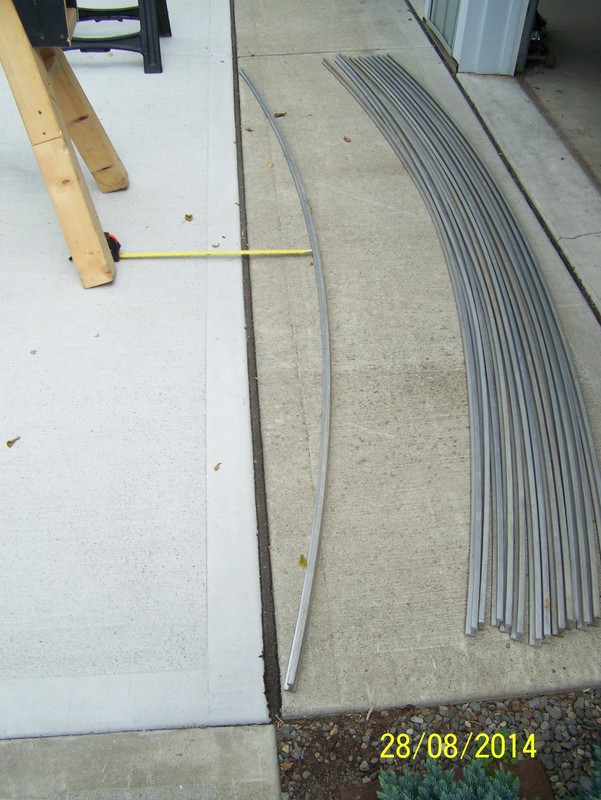
Aug, 2014. Broached the keyways, then reassembled the rail roller bender and bent the rail. Rolled about 200' of rail.
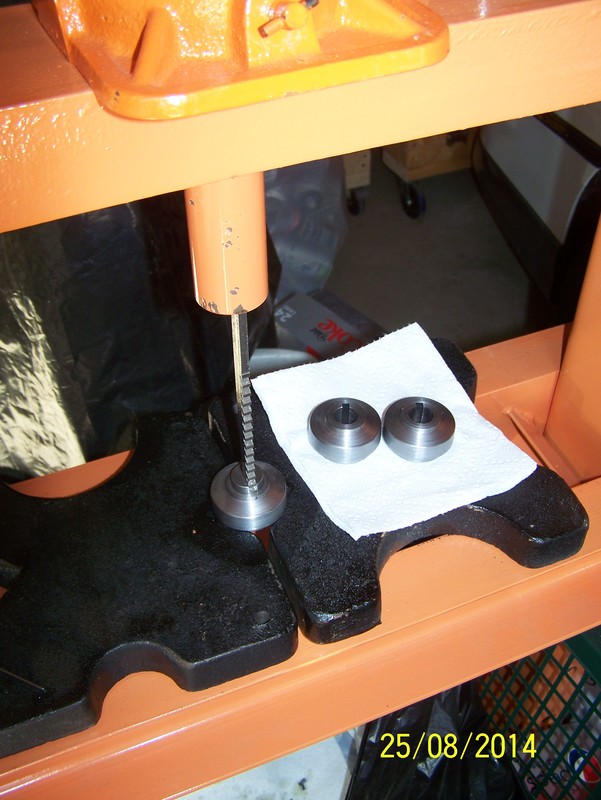
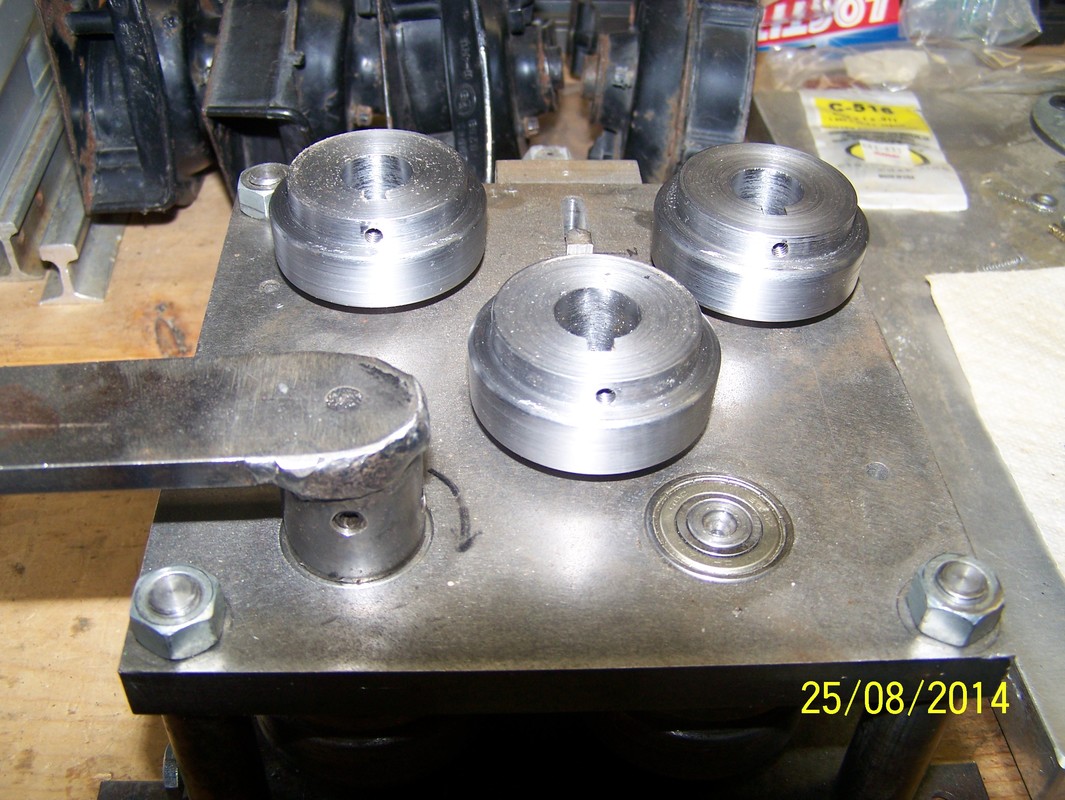
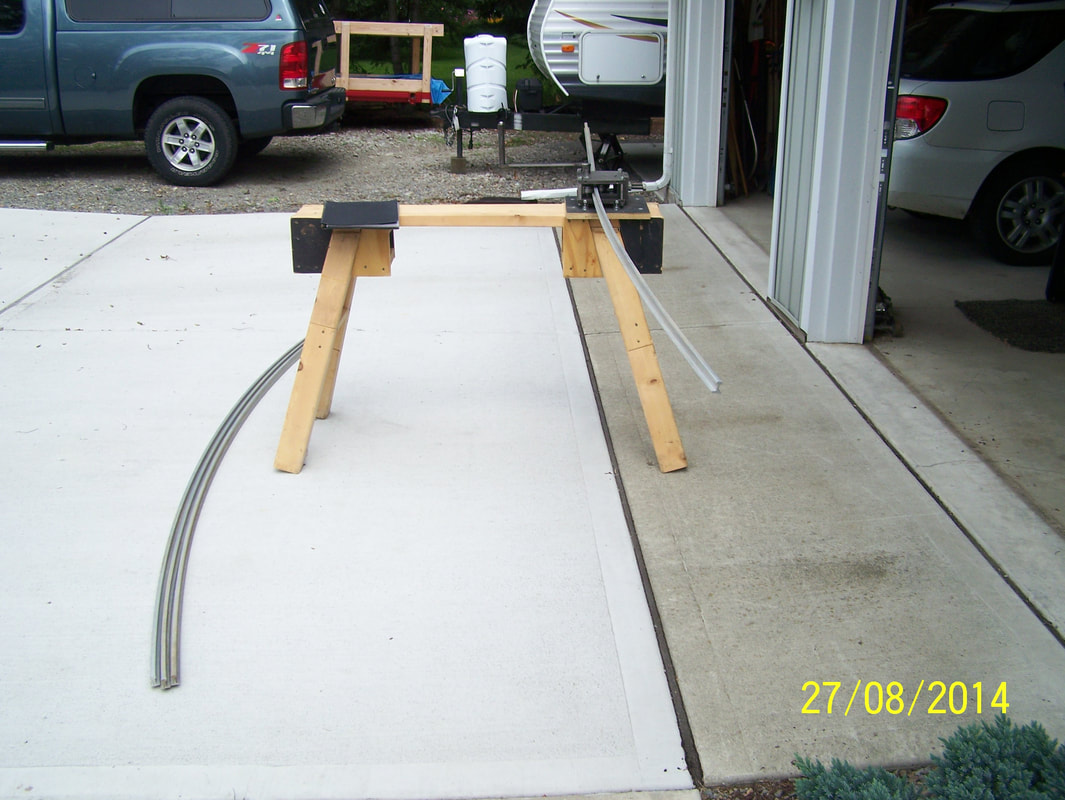
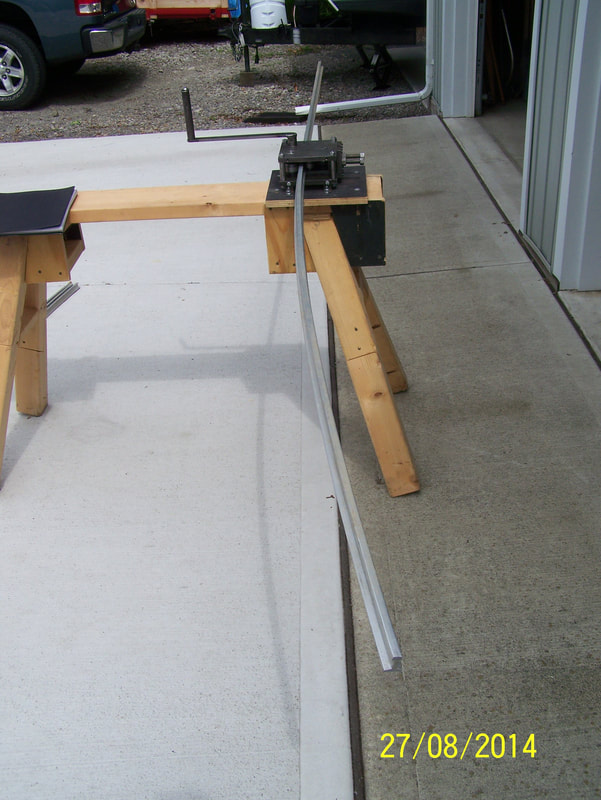
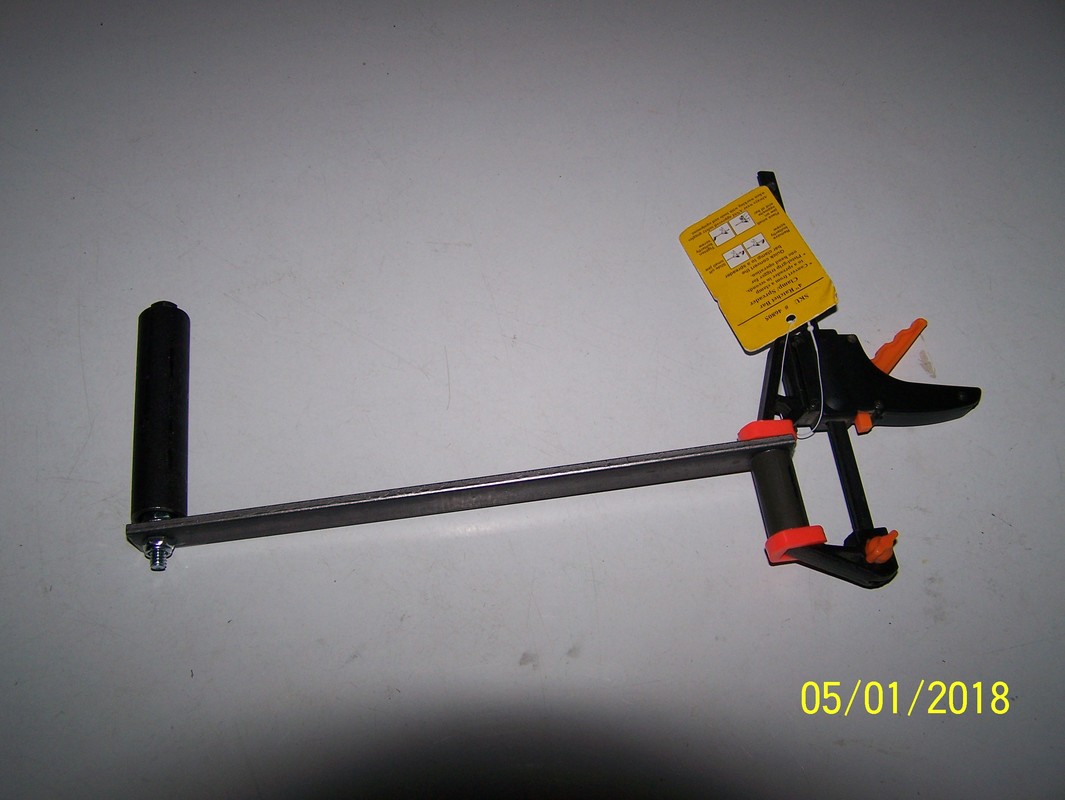
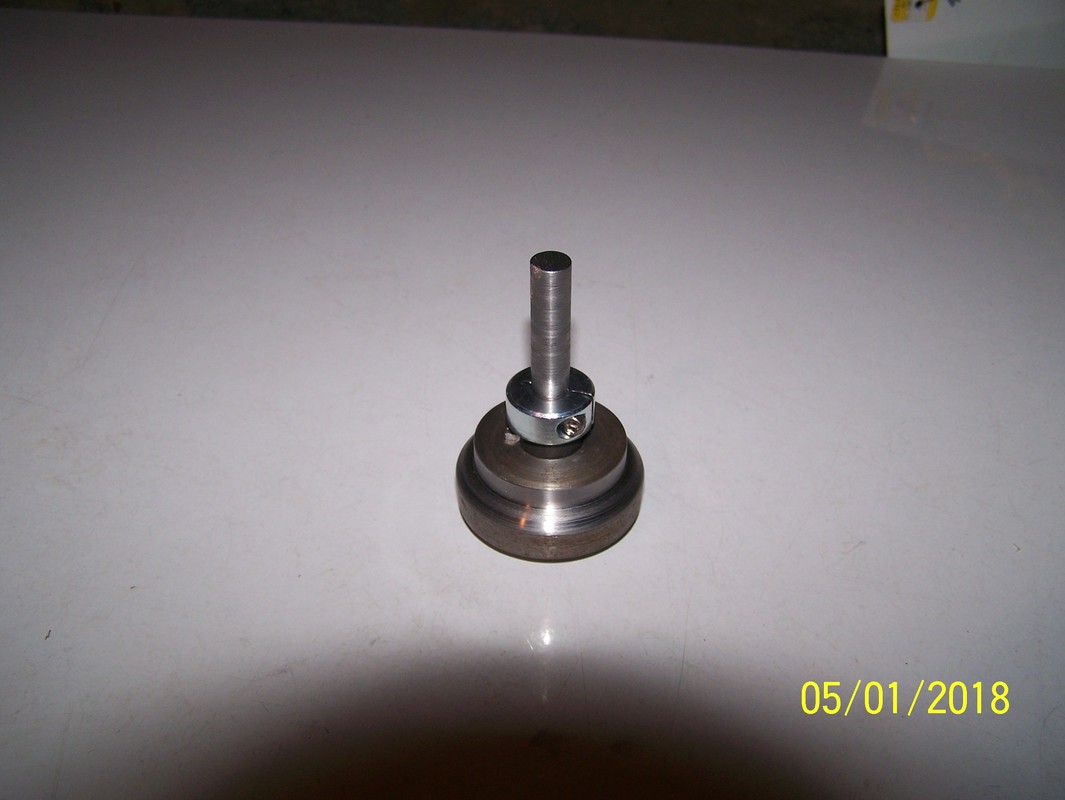
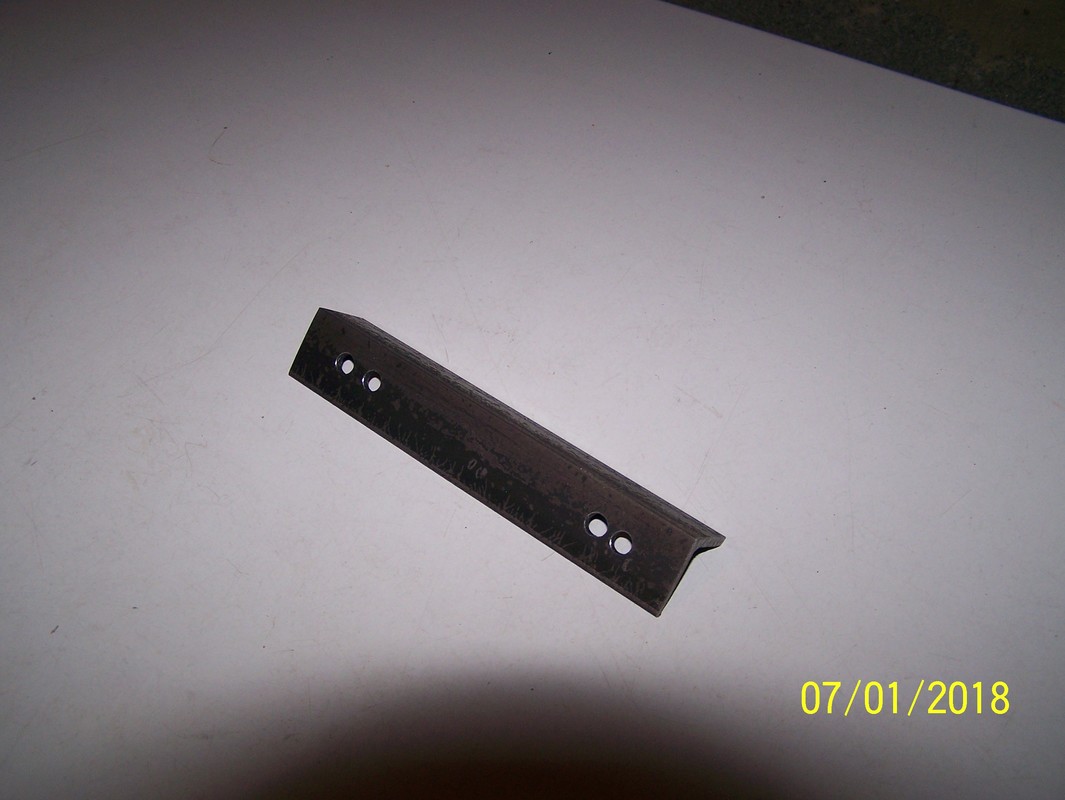
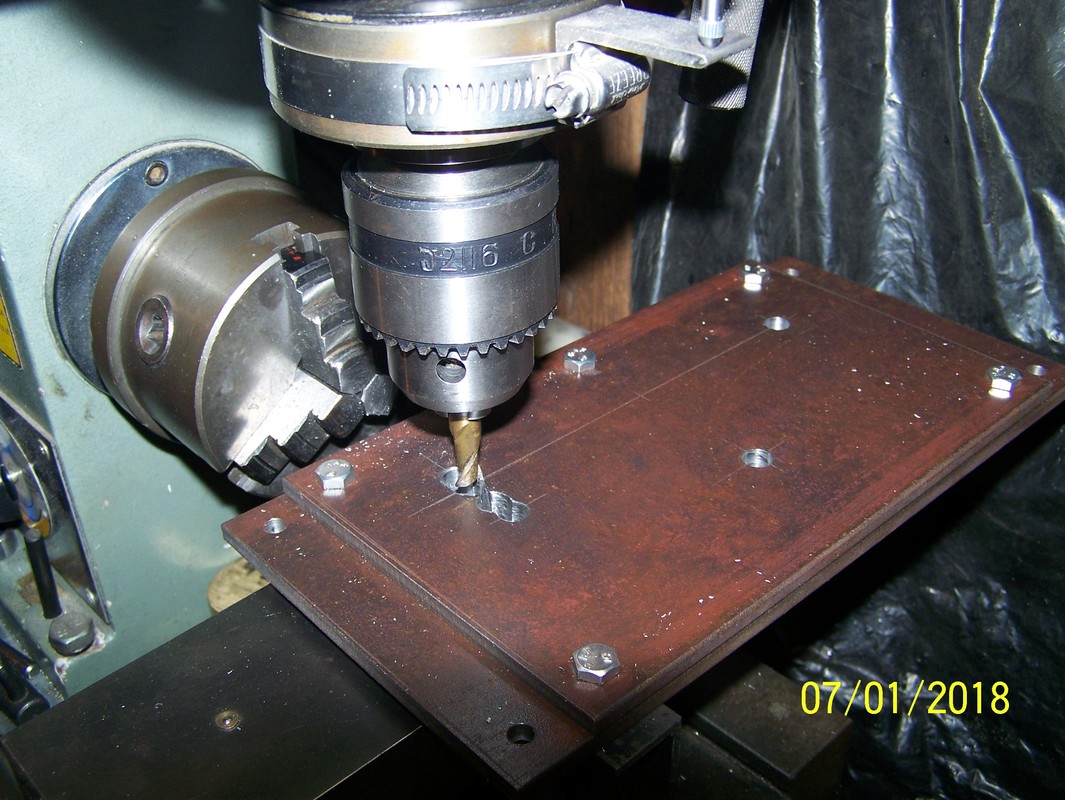
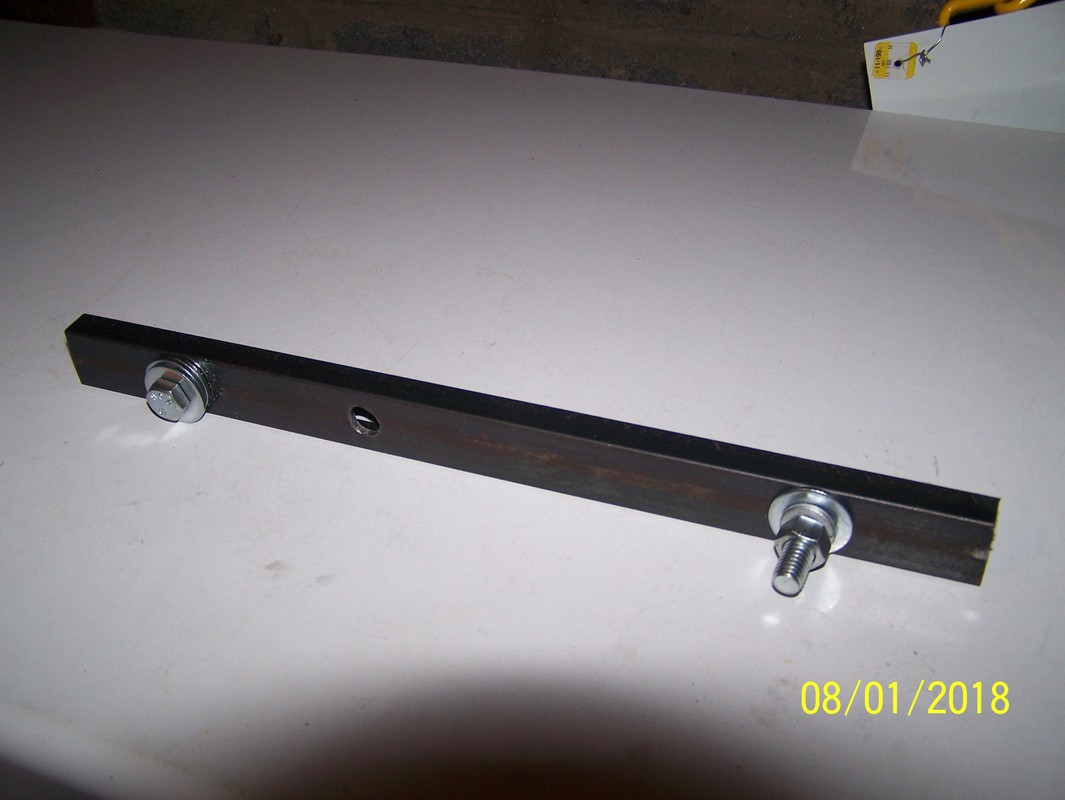
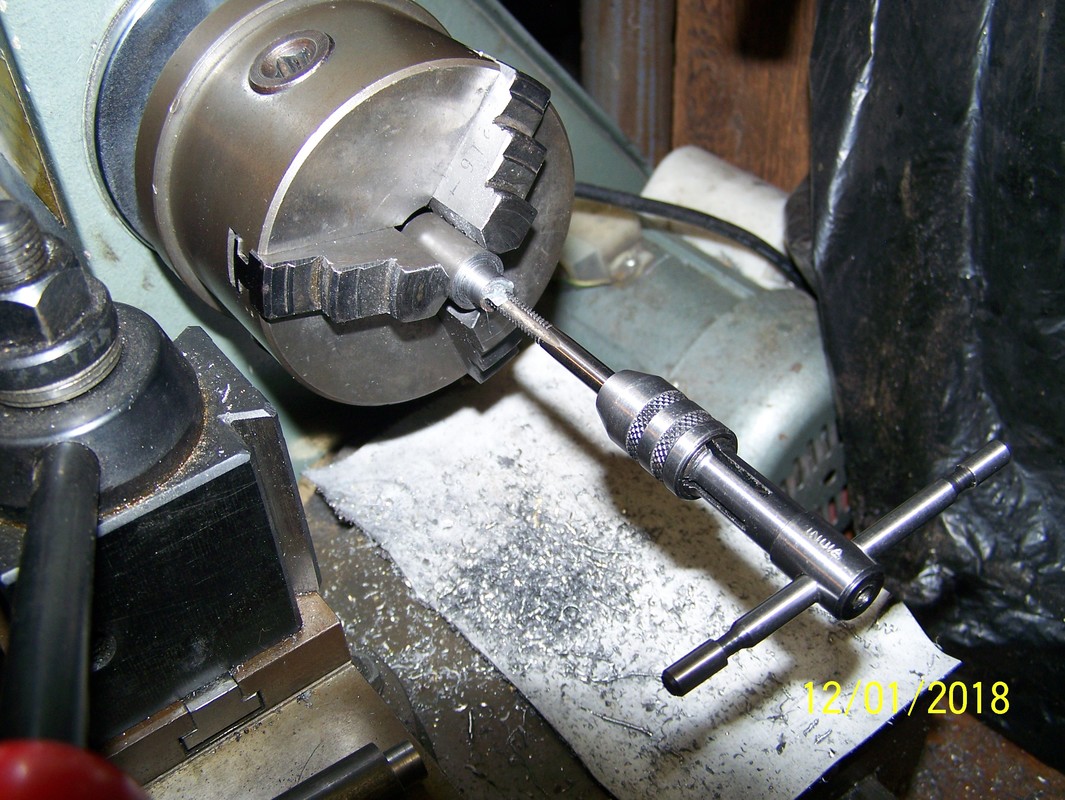
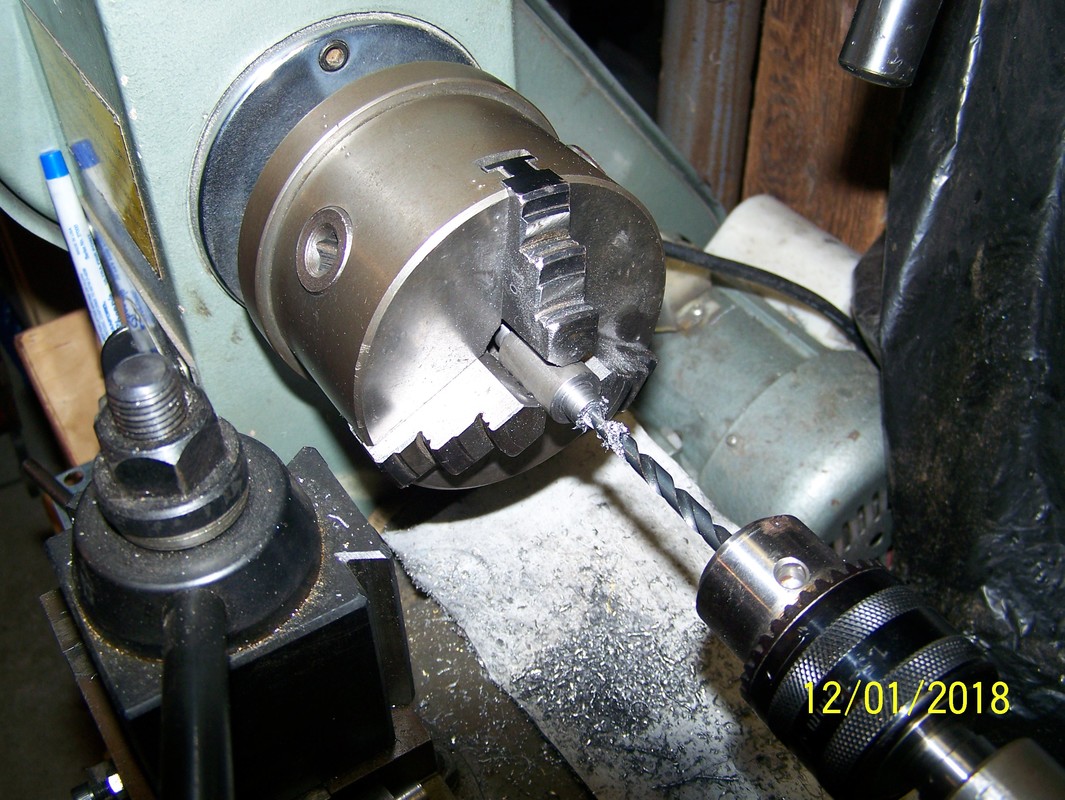
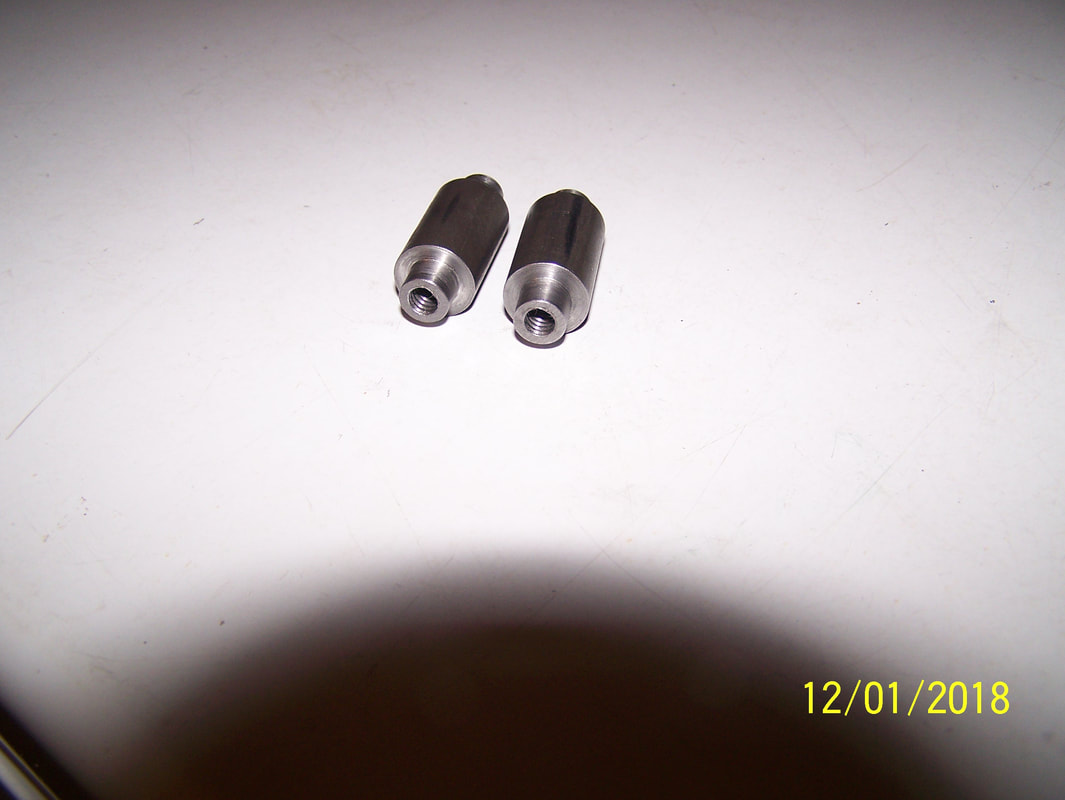
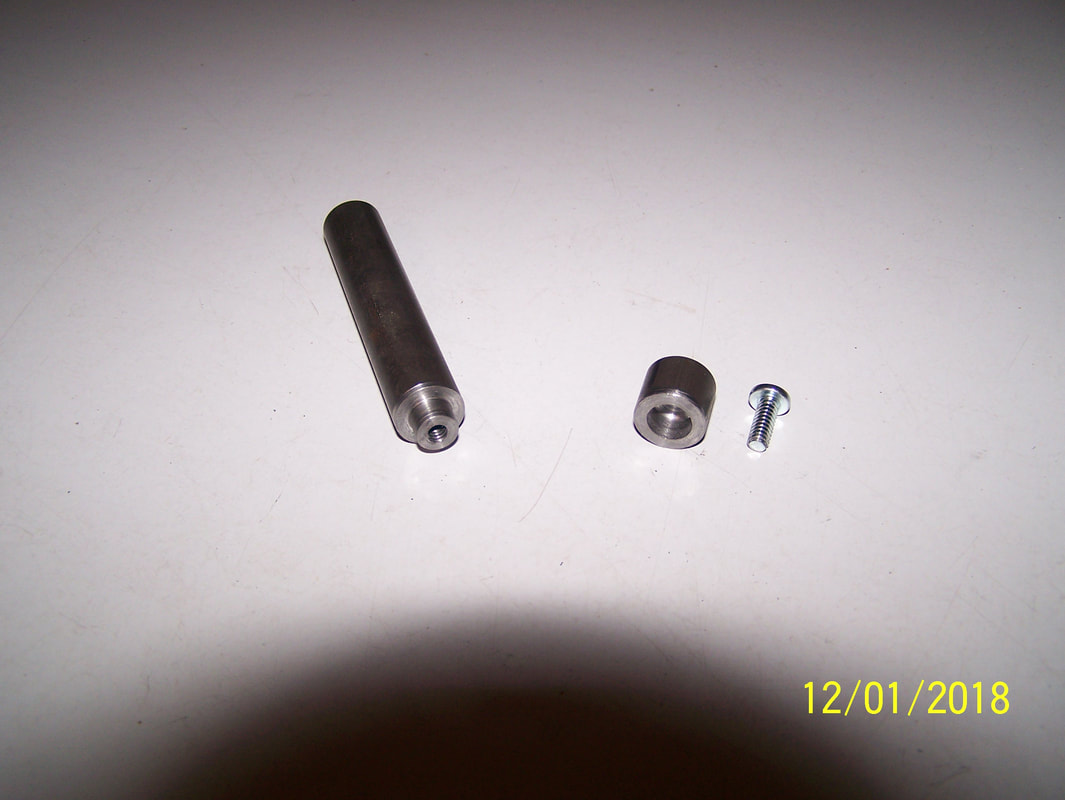
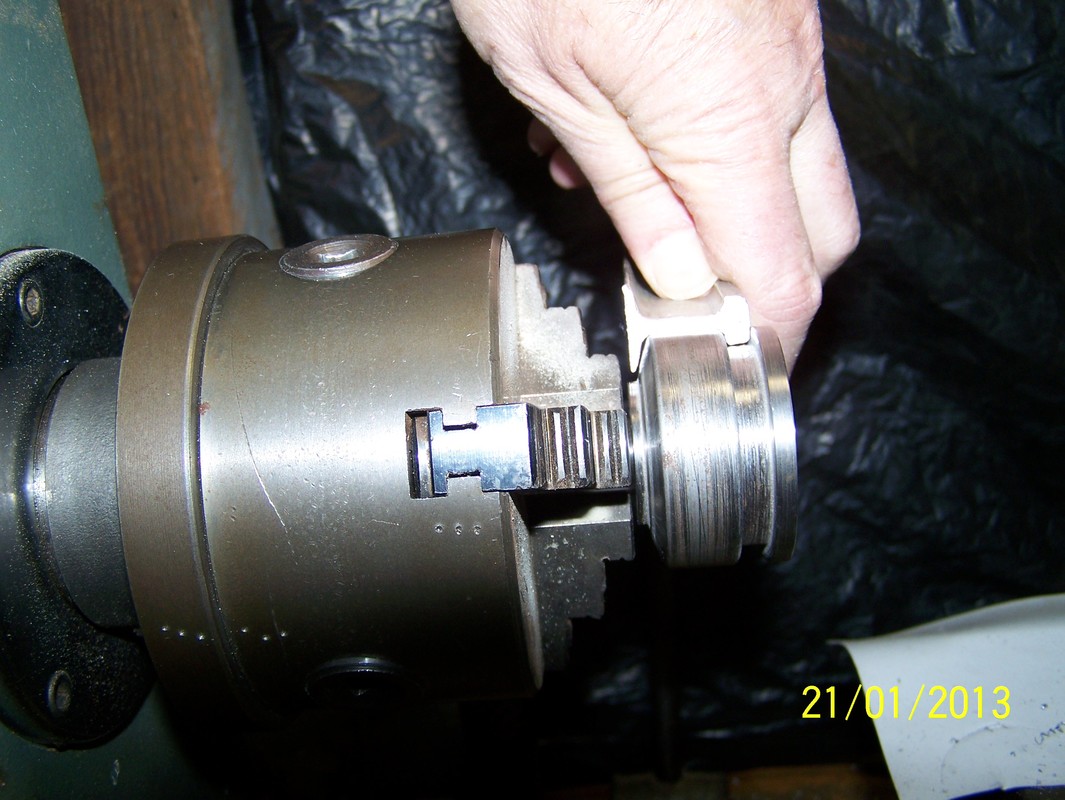
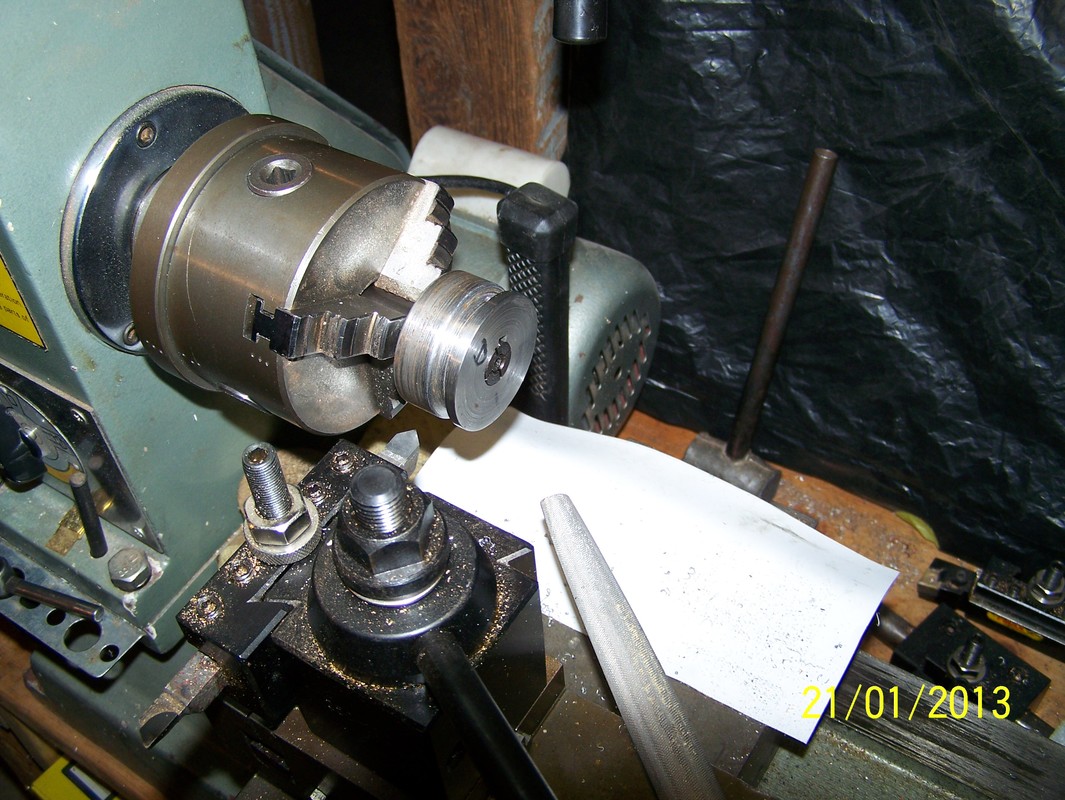
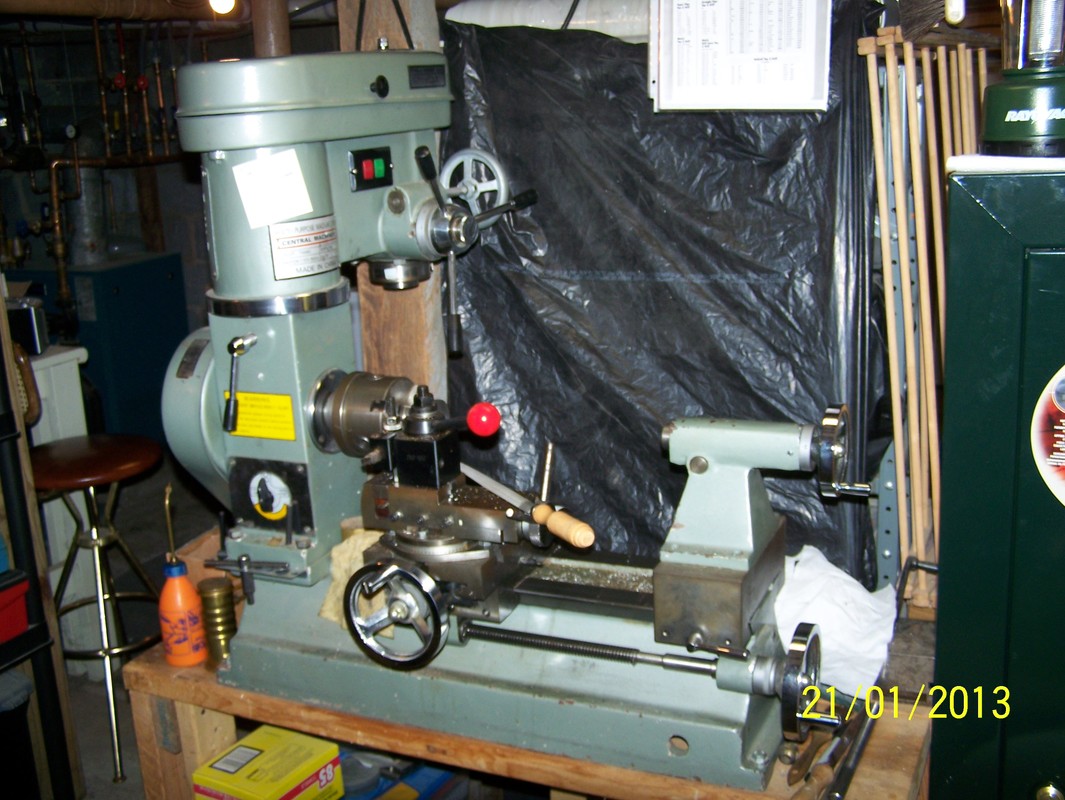
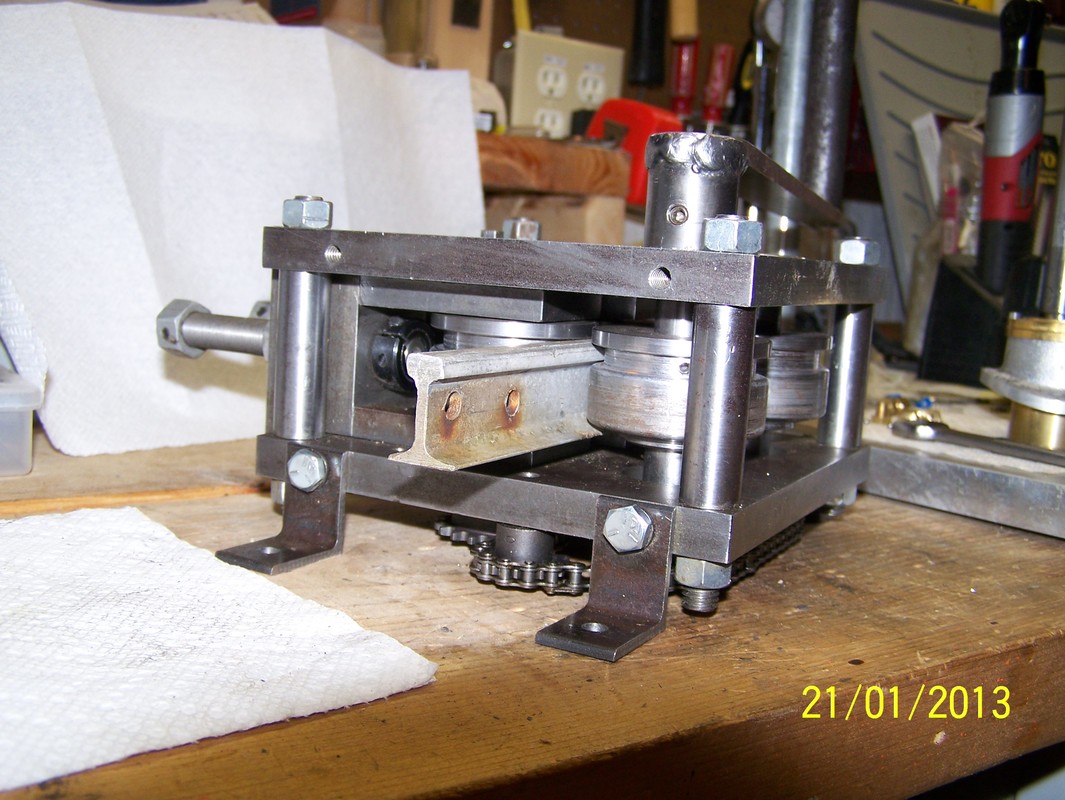
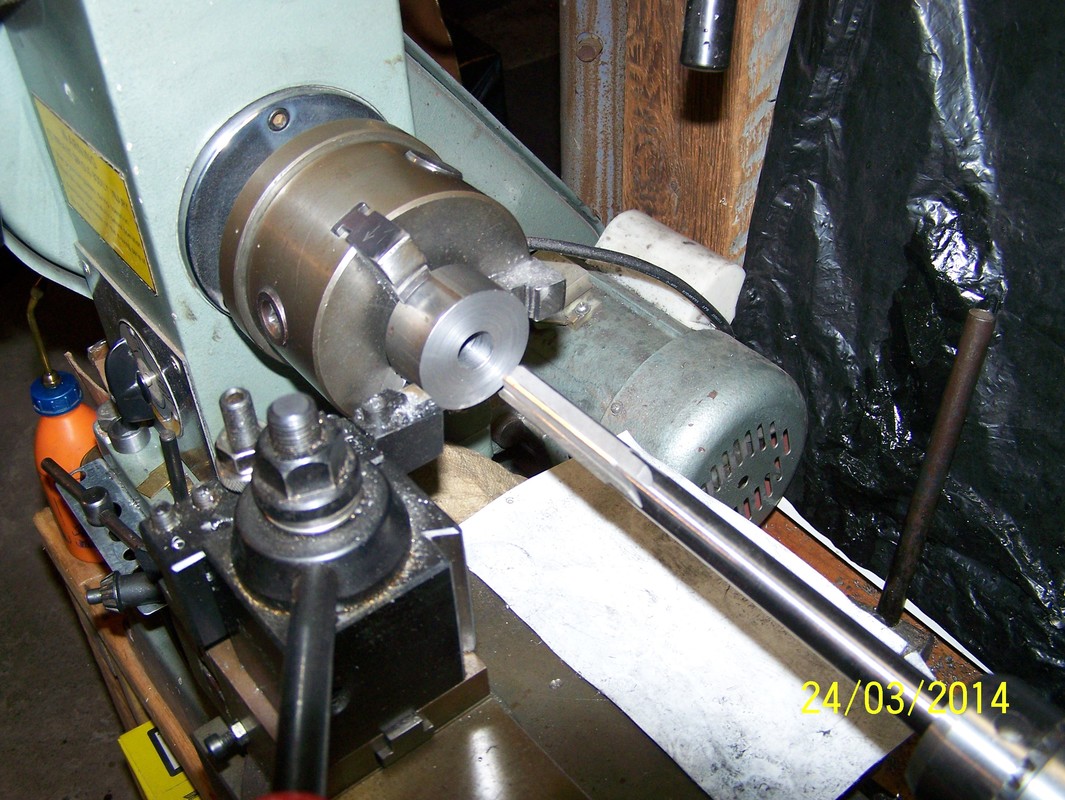
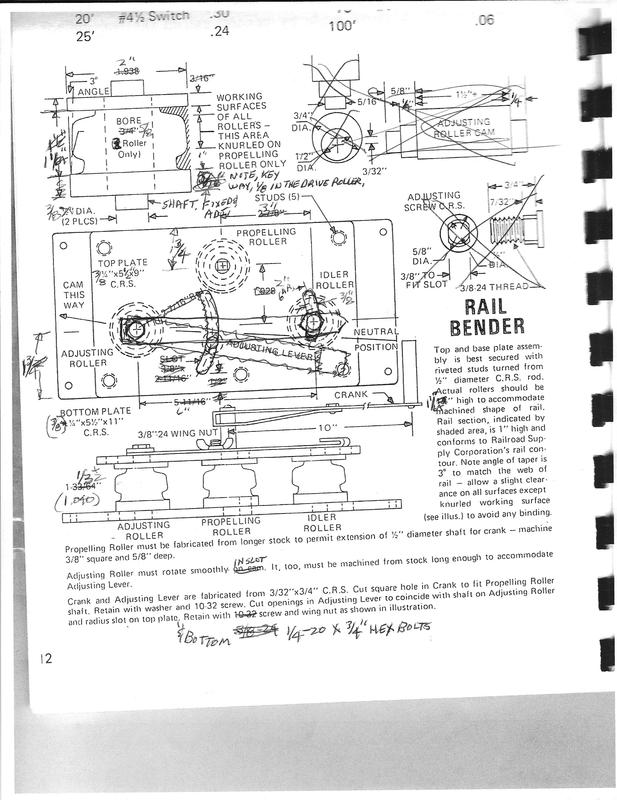
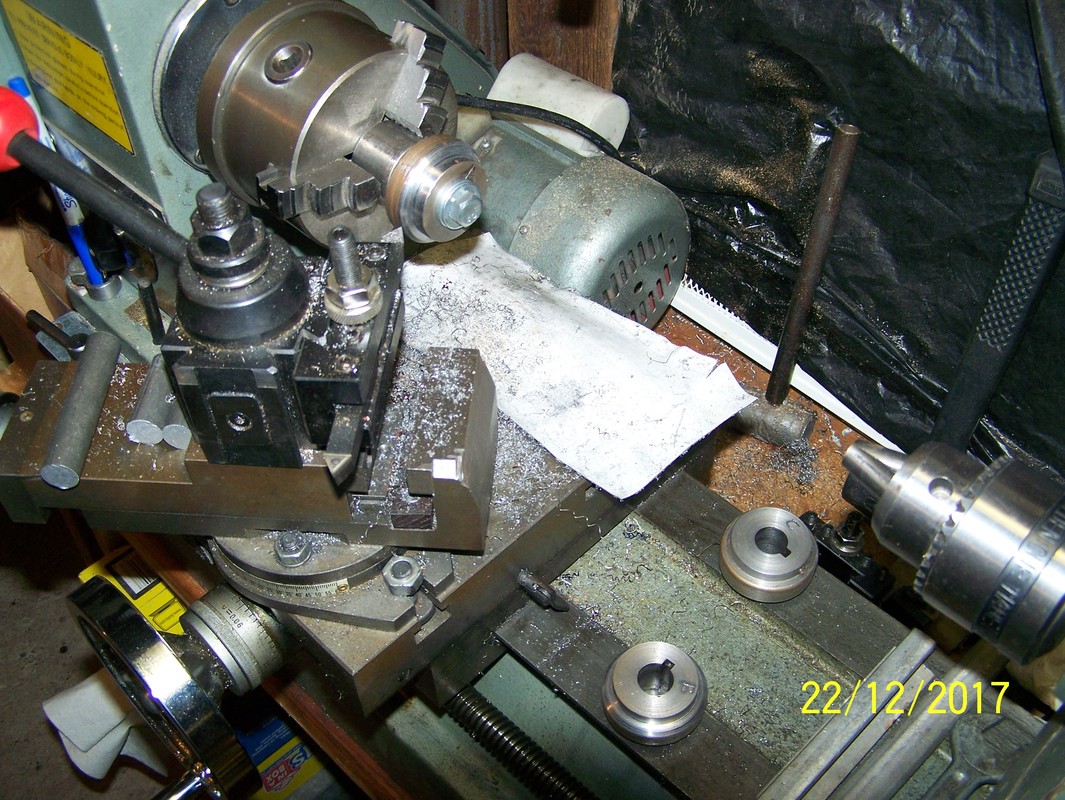
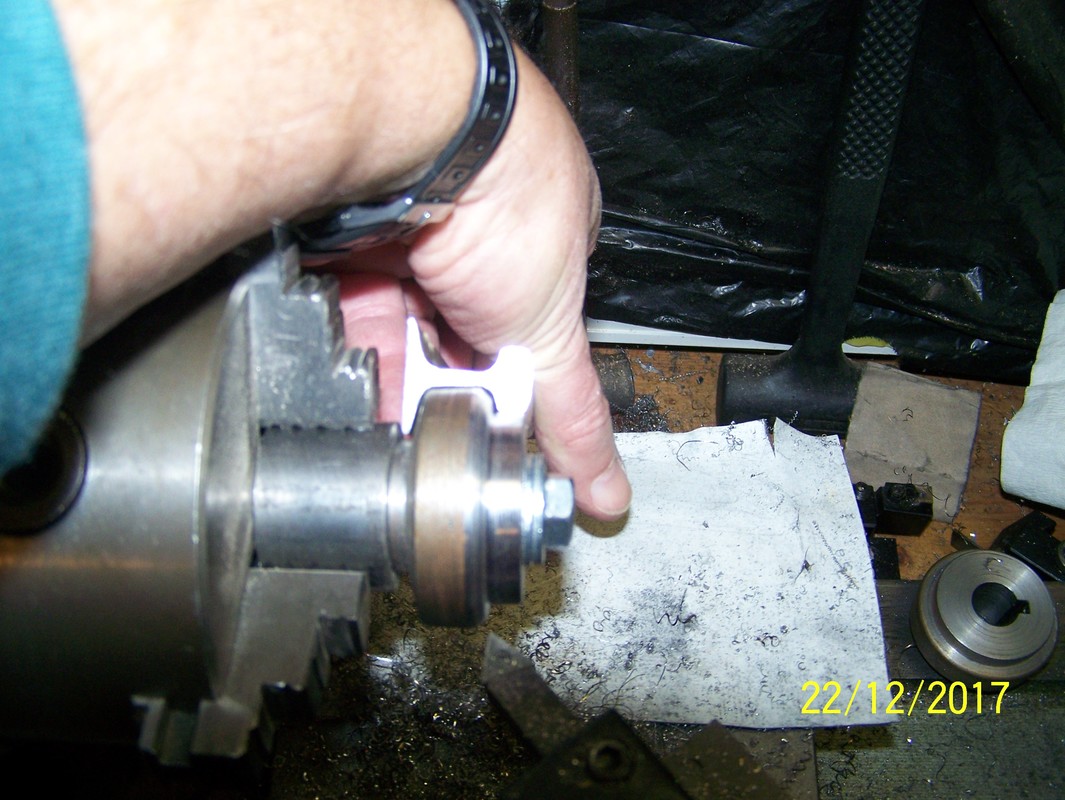
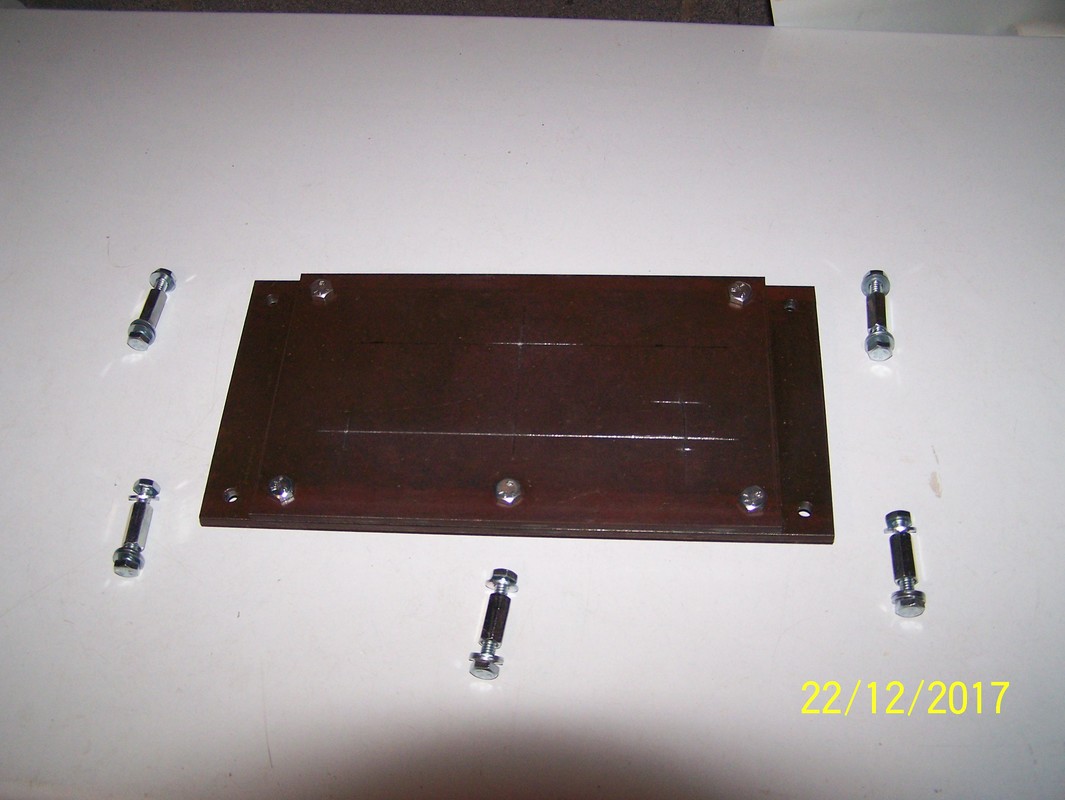
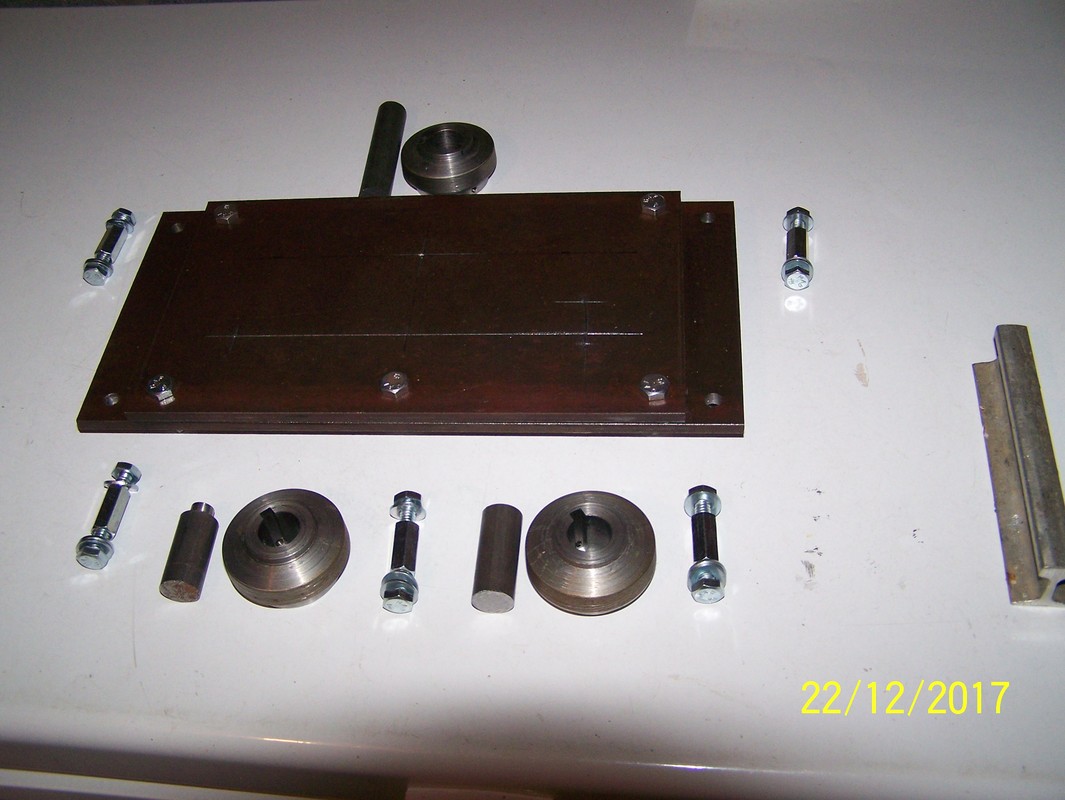
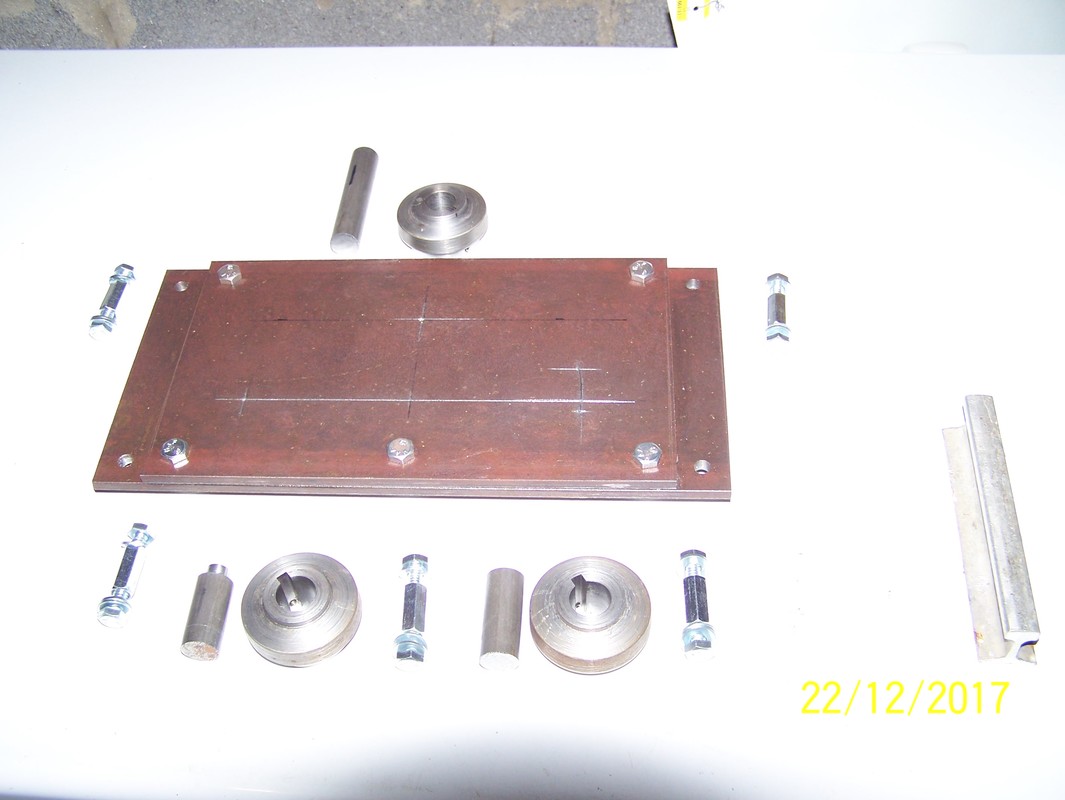
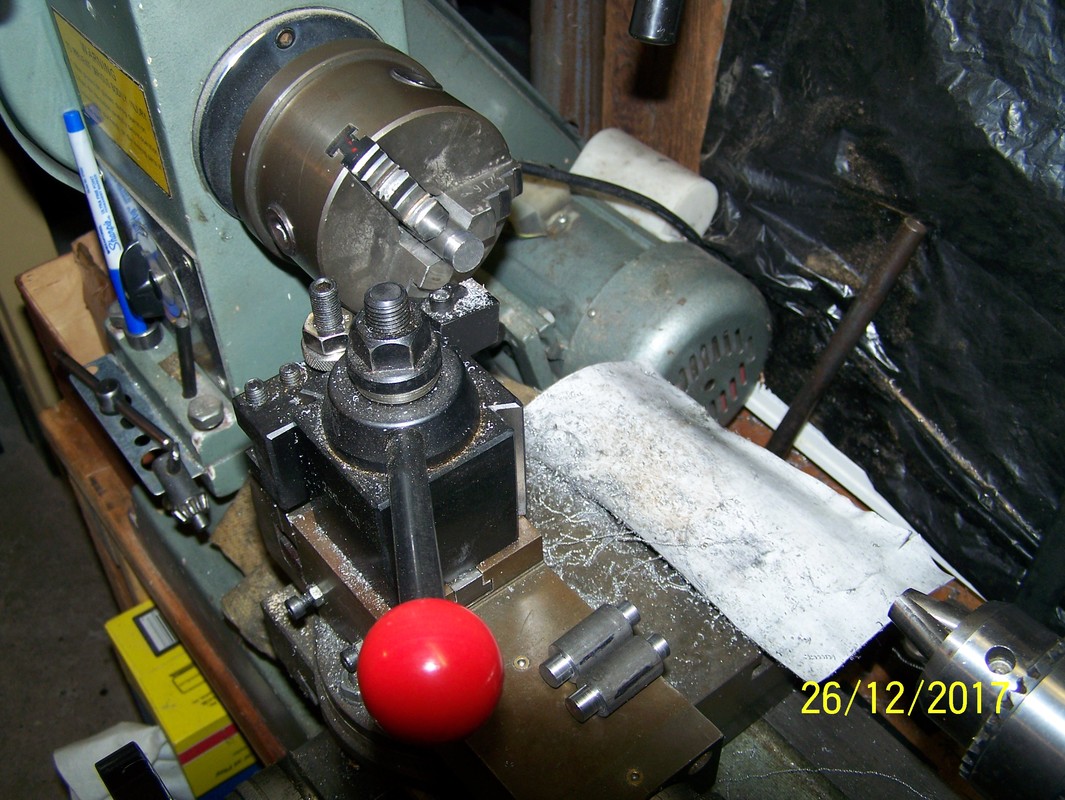
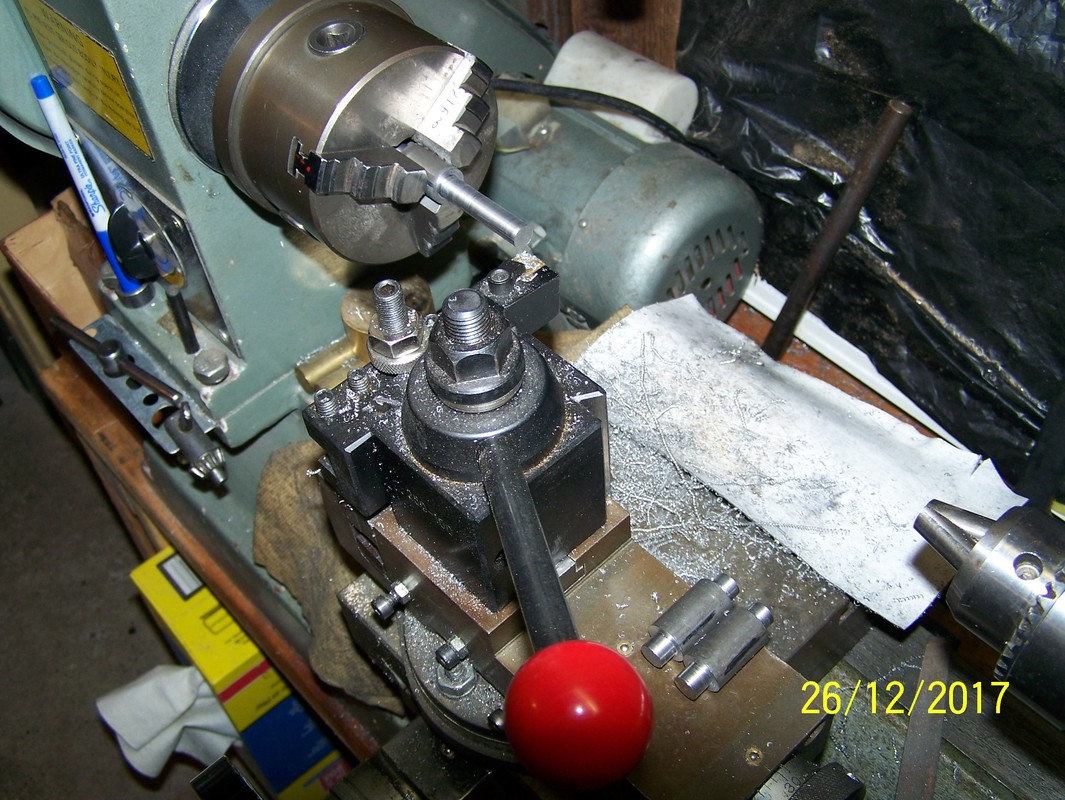
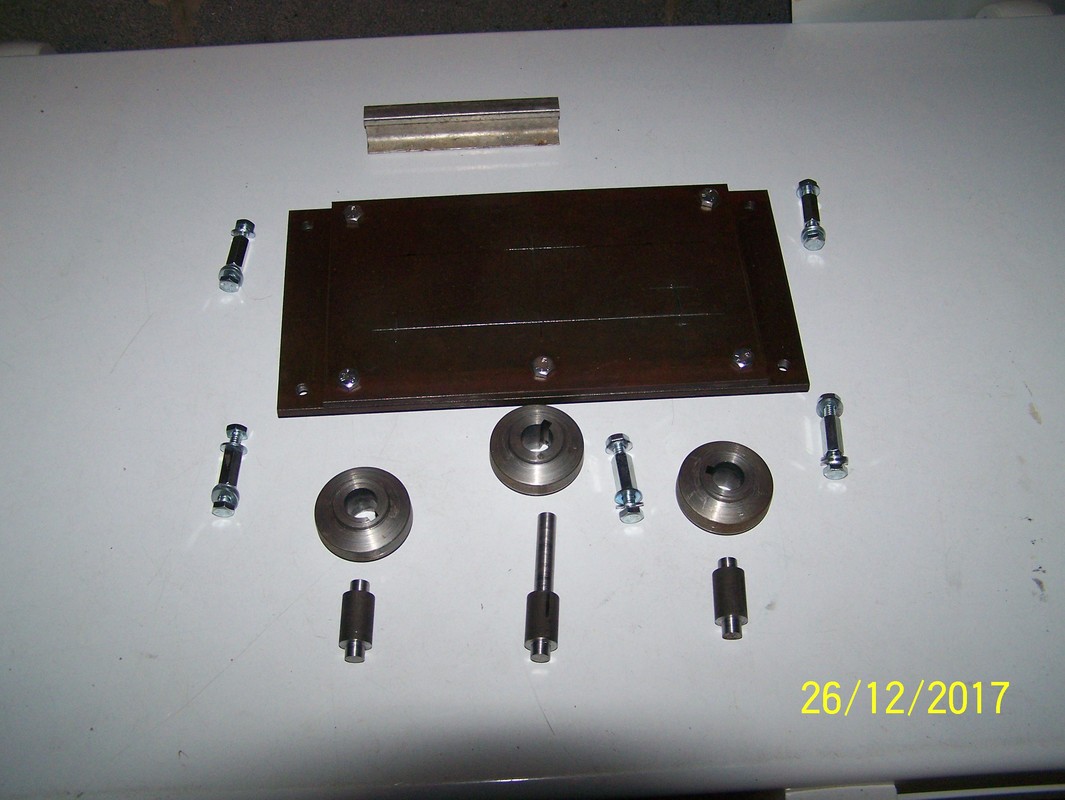
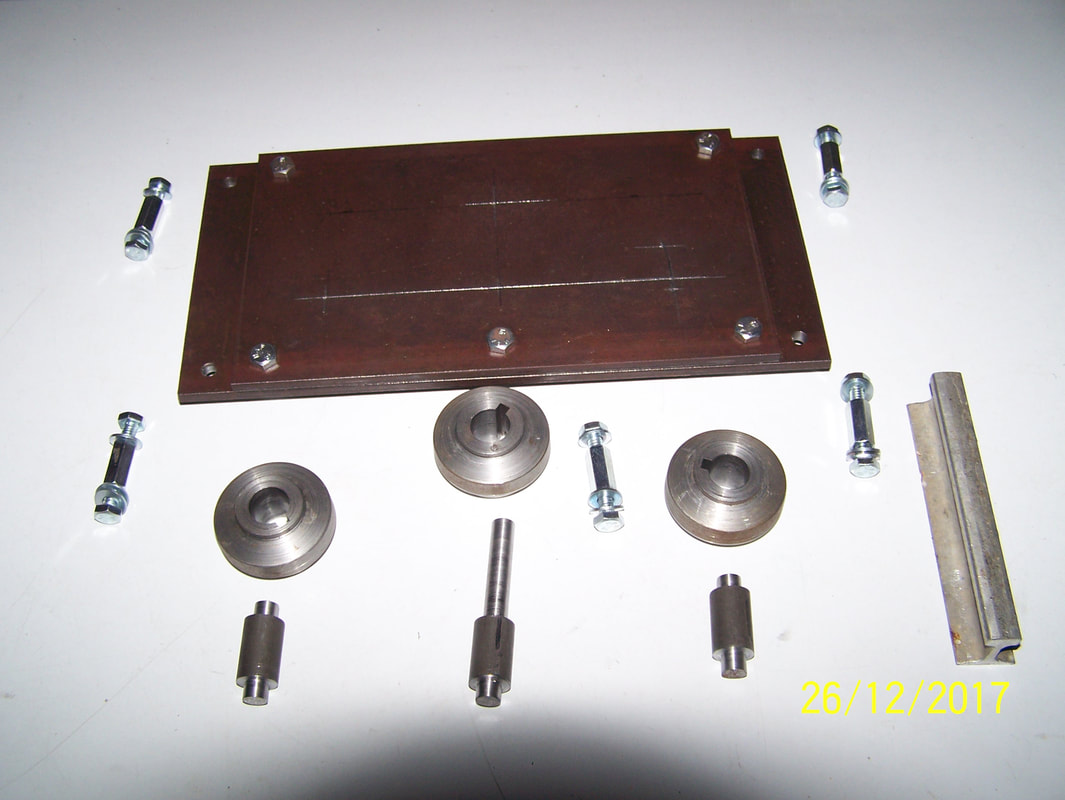
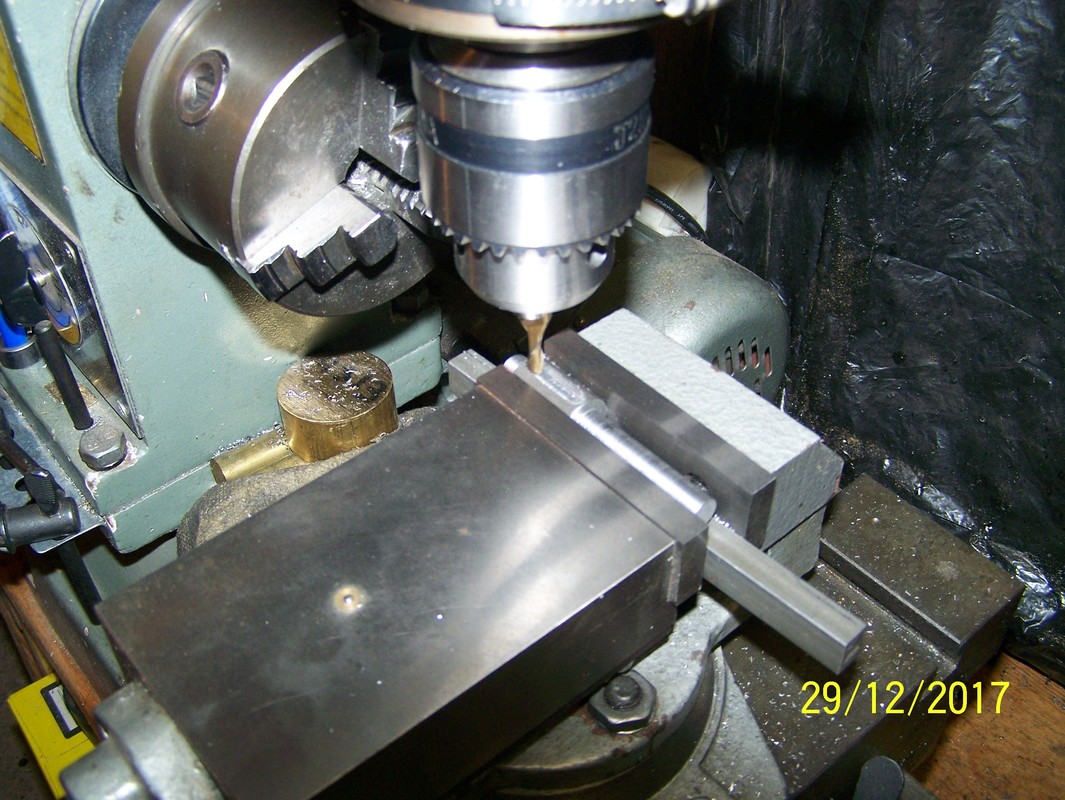
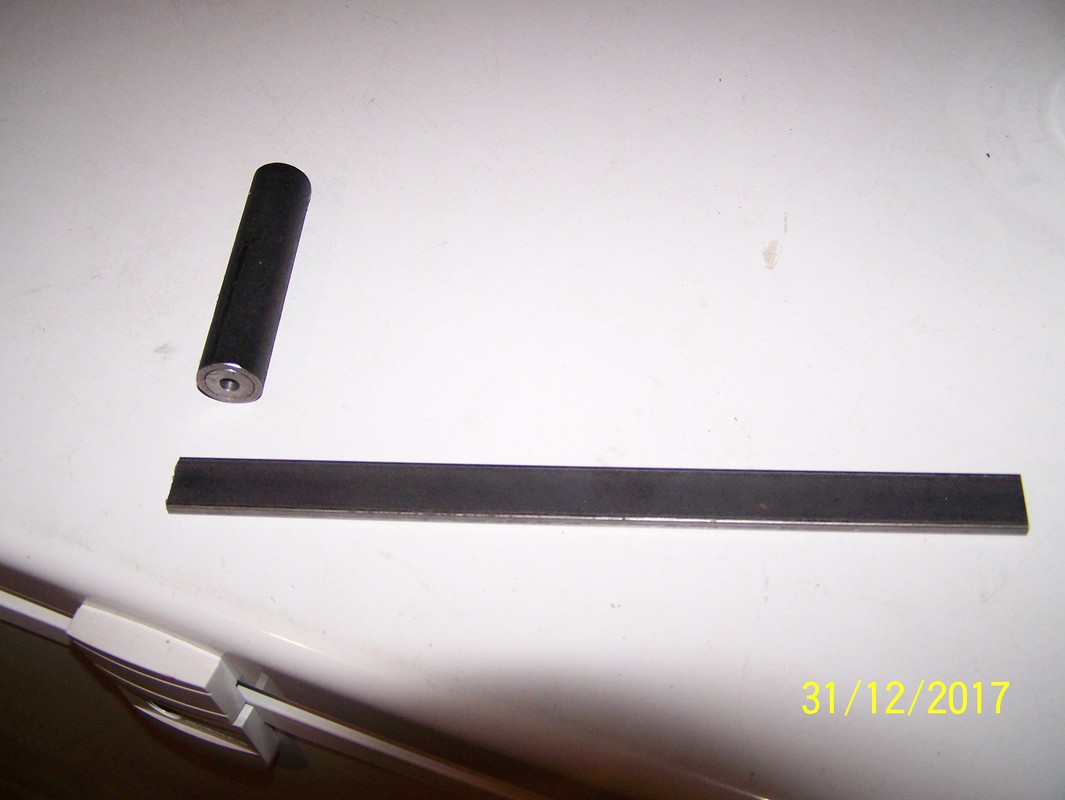
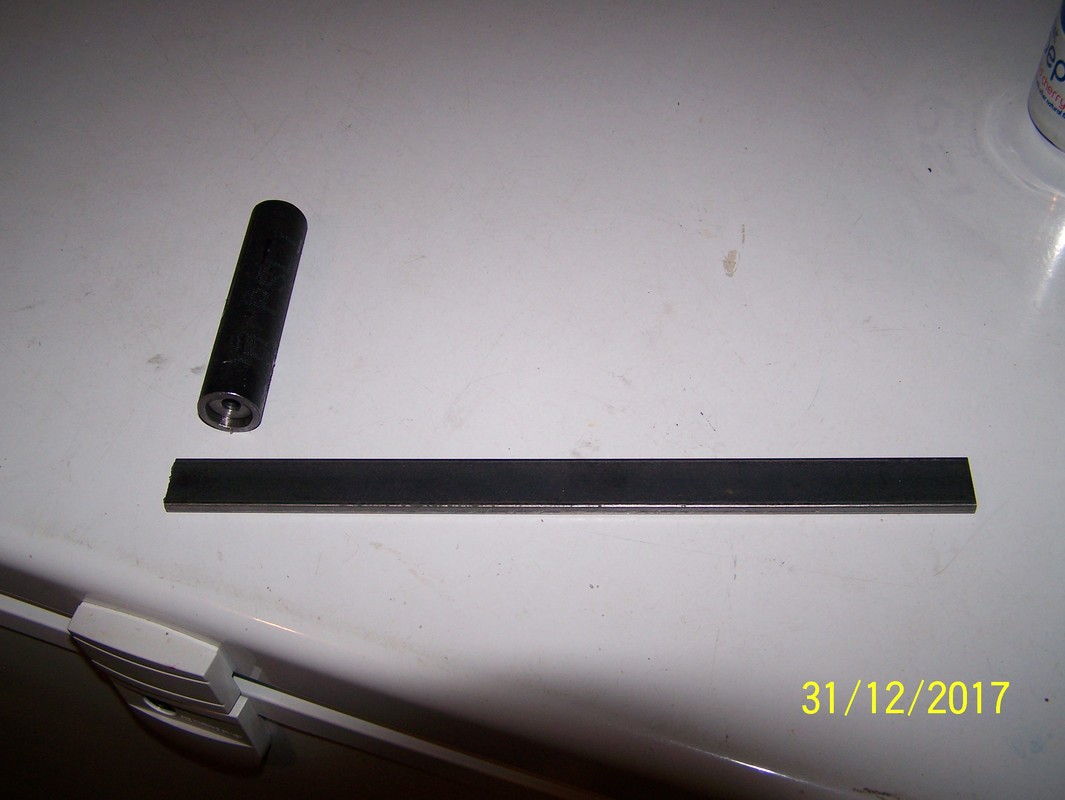
Dec, 2017. I had returned the rail bender that I had borrowed from a friend, so decided to make one of my own. Modified a set of rollers that I had made to fit the new rail I have (west coast rail). Got some 1/4" steel plate, cut to the sizes that I needed and drilled the support holes and the mounting holes. Next layed out for the holes for the three roller die shafts. Two are fixed position's but the third is a grove on an arc. Then machined the three shafts. One is longer and is the driving one. From there I had to set up for milling on the mill/lathe, to do the keyway milling on the driving shaft. Then cut a piece of pipe and a piece of flat steel to make the driving handle and handle bar for the rail bender. Machined some plugs with 1/4 inch center holes, to be pressed into the pipe so it can rotate. Drilled out the ends of the pipe and pressed the plugs into the pipe.
| railrollerbender2.pdf |
| railrollerbender4.pdf |
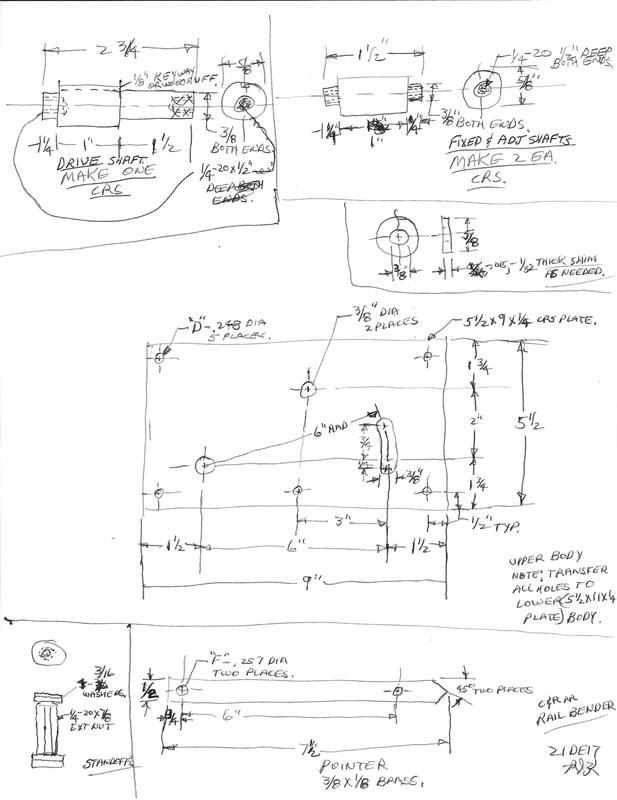
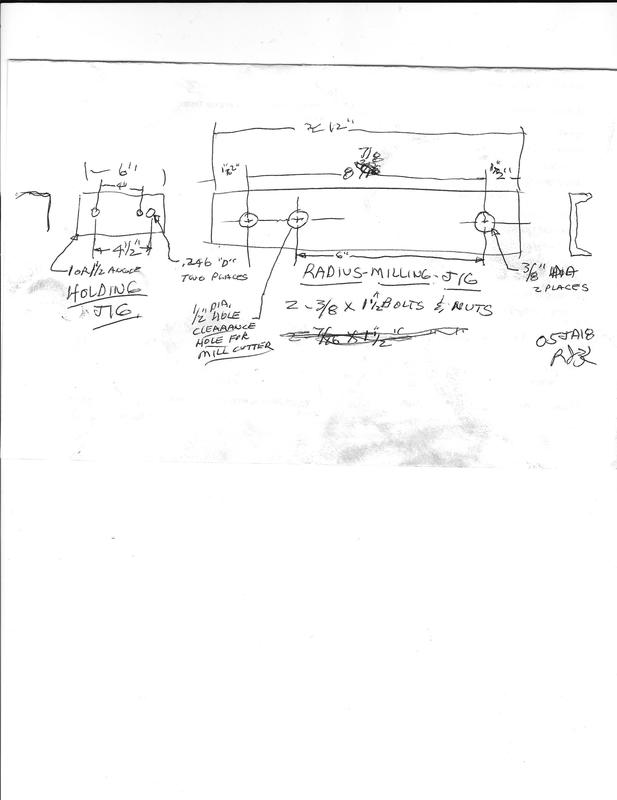
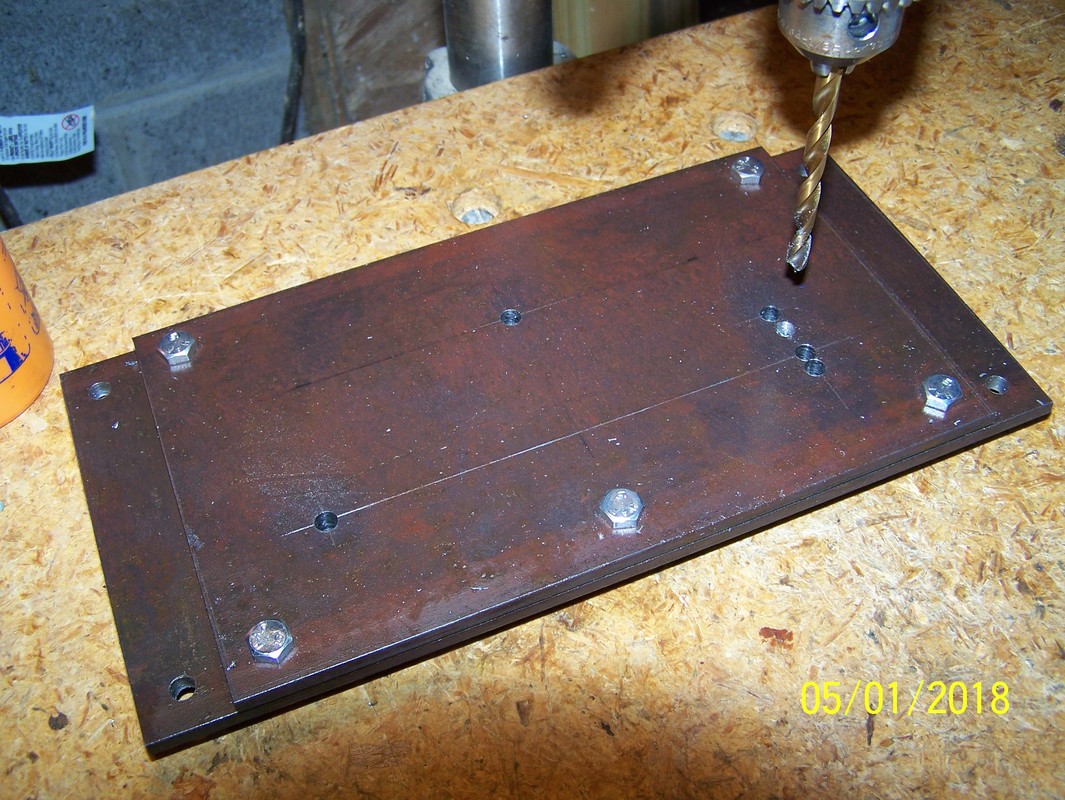
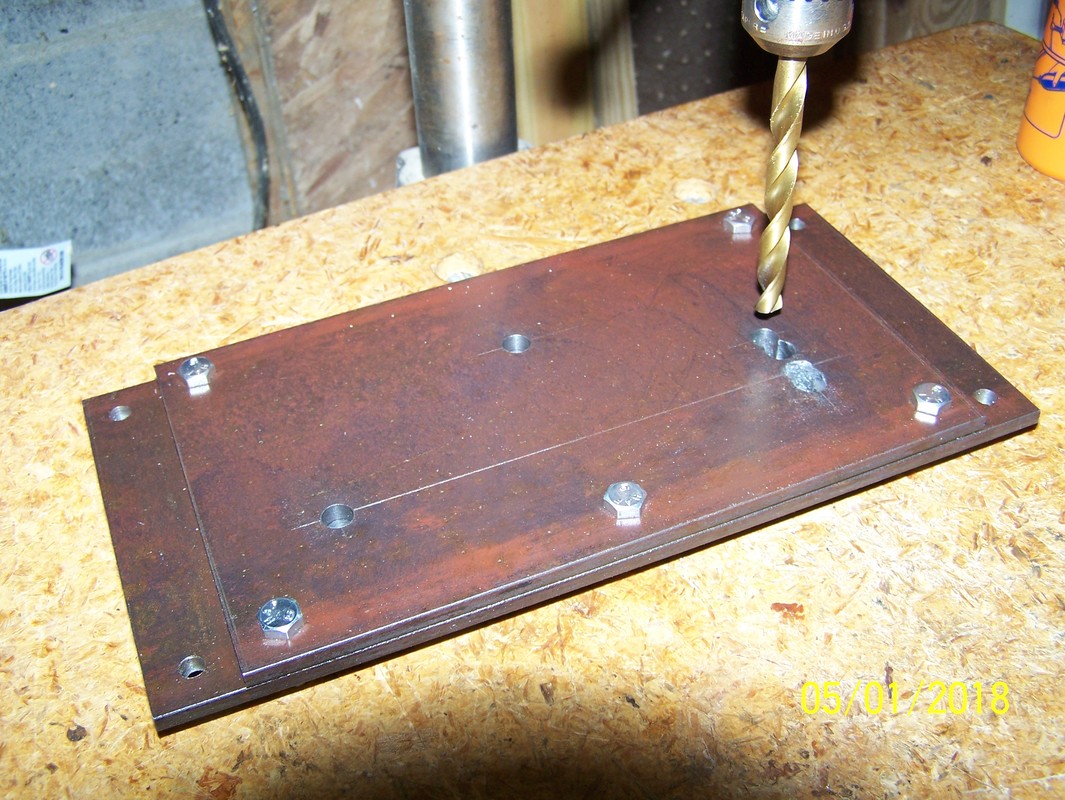
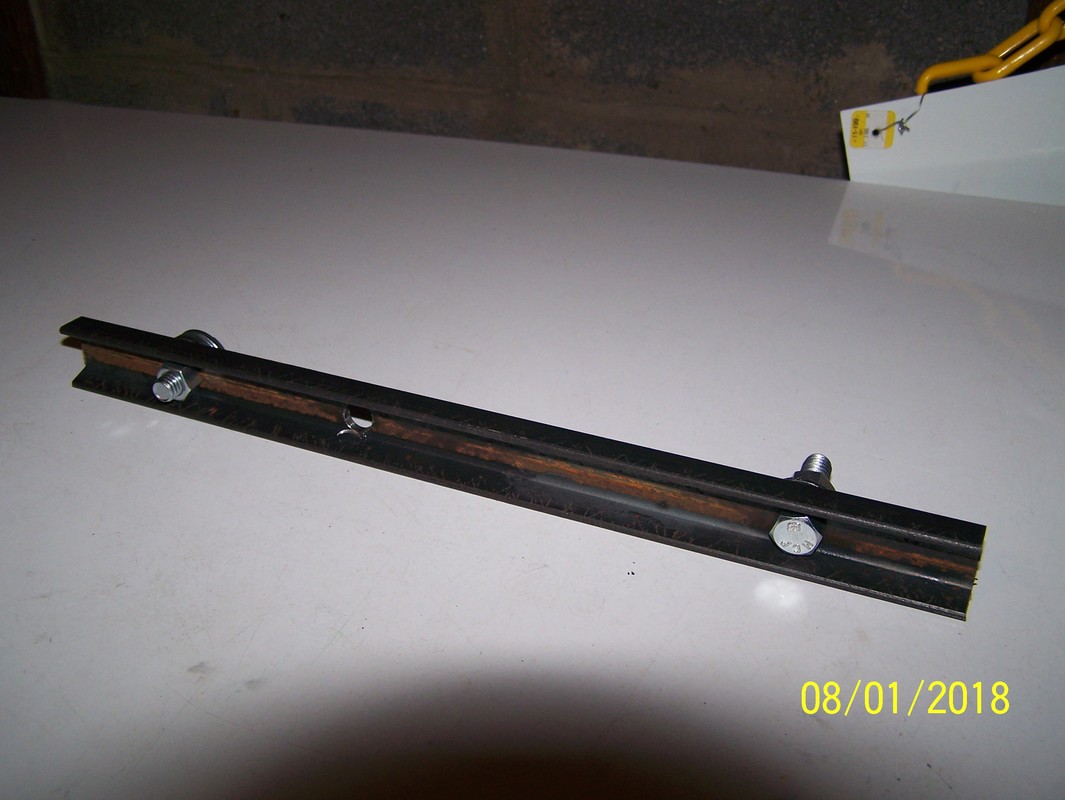
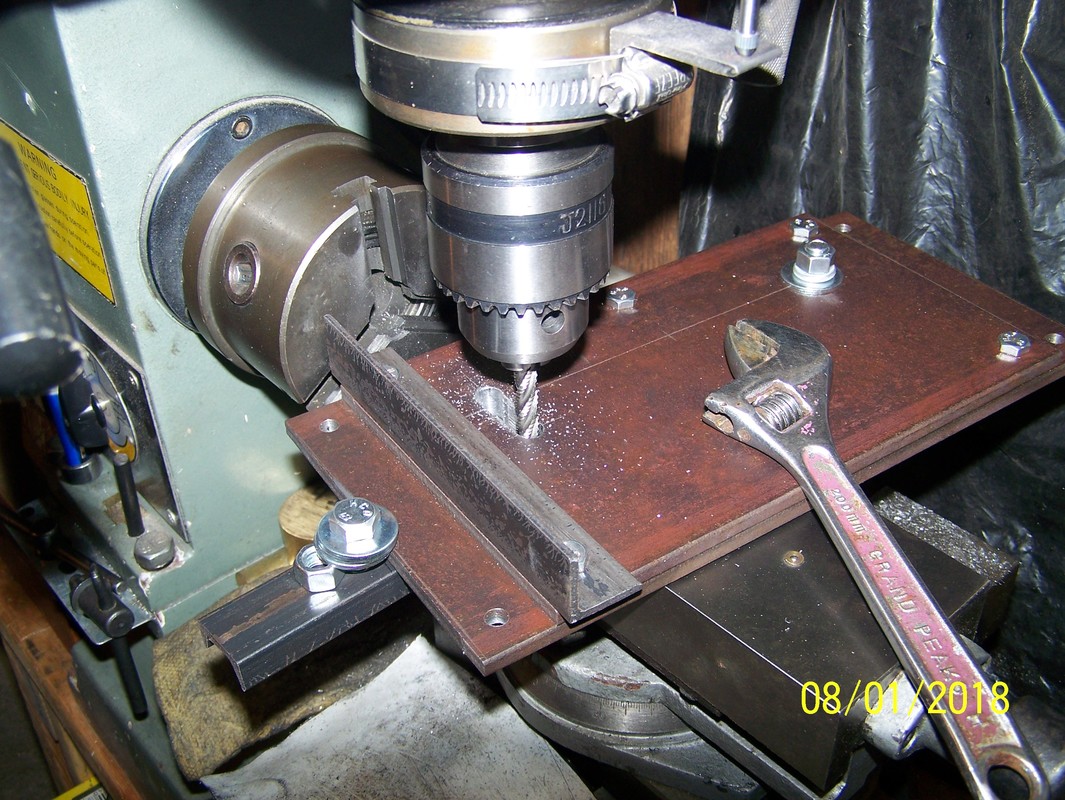
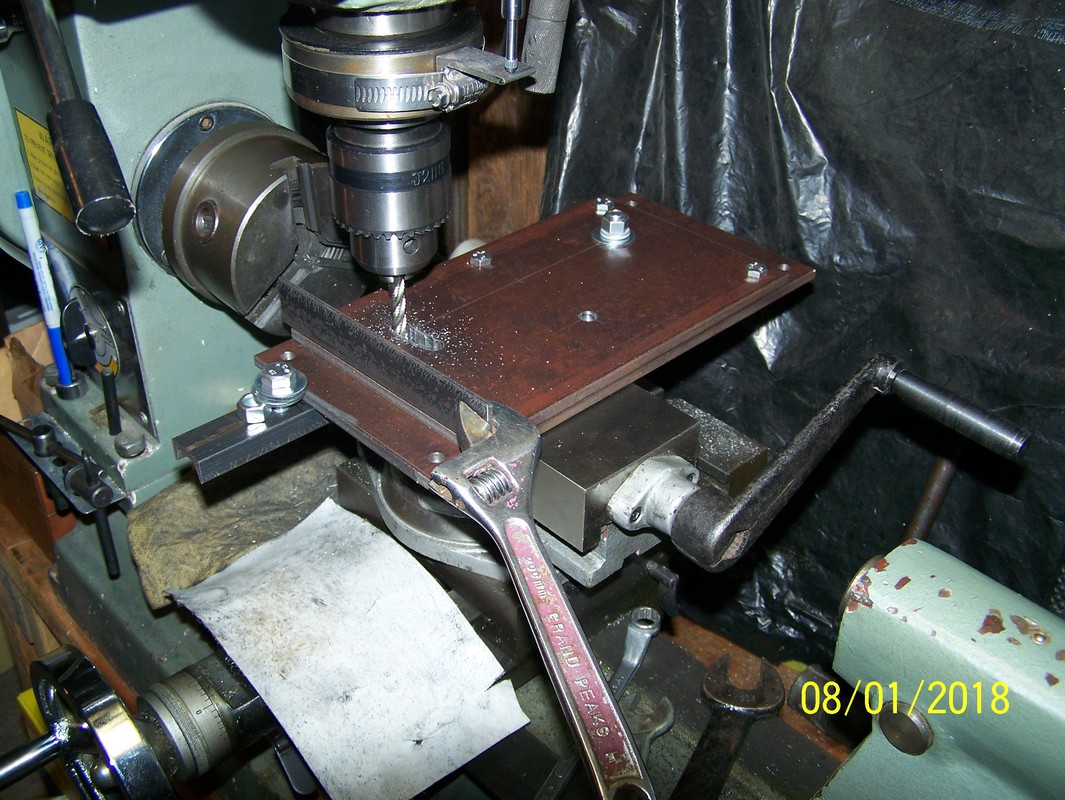
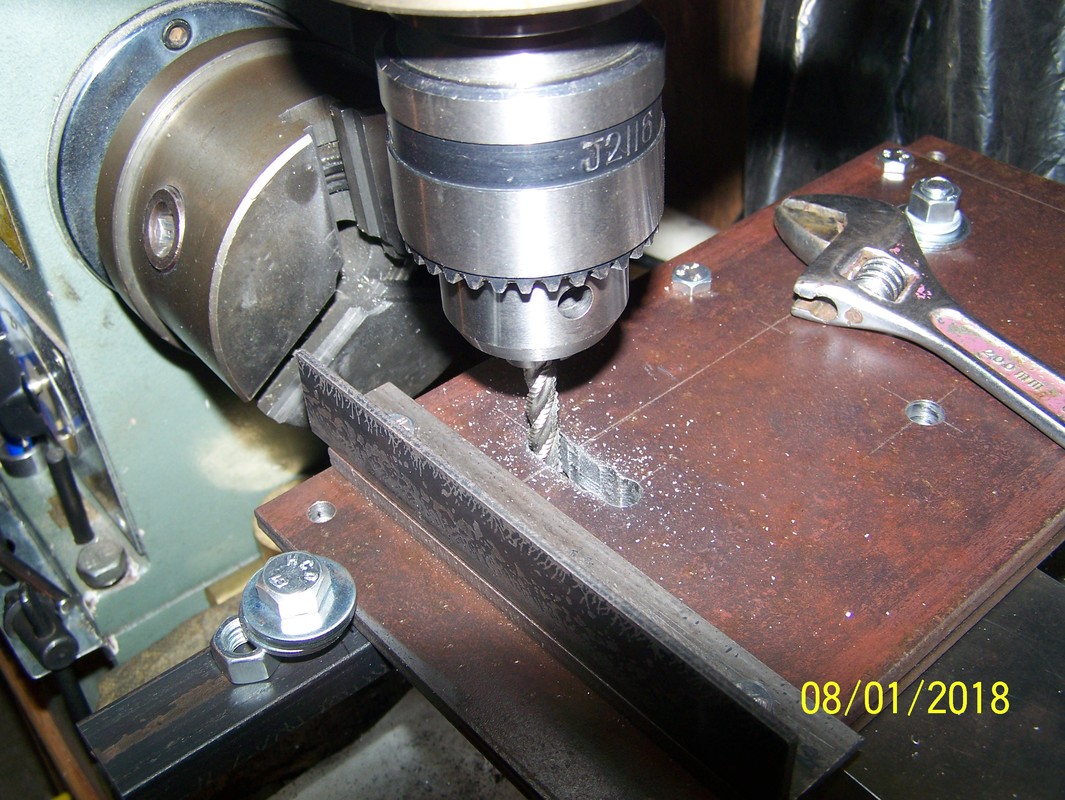
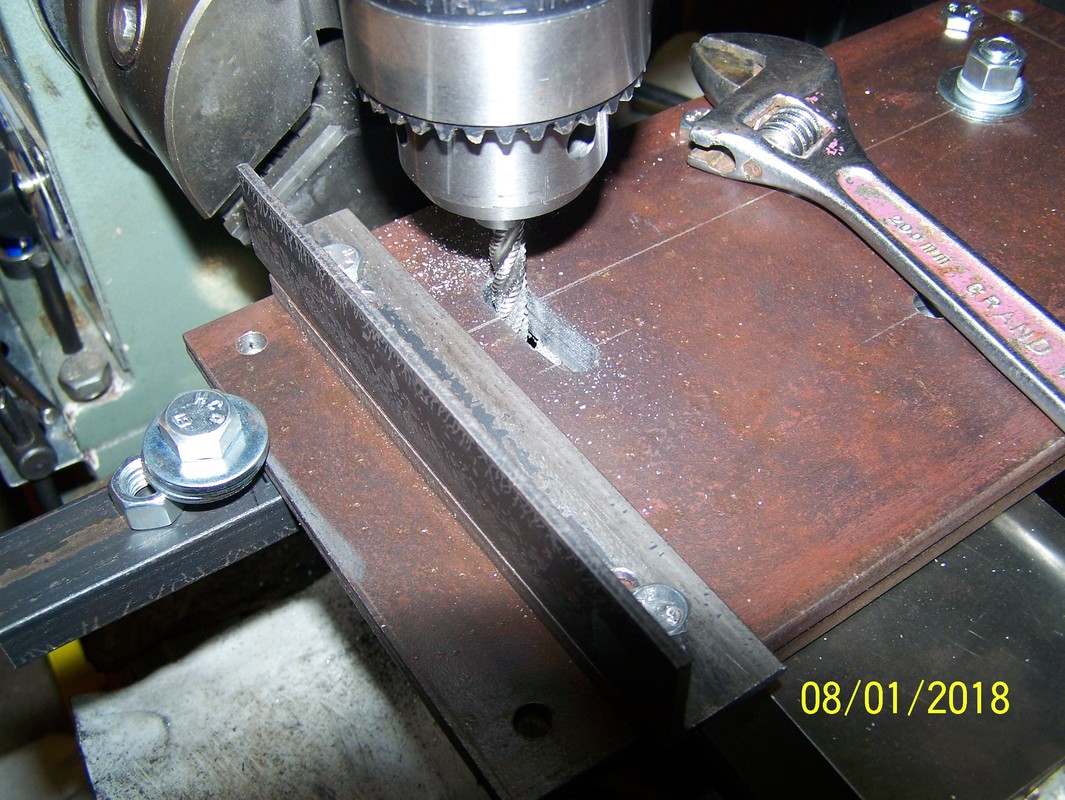
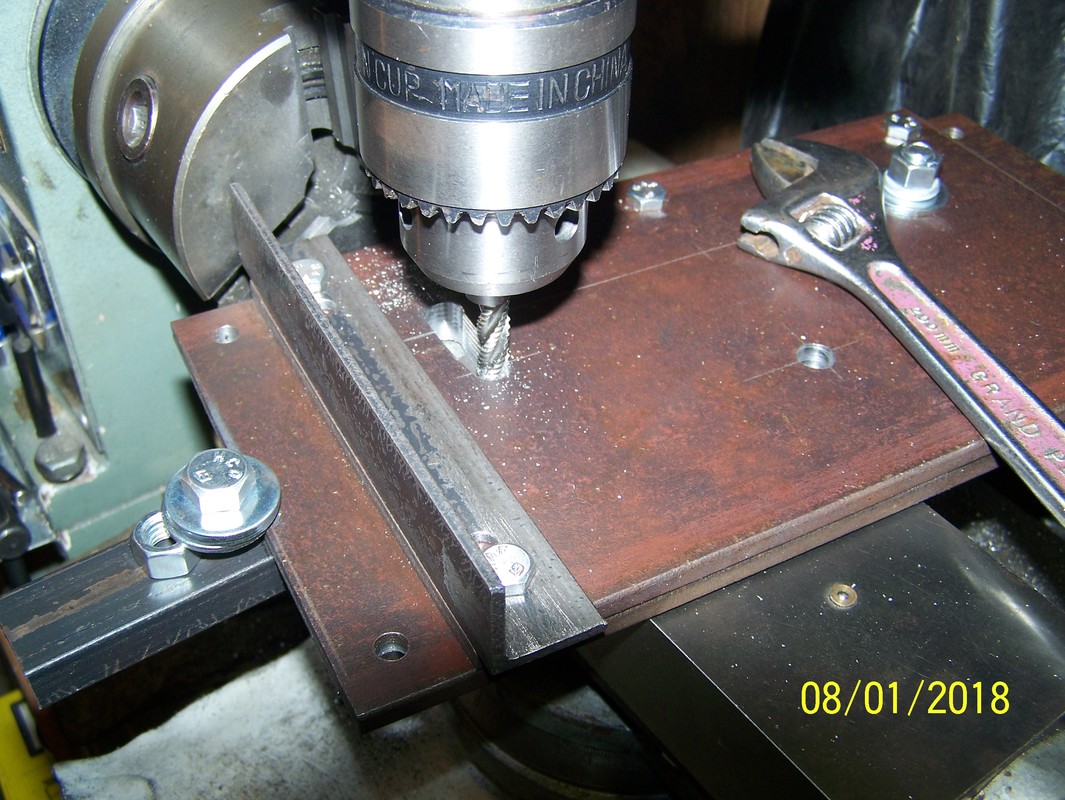
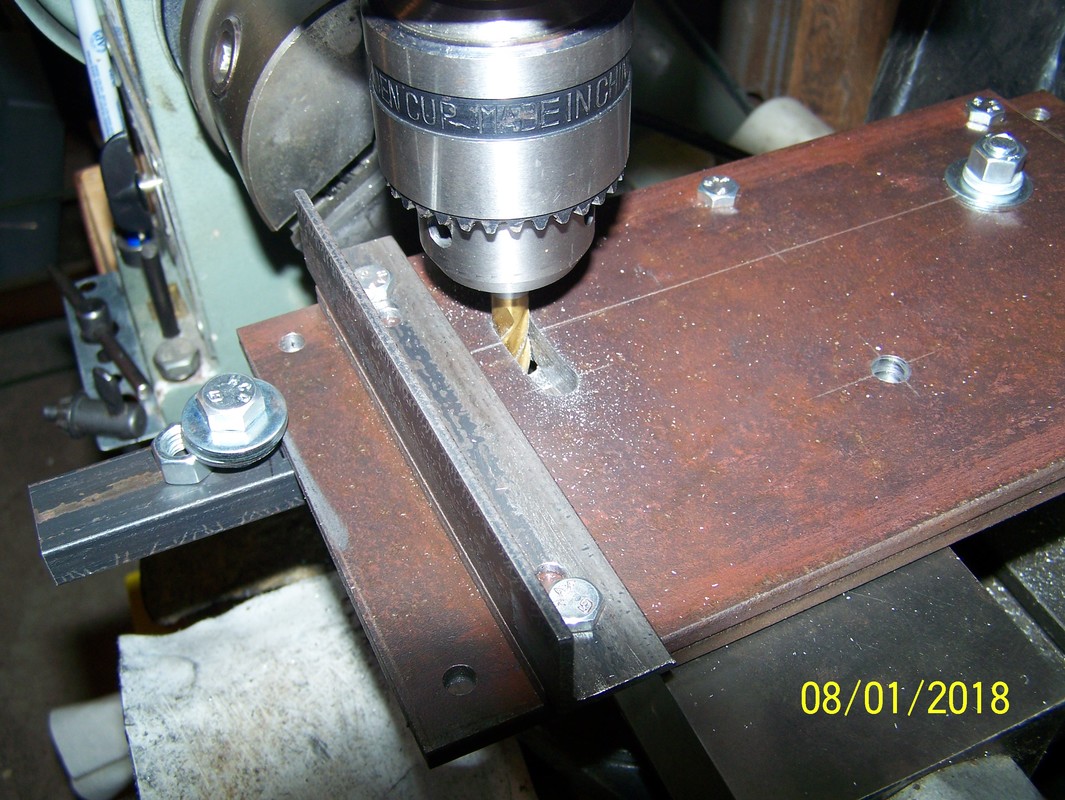
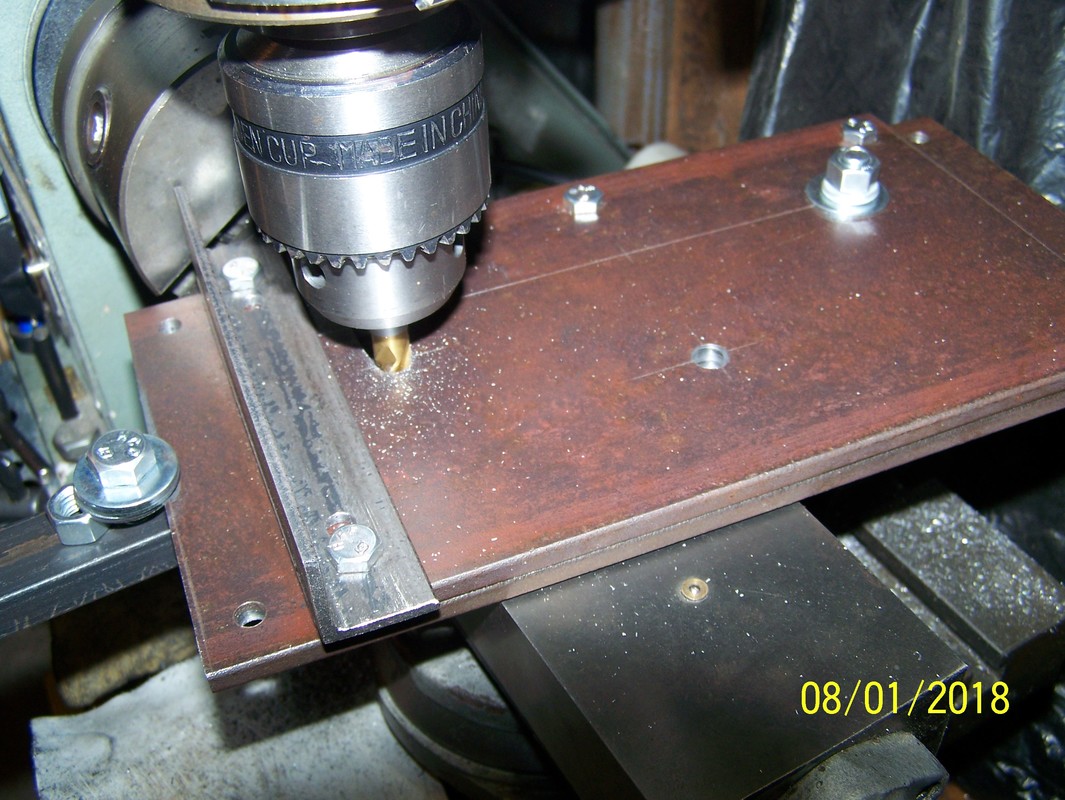
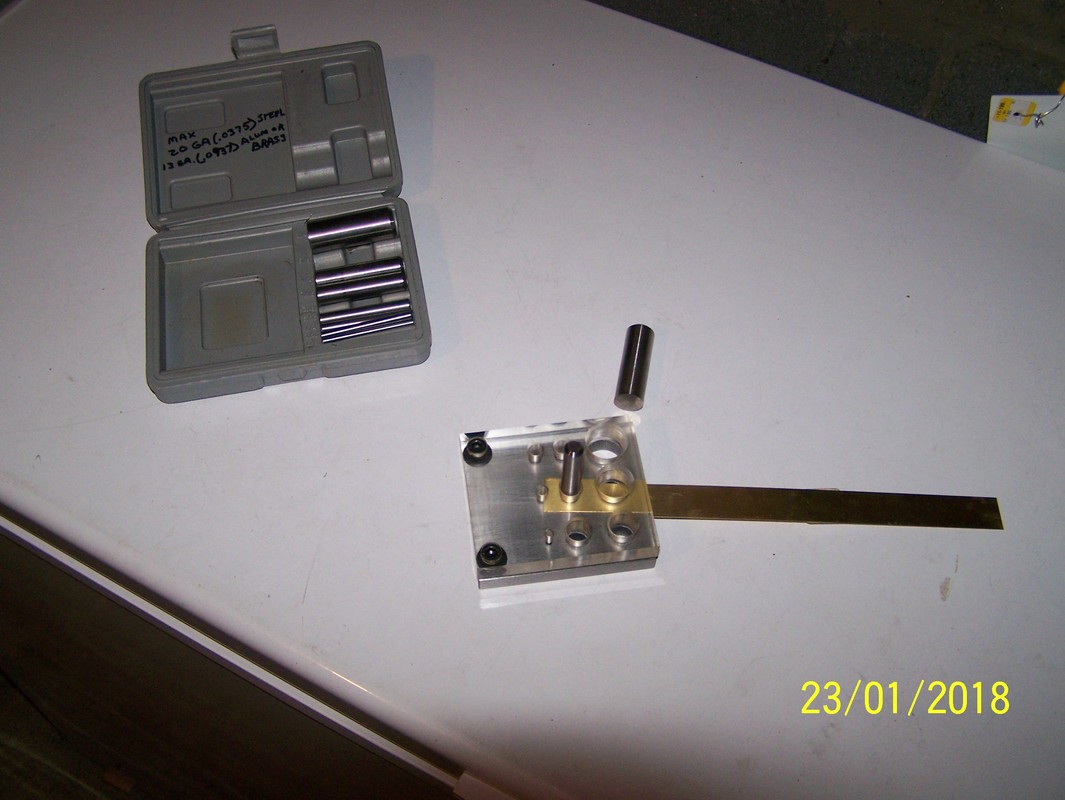
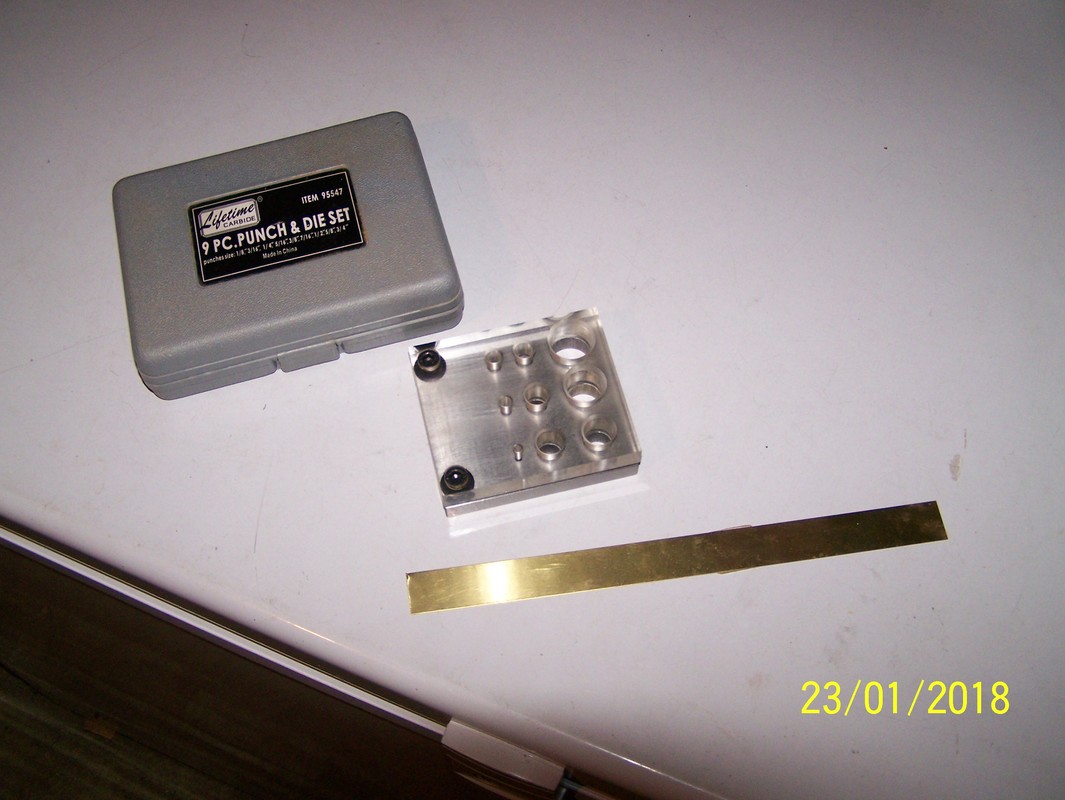
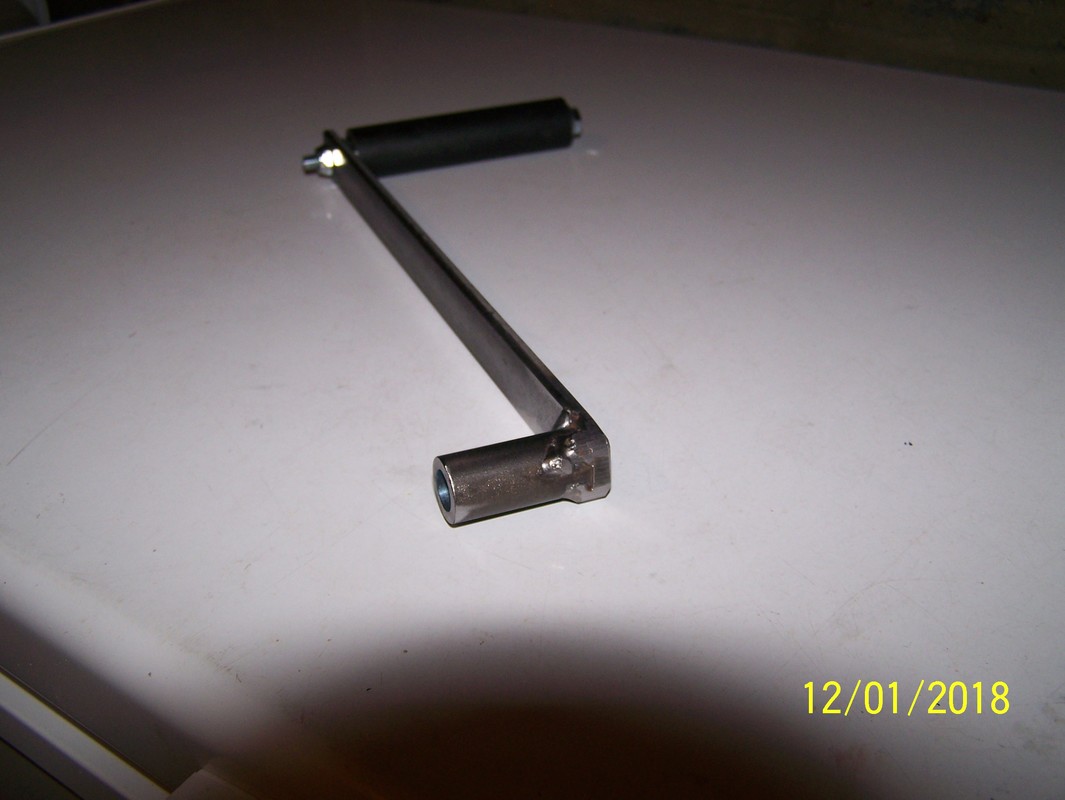
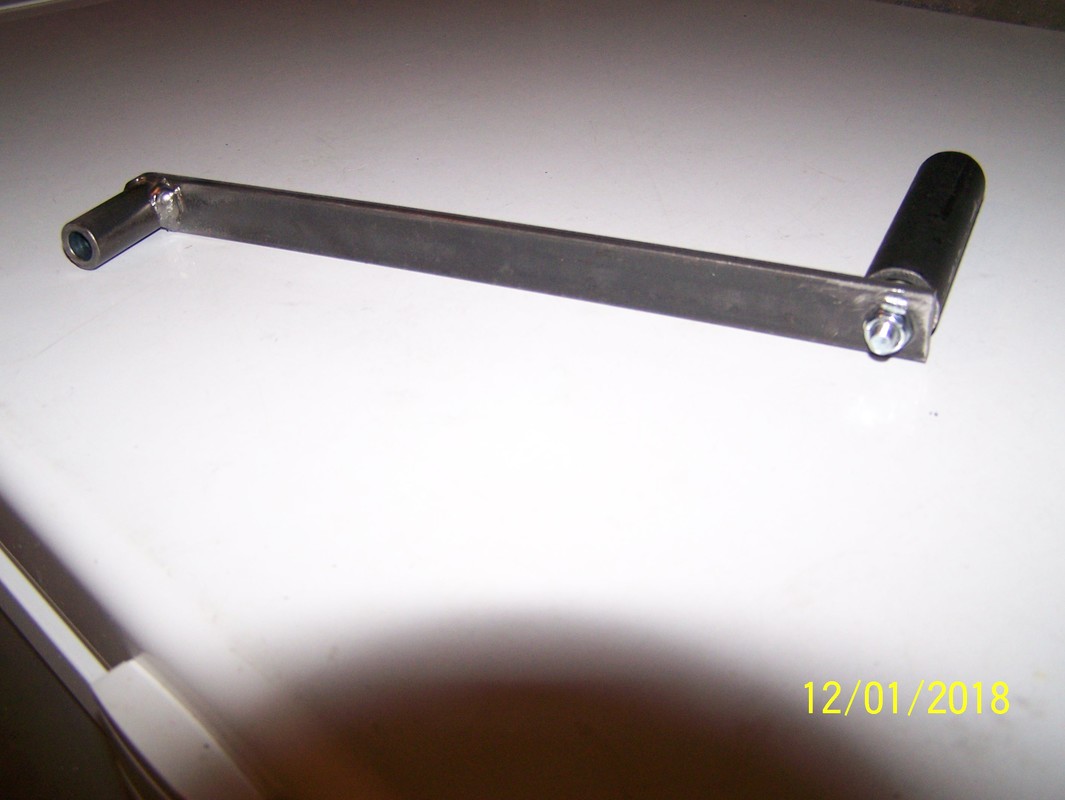
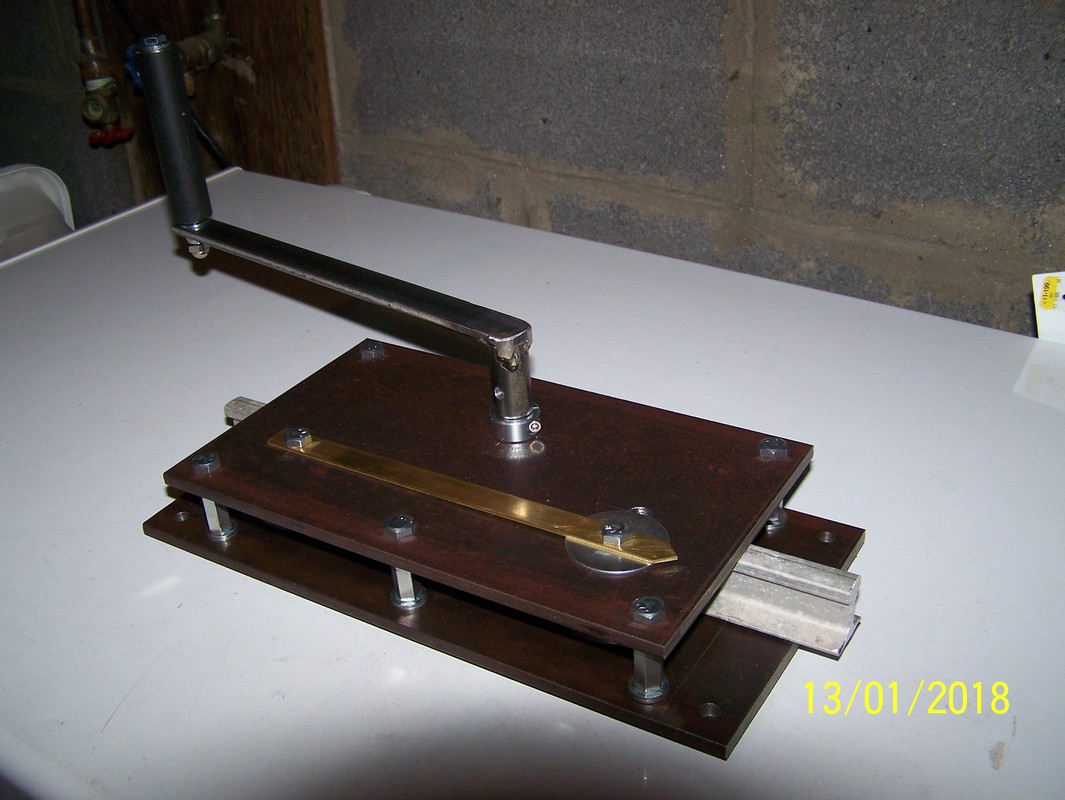
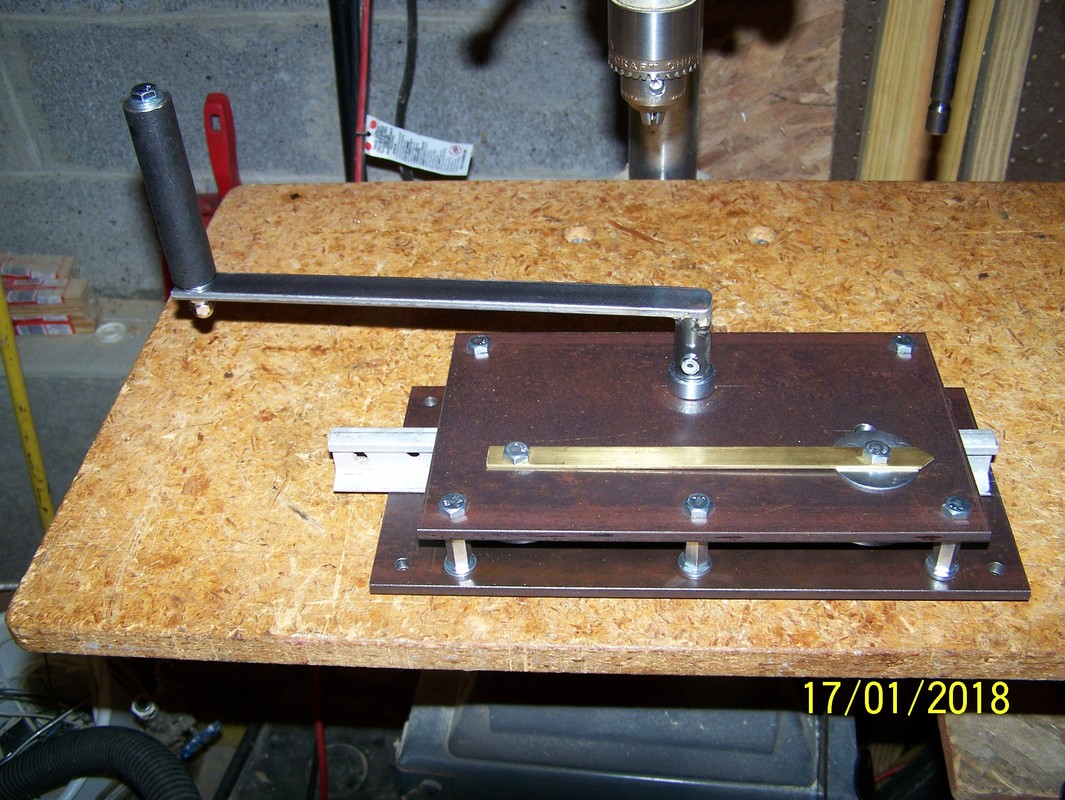
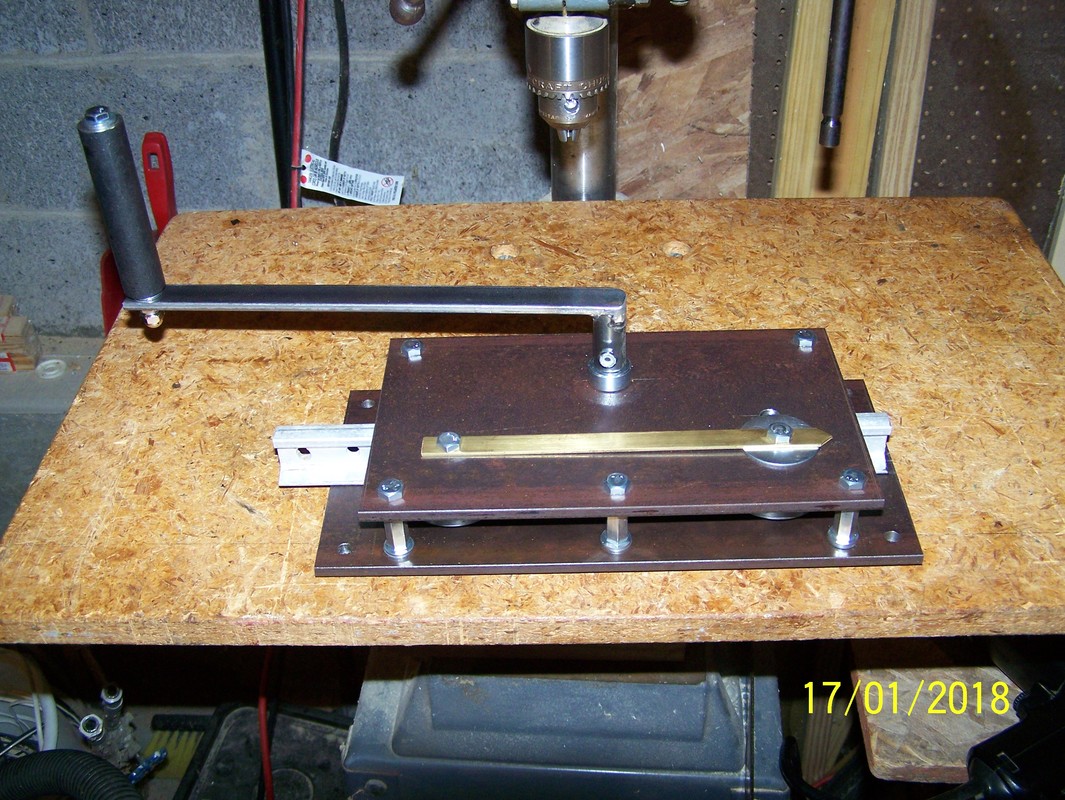
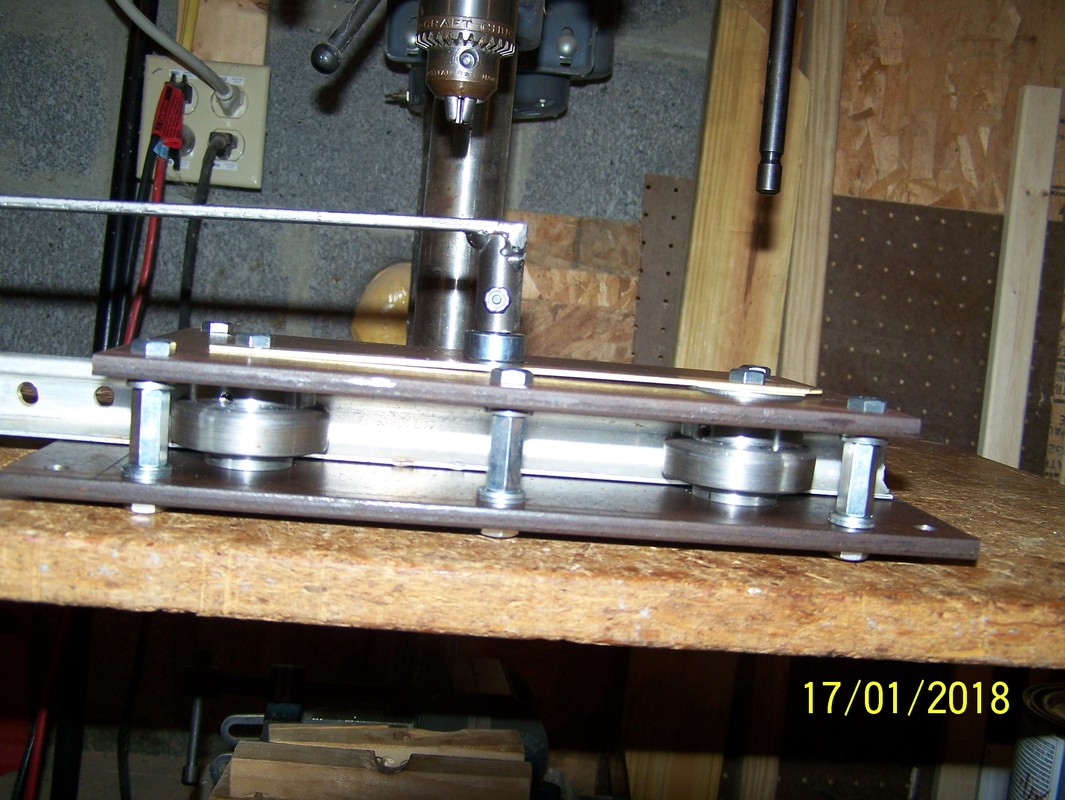
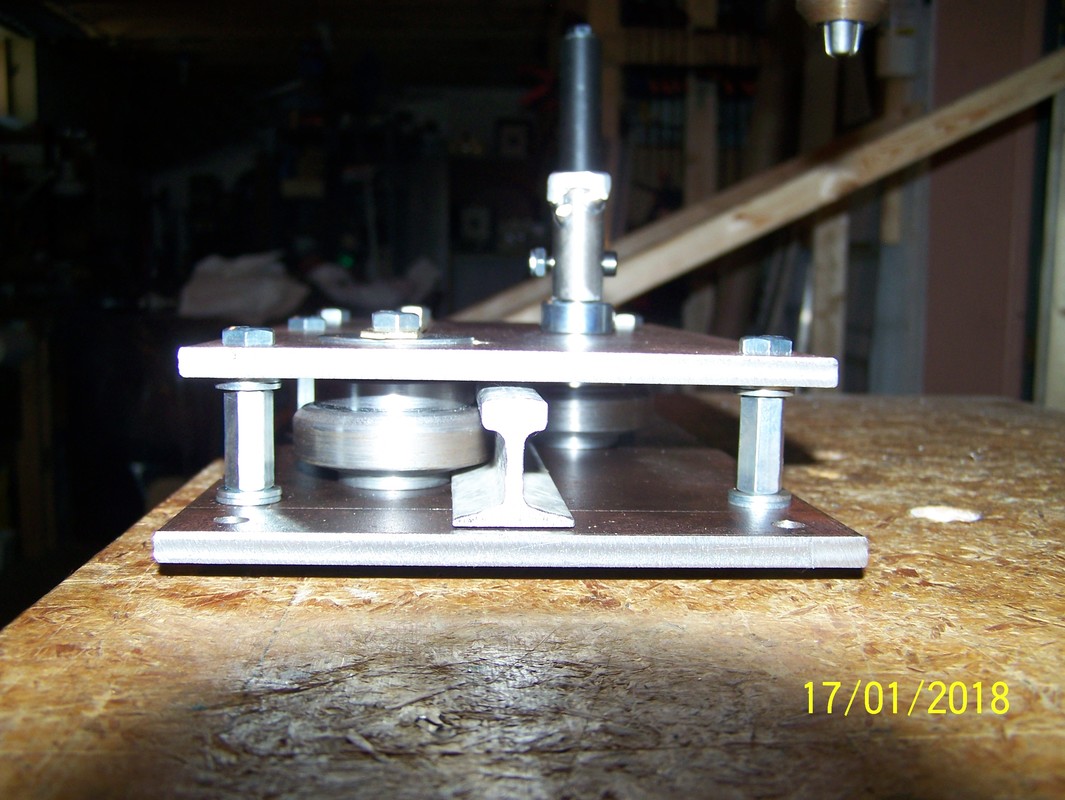
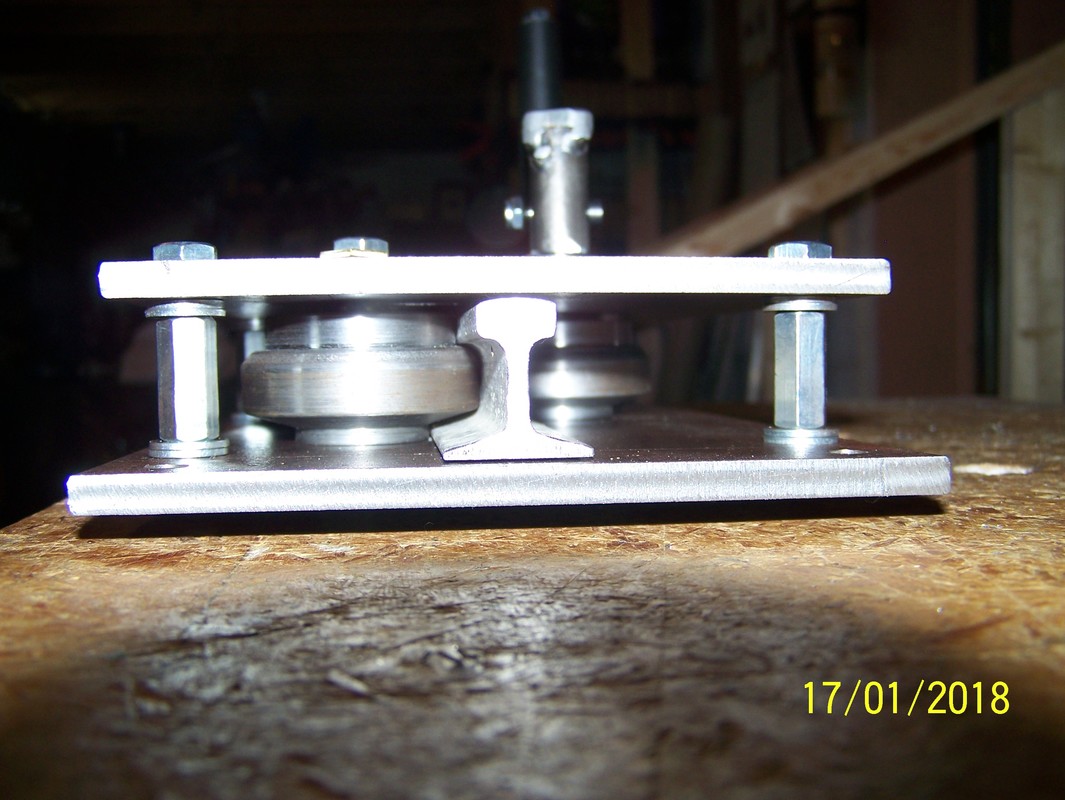
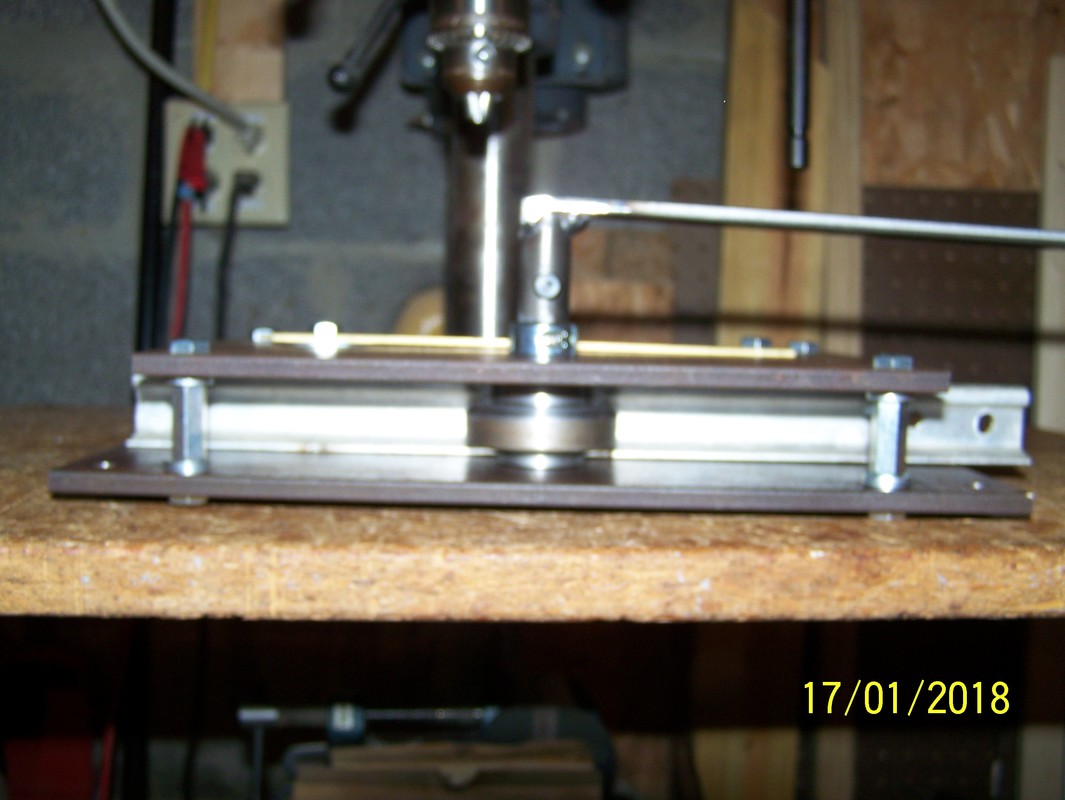
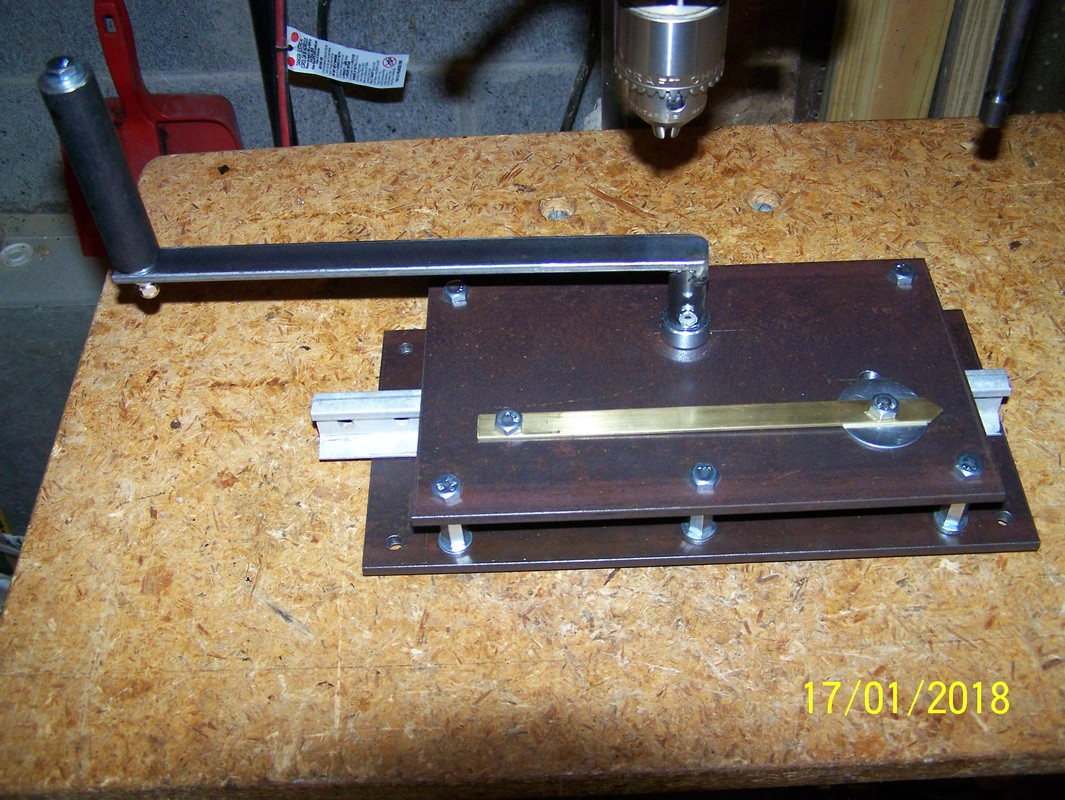
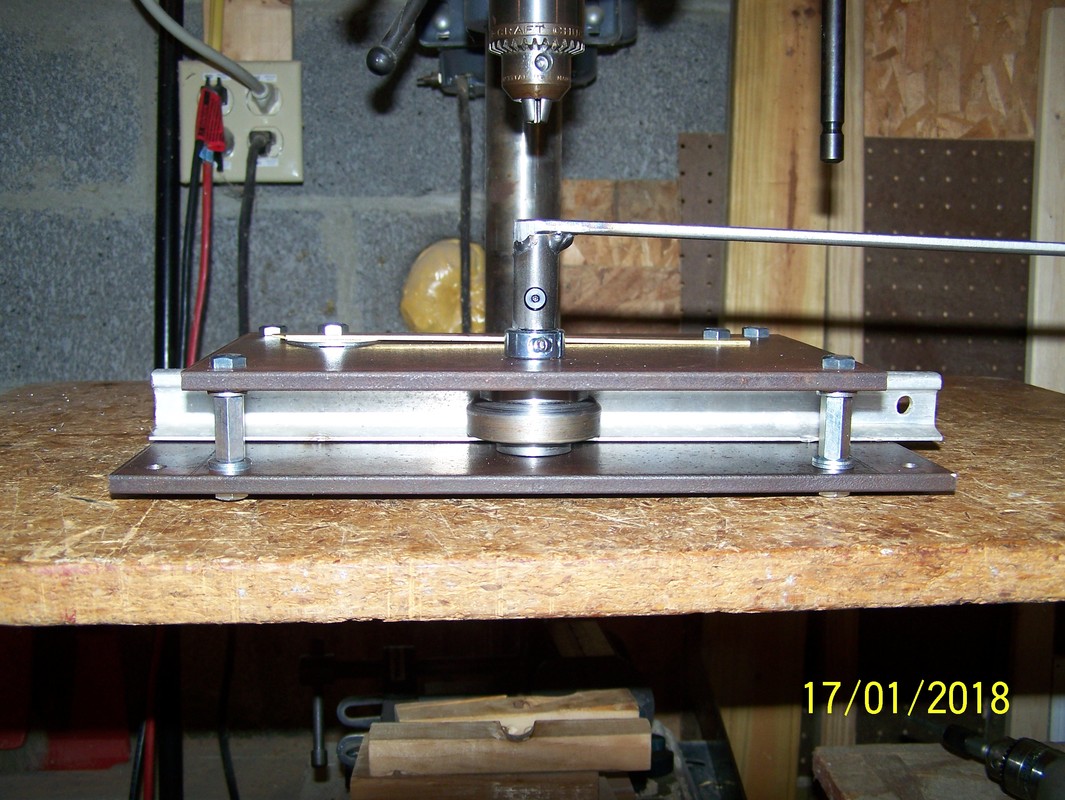
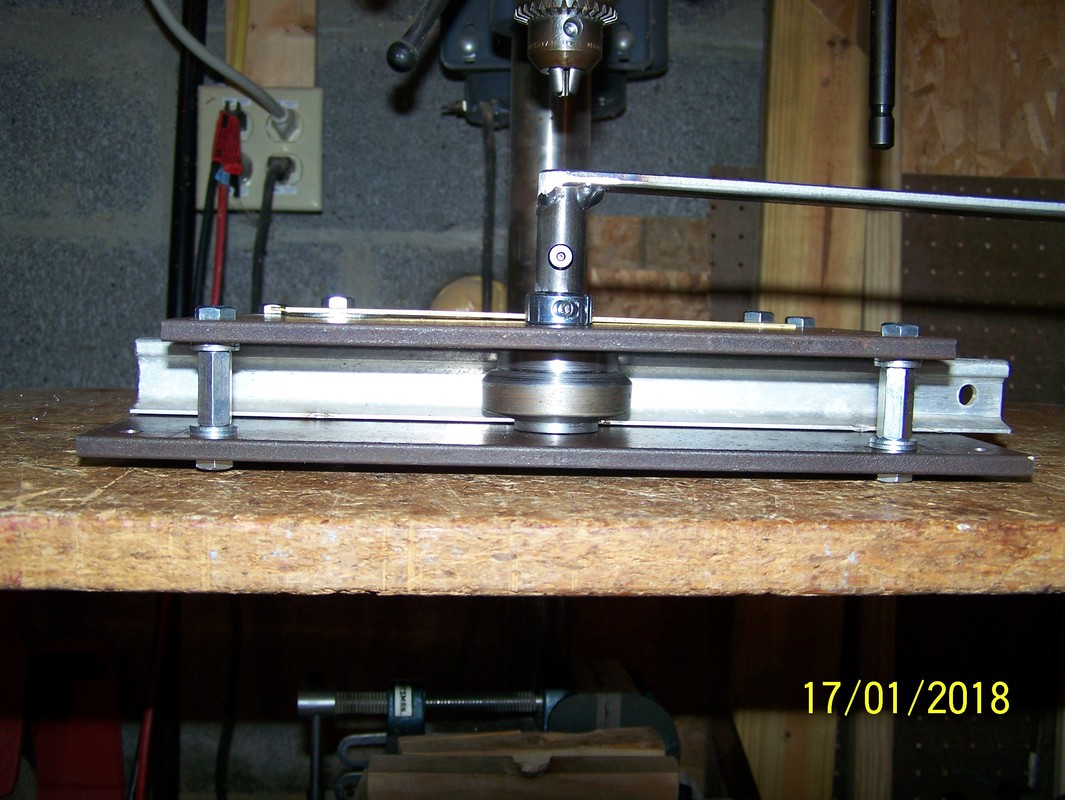
Jan, 2018. Continued on with the building of the Rail Roller Bender. Drilled the two fixed holes and then drilled some of the places of the curved arc hole. Got a 1/4-20x4 1/2 bolt and put the rotating handle on the handle arm. Machined the other end sleeve to go over the drive roller shaft and fitted it to the handle arm. Got a 3/8 ID single split collet for the drive roller shaft also. Then made a bracket to hold the rail roller bender plates for machining. Next, made a jig to hold the plates and to be able to rotate the plates at the right arc dimension. Then set up and milled the curved slot into the plates. Punched out some .032 and .015 thick shims, 3/8 ID and 5/8 OD, from brass stock, for the roller shafts. Machined a mandrel to hold the shims for trueing the OD. Made up the pointer bar for the curved slot for the adjustable roller. Drilled and taped the ends of the shafts for the fixed and adjustable roller. Welded the sleeve that goes over the drive roller shaft to the handle bar. Finally, assembled the rail roller bender to check it out. All looks OK. Now, need to take apart and harden the shafts/plates at the mating surfaces and then to paint the plates.
| jigs4makingrailbender2.pdf |
| shim-mandrel2.pdf |